
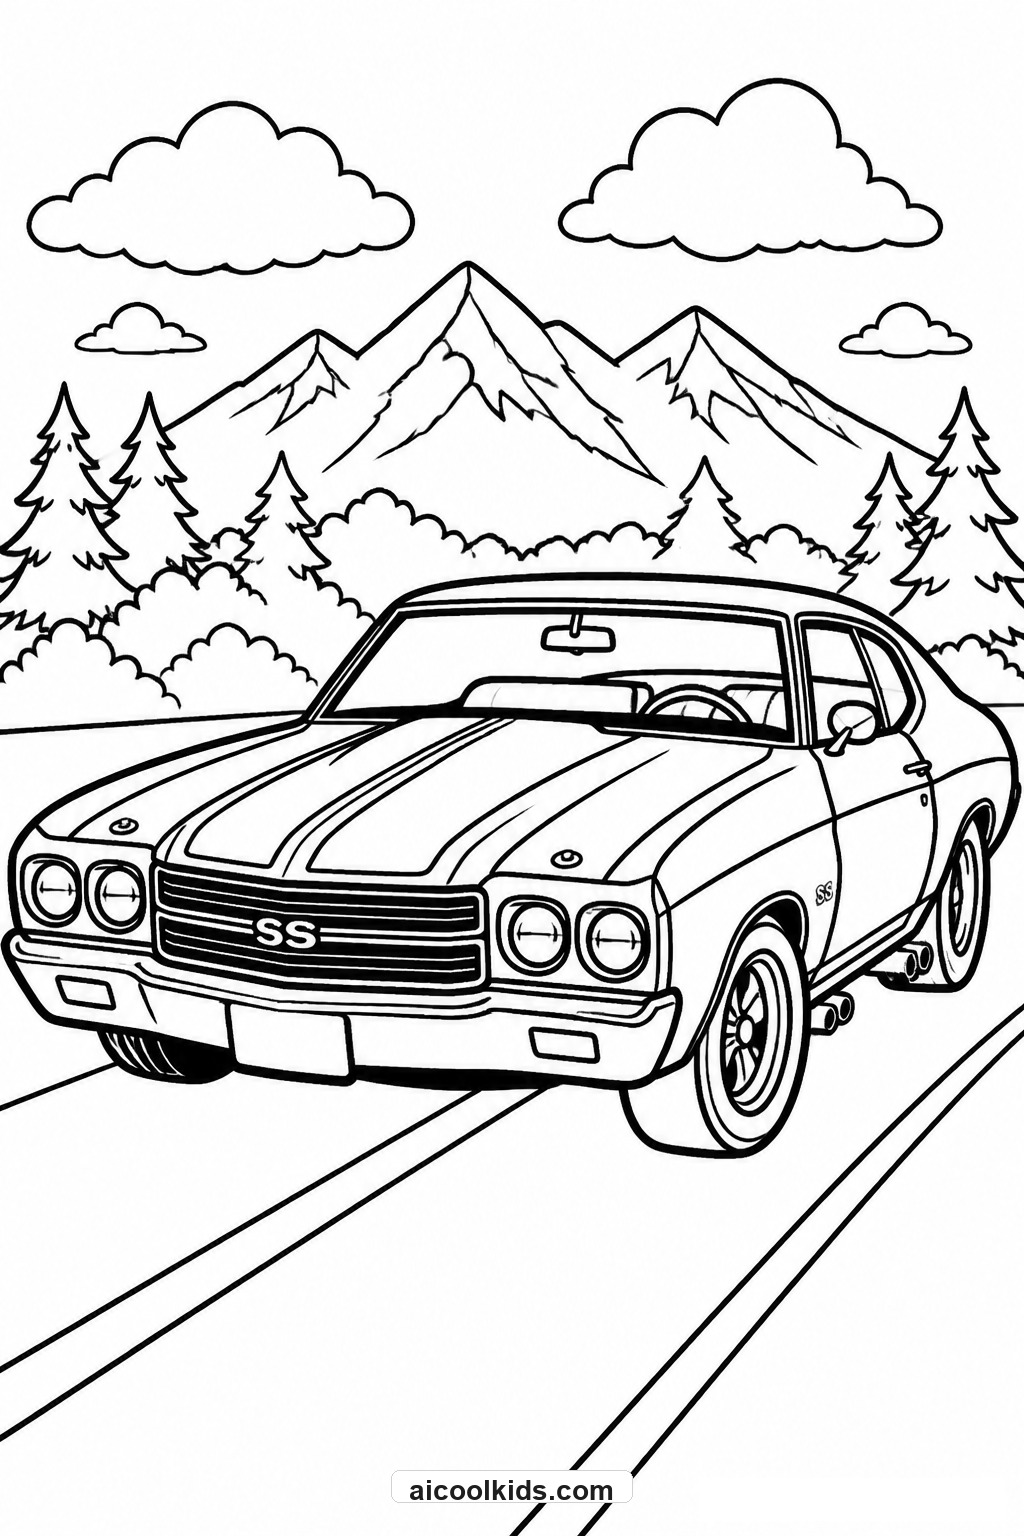
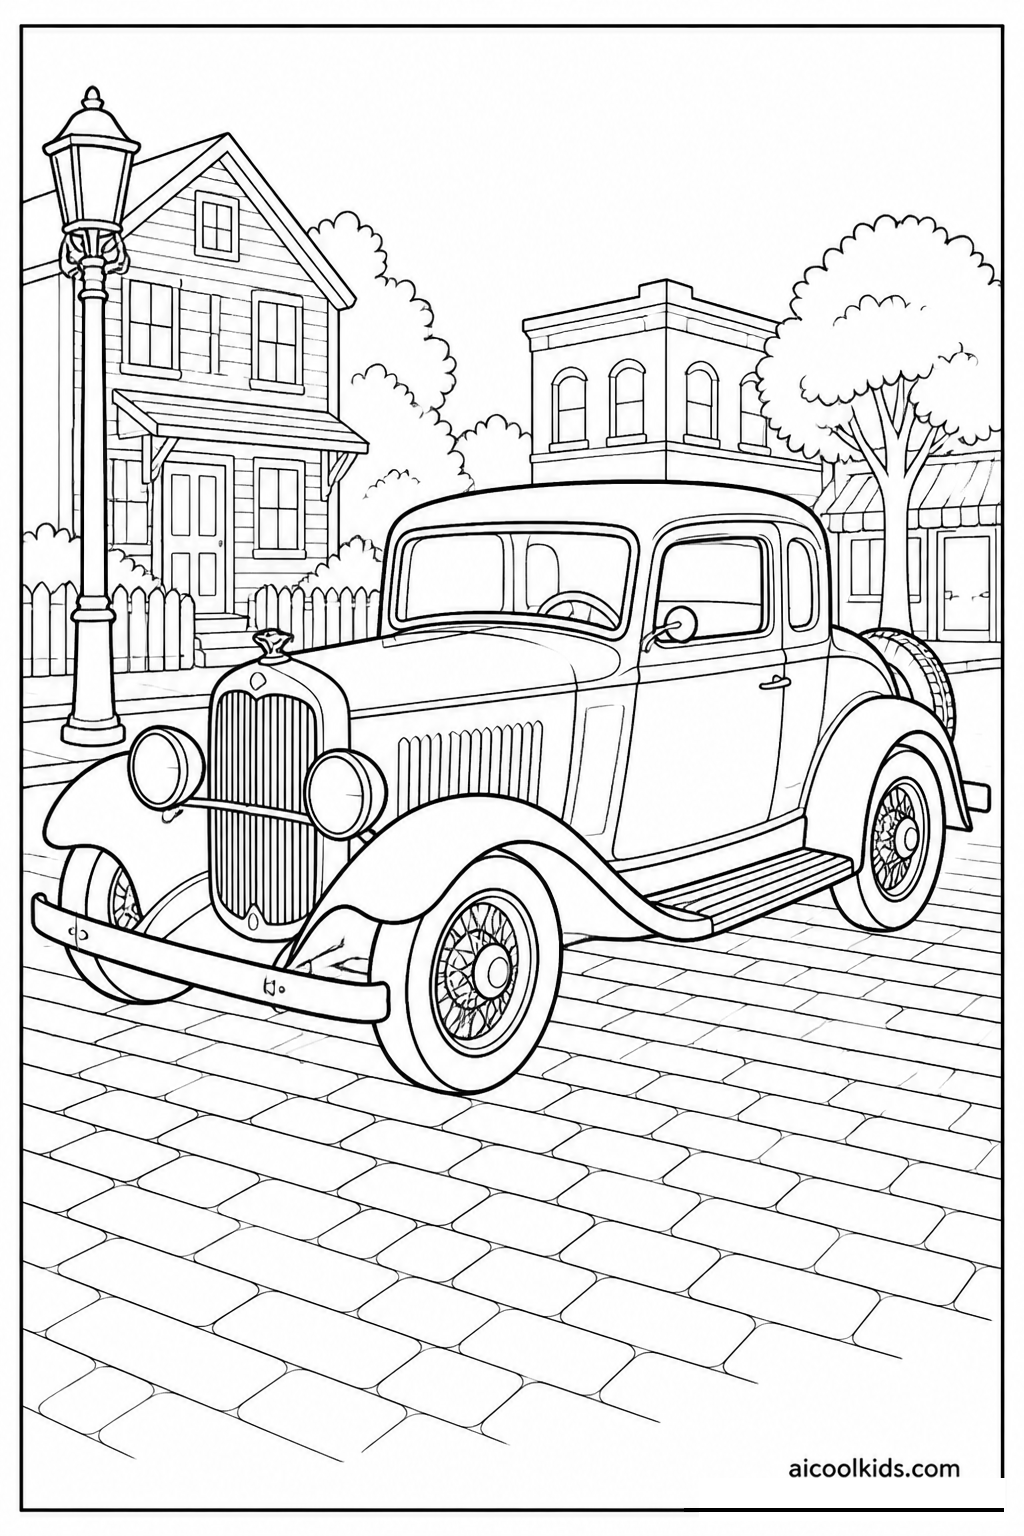
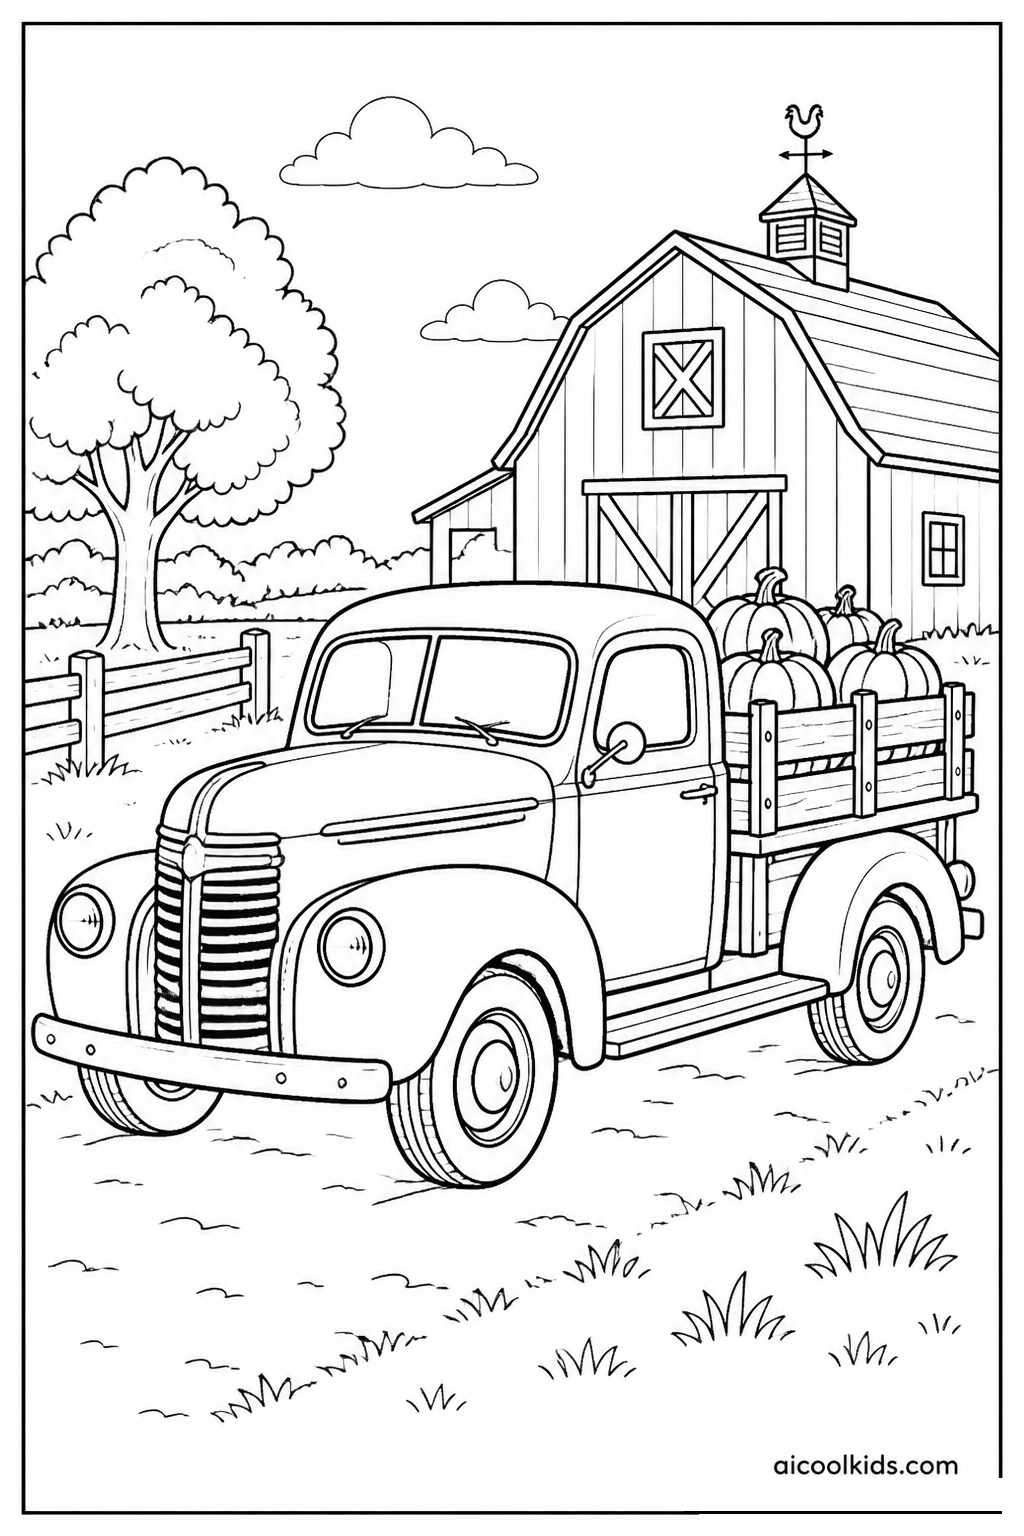
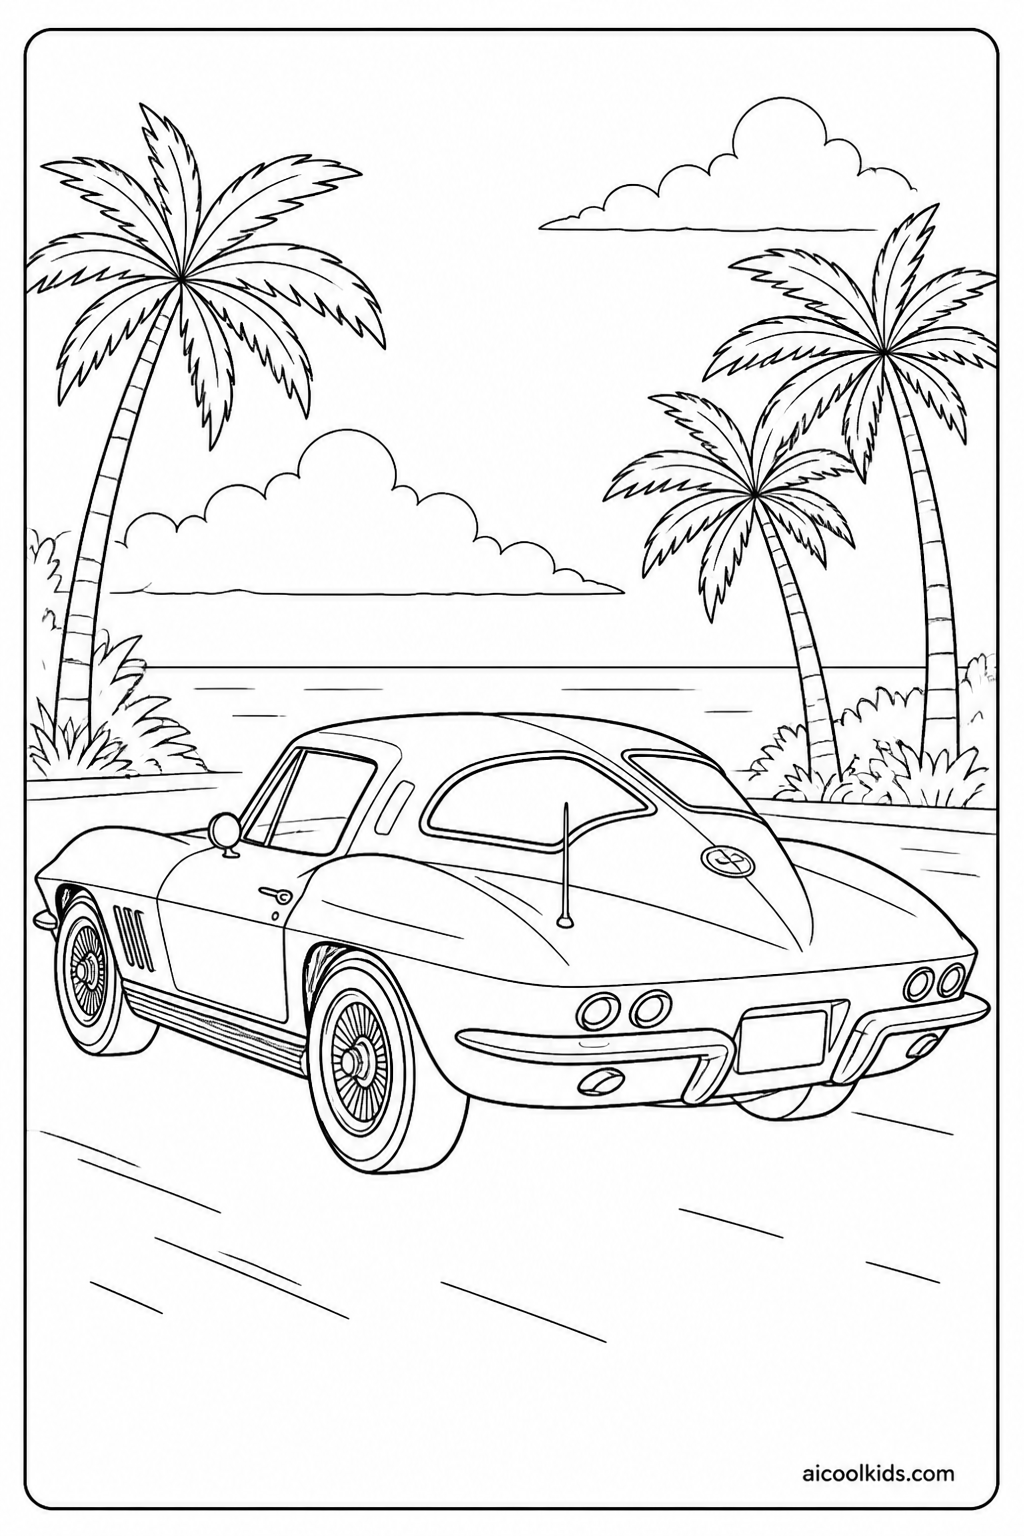
Parent & Teacher Craft Guide
10 Creative Learning & Craft Ideas for Classic Vintage Car Coloring Pages
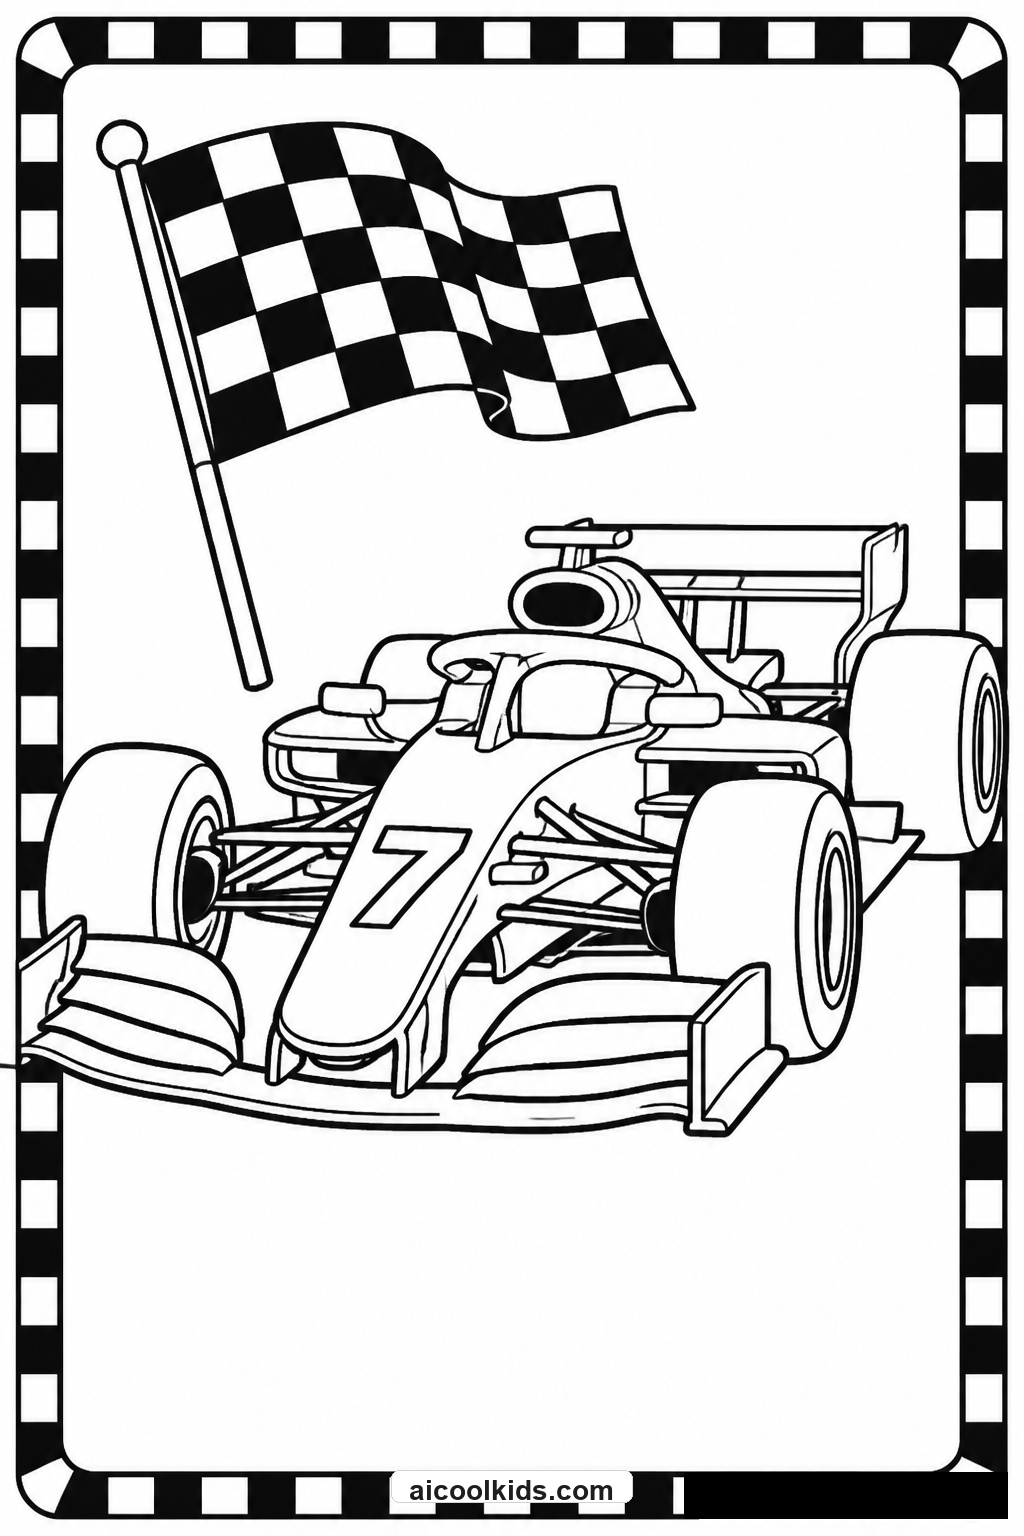
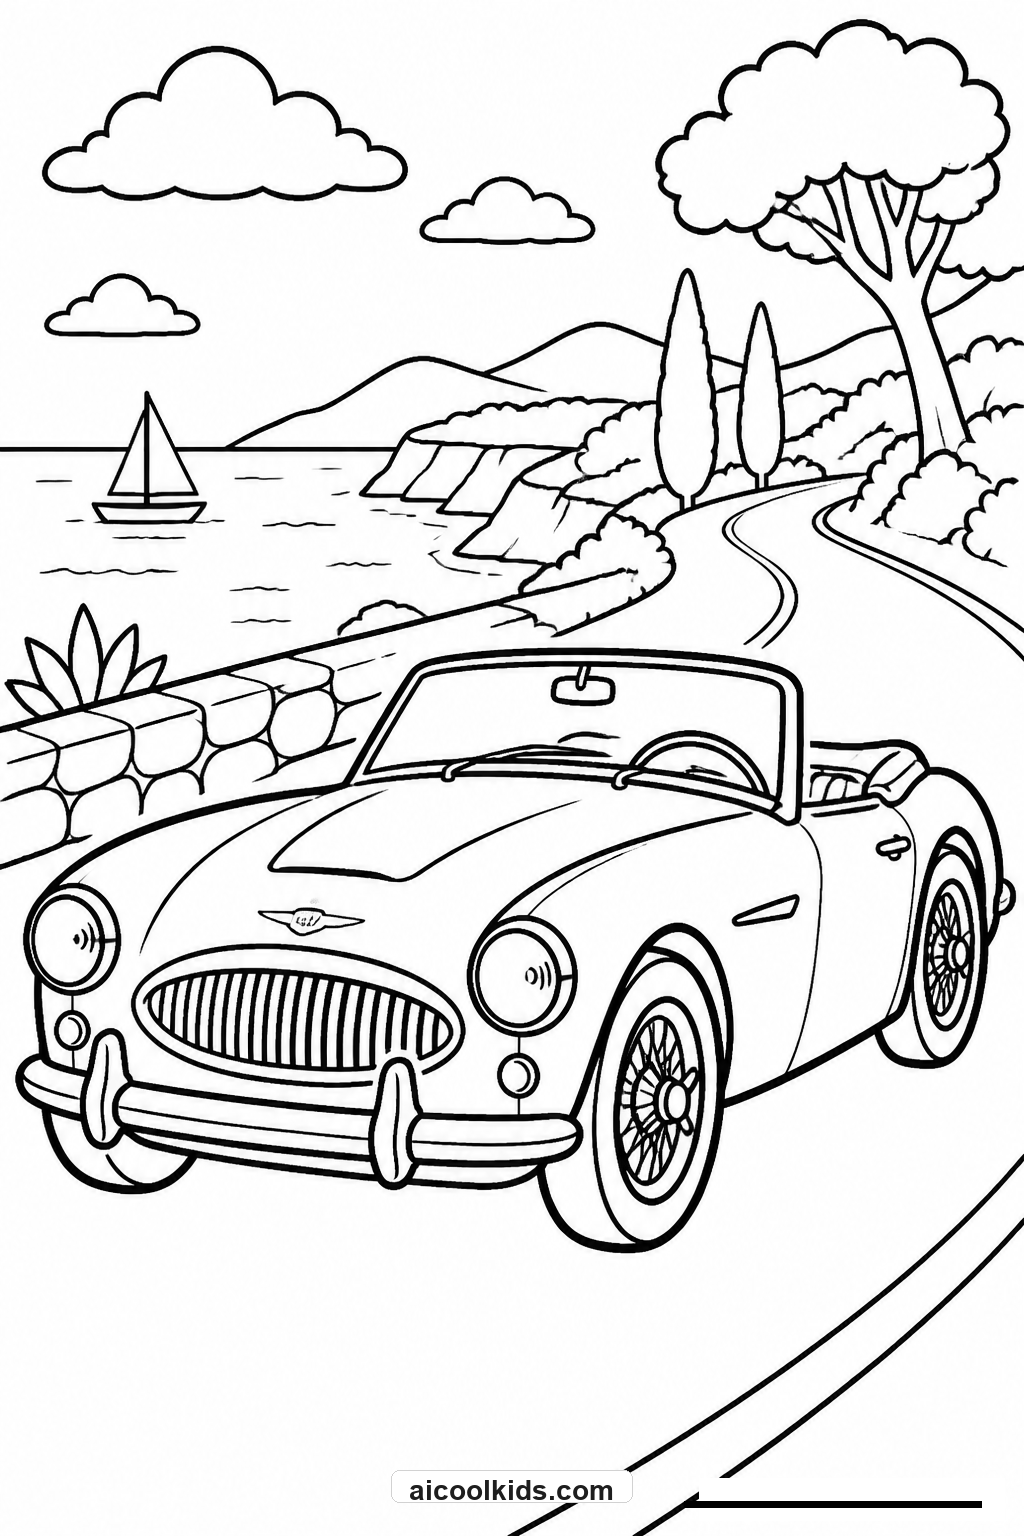
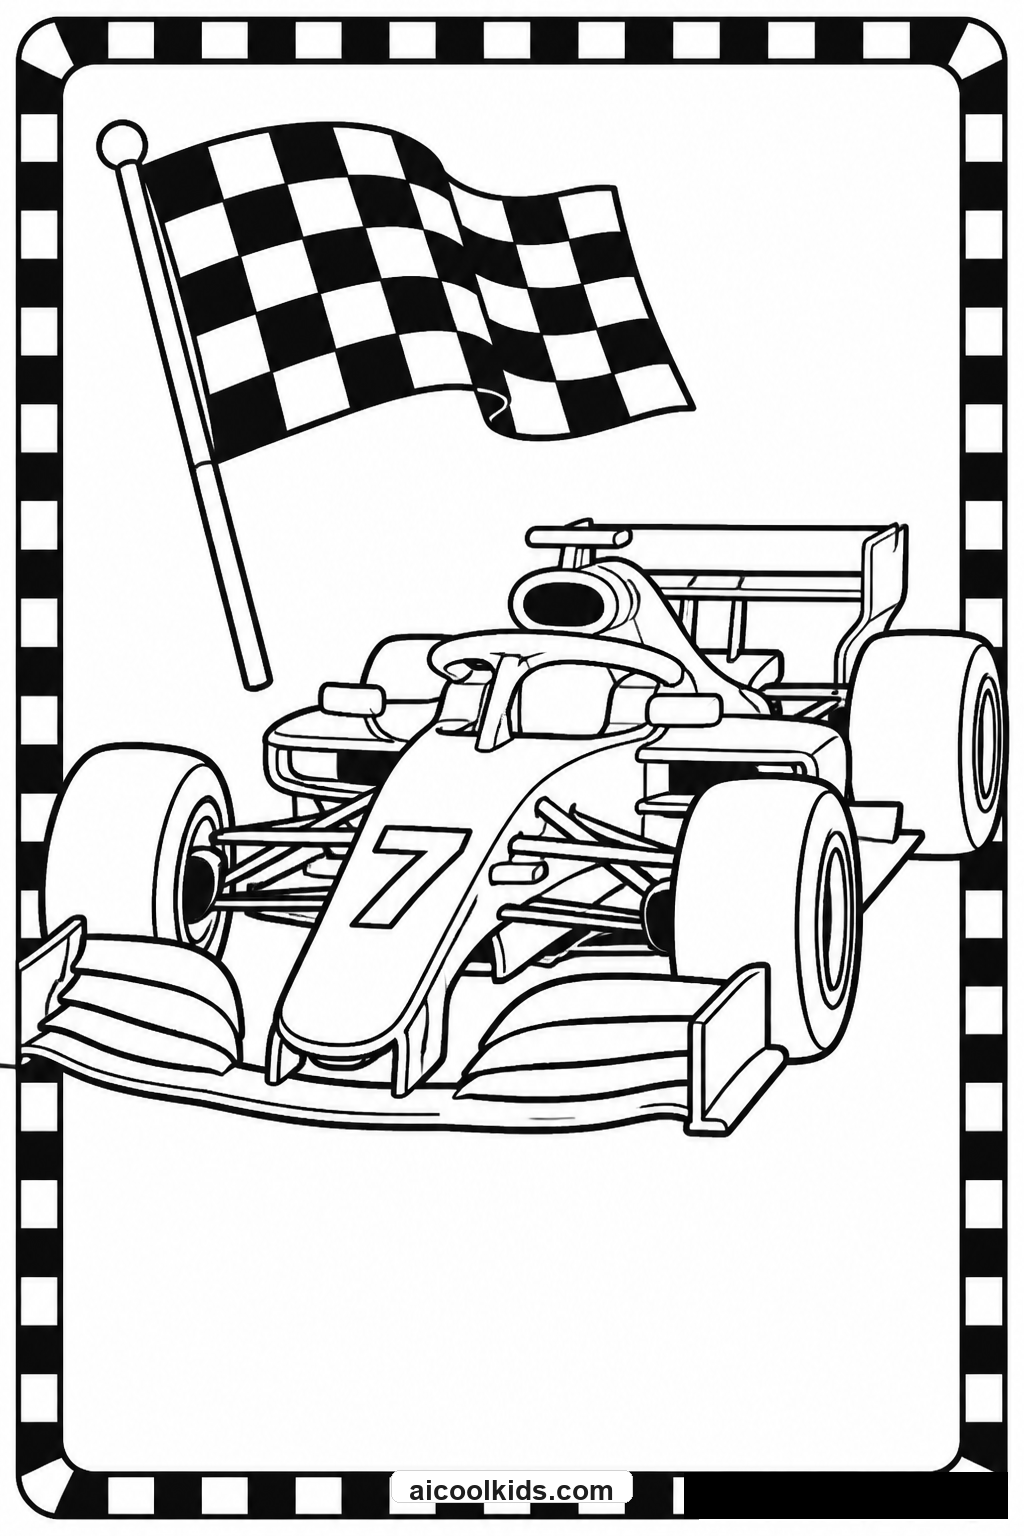
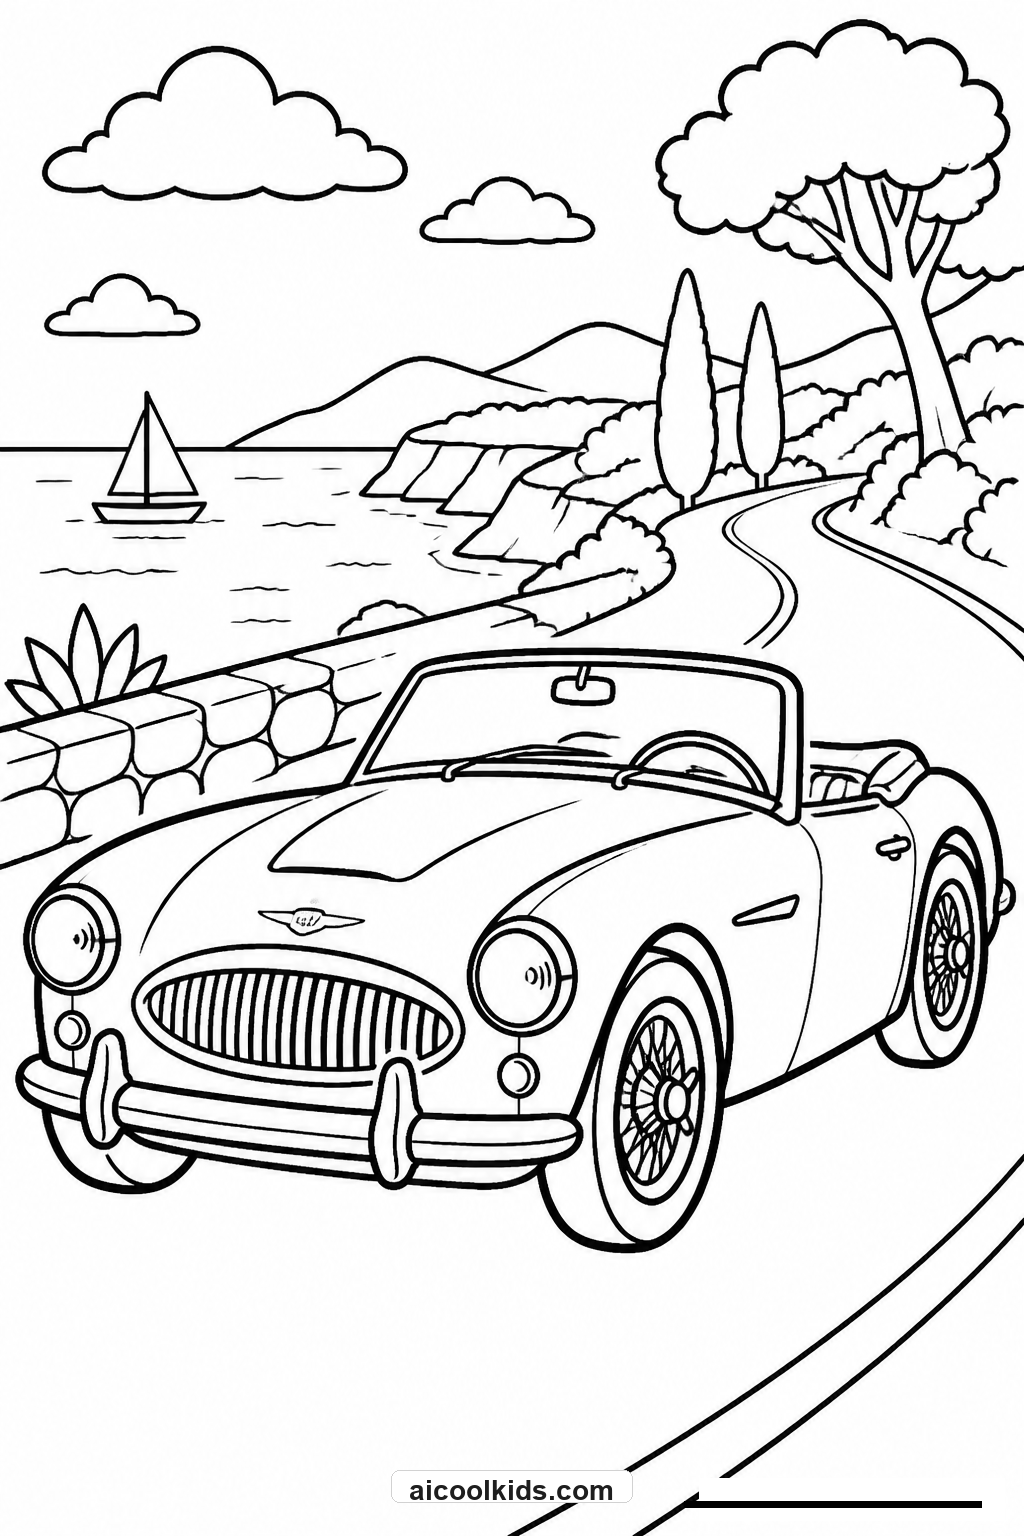
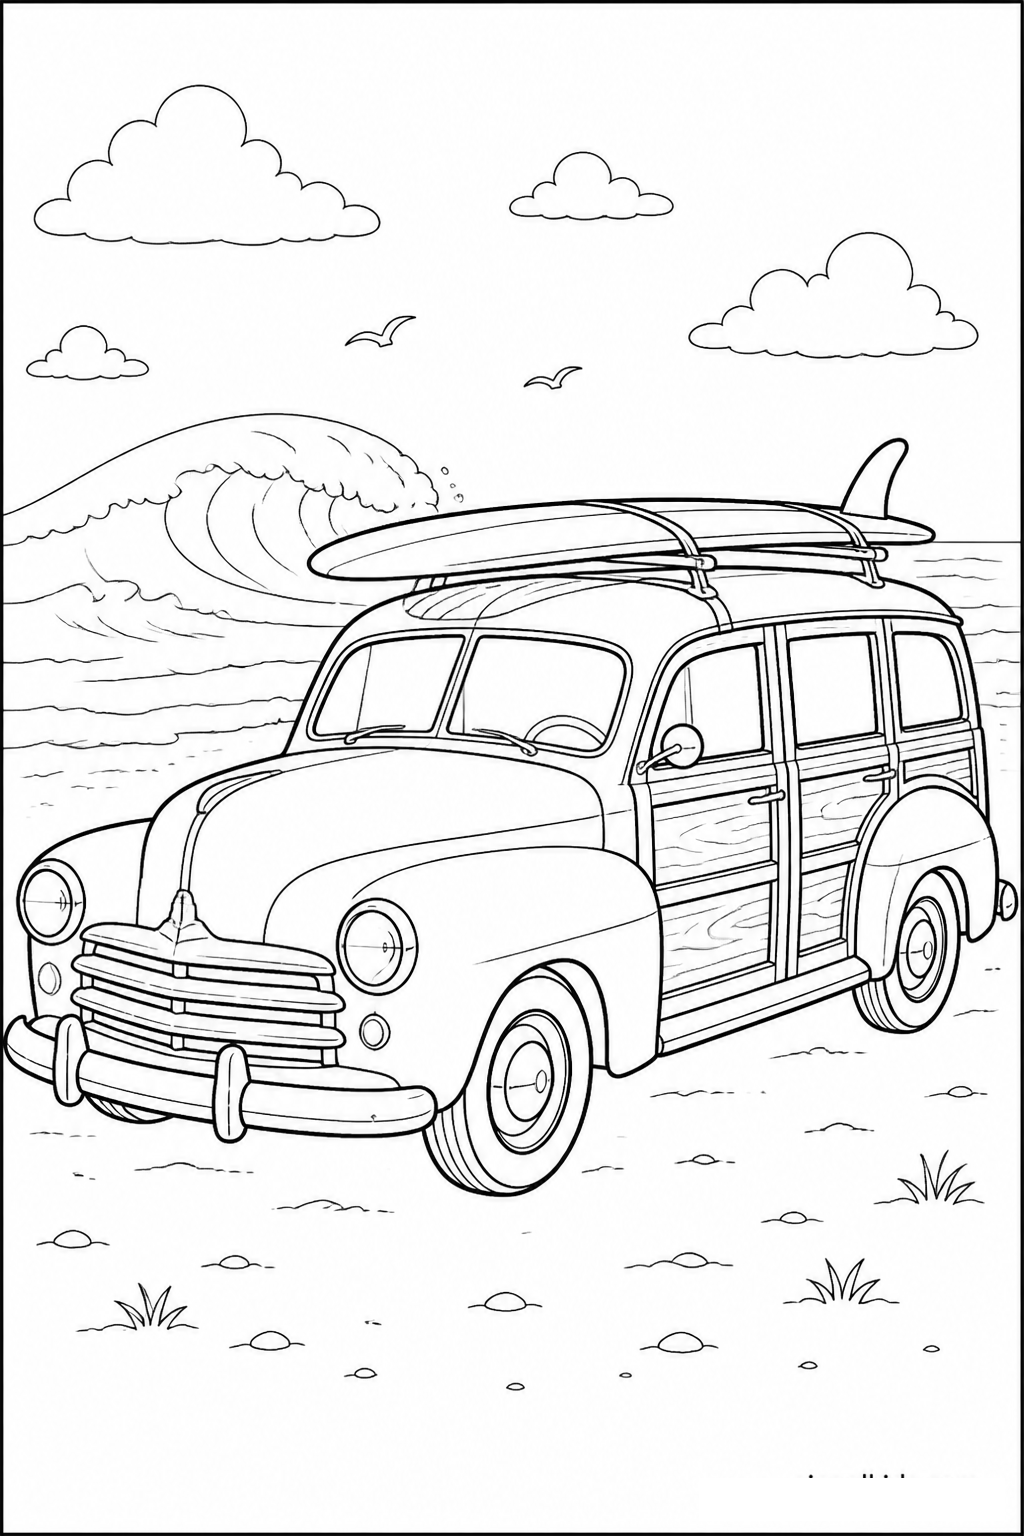
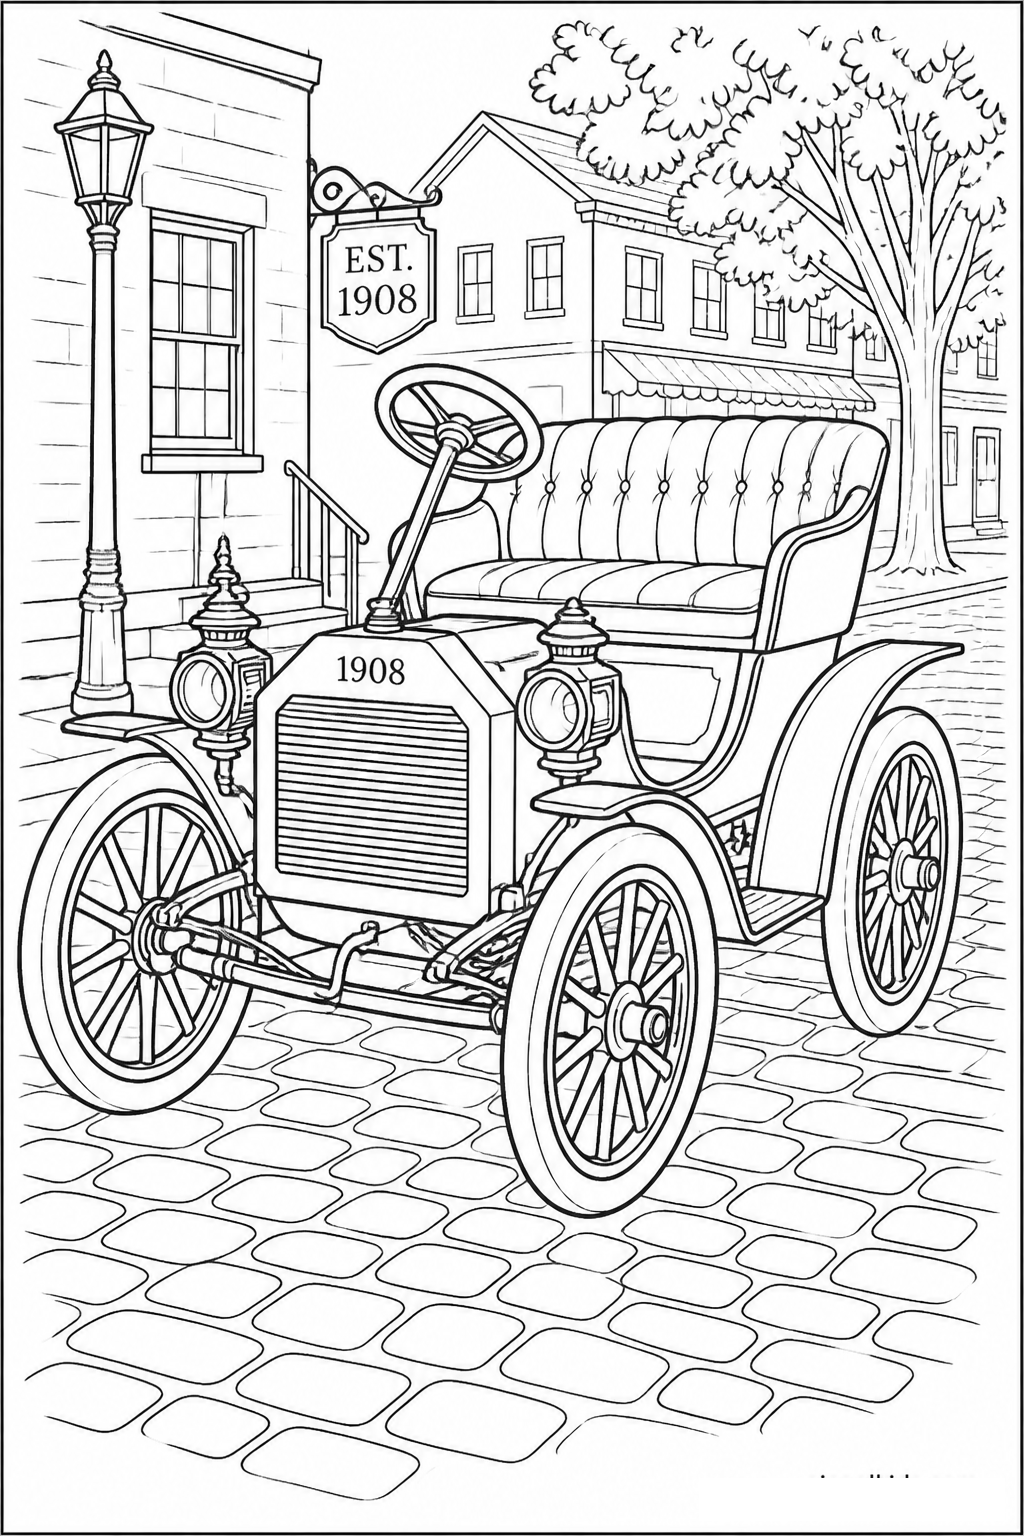
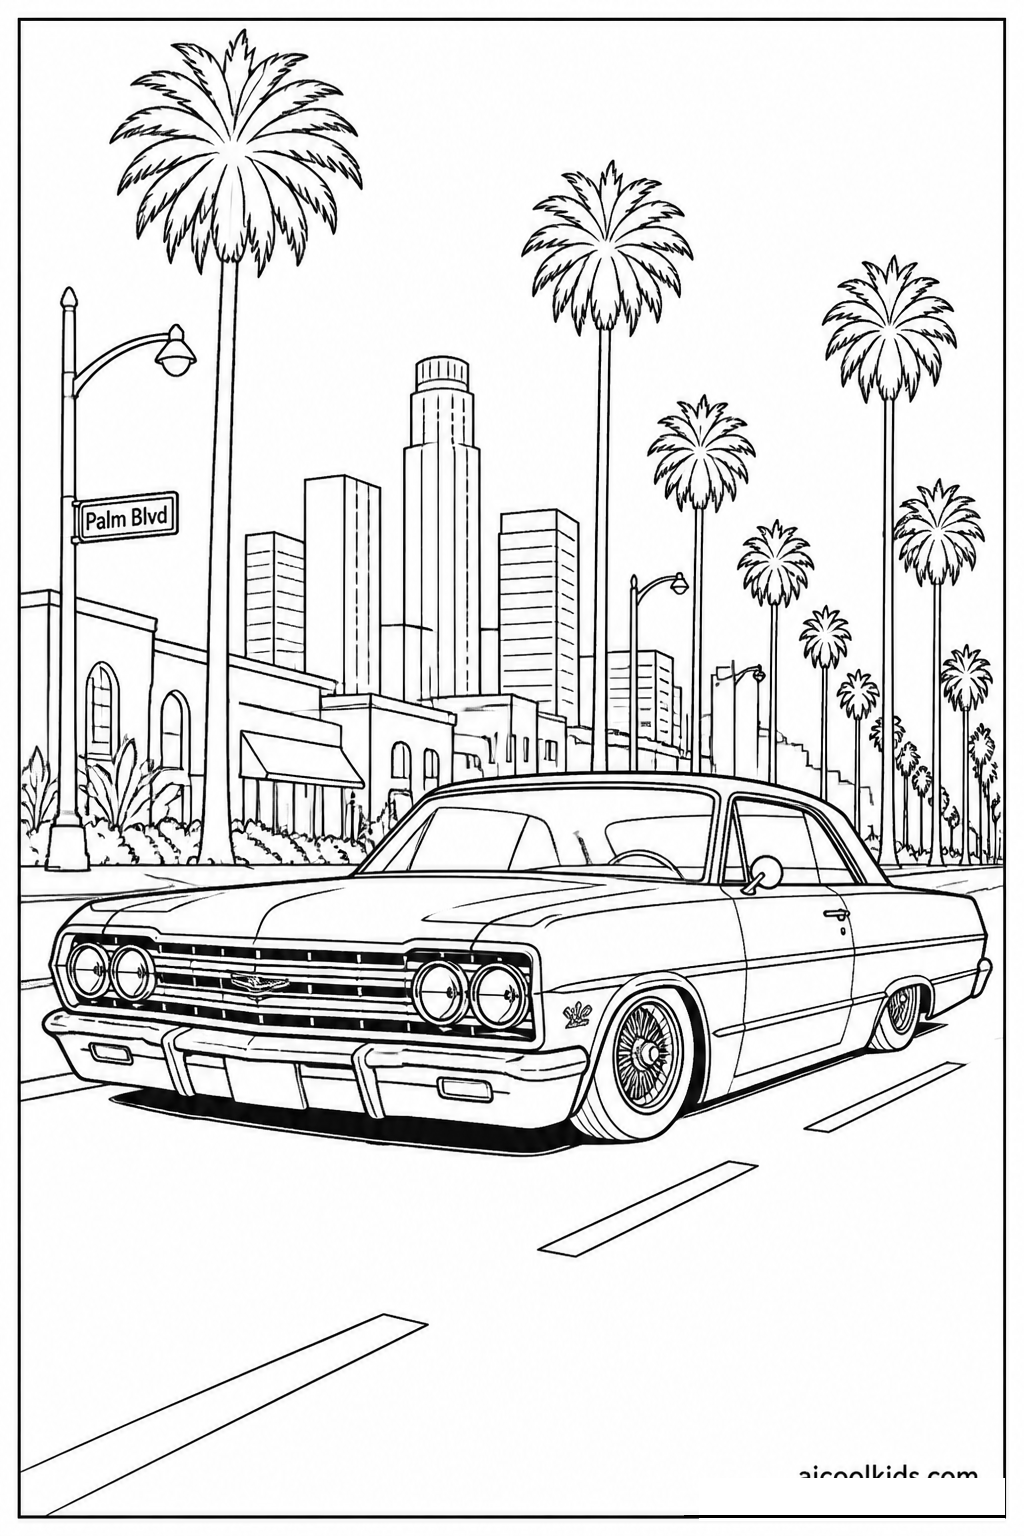
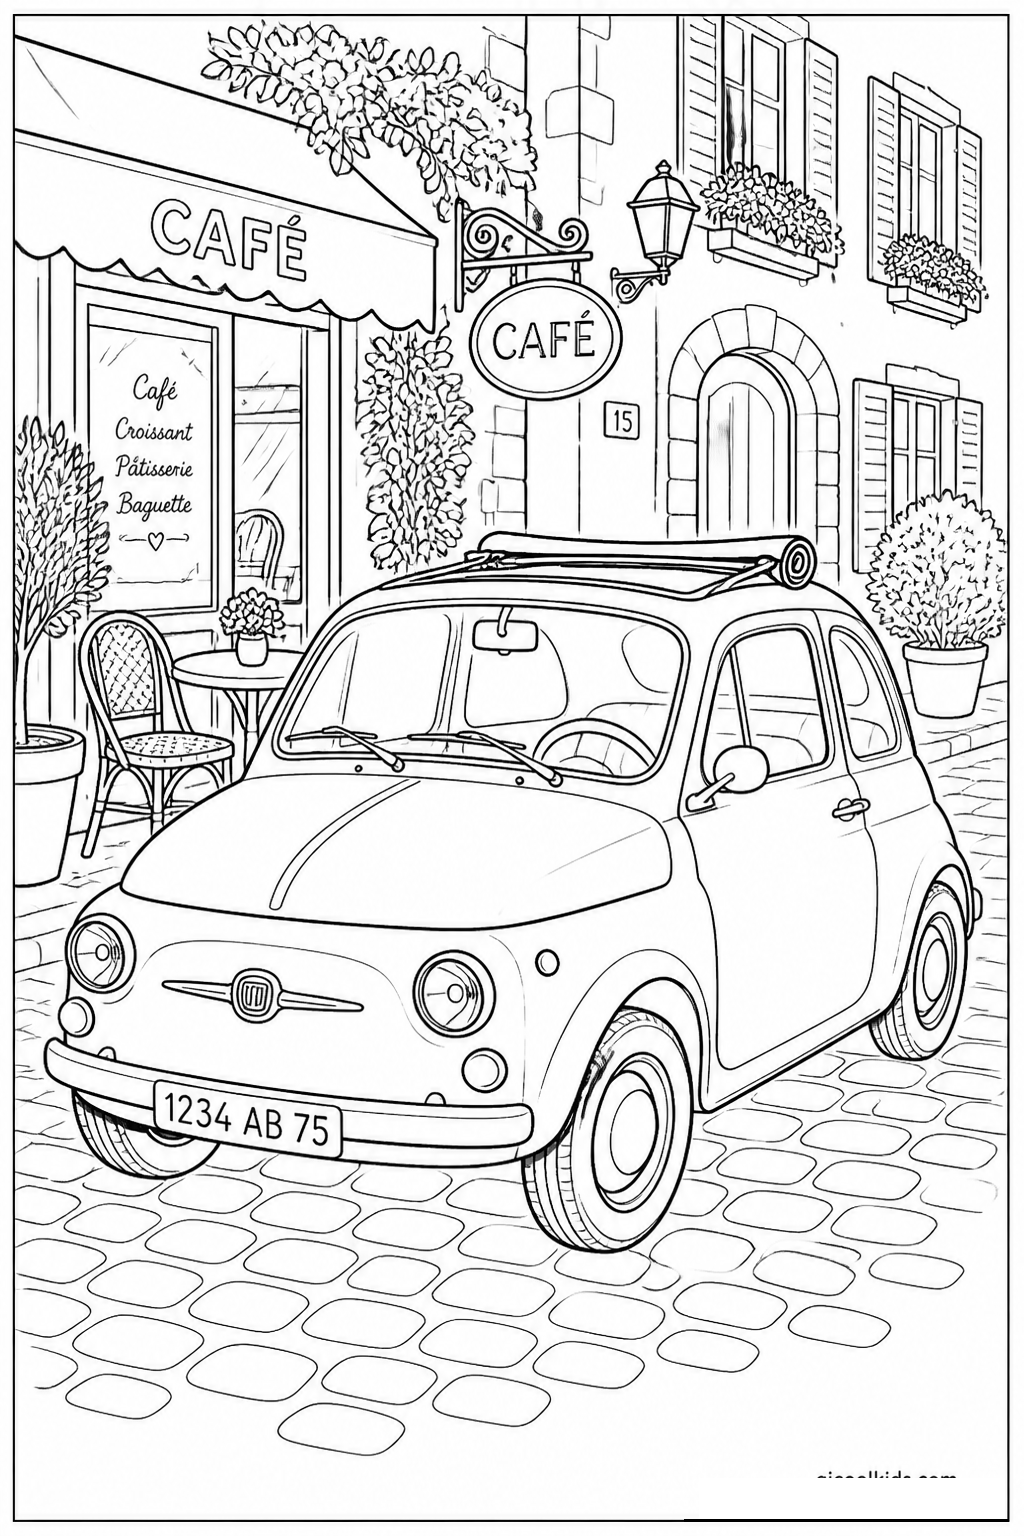
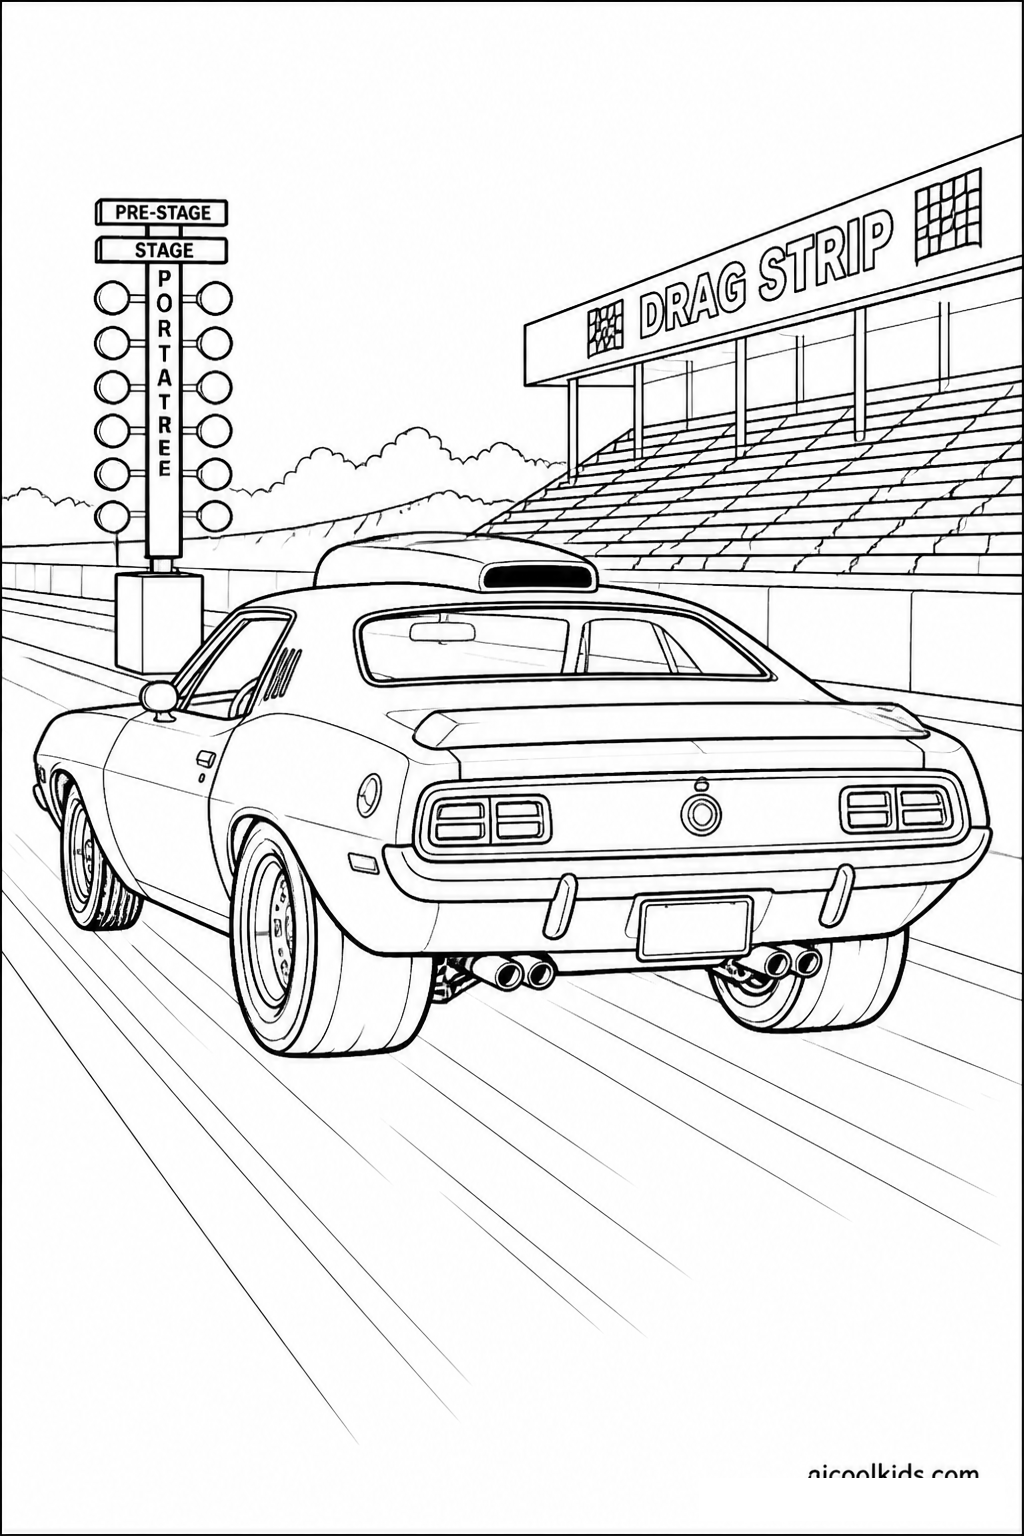
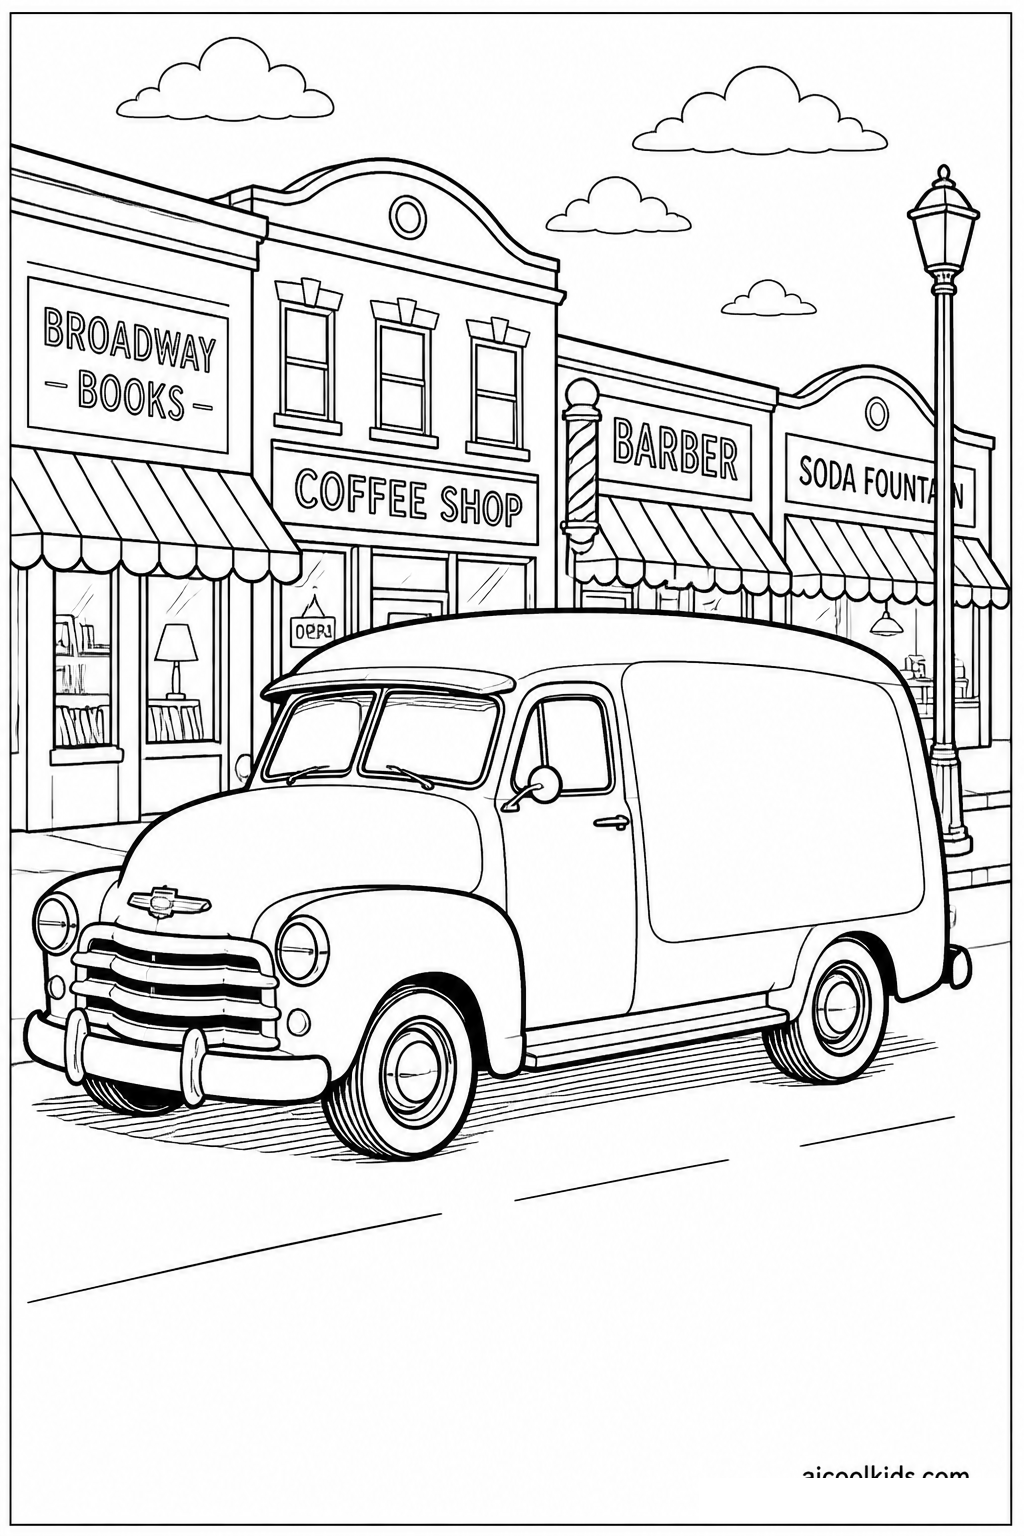
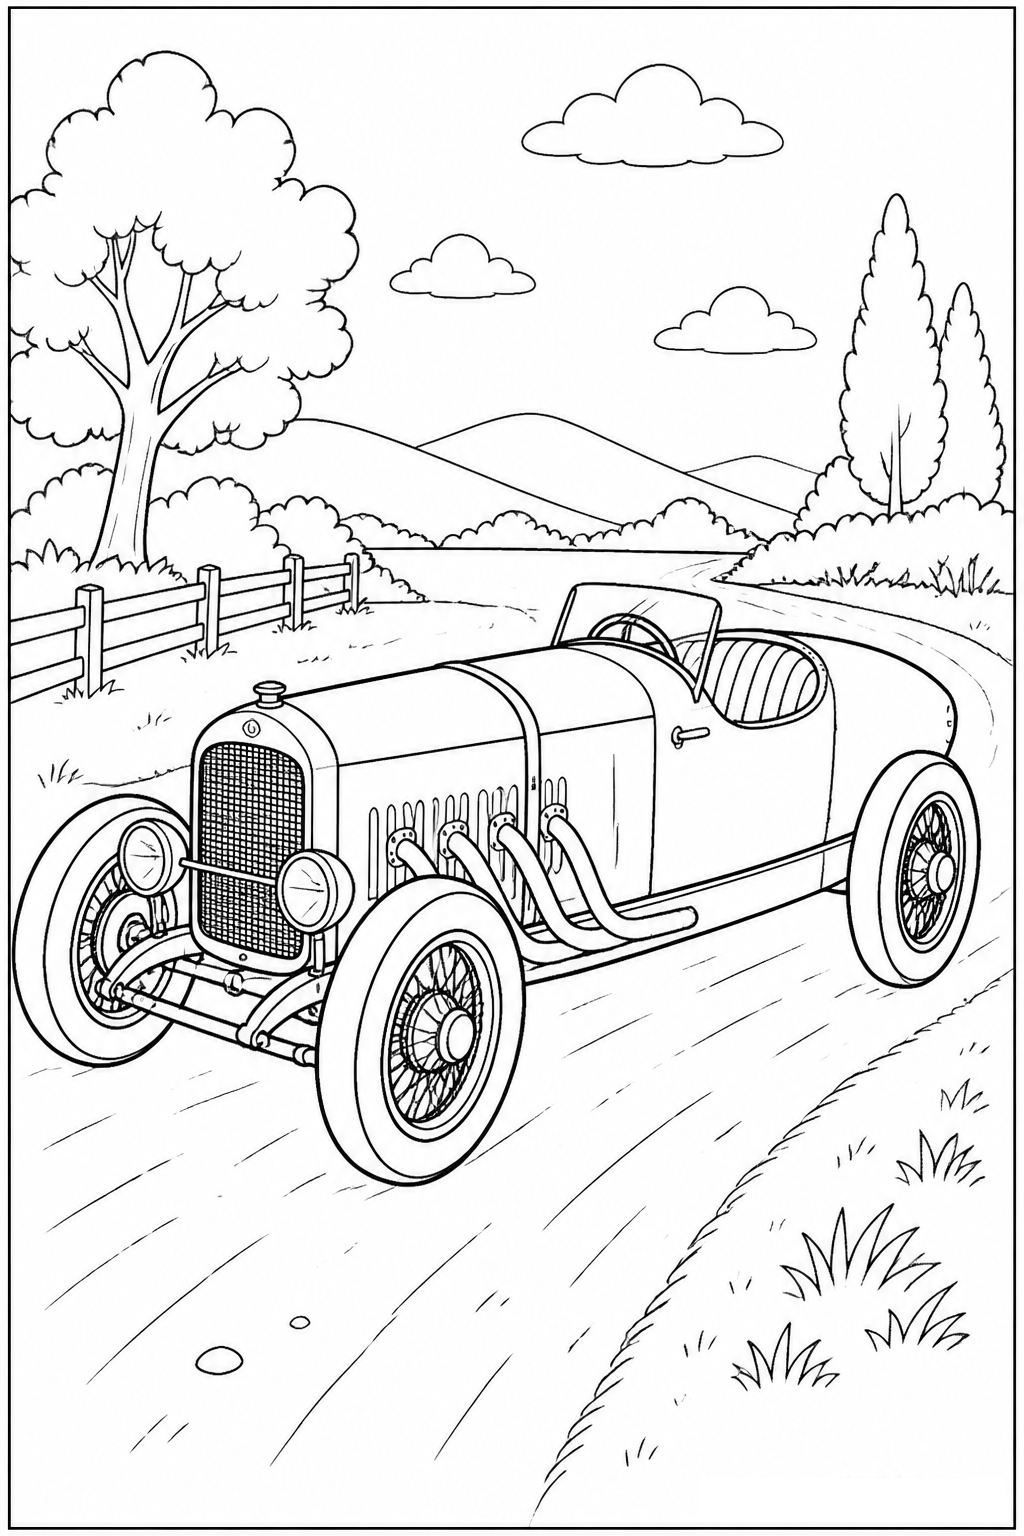
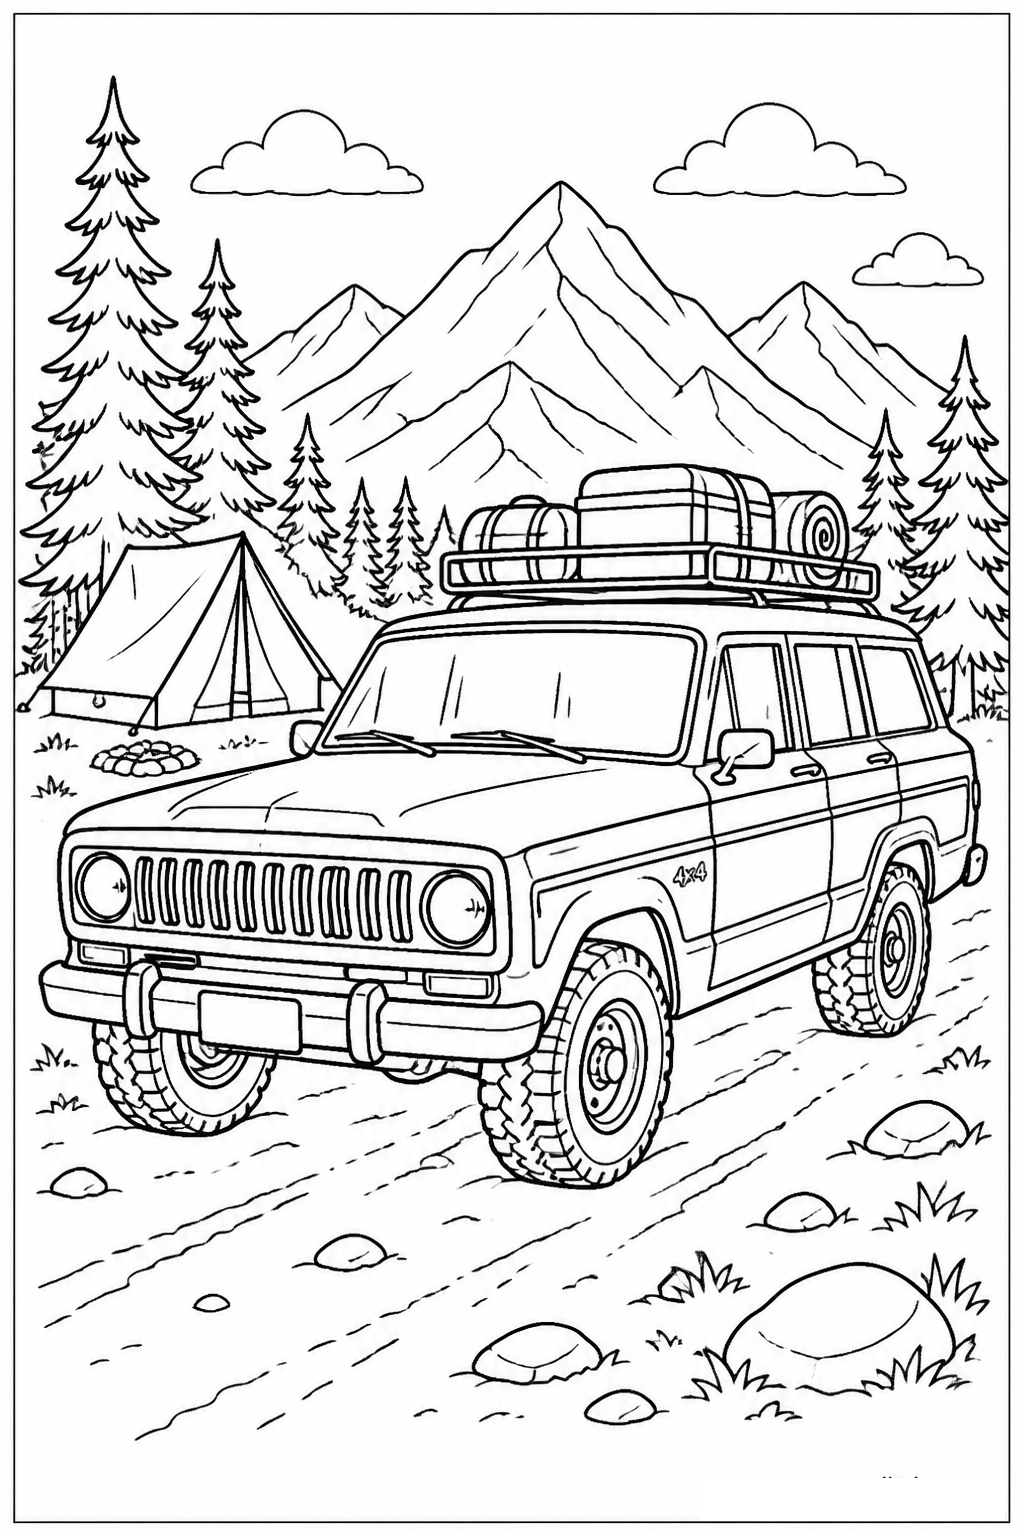
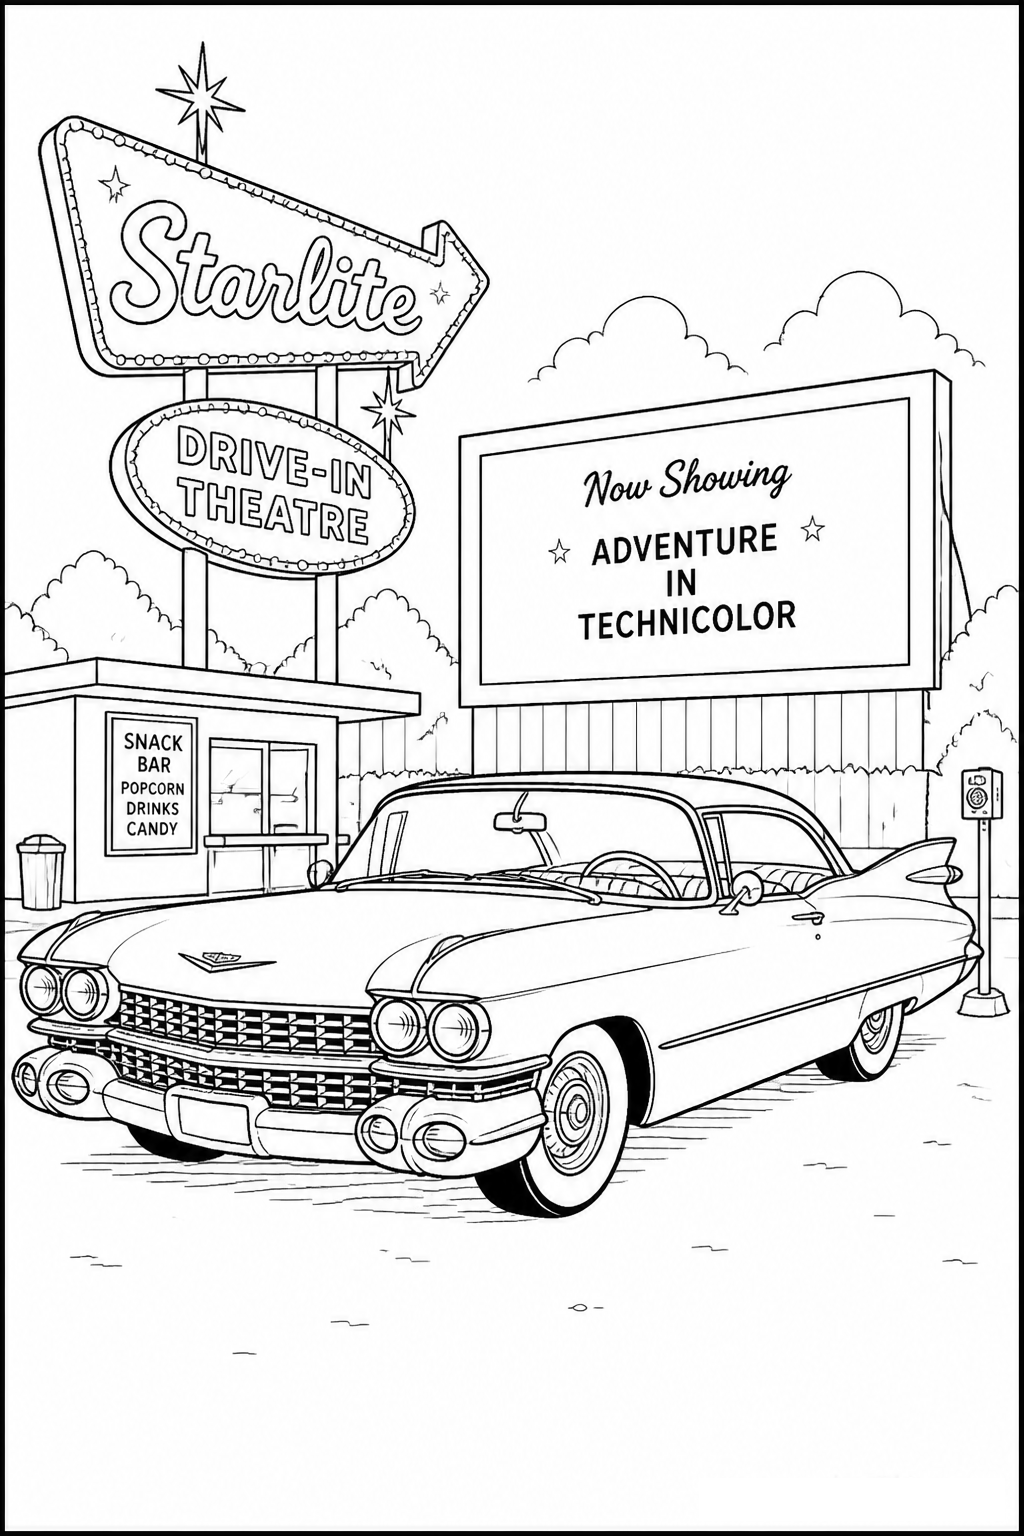
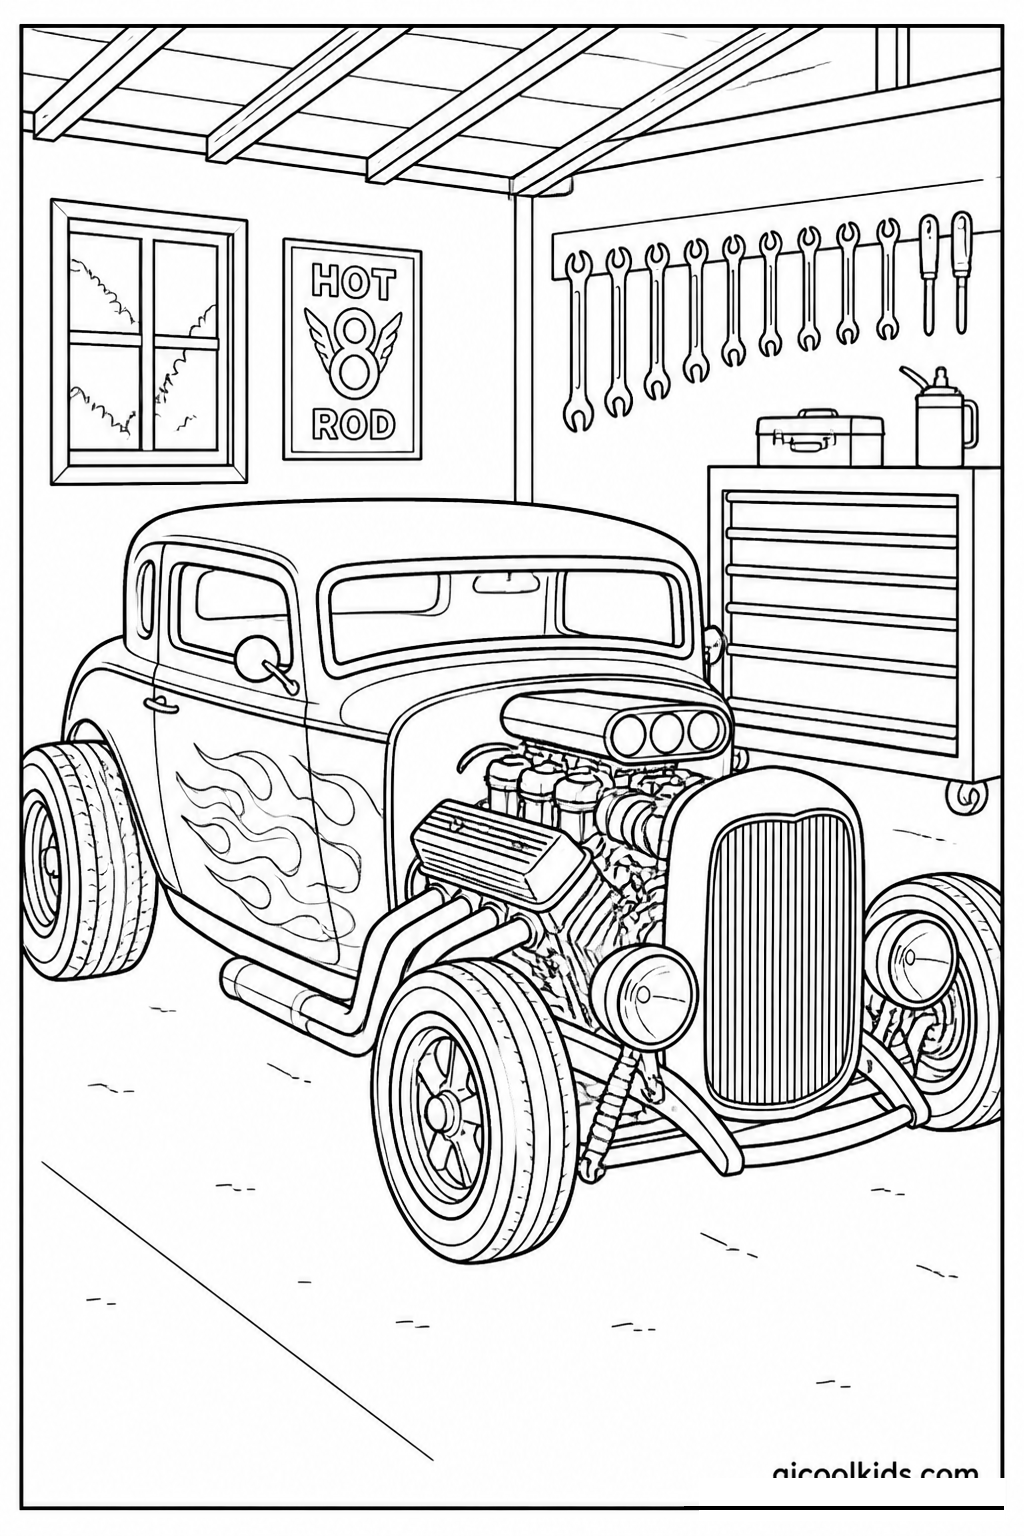
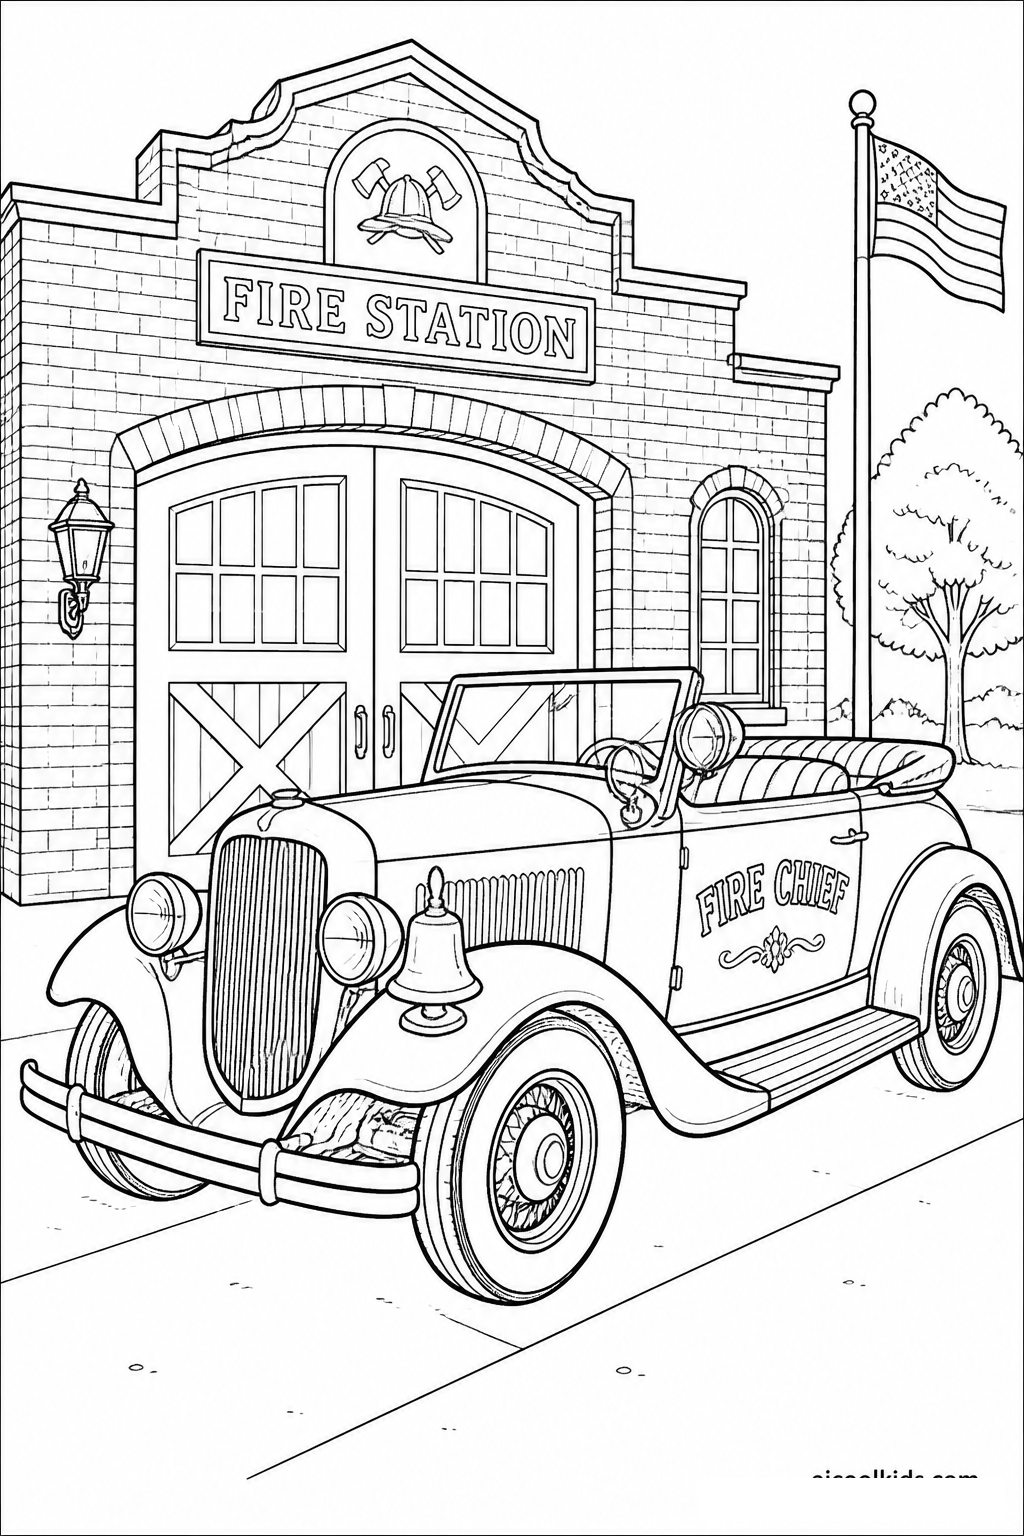
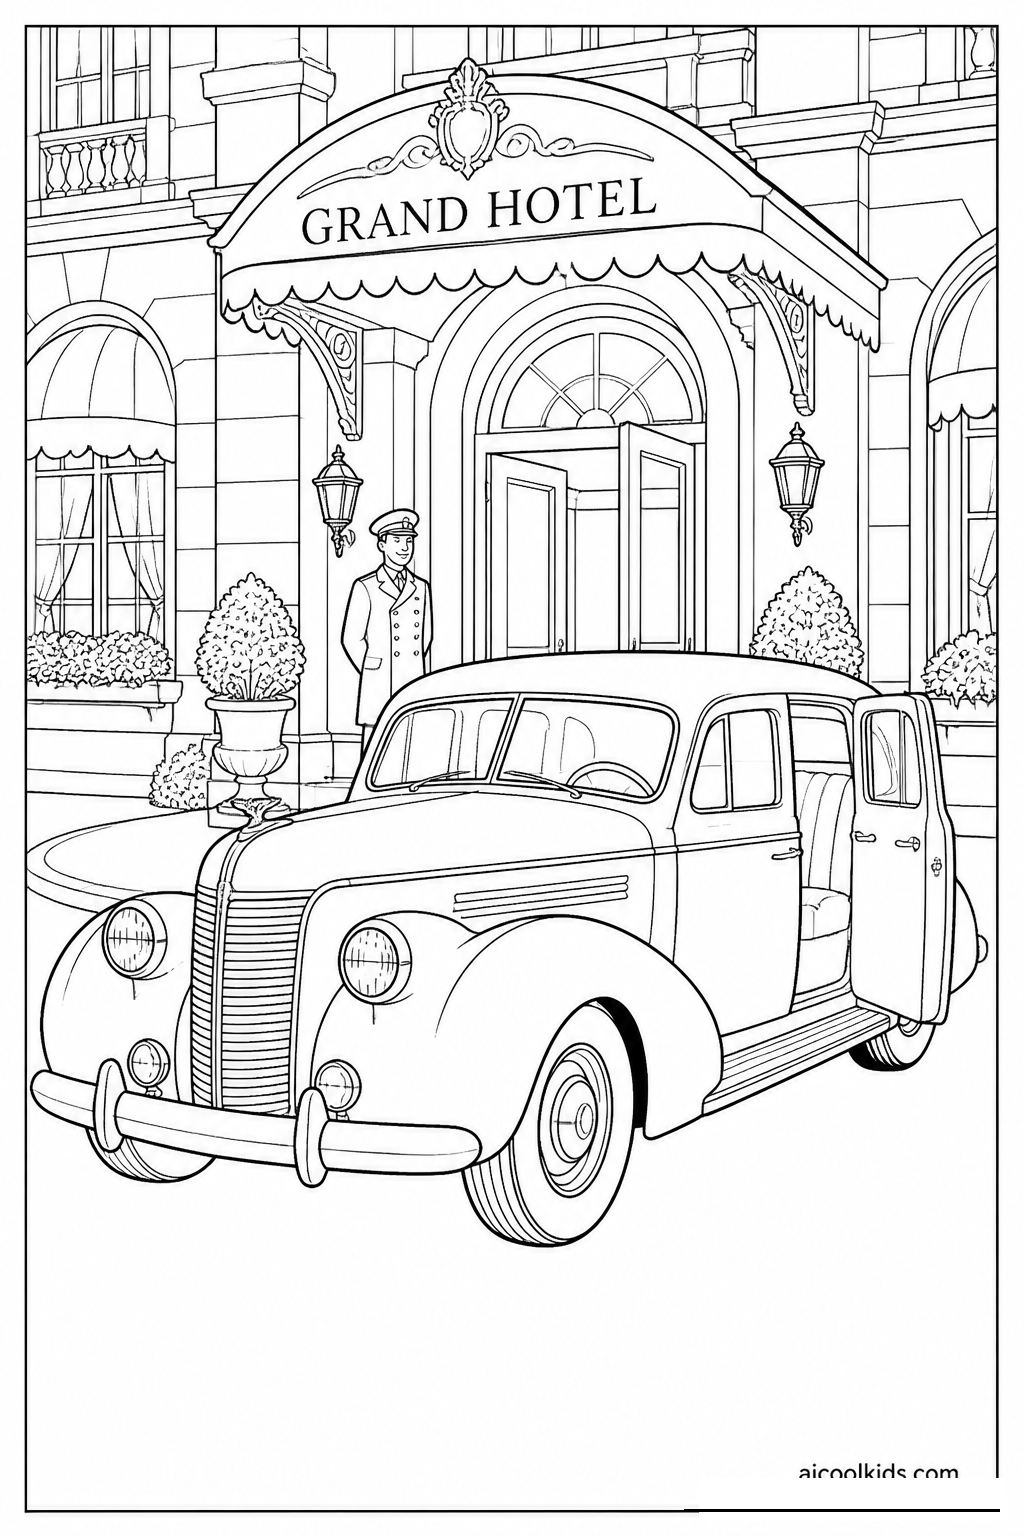
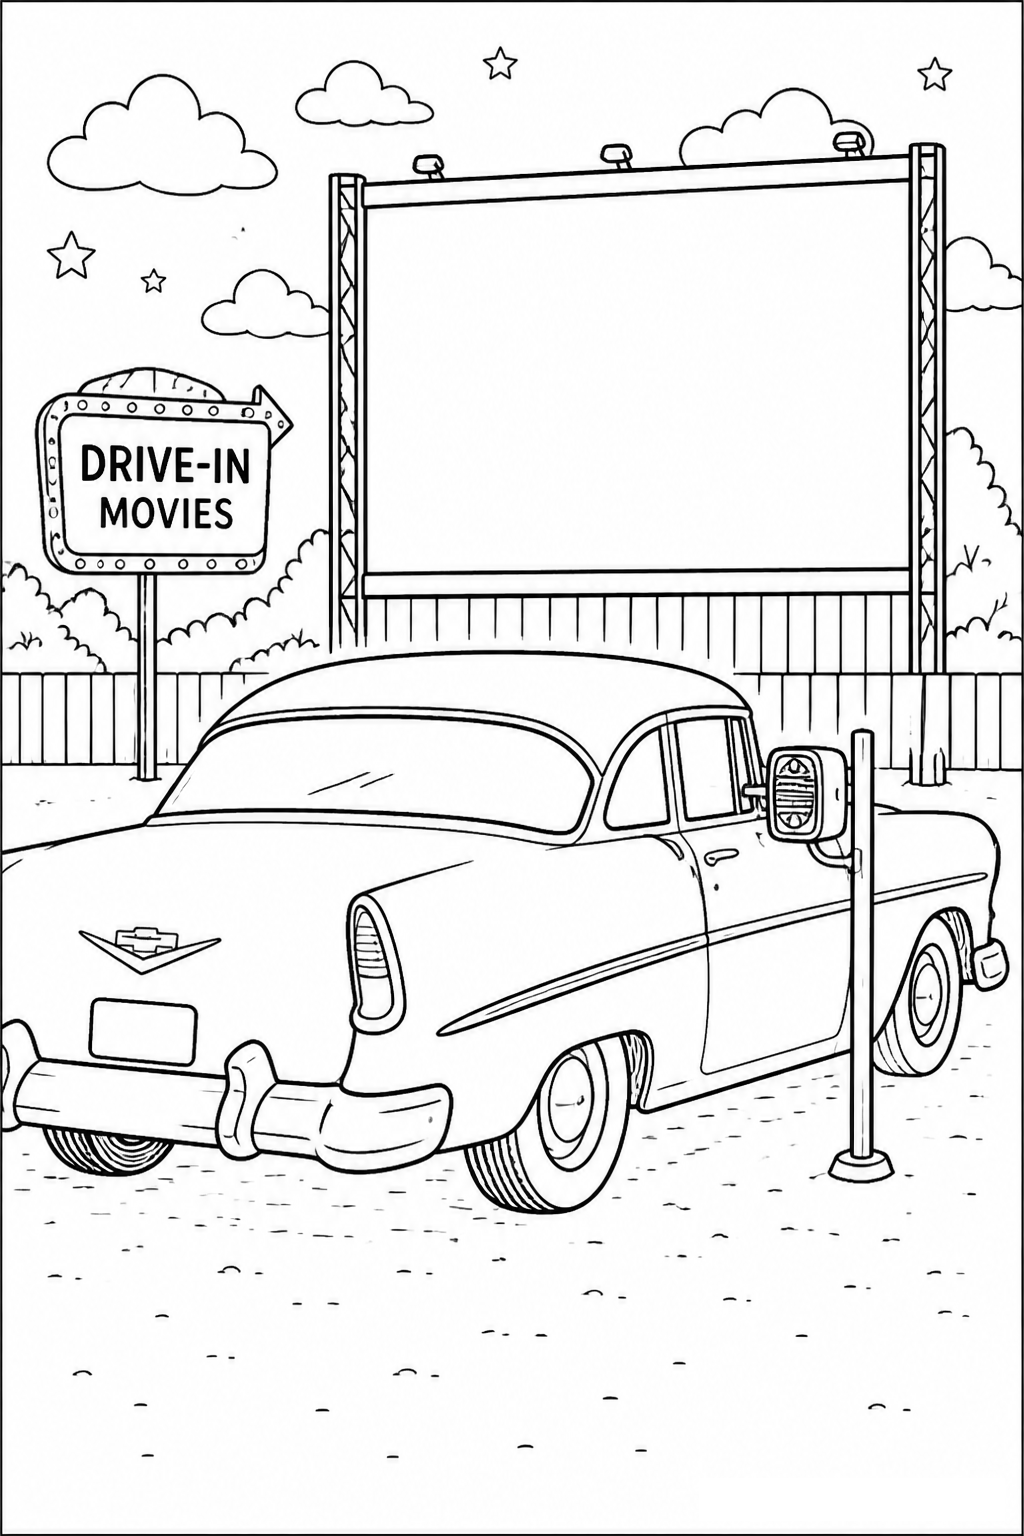
Once the pages are colored, you can turn them into simple projects for home or the classroom. Here are 10 easy craft ideas using supplies you probably already have, like scissors, glue sticks, and construction paper.
1
1. 3D Cardboard Cereal Box Drive-In Movie Theater
Materials Needed:
Two colored classic car coloring sheetsEmpty cereal box or cracker boxBlack construction paper for the parking lotSafety scissors and glue stickSmartphone or tablet to play short cartoons
Step by Step Guide:
- Color your favorite classic convertibles with bright retro colors like turquoise, candy red, and pastel pink.
- Cut out the vehicles, leaving small cardboard tabs along the bottom tires.
- Cut a rectangular window into the front face of an empty cereal box to serve as an indoor drive in movie screen.
- Lay black construction paper in front of the screen and draw white parking stall lines with a white crayon.
- Glue your classic car cutouts into the parking stalls facing the screen, then slide a phone inside the box to play cartoons for your miniature car audience.
2
2. Clothespin Vintage Convertible Standees
Materials Needed:
Four completed classic car coloring pagesWooden spring clothespinsHeavy scrap cardstock or clean cereal box cardboardSchool glue stickSafety scissors
Step by Step Guide:
- Carefully cut out your finished classic car drawings along their bold black outlines.
- Paste the paper cutouts onto scraps of cereal box cardboard to give them rigid support, then trim the cardboard to match.
- Clip two wooden clothespins along the bottom edge of each car where the tires touch the ground.
- Stand the cars upright on the table using the clothespin prongs as sturdy feet.
- Arrange your standing classic cars into a tabletop retro auto show parade across your desk or shelf.
3
3. Foil Embossed Chrome Bumper and Grille Accents
Materials Needed:
Printed classic car coloring page with large front grilleClean household aluminum foilGlue stickCotton swab or dull pencil tipSafety scissors
Step by Step Guide:
- Color the main vehicle body using bold markers or vibrant wax crayons, leaving the front bumper and grille uncolored.
- Cut small patches of kitchen aluminum foil slightly larger than the bumper and grille areas.
- Apply a thin layer of glue stick over the uncolored chrome parts on the paper.
- Smooth the aluminum foil shiny side up over the glued sections with your fingers.
- Use a cotton swab or dull pencil tip to gently burnish the foil into the paper, revealing the underlying grille lines through the reflective metal.
4
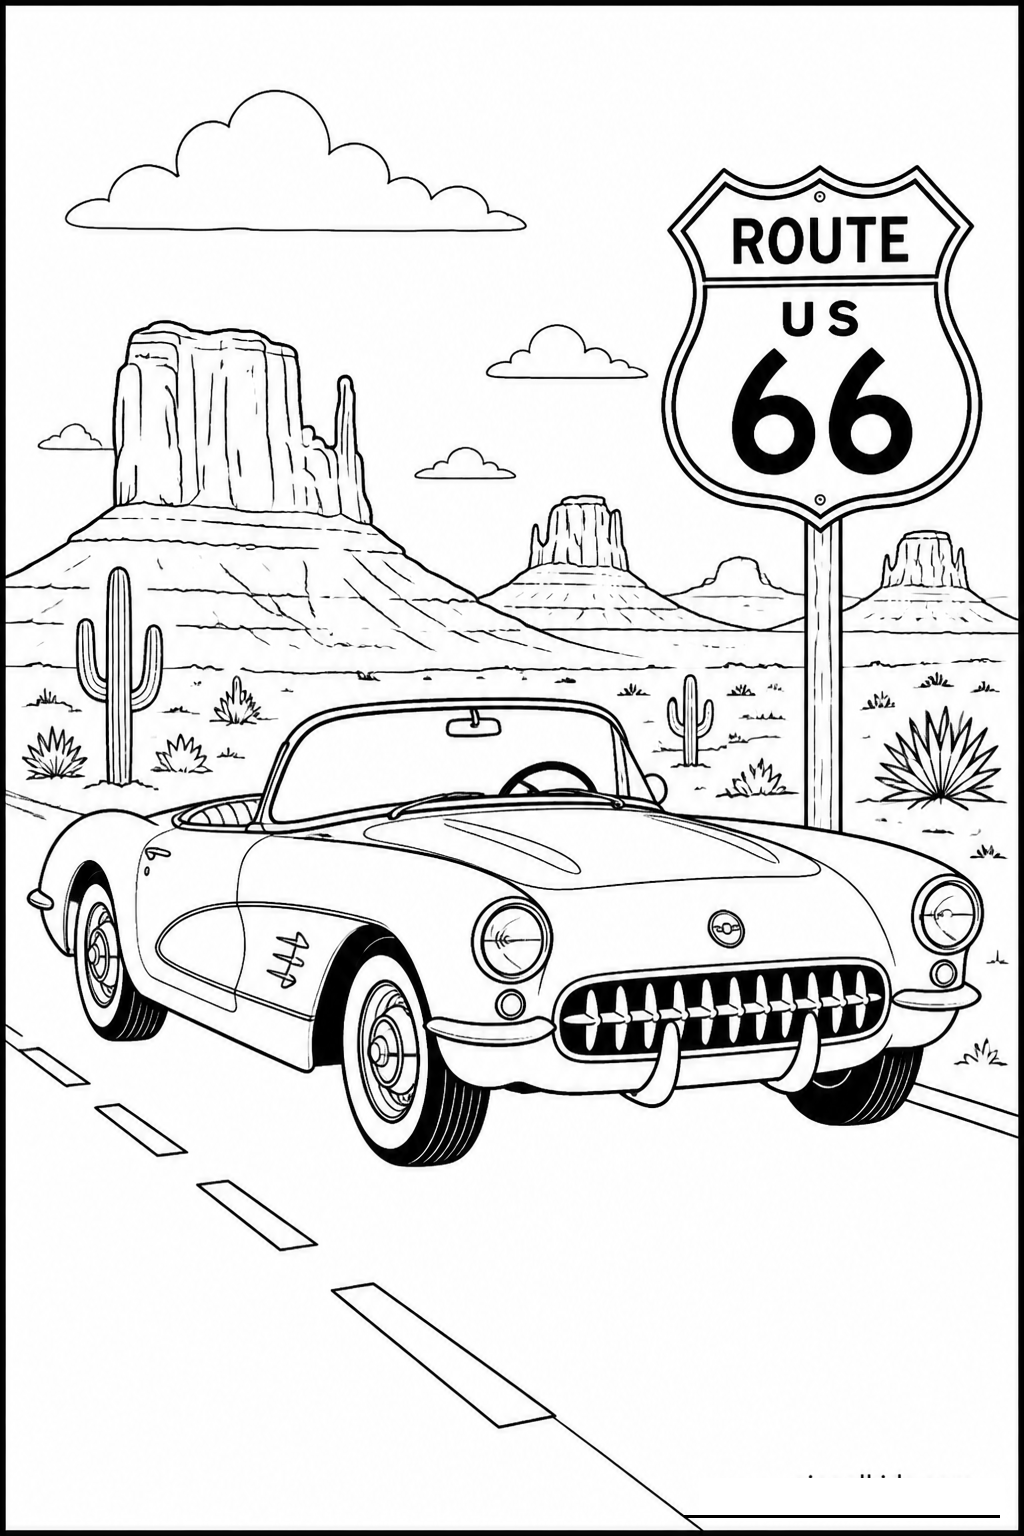
4. Route 66 Vintage Highway Wall Collage
Materials Needed:
Six completed classic car coloring pagesLarge sheet of brown kraft paper or poster boardColored markers and crayonsSafety scissors and glue stickPhotos or drawings of desert cacti, diners, and road signs
Step by Step Guide:
- Unroll a three foot strip of brown kraft paper on the floor to act as a scenic desert landscape backdrop.
- Draw a winding two lane highway with broken yellow center lines curving across the paper.
- Sketch vintage gas pumps, retro neon diner signs, and saguaro cacti along the highway shoulders.
- Cut out your colored classic cars and glue them driving along the scenic highway in both directions.
- Pin the finished panoramic Route 66 collage to your bedroom wall or classroom bulletin board.
5
5. Retro Auto Dealership Window Showroom
Materials Needed:
Clean clear plastic gallon storage bag or report coverTwo colored classic car coloring sheetsCardstock paper for showroom pillarsDouble sided tapeWashable glass or dry erase markers
Step by Step Guide:
- Cut out your colored classic cars and mount them inside a standing cardboard trifold display board.
- Tape a sheet of clear plastic packaging across the front opening to simulate large glass showroom windows.
- Draw retro prices and neon sales signs like Special Deal or Mint Condition on the plastic glass using dry erase markers.
- Add miniature cardstock potted plants and checkered showroom tile flooring beneath the cars.
- Place the showroom display on a windowsill where natural light illuminates your classic car collection.
6
6. Paper Bag Classic Car Puppet Cruisers
Materials Needed:
Small brown paper lunch sacksColored classic car drawings scaled to fit the bag bottomSafety scissorsGlue stickBlack markers for tire details
Step by Step Guide:
- Color your classic car coloring page, focusing on expressive headlights and smiling bumper grilles.
- Cut the vehicle drawing into two halves, separating the upper windshield and hood from the lower bumper and front tires.
- Glue the upper half of the car to the folded flap bottom of a brown paper lunch bag.
- Glue the lower half of the car to the main body of the bag directly beneath the flap.
- Slip your hand inside the bag and open and close your fingers to make the classic car talk and honk its horn.
7
7. Classic Car Trading Card Collector Binder
Materials Needed:
Printed classic car sheets scaled to wallet size or quarter pageIndex cards or heavy construction paper cut to trading card sizeClear plastic trading card binder sleeve pagesFine tip penGlue stick
Step by Step Guide:
- Color each miniature classic car sheet with unique custom paint schemes.
- Cut out each vehicle and paste it firmly onto an index card backing.
- On the back of the card, write fictitious vehicle stats including Year, Engine Horsepower, Top Speed, and Rarity Score.
- Slide the finished cards into clear plastic trading card sleeves inside a three ring binder.
- Trade and compare classic car cards with friends during quiet recess or family game night.
8
8. Popsicle Stick Vintage Car Display Easels
Materials Needed:
Nine standard wooden popsicle craft sticksCraft glue or school glueCompleted classic car coloring sheetHeavy cardboard backing pieceWashable paint or markers to decorate the sticks
Step by Step Guide:
- Glue three popsicle sticks together into an A frame tripod easel shape to create a sturdy tabletop stand.
- Glue a horizontal popsicle stick across the front legs about one inch from the bottom to form a picture ledge.
- Paint the wooden easel in vintage pastel colors like mint green or cream.
- Paste your finished classic car coloring page onto a piece of rigid cardboard trimmed to eight by ten inches.
- Rest the framed classic car artwork onto the wooden easel to display proudly on a desk or dresser.
9
9. Classic Muscle Car Magnet Board Fleet
Materials Needed:
Colored classic muscle car coloring sheetsAdhesive magnet tape strips or button magnetsClear contact paper or laminating filmSafety scissorsMagnetic baking sheet or family refrigerator
Step by Step Guide:
- Color two or three powerful muscle cars with racing stripes and dual hood scoops.
- Cover both sides of the colored paper with clear contact paper for durable, wipe clean protection.
- Carefully trim around the vehicle outlines with safety scissors.
- Peel the backing off adhesive magnet strips and press two pieces firmly onto the back of each car cutout.
- Stick your classic car magnets onto the refrigerator or a metal baking sheet to arrange into custom street scenes.
10
10. Vintage Hot Rod Road Trip Activity Clipboard
Materials Needed:
Six printed classic car coloring pagesSturdy letter size wooden or plastic clipboardZippered pencil pouch with colored pencils and sharpenerElastic band to secure paper corners in windy carsSheet of retro automotive stickers for finishing badges
Step by Step Guide:
- Clip a stack of fresh classic car coloring pages securely into a portable school clipboard.
- Slip an elastic hair tie or rubber band around the bottom corners of the clipboard to keep pages flat while traveling.
- Attach a zippered pouch containing colored pencils, an eraser, and a pencil sharpener to the top clip.
- Pack the clipboard into your family car backpack for road trips, restaurant outings, and waiting rooms.
- Reward completed pages with retro automotive stickers placed in the margin as collector seal badges.