Parent & Teacher Craft Guide
6 Creative Learning & Craft Ideas for Animal Coloring Pages
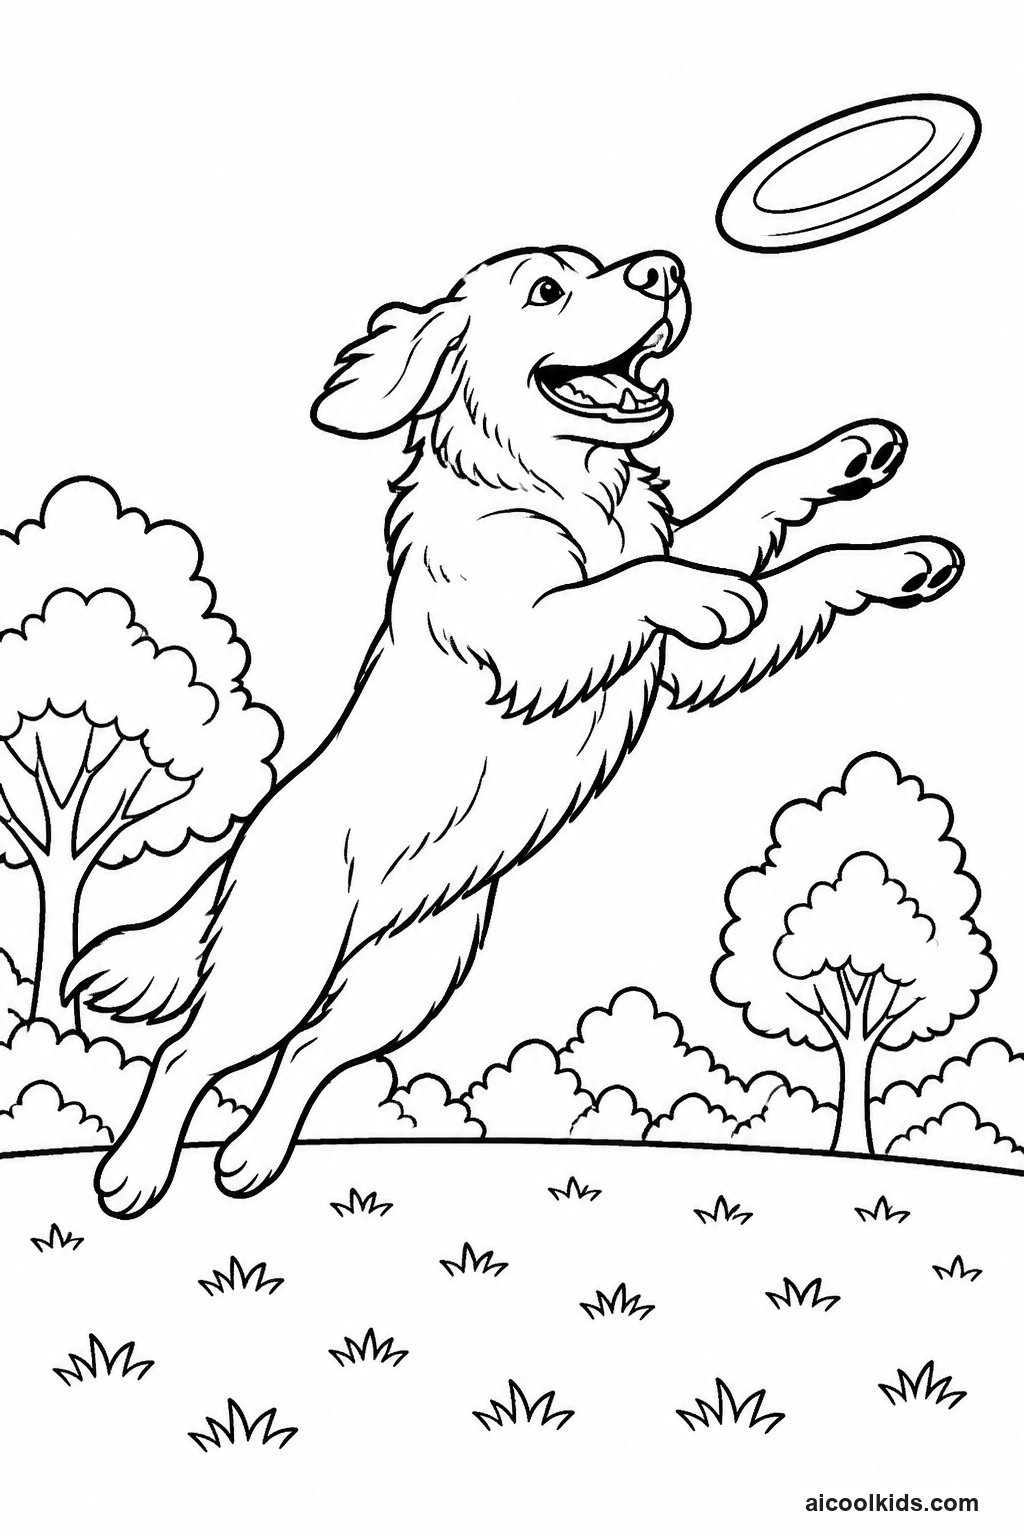
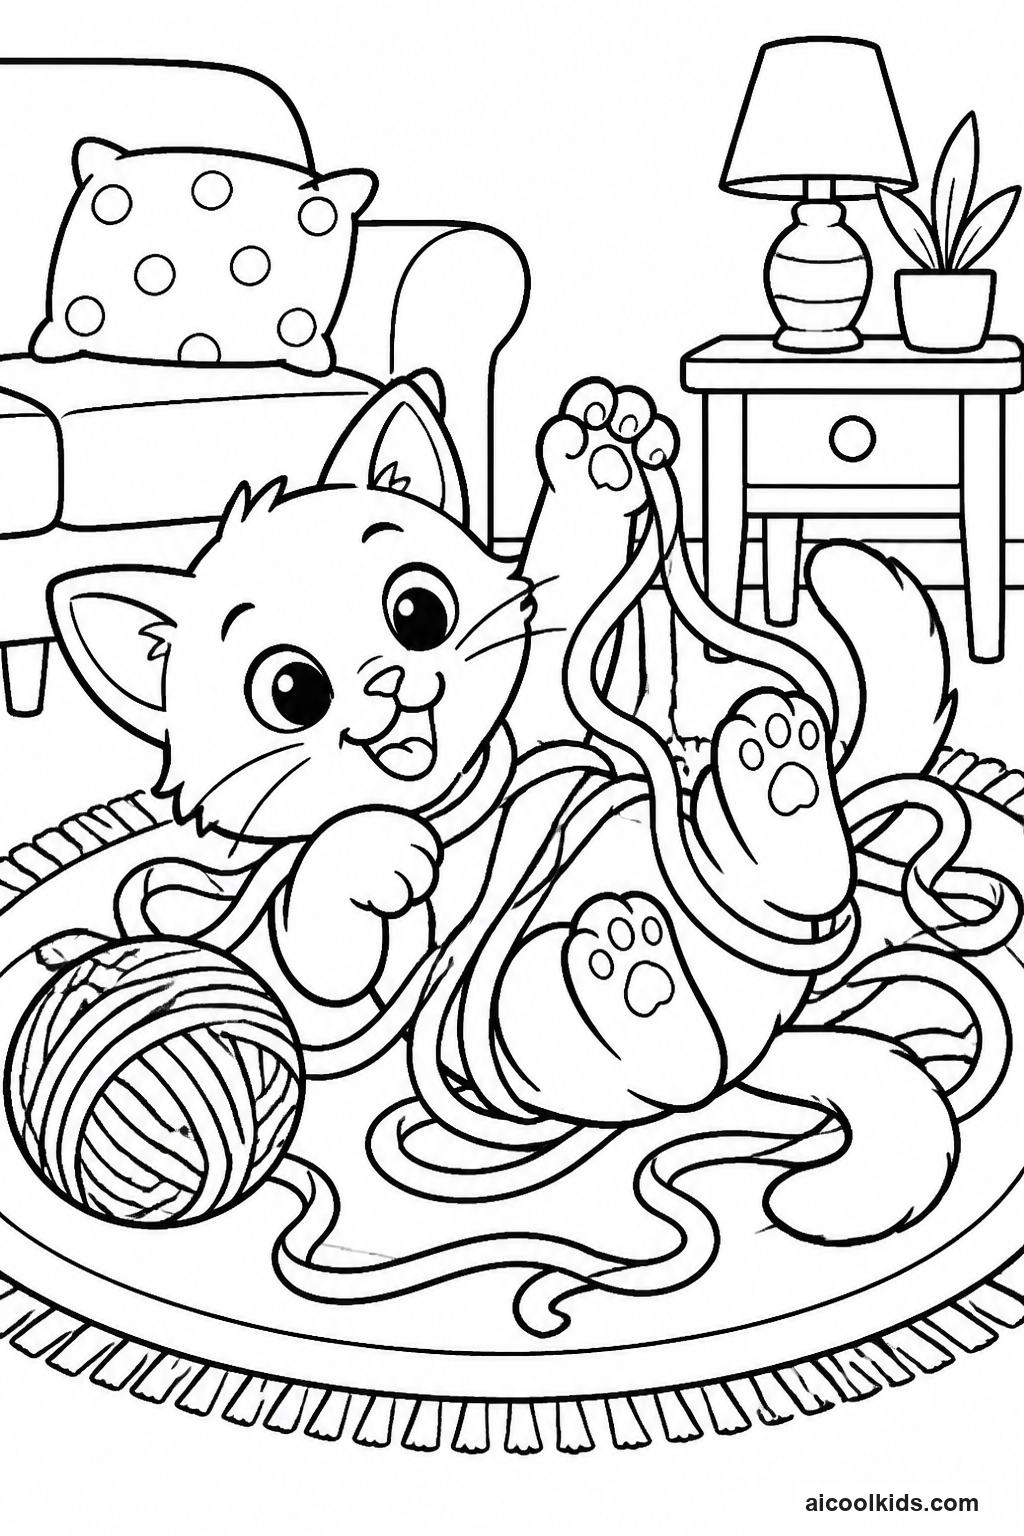
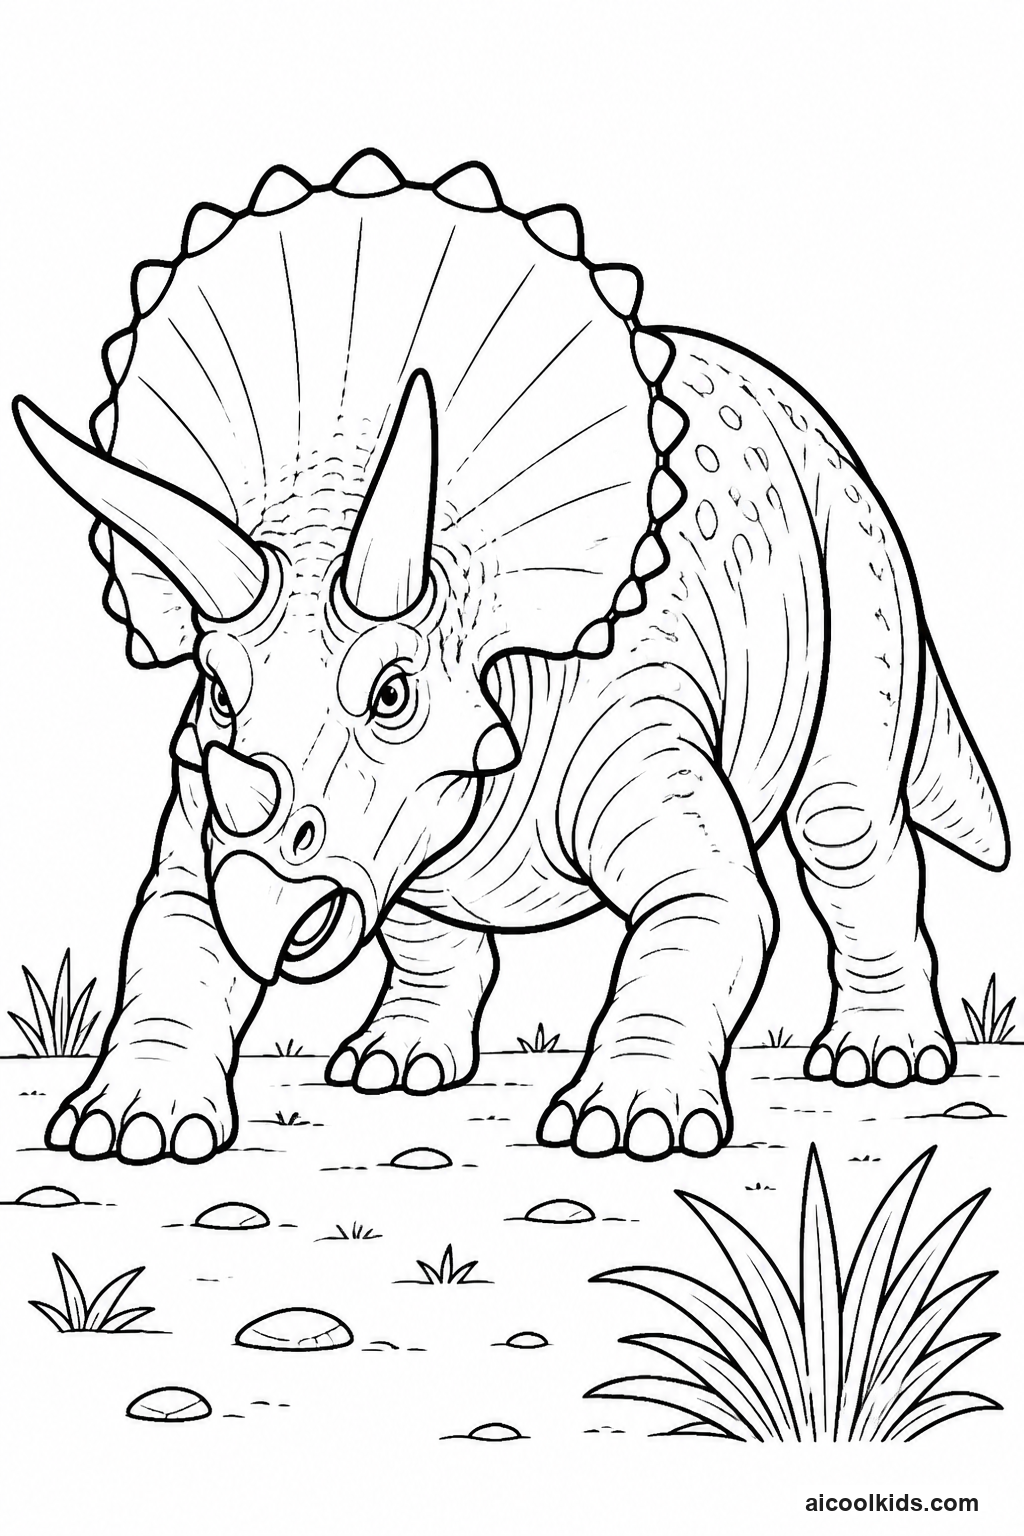
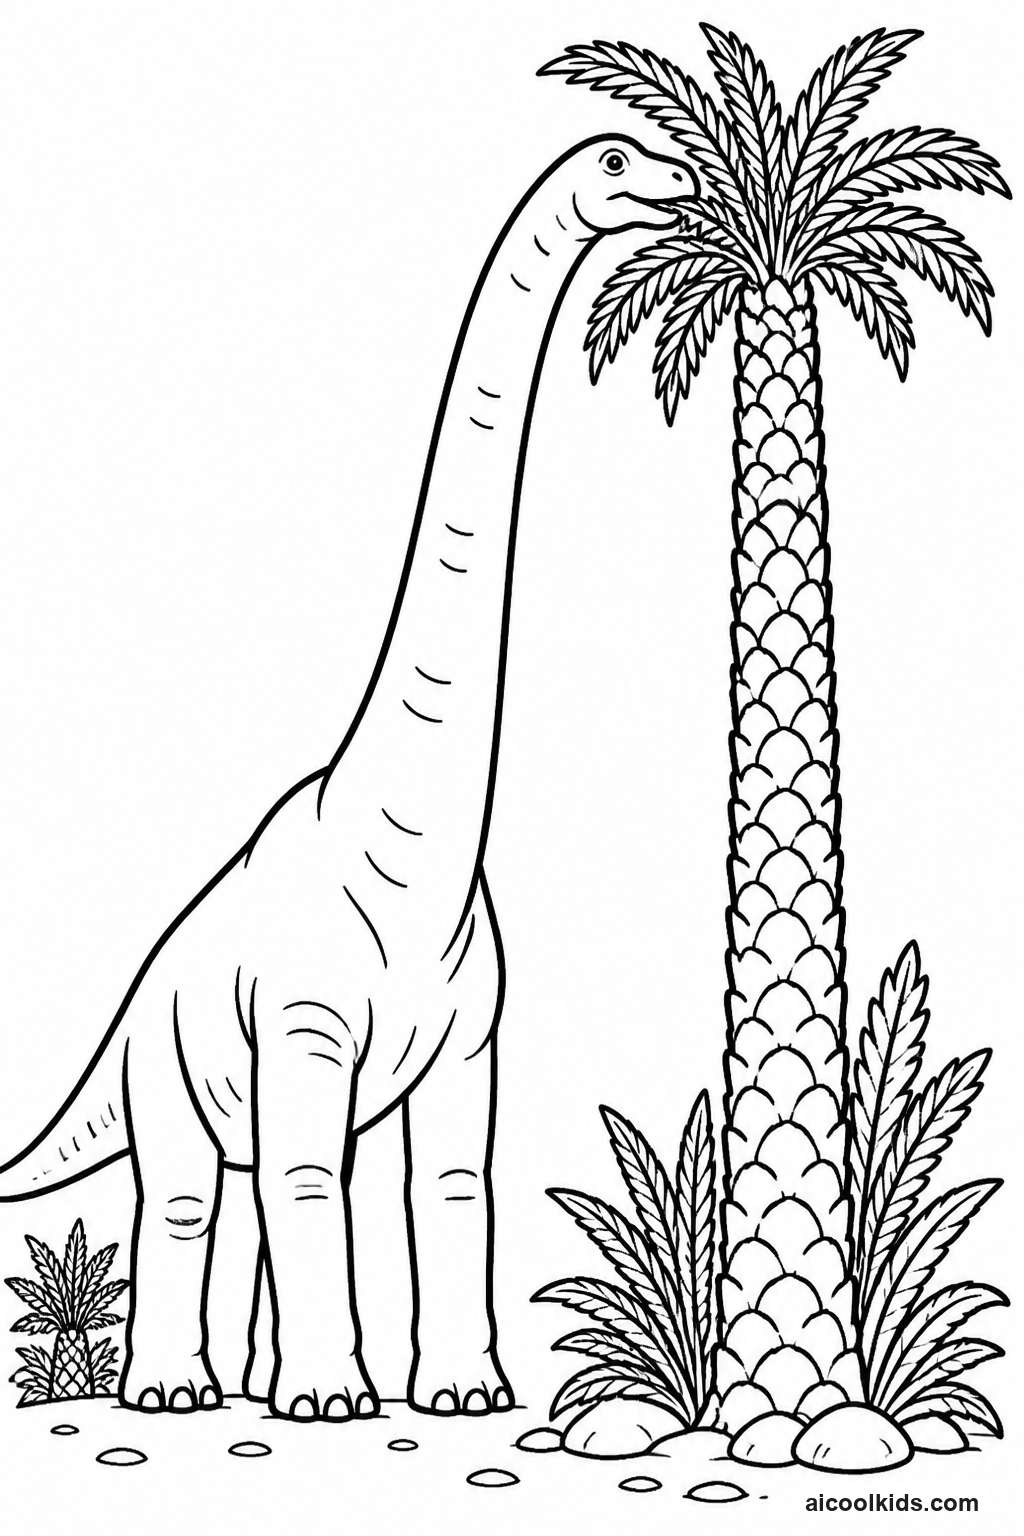
Once the pages are colored, you can turn them into simple projects for home or the classroom. Here are 6 easy craft ideas using supplies you probably already have, like scissors, glue sticks, and construction paper.
1
Layered Habitat Collage
Materials Needed:
Animal coloring pagecardstockscrap paperchild safe scissorsglue stickcrayons or colored pencilsand optional magazine pictures or leaf rubbings.
Step by Step Guide:
- Choose one animal page and talk about where that animal lives. Pick a matching setting, such as a forest, grassland, pond, ocean, or snowy landscape. If children want to invent a setting, invite them to explain what the animal would need there, including food, water, and shelter.
- Color the animal first. Add a few details that help it fit its habitat, such as spots, stripes, feathers, or muddy paws. Cut around the animal with care, leaving a narrow white border if small parts like whiskers or claws are difficult to cut. Younger children can ask an adult to help with tricky edges.
- Use a full sheet of cardstock as the background. Tear or cut scrap paper into broad strips for ground, water, sky, or tree shapes. Arrange the pieces without glue first, placing the animal where it can be seen clearly. Add magazine pictures or leaf rubbings if available, but leave enough open space so the scene does not become crowded.
- Glue the background pieces down one at a time, starting with the farthest area, such as sky or distant hills. Add the animal last so it sits in front of the setting. Draw small details with markers, such as ripples, grass, snowflakes, or branches. Write the animal's name and habitat on a small cardstock label.
2
Standing Paper Animal
Materials Needed:
Animal coloring pagecardstockcrayons or colored pencilschild safe scissorsglue stickand a short strip of scrap cardstock for a support.
Step by Step Guide:
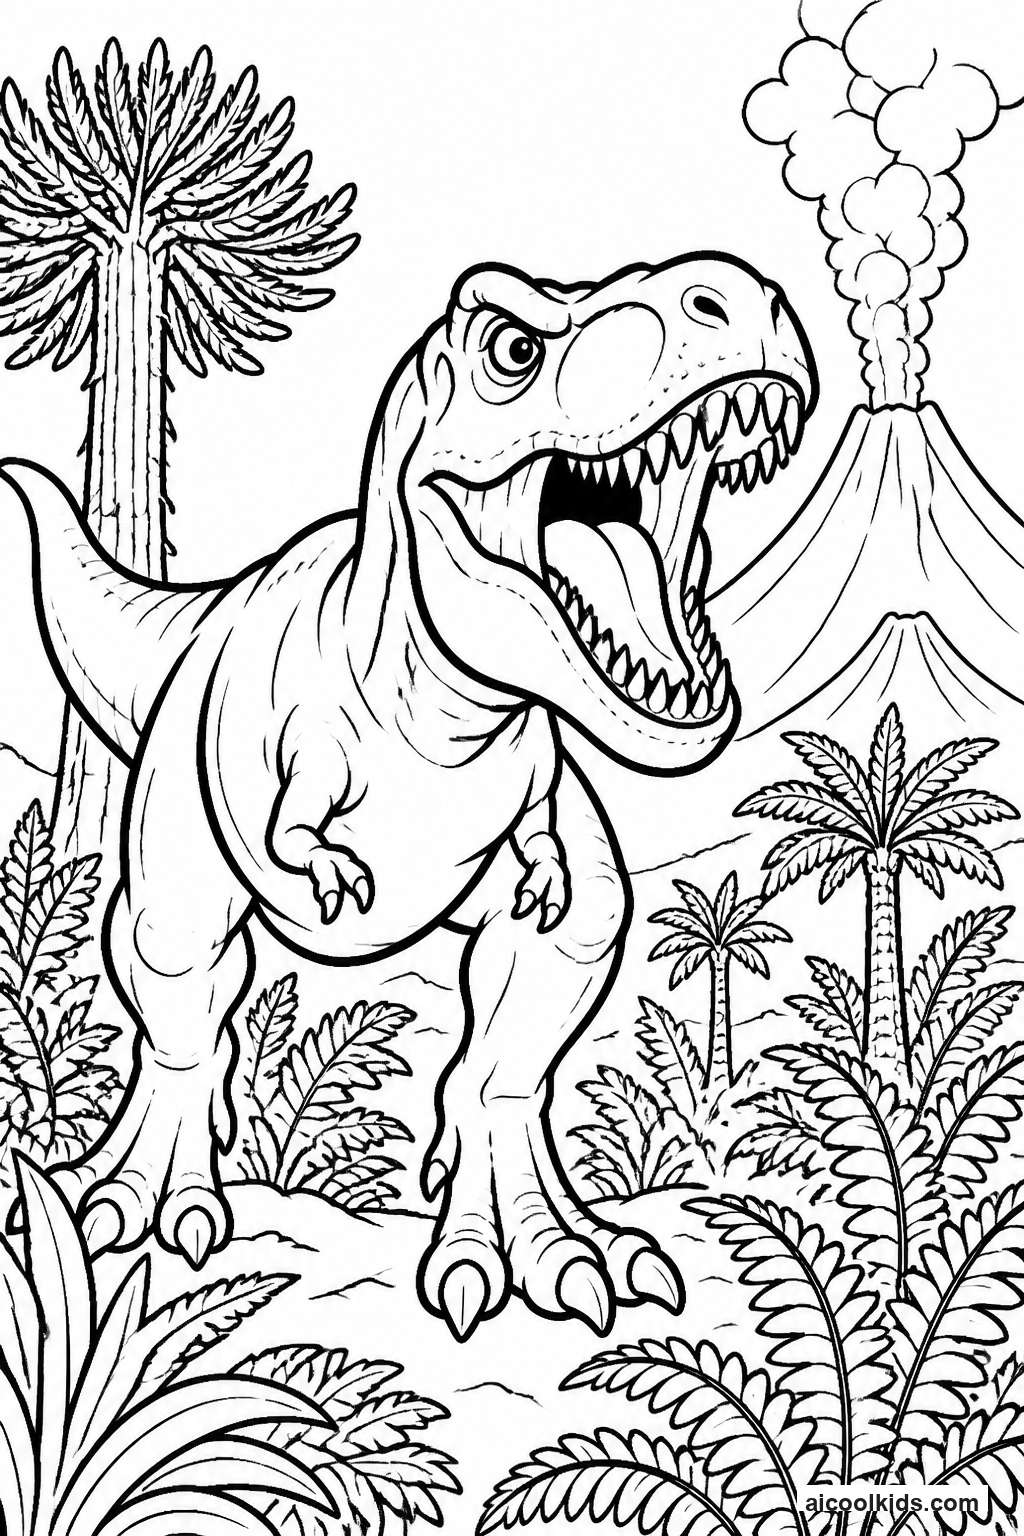
- Pick an animal with a clear body shape, such as a cat, dog, bear, bird, or dinosaur. Color the picture, adding details to both the face and body. If the printed page shows only one side, color that side carefully and draw a simple matching pattern on the back after cutting it out.
- Cut around the animal, leaving a narrow border to protect small features. For a more stable figure, glue the cutout to cardstock before cutting again. Press it flat beneath a clean book for a few minutes while the glue settles. Keep the face and legs away from the edge of the table while cutting.
- Make a support by cutting a strip of cardstock about the width of two fingers. Fold the strip into a small triangular shape, then glue one end to the back of the animal near its lower body. The support should touch the table when the animal stands. If the figure tips forward or backward, adjust the fold or move the support slightly.
- Set the animal on a flat surface and check that it stands without help. Add a small paper base if needed, such as a green oval for a field or a blue oval for water. Draw a few simple background marks on the base, then write the animal's name on a small label.
3
Animal Face Mask
Materials Needed:
Animal coloring page with a large facecardstockcrayons or markerschild safe scissorsglue stickcraft stick or paper handleand an adult for cutting eye openings.
Step by Step Guide:
- Choose a page with a face that can be seen clearly from the front, such as a fox, tiger, owl, or cat. Color the face and add patterns that make the animal easy to recognize. Children can use natural markings or create an imaginary pattern, as long as the eye area remains easy to find.
- Glue the page to cardstock and let it dry flat. An adult can help cut out the face and make two eye openings. Check the openings before adding a handle. The mask should be held in front of the face, not tied tightly around the head, and the child should be able to see comfortably through both openings.
- Add paper ears, a beak, whiskers, or a mane by cutting simple shapes from scrap paper. Glue each piece to the back of the mask and press gently. Attach a craft stick or folded paper handle to the lower edge with tape or glue. Let the handle attachment dry fully before playing with the mask.
- Test the mask while standing still in a clear space. Children can practice an animal movement or sound, then remove the mask before walking around. If a craft stick is not available, hold the mask by its sides instead of adding a long handle.
4
Animal Pattern Bookmark
Materials Needed:
Animal coloring pagecardstockrulerpencilscissorscolored pencils or markershole punchand yarn or ribbon if available.
Step by Step Guide:
- Choose a small animal picture or color one section of a larger page. Plan a bookmark shape on cardstock, about two inches wide and six inches long. A ruler helps children draw straight edges, but a rounded top or wavy edge is also fine. Make sure the colored animal will fit without covering the whole bookmark.
- Color the animal using a pattern that suits it. A leopard might have spots, a zebra might have stripes, or a bird might have layered feather marks. Add a simple frame or a few small habitat details around the animal. Keep the words and picture away from the outer edge so they remain visible after trimming.
- Cut out the bookmark and glue the colored animal onto the cardstock if it was colored separately. Press the pieces flat and allow the glue to dry. Write the animal's name on one side and a short fact or favorite book title on the other. Children can also add their name so bookmarks do not get mixed up at school.
- An adult can punch a hole near the top, leaving enough cardstock around it so the hole does not tear. Thread a short piece of yarn or ribbon through the hole and tie a knot. Trim the ends if they are too long. If there is no hole punch, leave off the yarn and round the corners with scissors.
5
Paper Plate Animal Scene
Materials Needed:
Paper plateanimal coloring pagecardstock or scrap papercrayonsmarkersscissorsglue stickand optional cotton balls or torn tissue paper.
Step by Step Guide:
- Choose a plate scene that fits the animal, such as a pond for a frog, a tree for a squirrel, or a meadow for a rabbit. Color the animal page and cut out one or two figures. If the plate is small, choose a smaller animal image or cut away extra blank paper around the figure.
- Turn the plate into a background. Color the inside with crayons or cover sections with glued scraps of paper. Blue paper can suggest water, green paper can suggest grass, and pale paper can suggest snow. Add a horizon line or a tree shape so the scene has more than one area.
- Glue the animal onto the plate, placing it slightly above the bottom edge so the setting remains visible. Cut simple details from scrap paper, such as reeds, clouds, leaves, or rocks. Add marker details after the glue dries. Cotton balls can be used for clouds or snow, but use only a small amount so the animal stays easy to see.
- Write the animal's name and habitat on the back of the plate. Let the scene dry on a flat surface. If the project will be displayed, attach a small paper loop or place the plate on a shelf with the animal facing forward.
6
Animal Fact Card Set
Materials Needed:
Animal coloring pagescardstockrulerpencilscissorscolored pencils or markersand a library book or trusted classroom resource for checking facts.
Step by Step Guide:
- Select three or four animals that share a category, such as pets, ocean animals, birds, or dinosaurs. Look up one clear fact about each animal in a library book or a trusted classroom source. Help children choose facts that can be stated in one or two short sentences, and check spelling of animal names.
- Cut cardstock into cards of a similar size. Color a small animal picture for each card, either by cutting an image from a coloring page or by drawing the animal directly. Leave a clear area for writing. Children can color the front and reserve the back for the fact and a simple habitat clue.
- Write the animal name in large letters. Add the fact in the child's own words, then draw or color a small setting detail. For example, a card about a turtle might include water or a sunny rock. Encourage children to distinguish a checked fact from an imaginative detail in the picture.
- Lay the cards in a row and review them together. Sort them by where the animals live, what they eat, or how they move. If the cards will be used often, glue them onto slightly larger pieces of cardstock for firmer edges. Store the set in a small envelope labeled with its category.