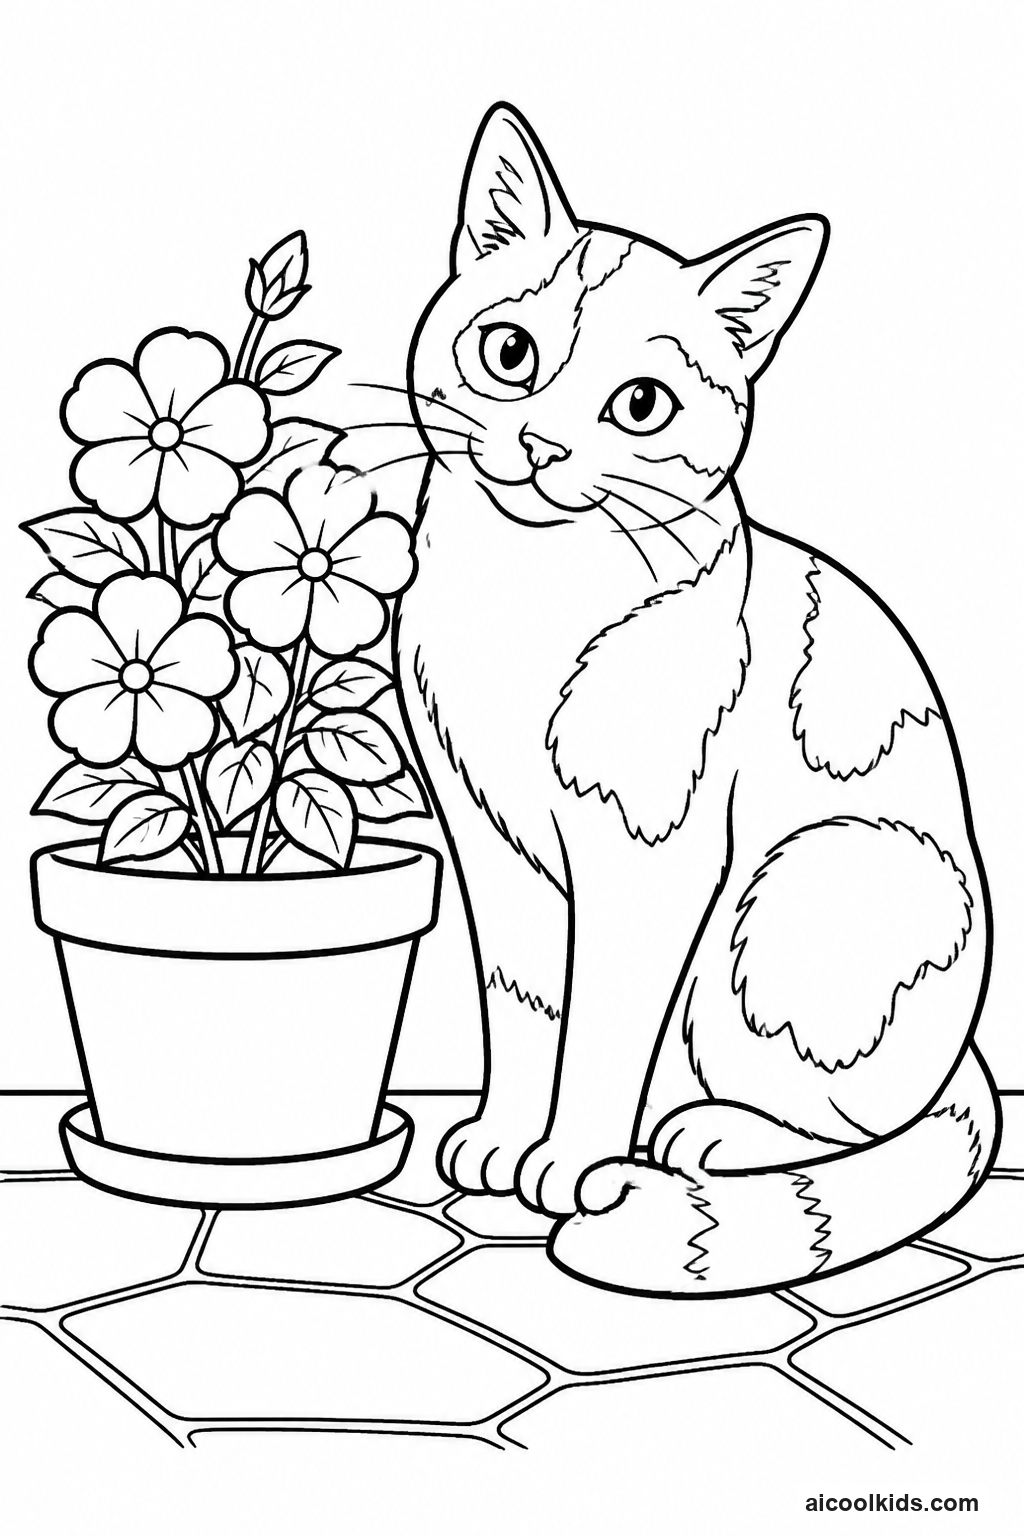
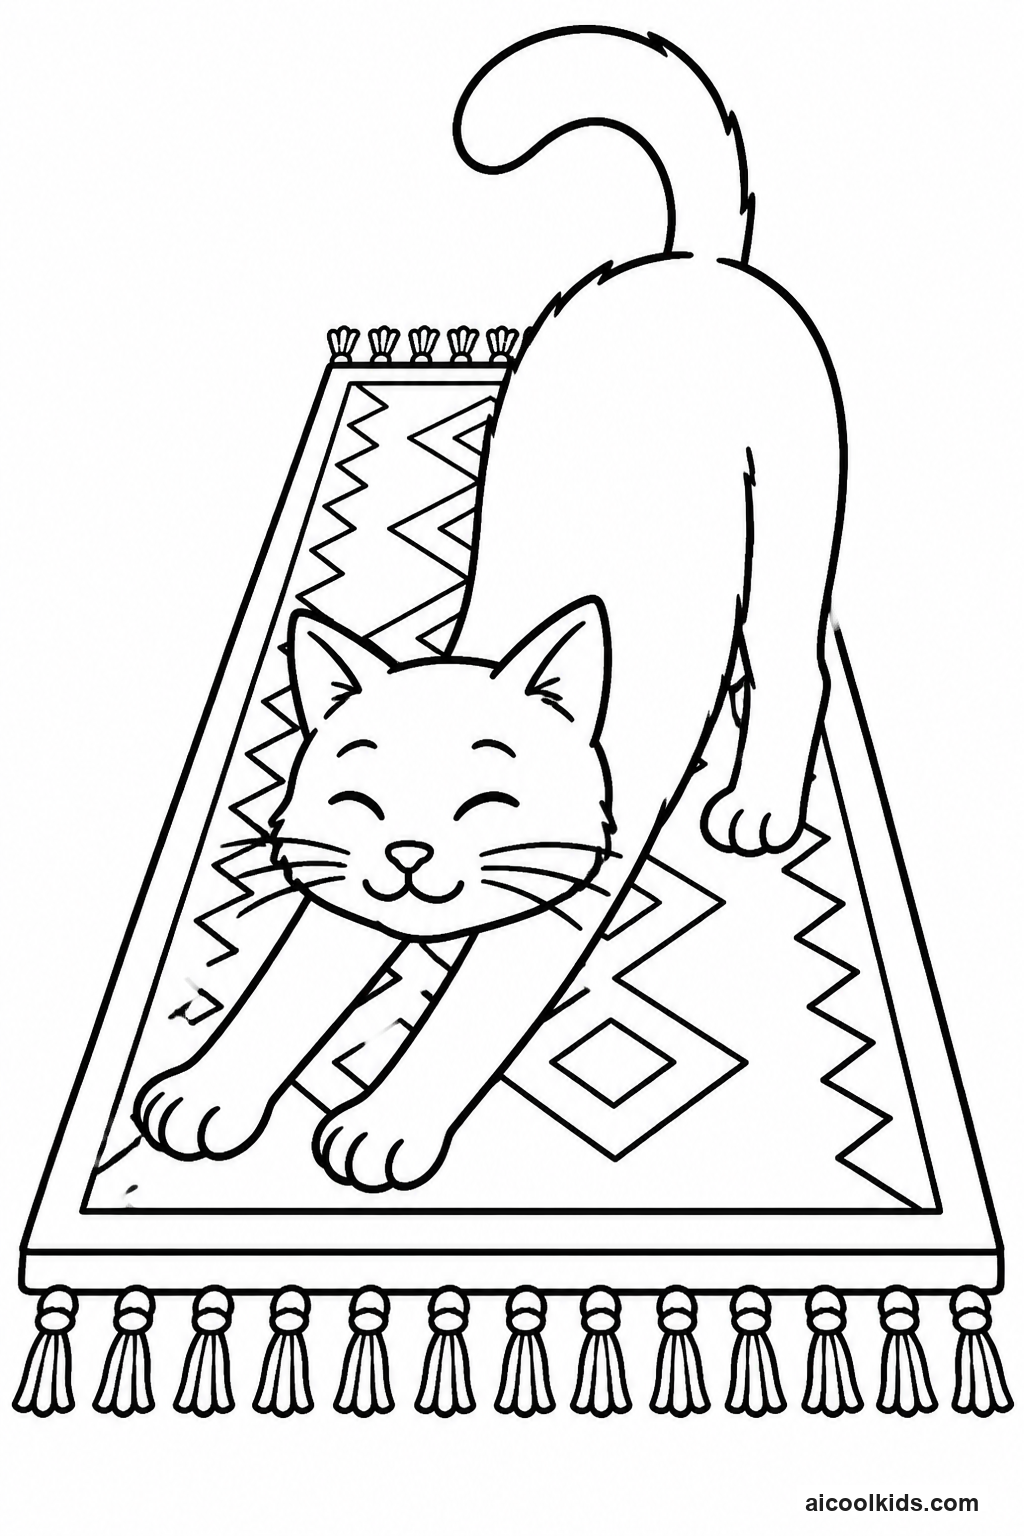
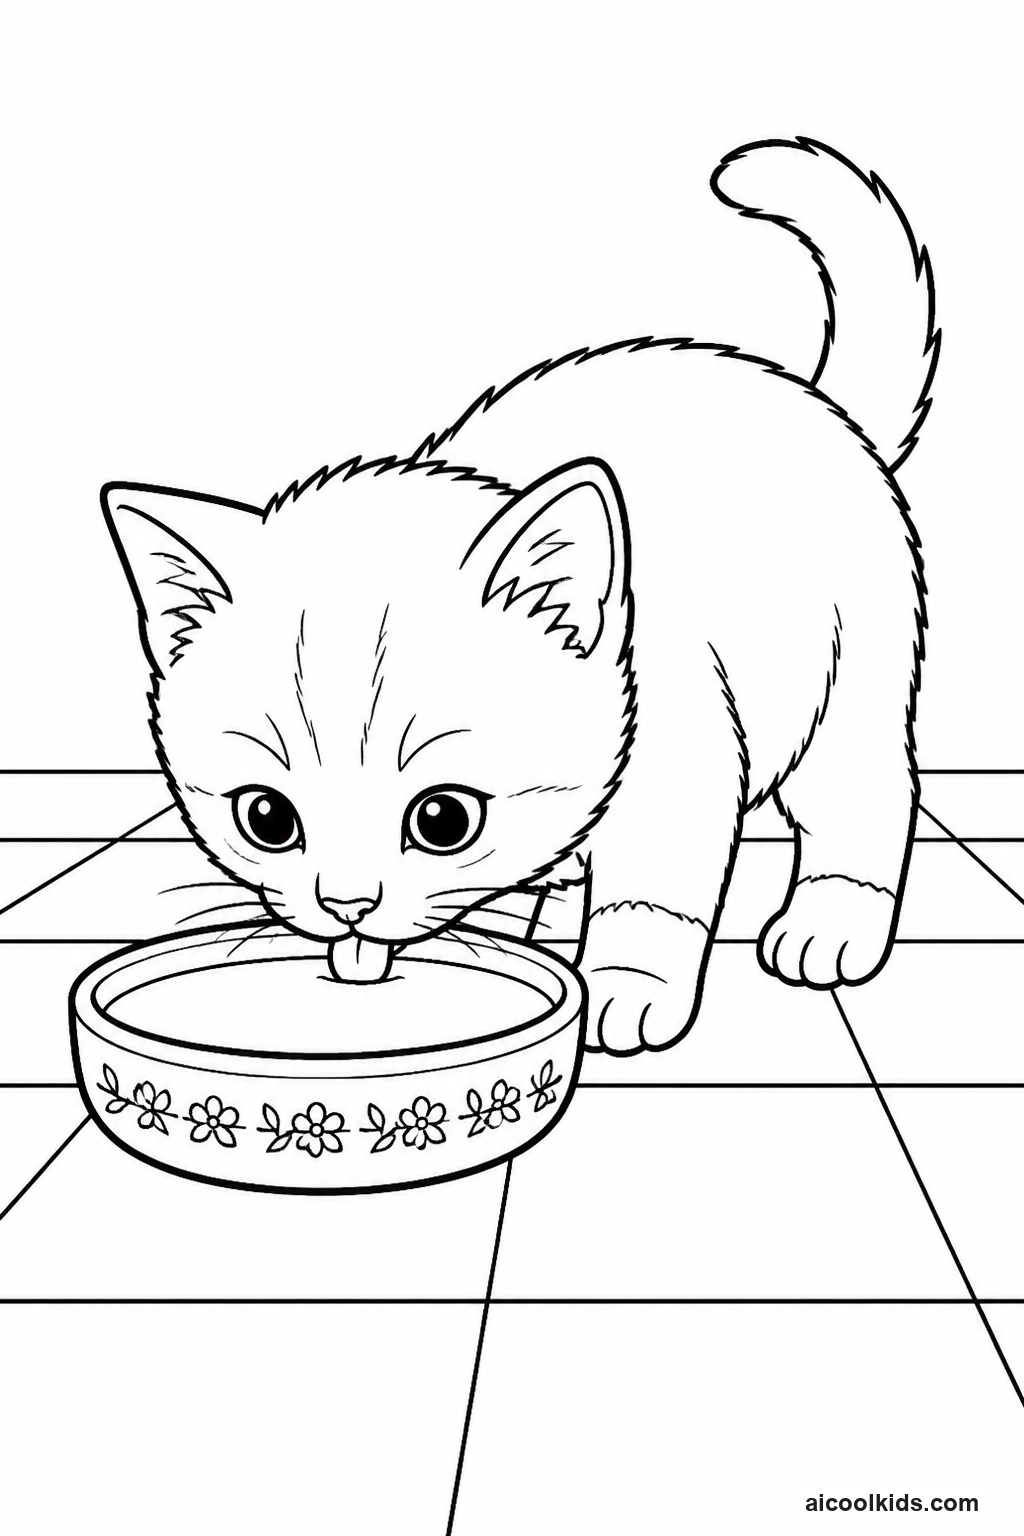
Parent & Teacher Craft Guide
6 Creative Learning & Craft Ideas for Cat Coloring Pages
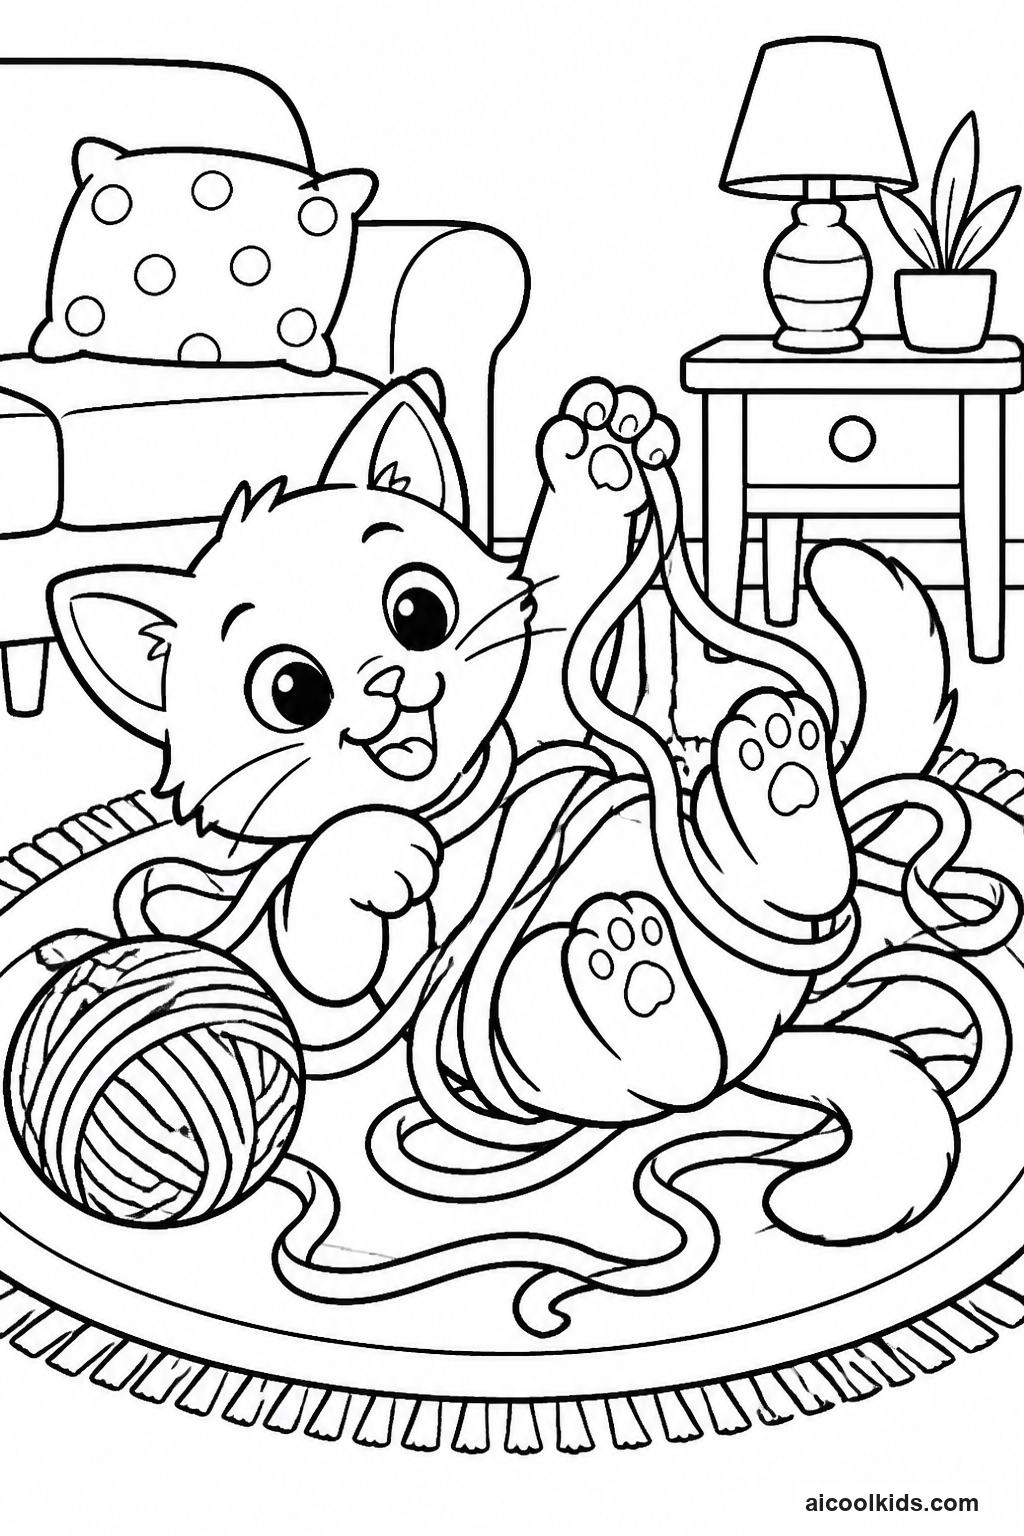
Once the pages are colored, you can turn them into simple projects for home or the classroom. Here are 6 easy craft ideas using supplies you probably already have, like scissors, glue sticks, and construction paper.
1
1. Cat Portrait Gallery and Cardstock Frames
Materials Needed:
One printed cat coloring pageCardstockColored pencils or crayonsRulerChild safe scissorsGlue stick
Step by Step Guide:
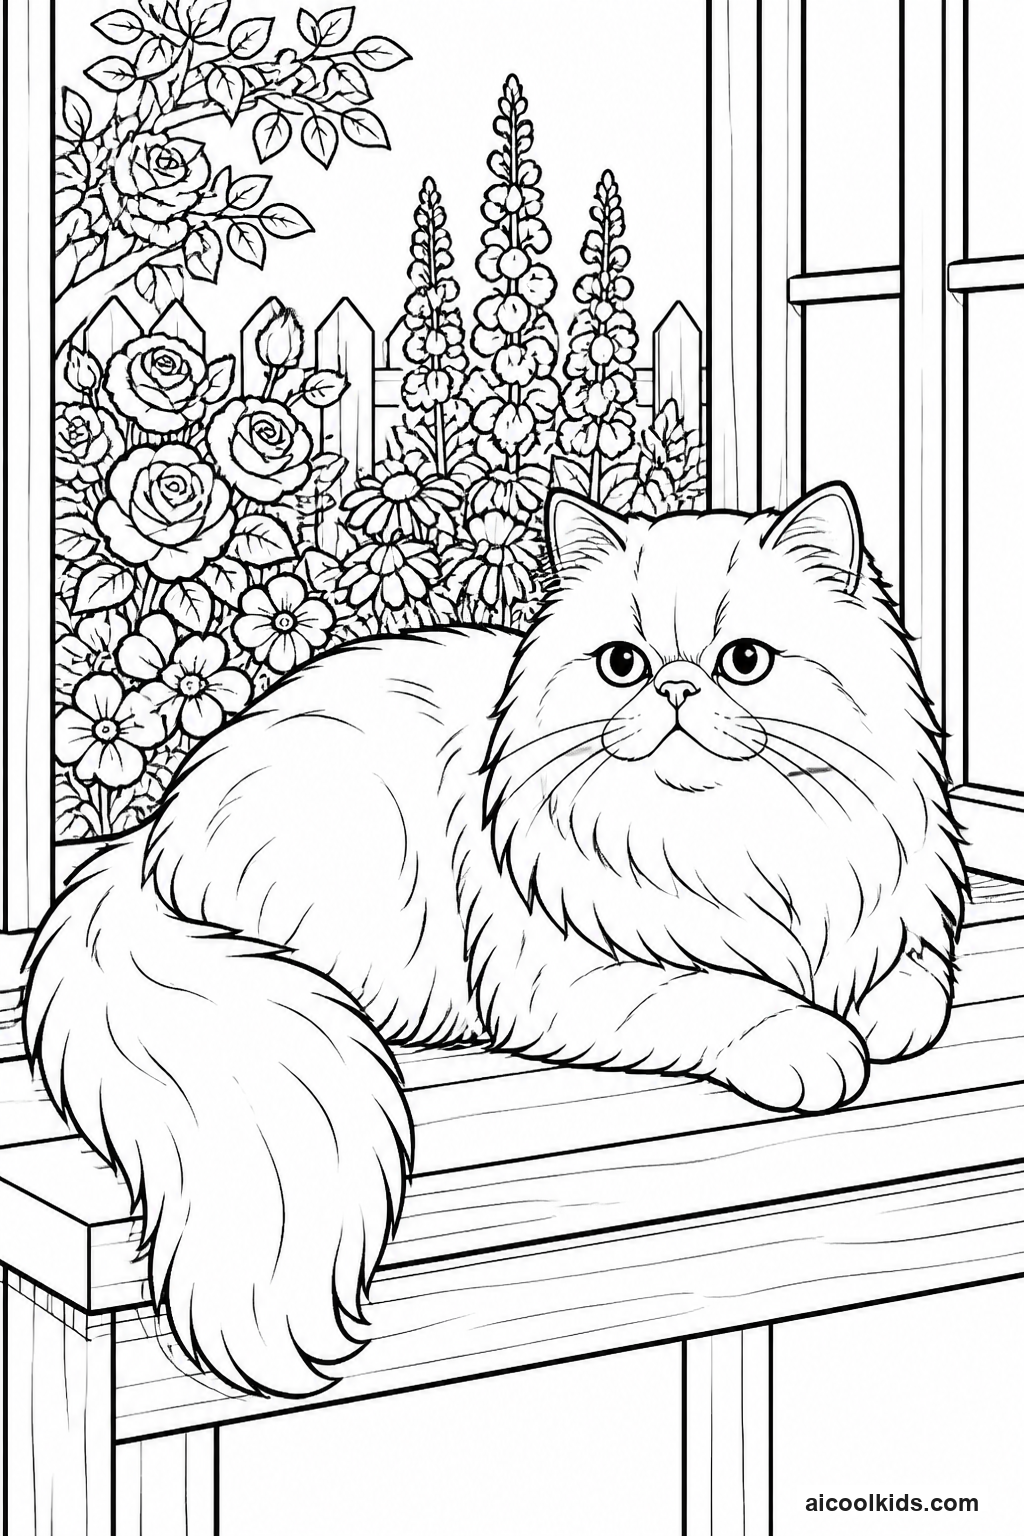
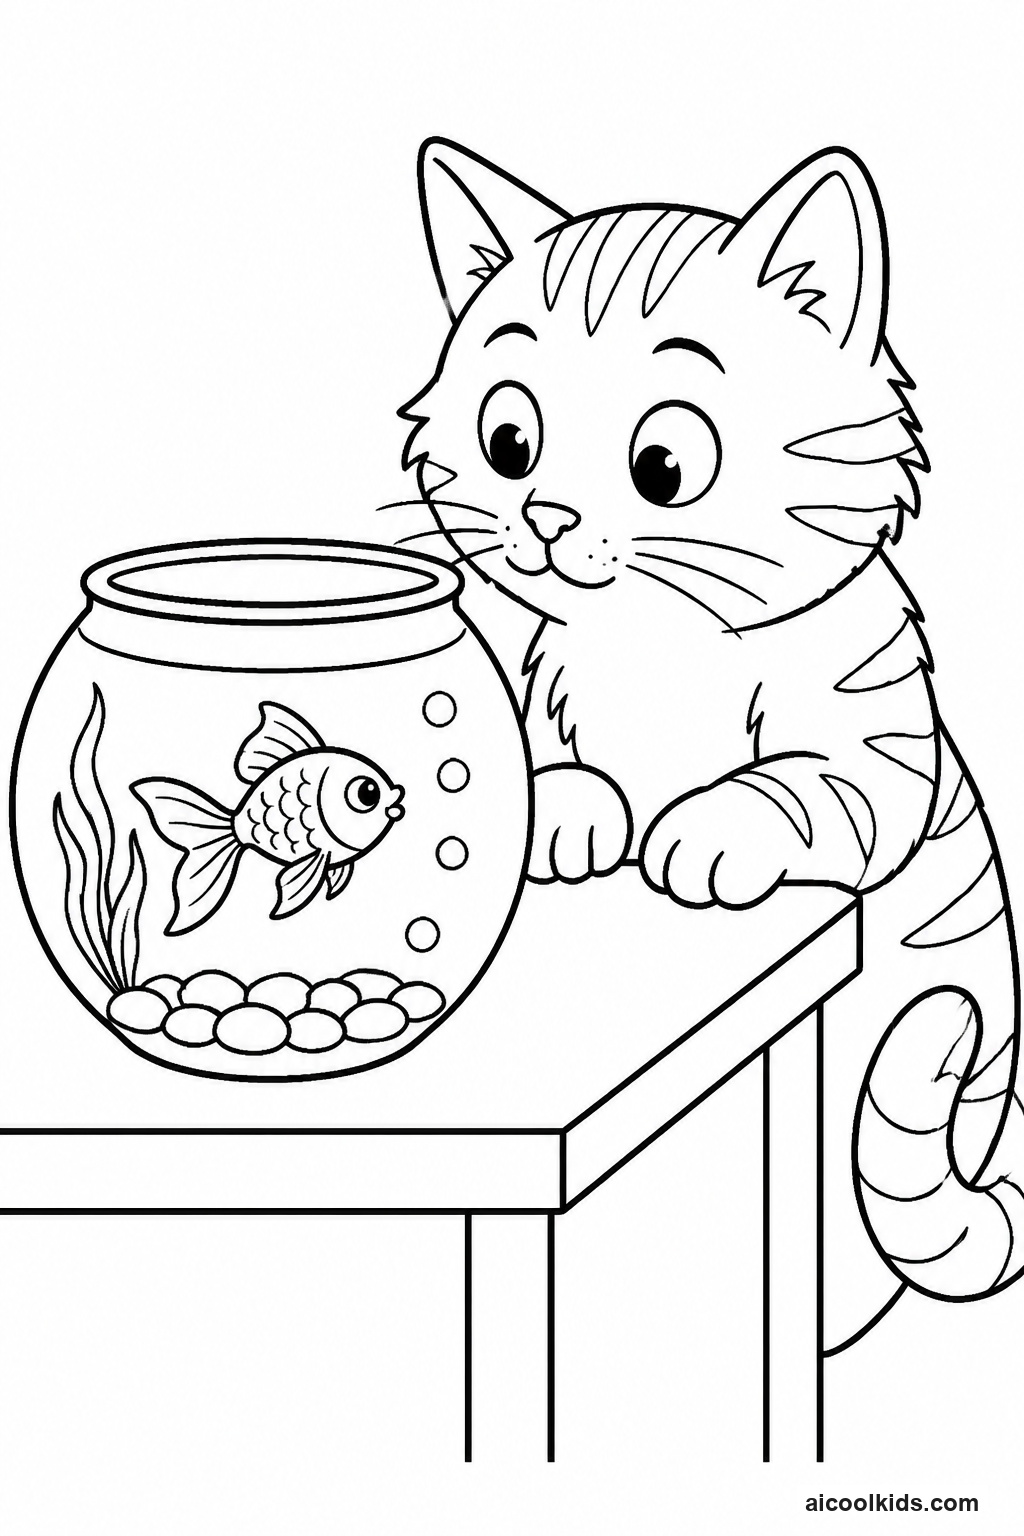
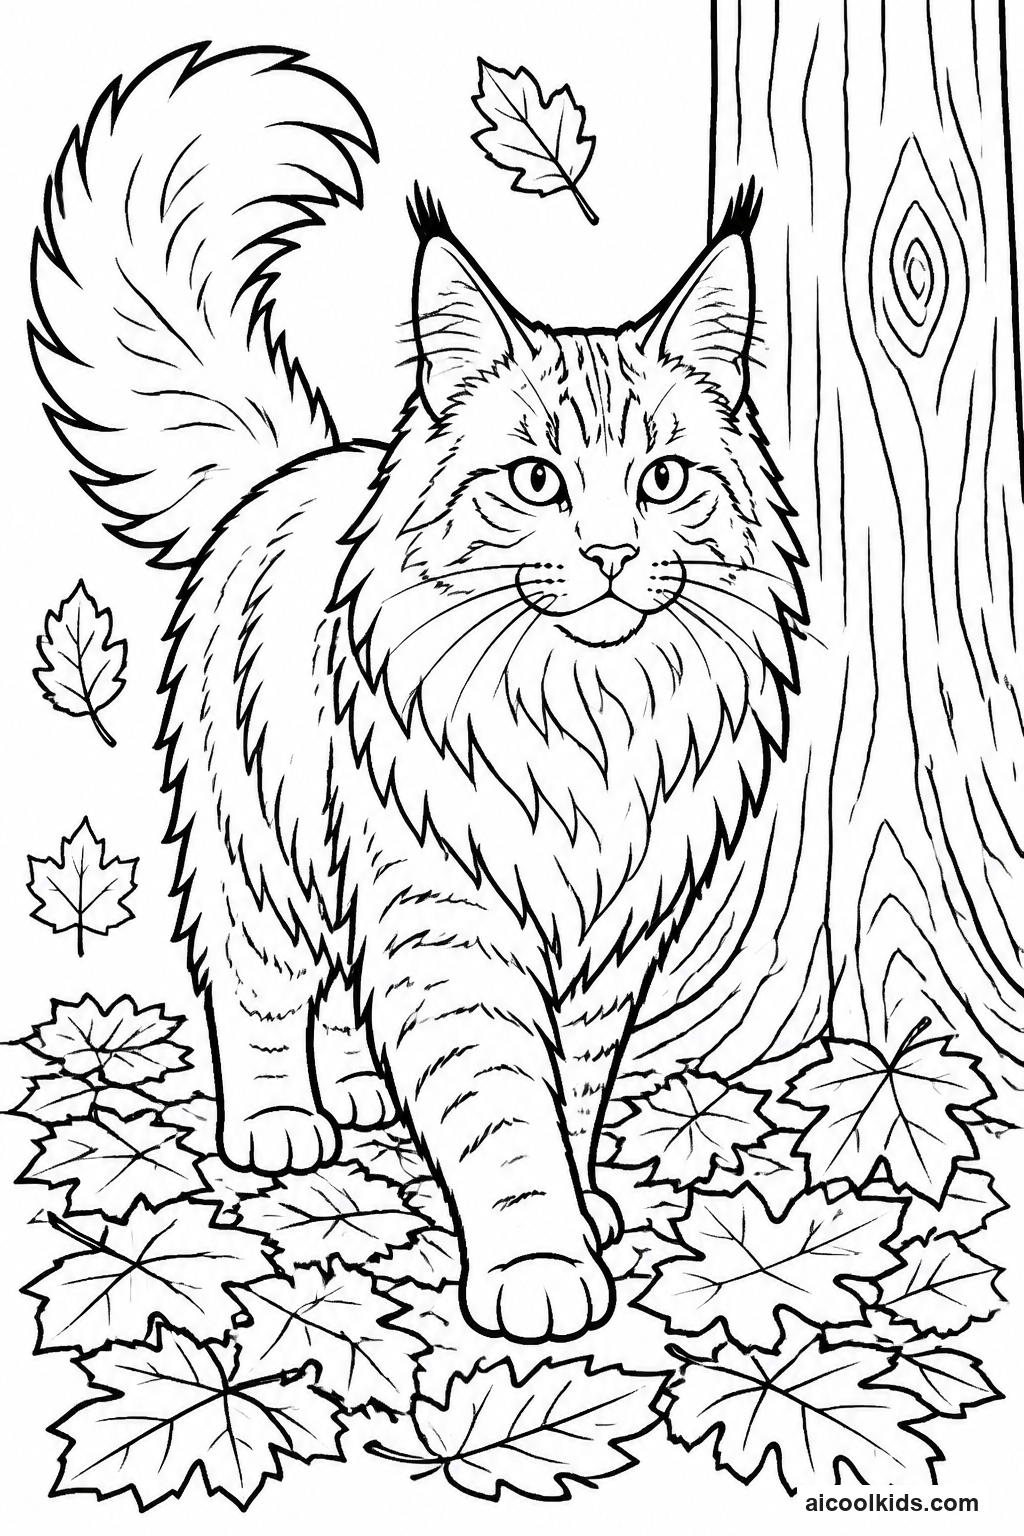
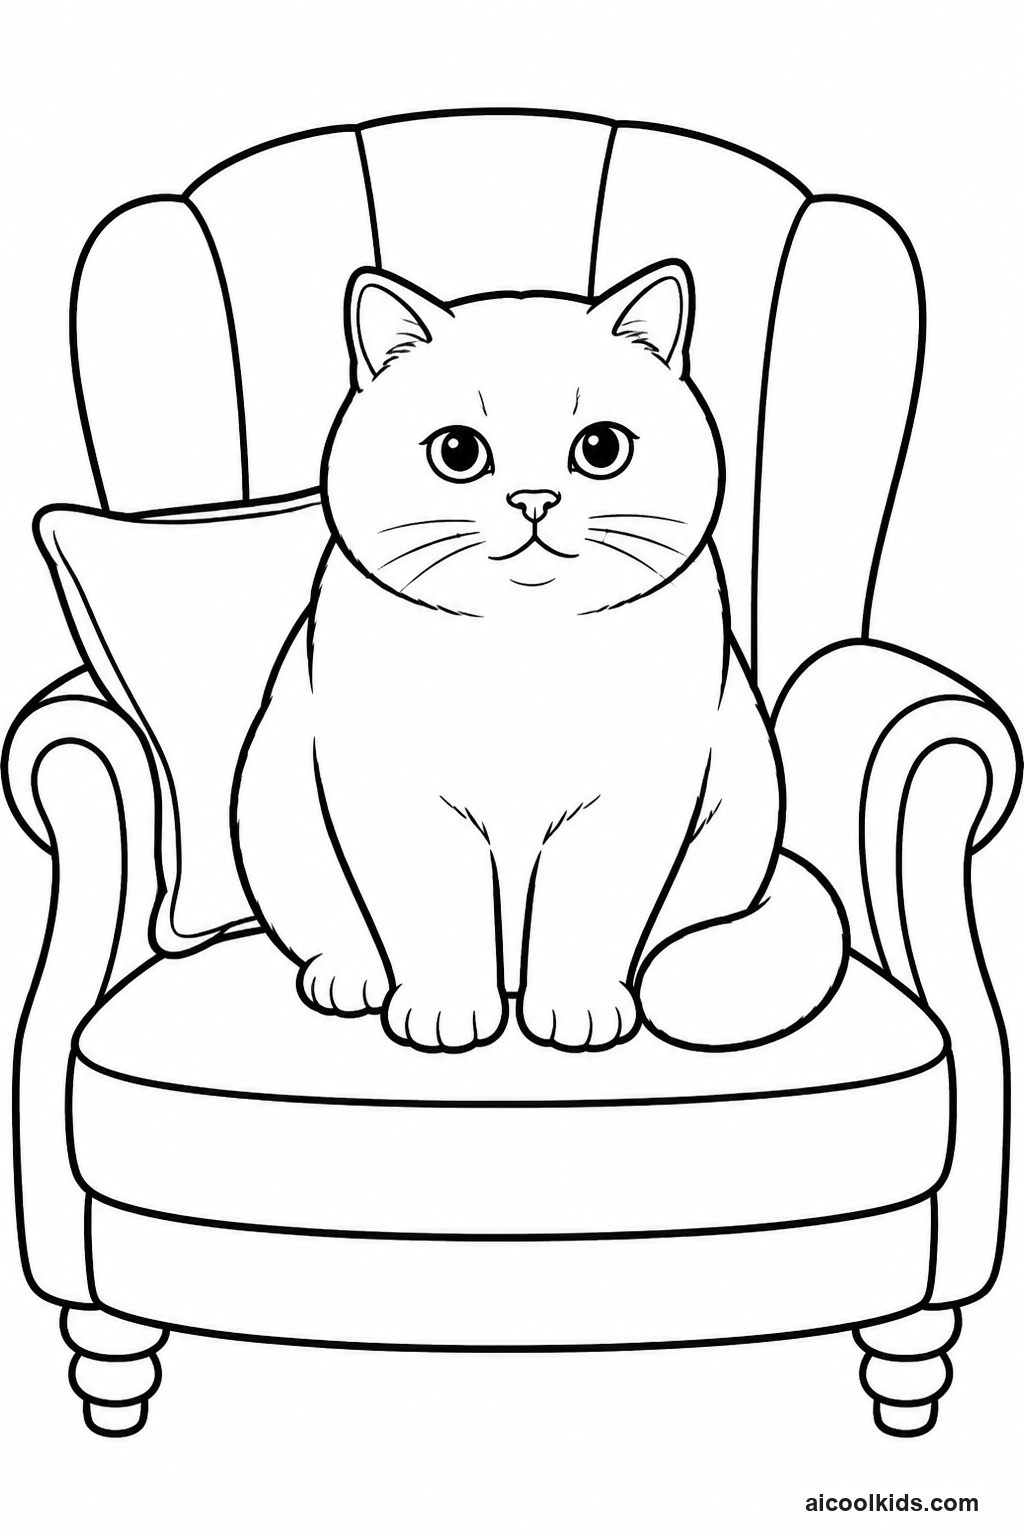
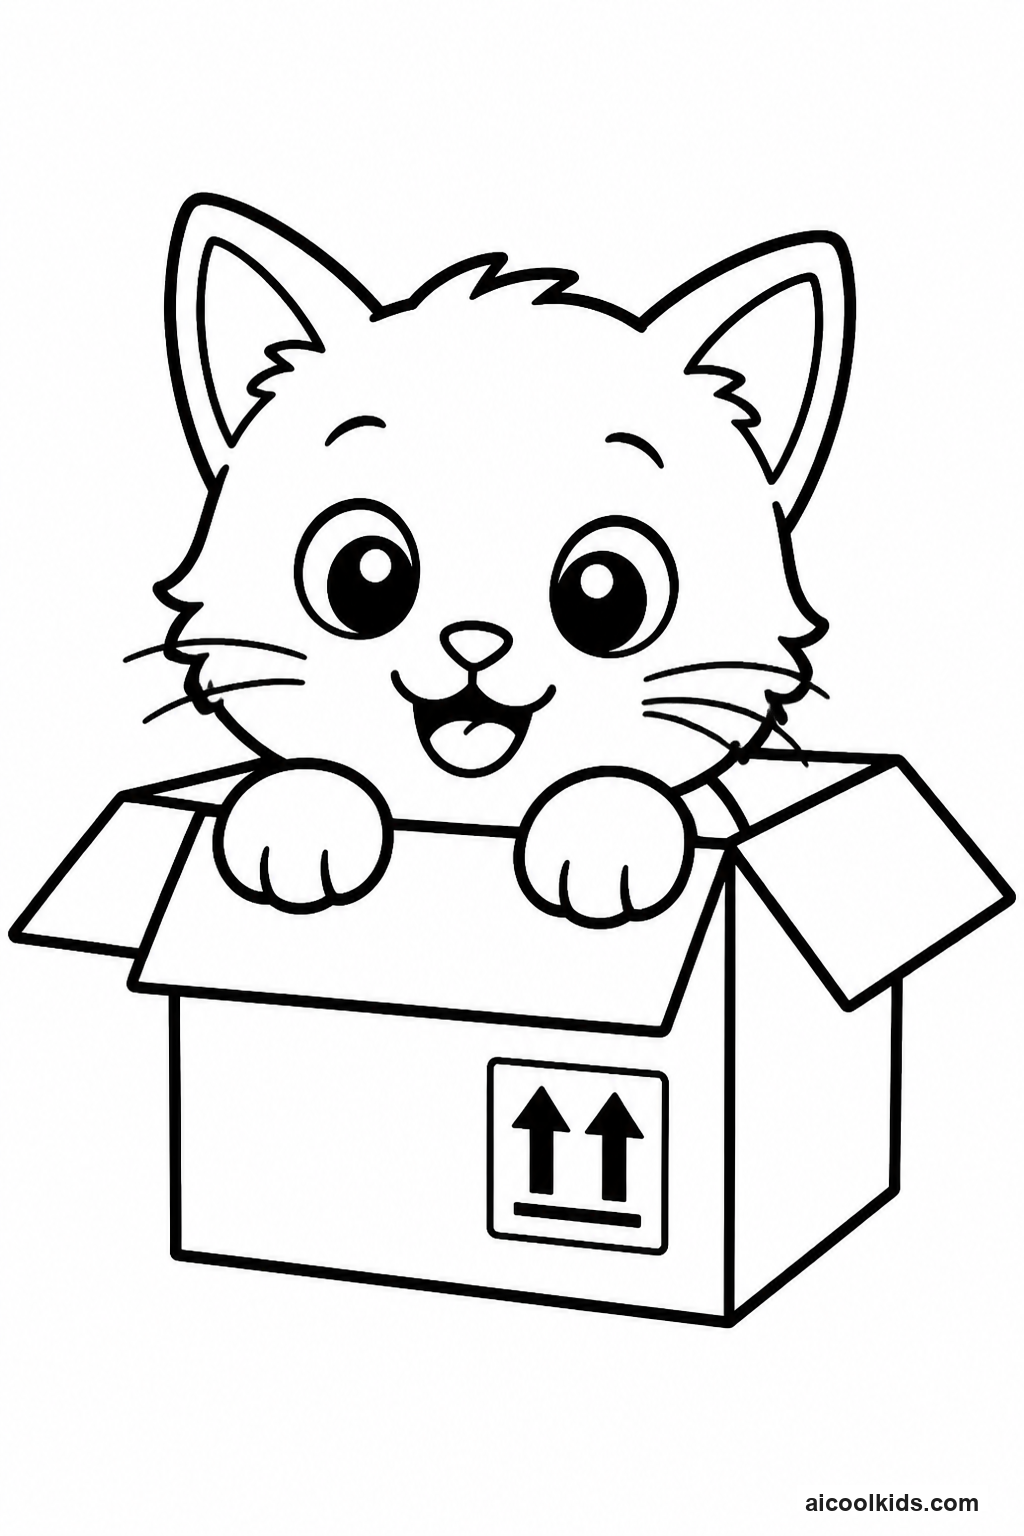
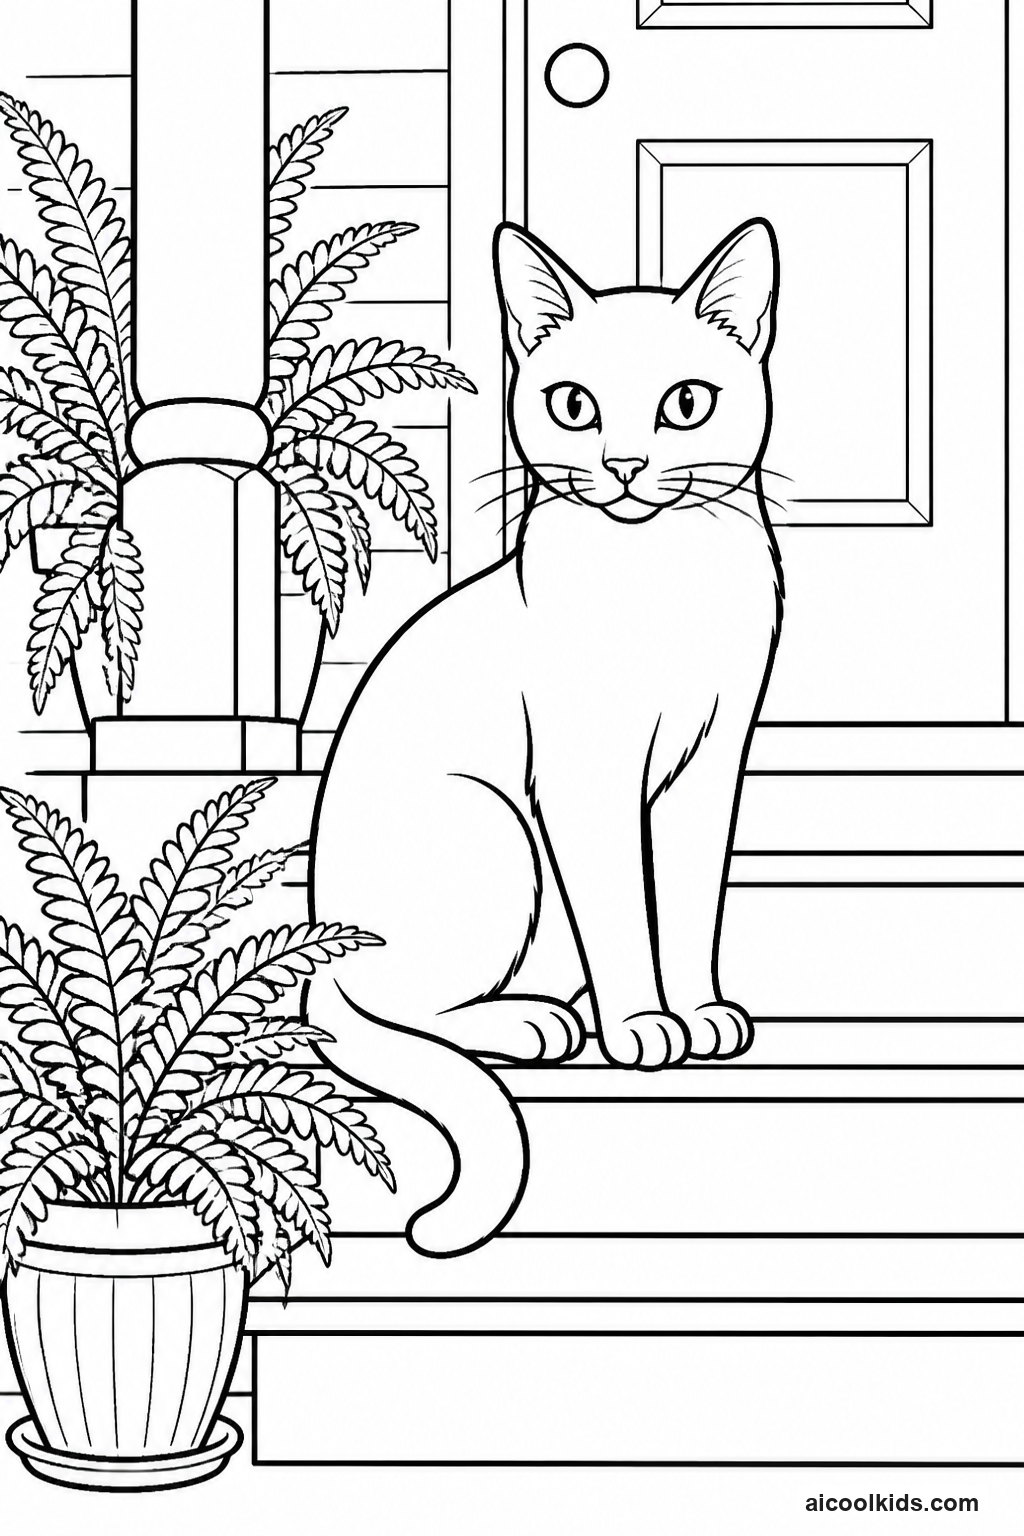
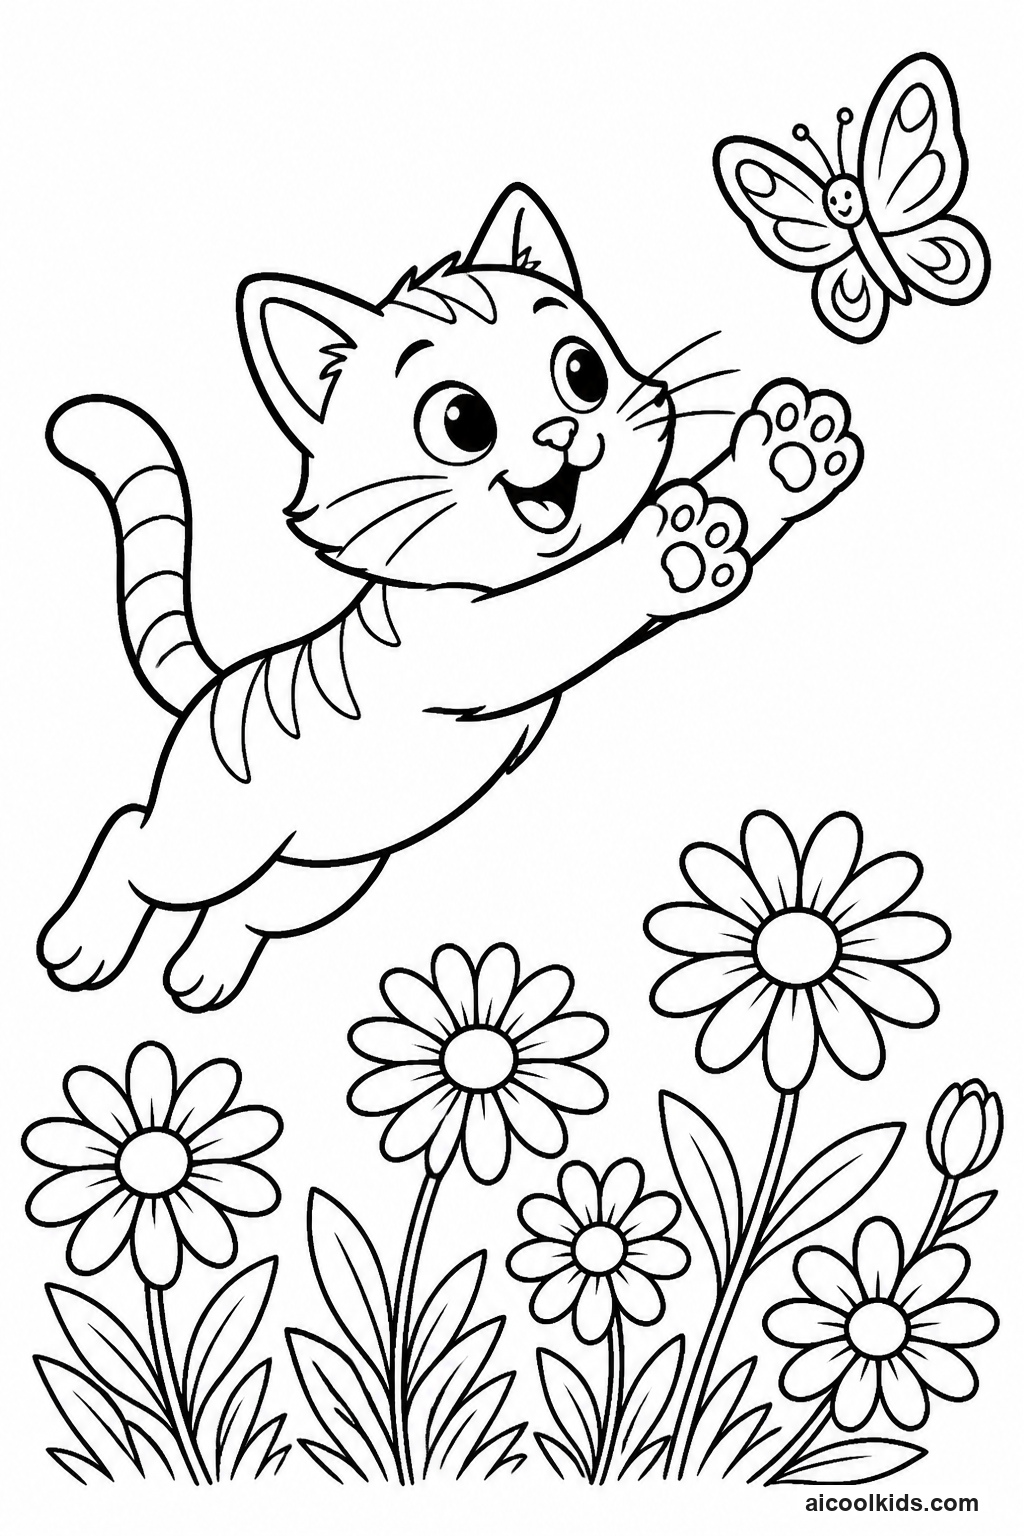
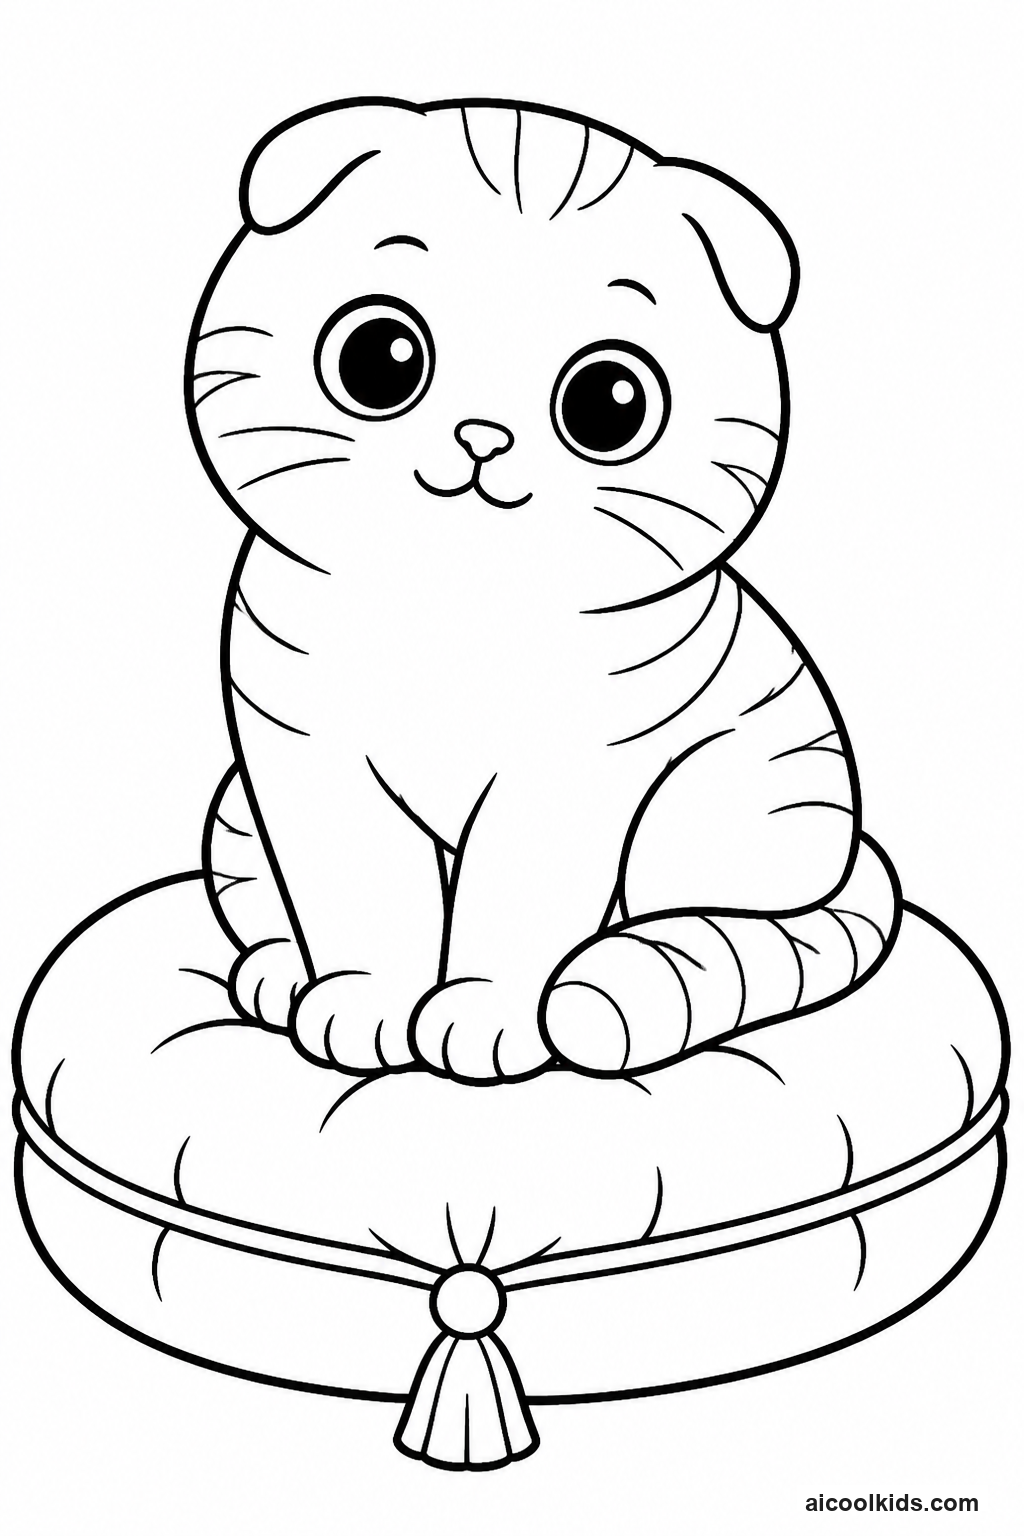
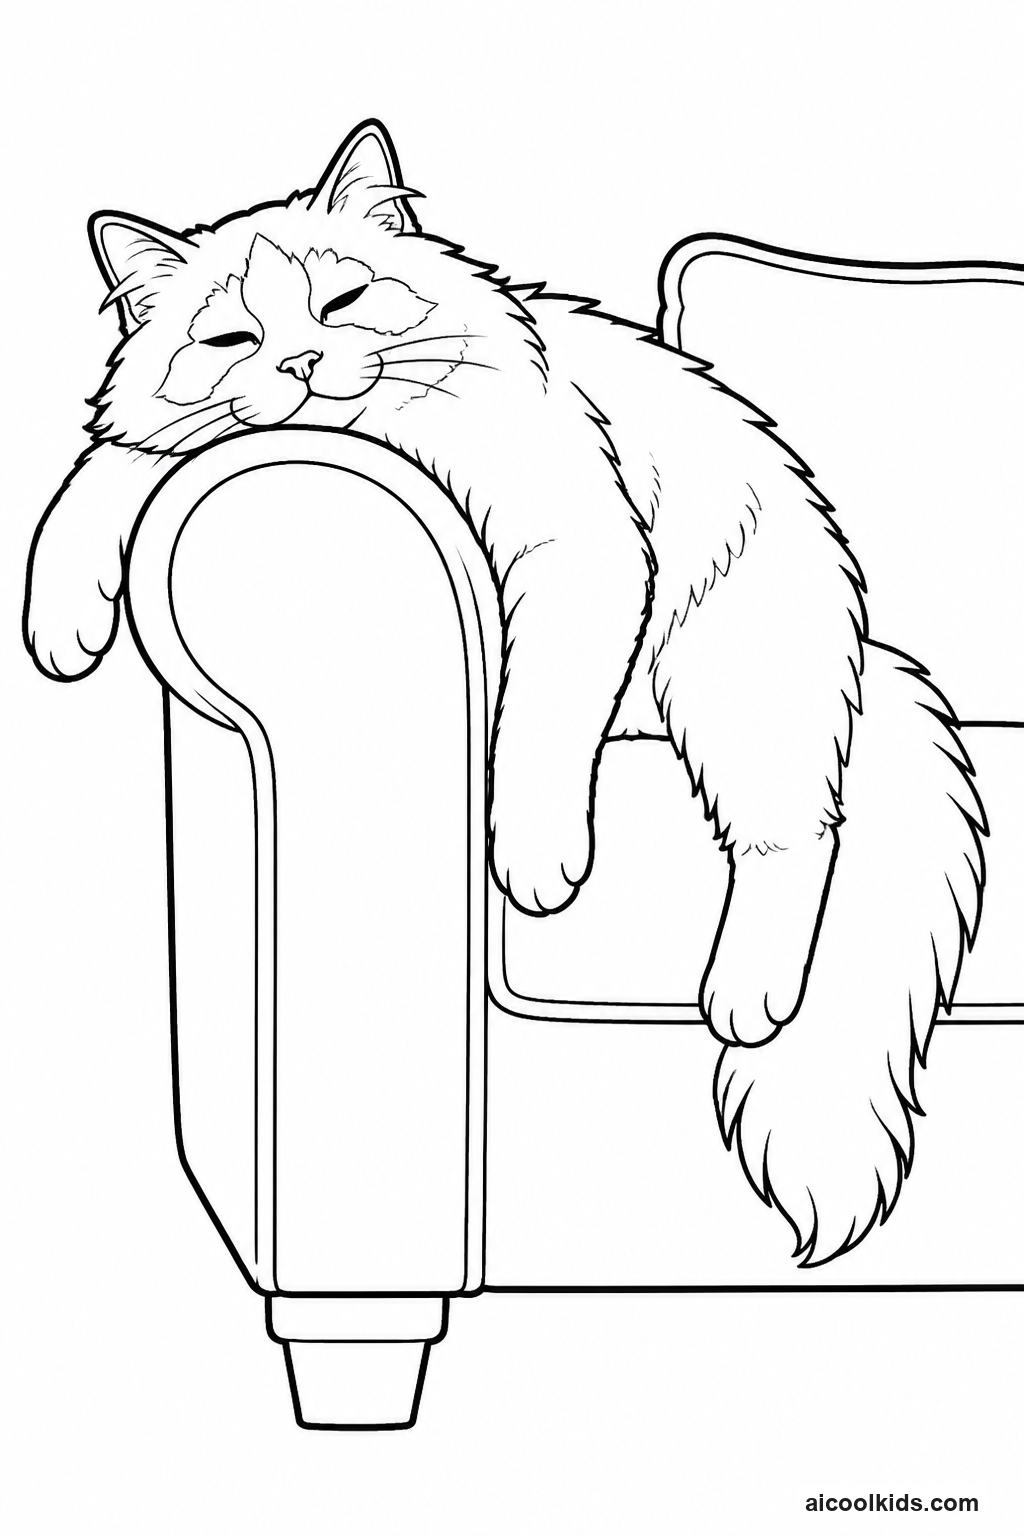
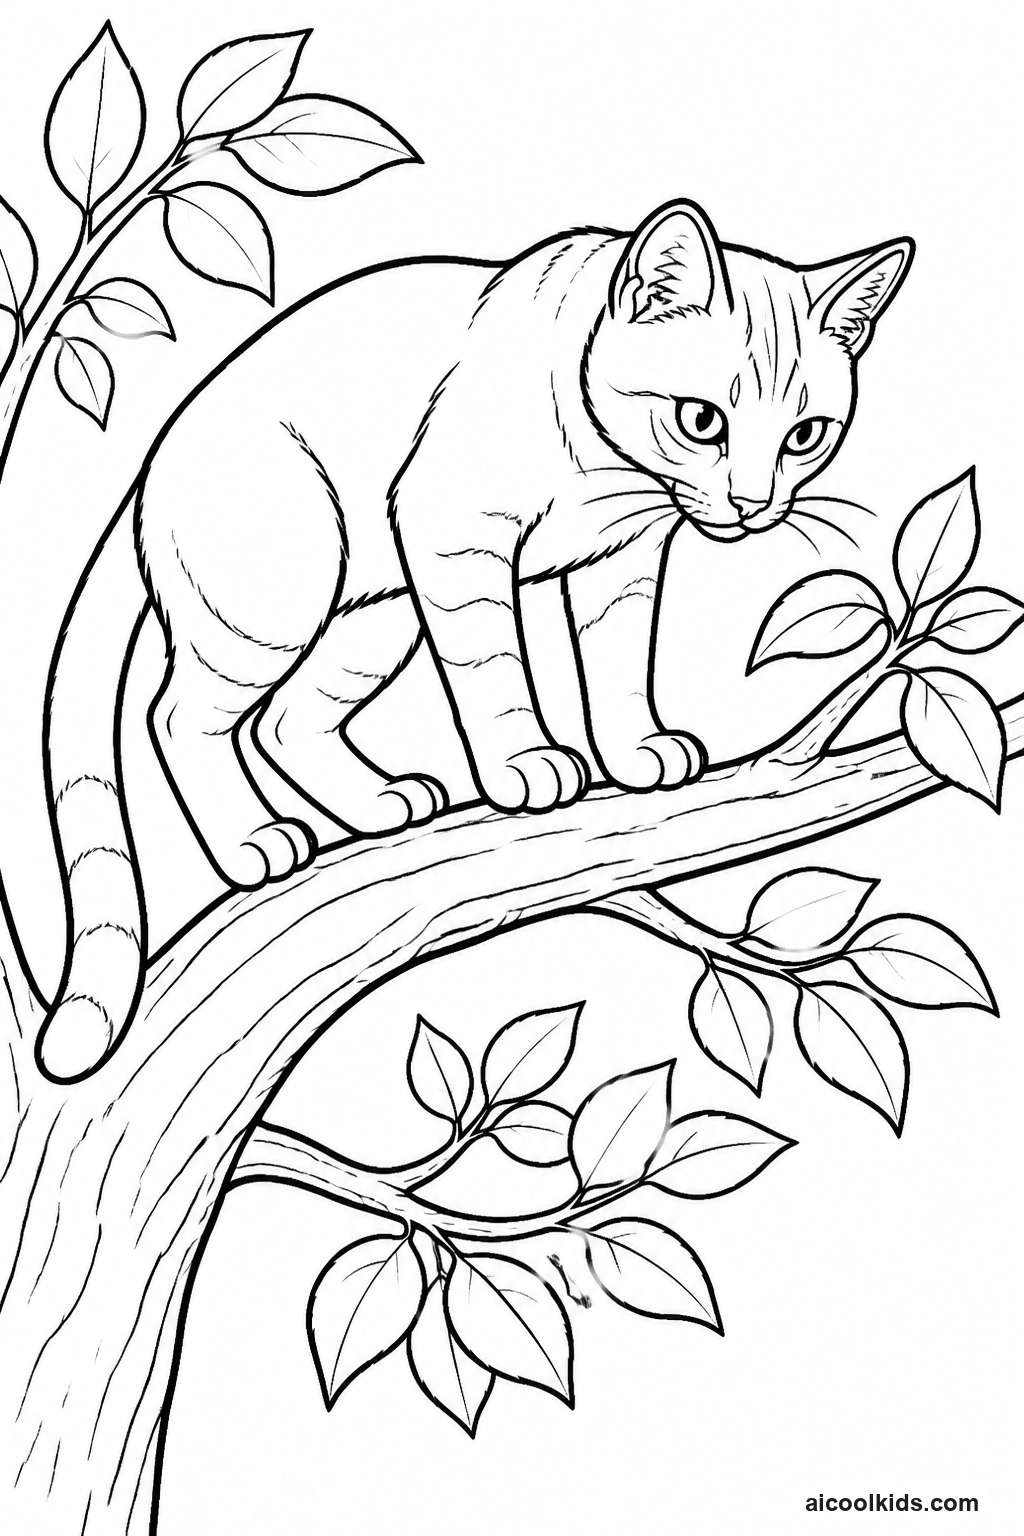
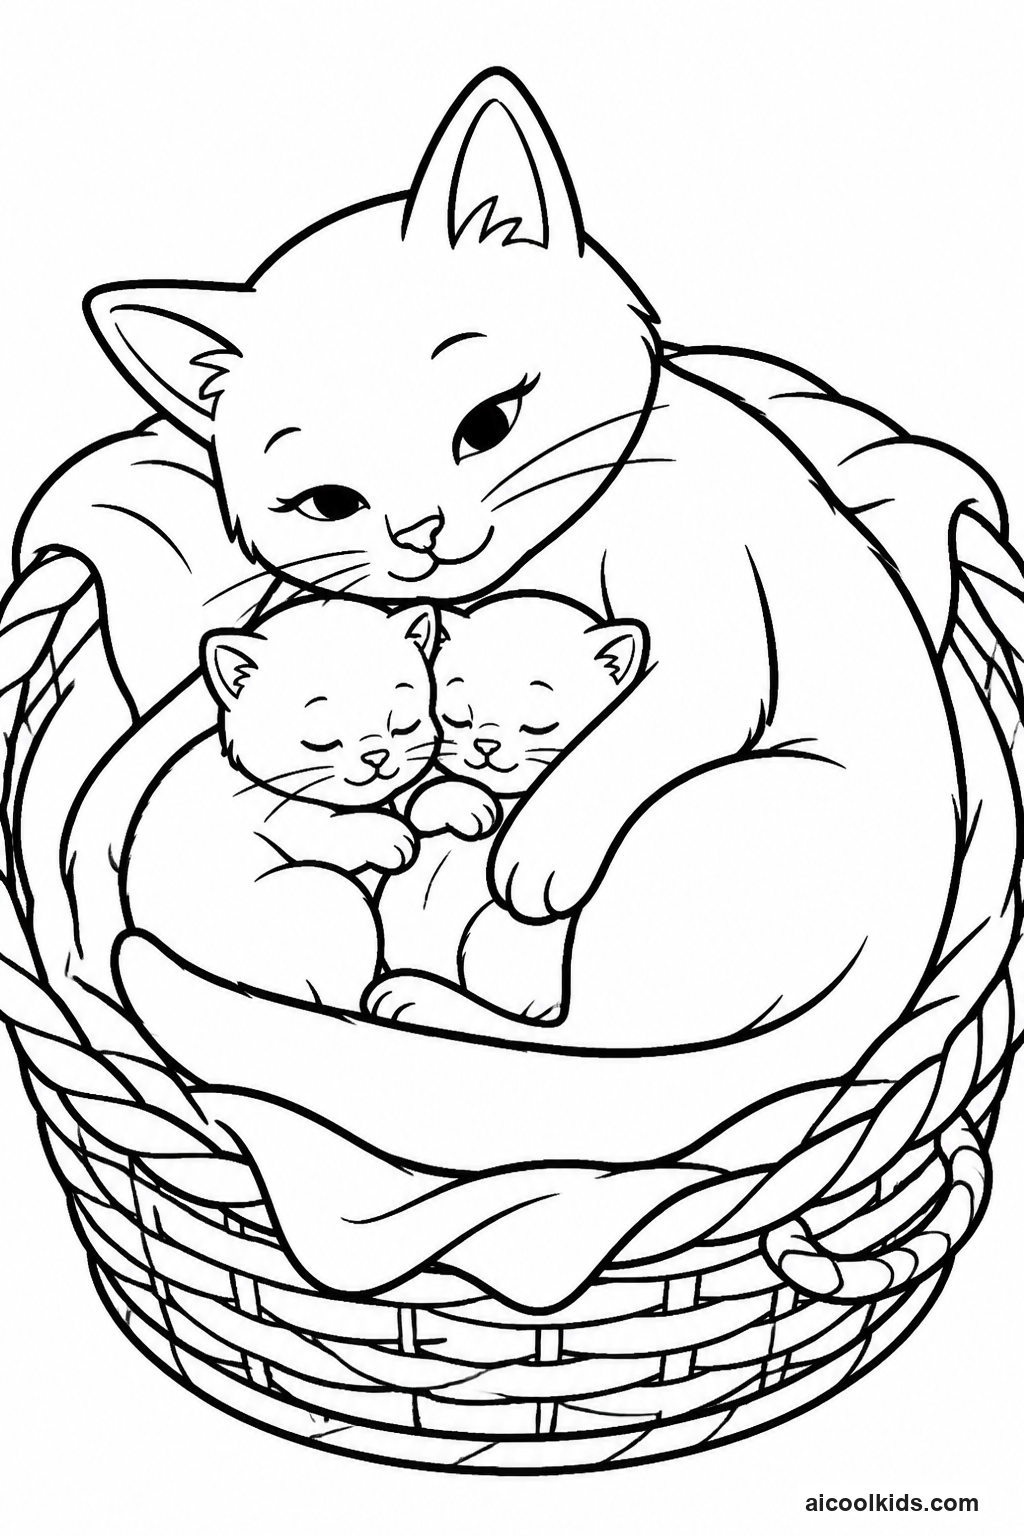
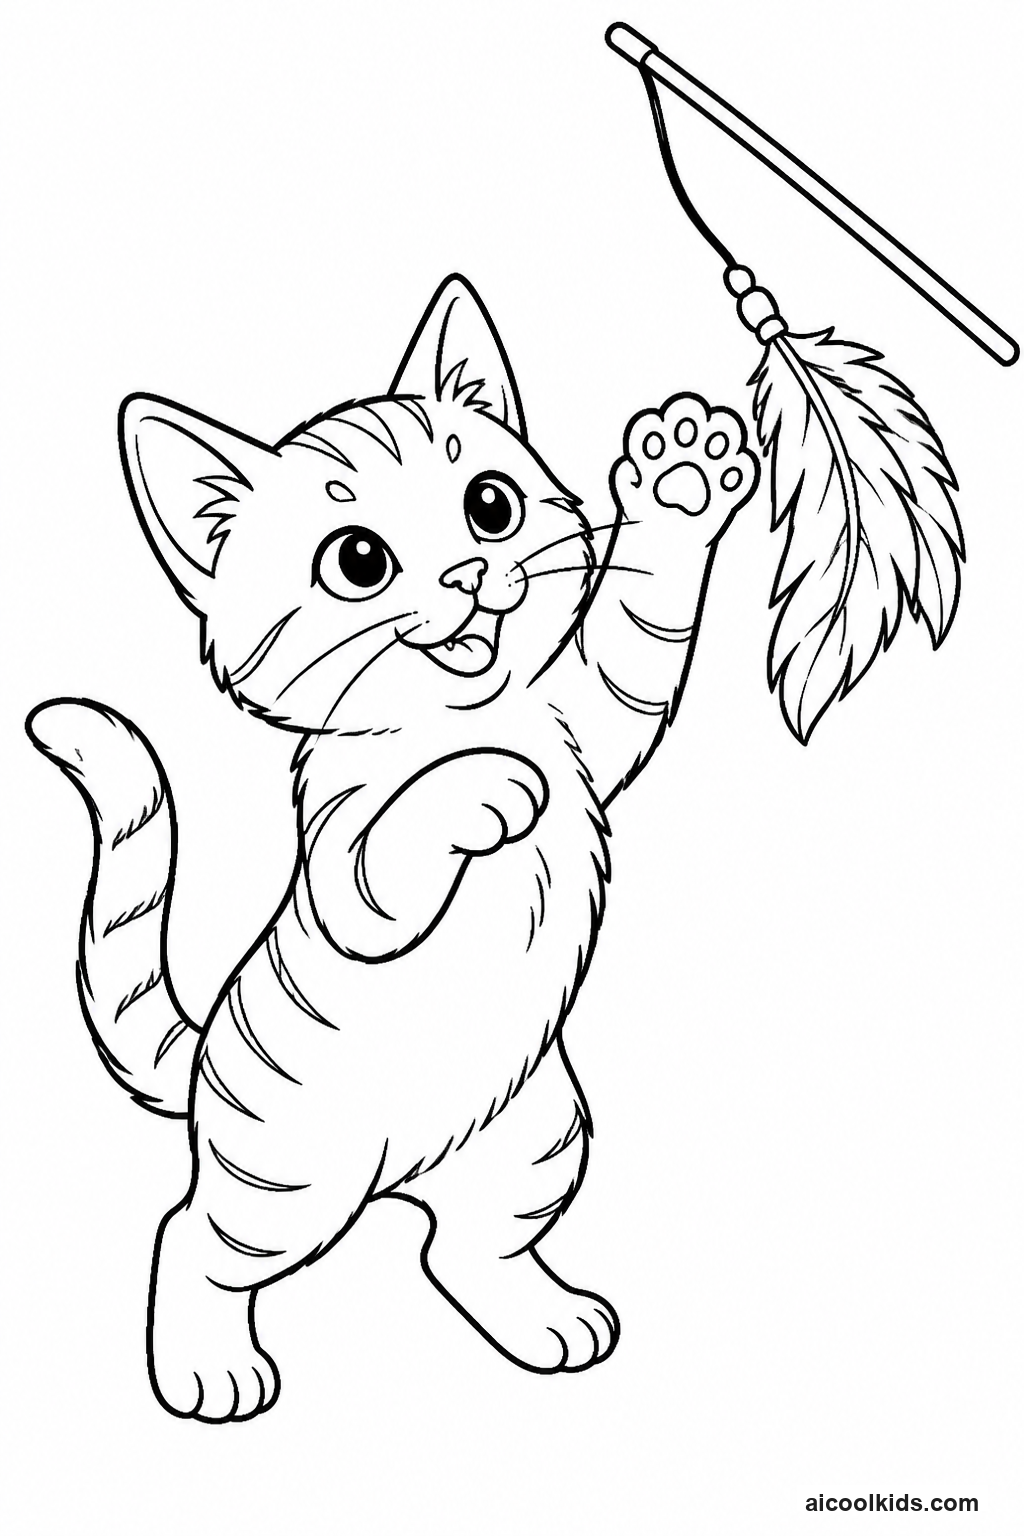
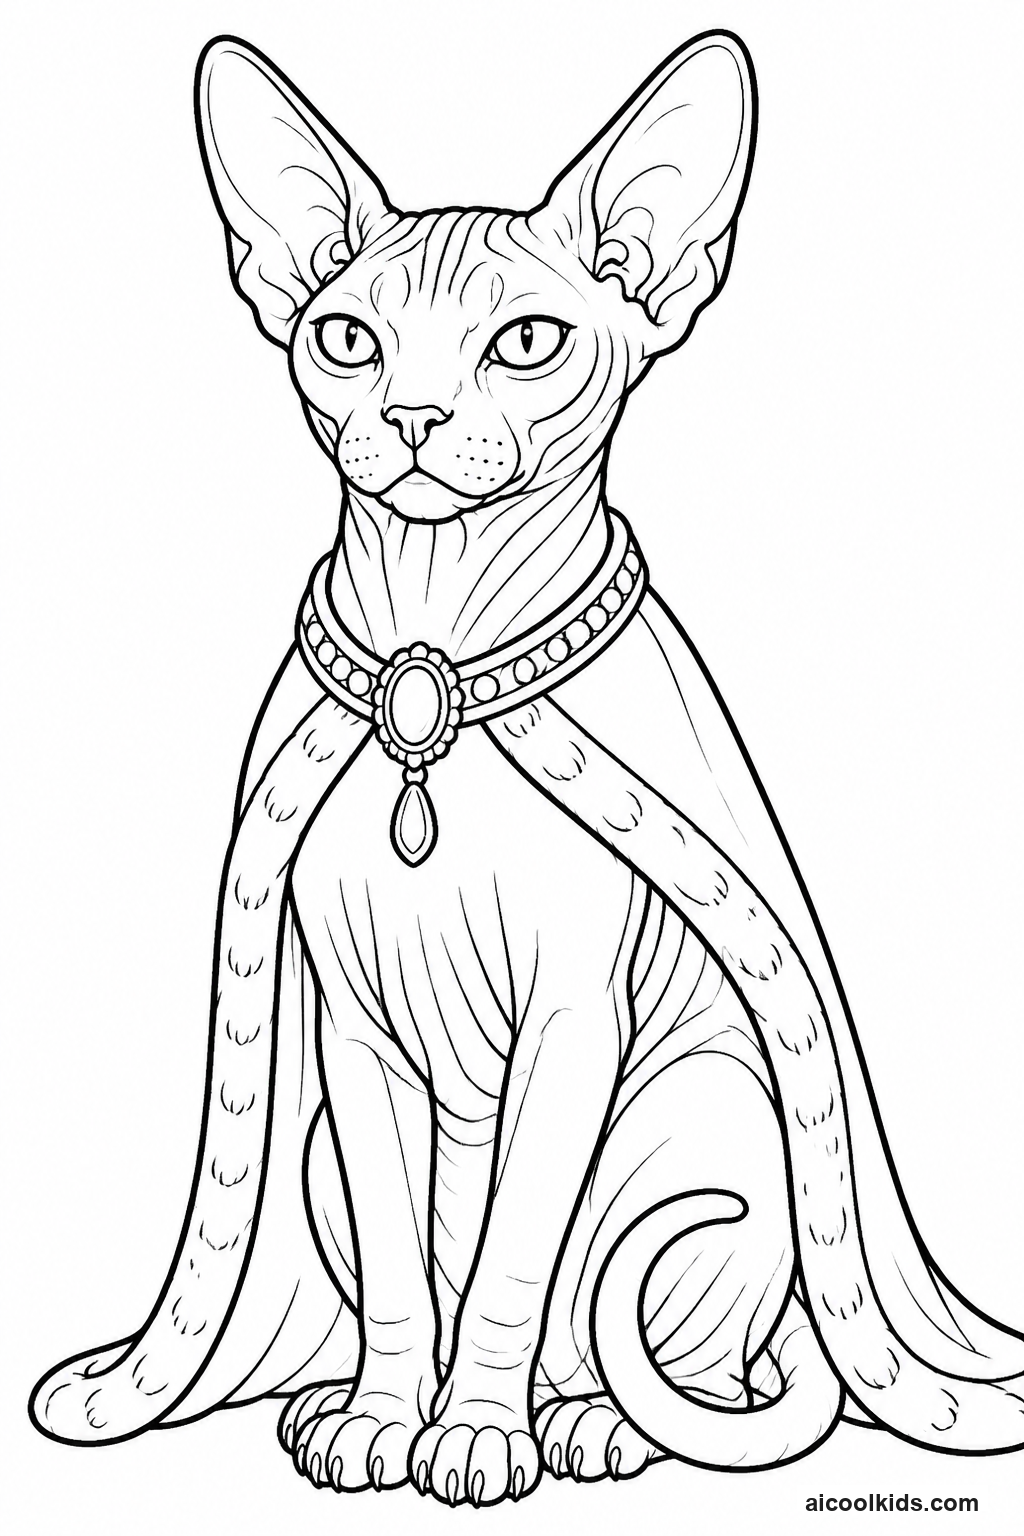
- Choose a cat page and decide whether the portrait will look realistic or imaginary. Before coloring, look closely at the cat’s eyes, ears, coat markings, and pose. Pick three or four main colors, then test them on a scrap of paper. Children can add a simple background such as a window, a cushion, or a patch of grass, but should leave a little open space around the cat so the finished picture remains easy to see.
- Color the cat from larger areas to smaller details. Start with a light layer over the body, then add darker pencil strokes where the fur or shadows should be. Use short strokes on the cheeks and tail to suggest fur, and leave small white spaces in the eyes for highlights. Add the background after the main figure is complete. If using markers, put scrap paper underneath and allow the page to dry before handling it.
- Place the finished page on cardstock and use a ruler to mark a border about two inches wide around the artwork. An adult can help trim the cardstock if the child is not ready to cut a large sheet. Cut a window in the center of the border that is slightly smaller than the coloring page, so the paper edges will stay hidden behind the frame. Save the trimmed cardstock for later collages or labels.
- Decorate the frame with small drawn paw prints, colored paper shapes, or a repeating pattern of fish, stars, and hearts. Keep decorations away from the picture window so they do not cover the cat. Add a nameplate along the bottom with the cat’s name, the artist’s name, and the date. Children who made an imaginary cat can write one sentence describing its favorite place or special talent.
- Glue the coloring page to the back of the cardstock frame, checking that it sits straight before pressing it down. Place a book on top for a few minutes while the glue sets. Display the portrait on a shelf or attach a loop of paper to the back for hanging. Ask the artist to point out one color choice and one detail they especially like, giving them a simple way to talk about their work.
2
2. Layered Paper Cat Scene
Materials Needed:
One printed and colored cat pageConstruction paperCardstock baseChild safe scissorsGlue stickCrayons or markers
Step by Step Guide:
- Choose a scene for the cat, such as a garden, a sunny windowsill, or a room with a rug. Talk about what should appear close to the viewer and what belongs farther away. For example, a large flower could sit near the front, while small trees or rooftops could appear behind the cat. Sketch the planned shapes with a light pencil line on scrap paper before cutting the construction paper.
- Color the cat page first and cut around the main cat shape, leaving a narrow paper edge around the outline. If the printed page shows a full scene that should remain together, keep the sheet intact and use paper shapes around its edges instead. Children can add coat patterns and small details before cutting. An adult can help with tight curves around ears and paws, while the child guides the paper and chooses where the shape will go.
- Cut large background shapes from light colored paper, such as a pale blue sky, a wall, or a wide window. Glue these shapes onto a cardstock base, placing them near the top or across the back. Add middle ground pieces such as a sofa, fence, or row of plants. Overlap a few shapes slightly, but do not cover the space where the cat will sit. Let the glue settle before adding the smaller pieces.
- Place the cat in front of the background pieces and move it around until the arrangement looks balanced. Glue it down, then add foreground details such as a ball, food bowl, flower, or floor mat. Use larger shapes in front and smaller shapes farther back to create a simple sense of distance. Children can draw a shadow beneath the cat with a gray or brown pencil to make it look connected to the scene.
- Finish with a title written on a small paper strip, such as Cat in the Garden or Window Watcher. Ask the child to write one sentence about what is happening in the scene. Fold a strip of cardstock into a triangle and attach it to the back as a stand, or display the scene flat on a wall. Invite the artist to explain which layer is closest and how the placement guides the viewer’s eye.
3
3. Cat Coat Pattern Science Cards
Materials Needed:
Printed cat coloring pagesIndex cards or cardstockColored pencilsRulerScissorsSmall envelopes
Step by Step Guide:
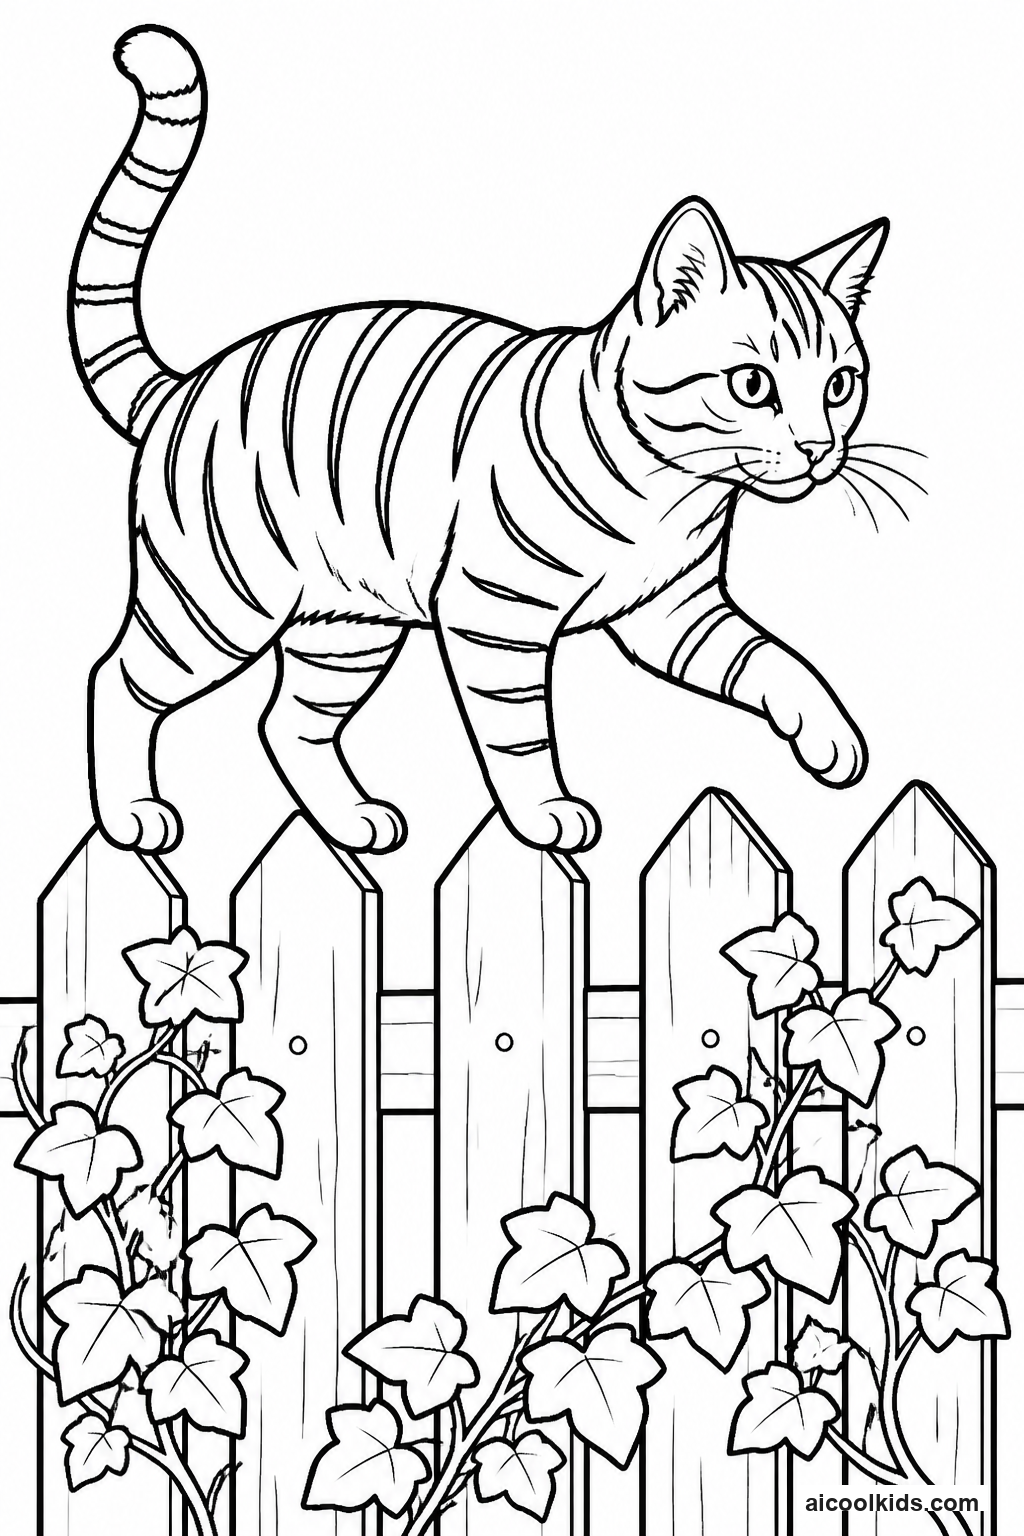
- Look through the cat coloring pages and choose several different cat poses or faces. Notice visible coat details, such as stripes, patches, spots, or a single solid color. If the sheets do not show many coat types, use one blank section or the back of a page to sketch simple cat shapes. Explain that the goal is to compare patterns, not to color every cat as a scientifically exact example.
- Cut cardstock into cards about the size of an index card. On each card, draw or glue a small cat shape and label the coat pattern, such as stripes, spots, patches, or solid. Children who need practice writing can copy labels from a sample list. For an extra challenge, ask them to add a second label describing color, like gray stripes or orange patches. Keep one card blank for a pattern the child invents.
- Color each cat using short strokes that follow the direction of its body. For stripes, make the marks curve gently over the back and around the tail. For spots, vary the size and leave clear spaces between them. For patches, outline a few larger shapes before coloring them. Encourage the child to use two related colors in some patterns, then compare how the design changes when a dark color sits beside a light one.
- Sort the cards into groups by pattern. Count how many cards belong in each group and make a simple tally on a separate piece of paper. Ask questions such as which pattern has the most cards, which patterns look similar, and what new category could be added. Older children can create a small bar graph using the counts. Younger children can arrange the cards in a row and describe one difference between neighboring designs.
- Place the finished cards in an envelope labeled Cat Coat Pattern Cards. A child can use them to play a matching game by turning them face down and looking for two cards with the same pattern type. Another option is to select one card and draw a larger cat that uses the same markings. Keep the set with the coloring pages so it can serve as a reference for a later art session.
4
4. Reusable Cat Desk Mat
Materials Needed:
One printed cat coloring pageCardstockClear self adhesive laminating sheetsColored pencils or crayonsRulerMarkers
Step by Step Guide:
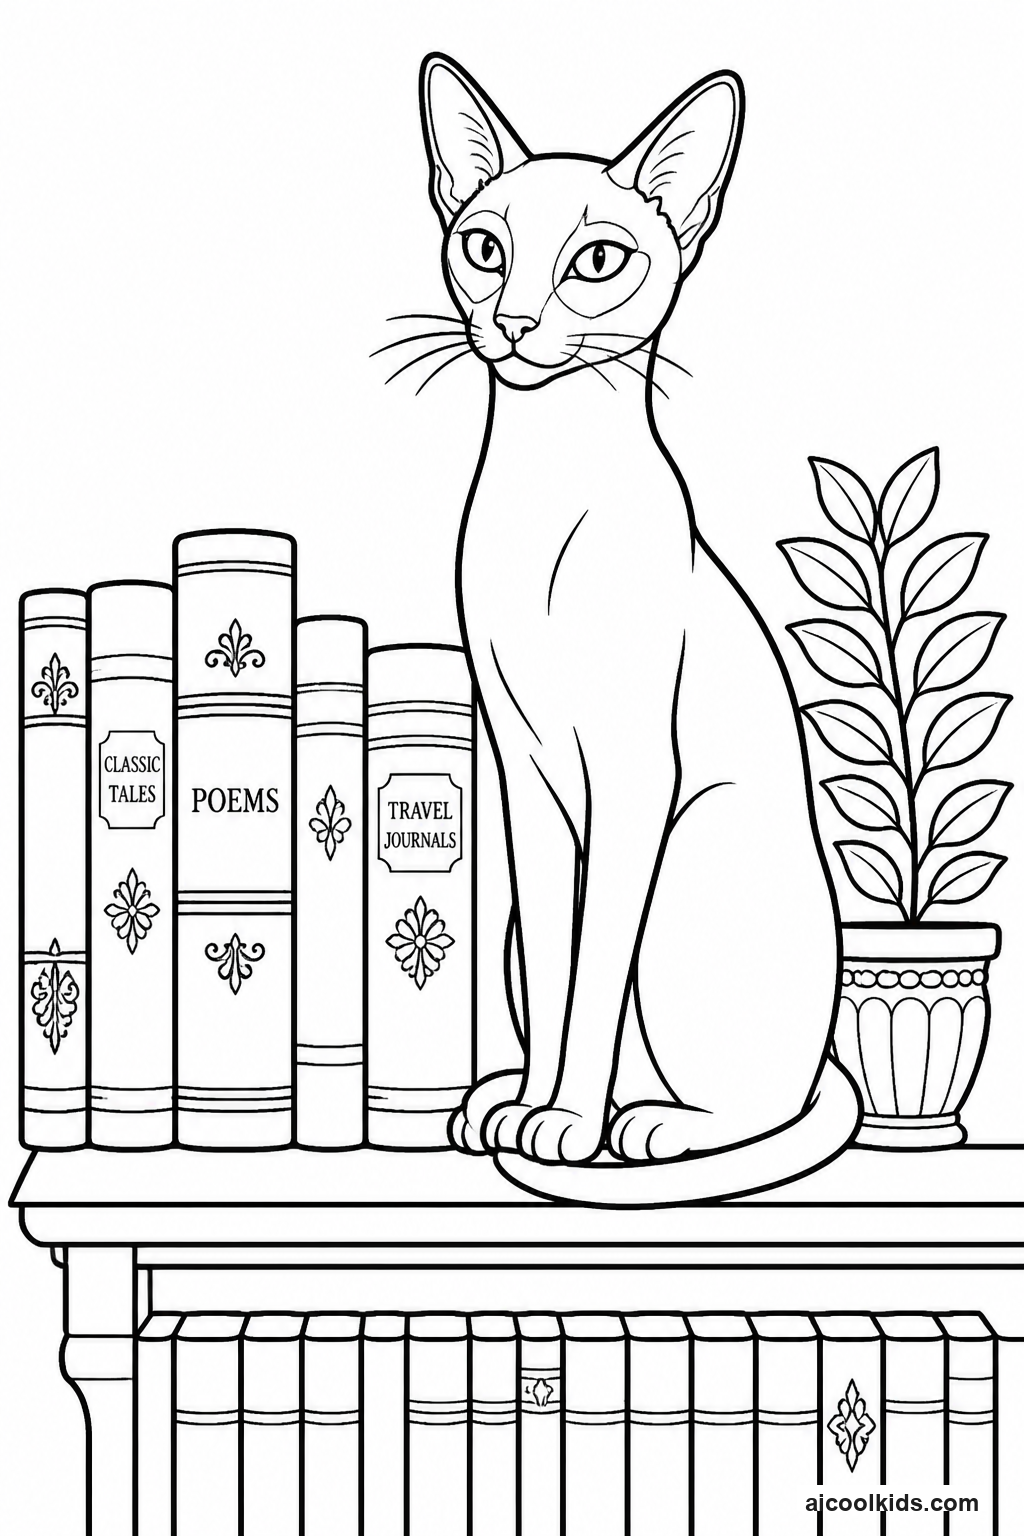
- Select a page with a clear central cat and enough open space around it for a border. Color the sheet with pencils or crayons, taking care not to press so hard that the paper becomes rough or torn. Add a few personal details in the open spaces, such as a name, a paw print pattern, or a small drawing of a favorite art supply. Avoid thick layers of marker if the page will be laminated with self adhesive sheets.
- Measure a piece of cardstock slightly larger than the coloring page and attach the colored sheet to its center with a glue stick. Smooth from the middle toward the edges with a clean hand to press out air pockets. If the cardstock curls, place a book on the mounted page while the glue dries. Add a border with marker or colored pencil, and check that the corners are flat before moving on.
- Write a few short desk reminders in the border, such as Put pencils away or Keep the table clear. Children can add tiny pictures beside the words to make the reminders easy to understand. If the mat is for homework, leave most of the surface open so a notebook can rest on top. If it is for art, add small labeled drawings of pencils, scissors, and glue to show where supplies belong.
- Ask an adult to help cover the page with a clear self adhesive laminating sheet. Follow the package directions, starting at one edge and smoothing slowly with a ruler or clean card to limit bubbles. Keep fingers away from any cutting tool. Trim the clear sheet after it is firmly attached, leaving a narrow sealed border around the cardstock so the paper edges are covered.
- Use the mat on a desk or kitchen table, and wipe it with a slightly damp cloth when needed. Do not soak the edges or use it as a cutting surface. Children can move it to a clear spot before coloring and put it away afterward. At the end of a week, ask whether the reminders helped keep the work area tidy and invite the child to update the design if needed.
5
5. Cat Story Wheel
Materials Needed:
One printed cat coloring pageCardstockPaper fastenerColored pencilsScissorsMarkers
Step by Step Guide:
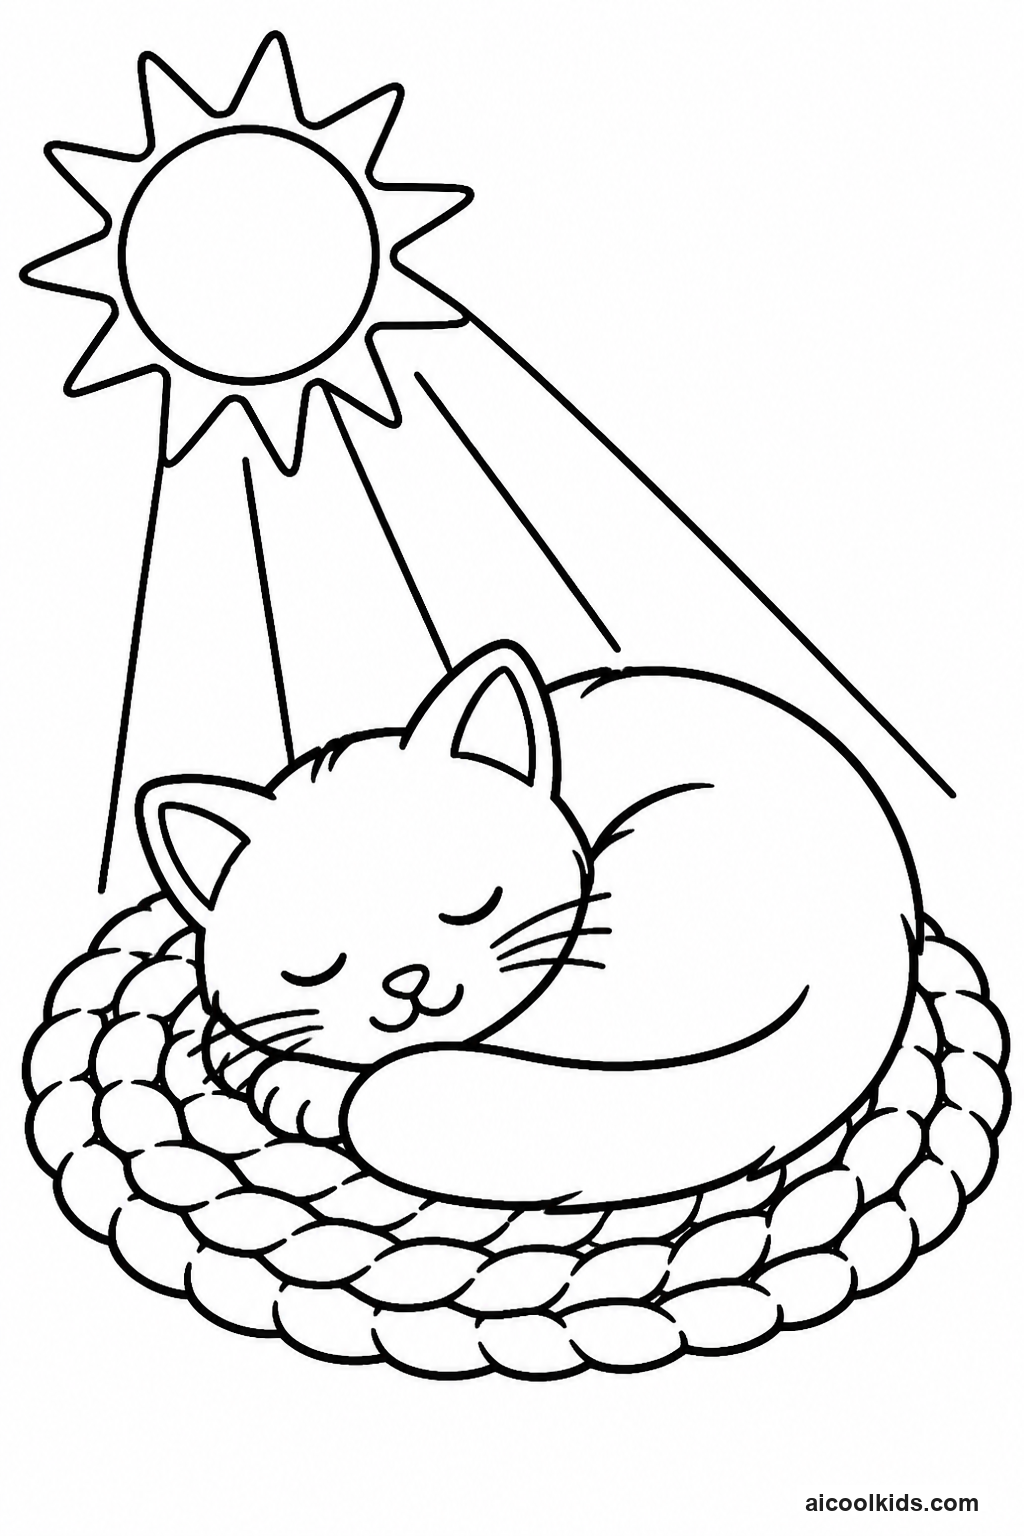
- Color a cat from the page and cut it out with a small border of white paper around the outline. If the page has a background that helps explain the scene, leave the full page intact and cut a circle from another area of the sheet instead. Glue the cat to a circle of cardstock. The circle should be wide enough to hold the cat and leave room around it for short story prompts.
- Draw a second cardstock circle of the same size. Divide it into six or eight sections using a ruler and pencil lines that meet in the center. Write one prompt in each section, such as a place, a problem, a helper, a sound, a surprise, or a way to get home. Younger children can draw small pictures instead of writing. Color the sections lightly so the words remain easy to read.
- Place the prompt circle behind the cat circle and ask an adult to make a small hole through both centers. Push a paper fastener through the holes and spread its legs at the back without tightening it so much that the circles cannot turn. Check that the top circle spins smoothly. If the circles catch, trim any rough edges and try turning the wheel again before adding more decoration.
- Take turns spinning the wheel and recording the prompt that appears in a small notebook. Spin three times to select a character detail, a place, and a problem, then use the results to plan a beginning, middle, and ending. For example, a sleepy cat at a library might hear a strange sound and discover a lost kitten. Children can tell the story aloud first, then write a few sentences.
- Decorate the wheel with a title and simple paw prints, keeping the center fastener clear. Add the story’s title and the child’s name to the notebook page. Invite the child to draw a final scene from the story using the same cat character. The wheel can be reused for another story by changing the prompts or adding new sections on a separate circle.
6
6. Cat Window Mobile
Materials Needed:
Printed cat coloring pagesCardstockString or yarnDrinking strawsChild safe scissorsTape
Step by Step Guide:
- Choose three or four cat images from the printable sheets and color each one on both sides if the image is available twice. If there is only one copy, glue the colored page to cardstock and decorate the blank reverse with a second design, such as a paw print, a fish, or a simple coat pattern. Leave a small white border when cutting so narrow tails and ears are less likely to tear.
- Cut out each cat shape and punch or carefully make a small hole near the top. Add a second hole near the bottom of some shapes if you want to connect one cat to another. Thread a piece of string through each hole and tie a secure knot. Keep the strings different lengths so the cats can hang at varied heights. An adult should handle any sharp hole making tool.
- Cut a drinking straw into two pieces and cross them at the center to make a balanced support. Wrap tape around the crossing point so the pieces stay together. Tie one string from each straw end, then add one or two strings near the center. Move the hanging cats along the strings until the support looks level. If one side dips, shorten or move a string rather than adding more tape immediately.
- Add light paper shapes such as moons, stars, fish, or paw prints to the open spaces between the cats. Keep each shape small so the mobile can turn gently without tangling. Children can color these shapes in a repeated pattern or use colors that match the cat designs. Write a small title card, such as Cats at Play, and tie it to the central string if the mobile remains balanced.
- Hang the finished mobile from a secure hook or a safe, adult approved spot near a window, away from fans and busy walkways. Check that it is high enough not to catch on a person or pet. Watch how the pieces turn when air moves through the room. Ask the child which string or shape seems to affect balance most, then adjust the positions until the cats hang at pleasing heights.