Parent & Teacher Craft Guide
6 Creative Learning & Craft Ideas for Dinosaur Coloring Pages
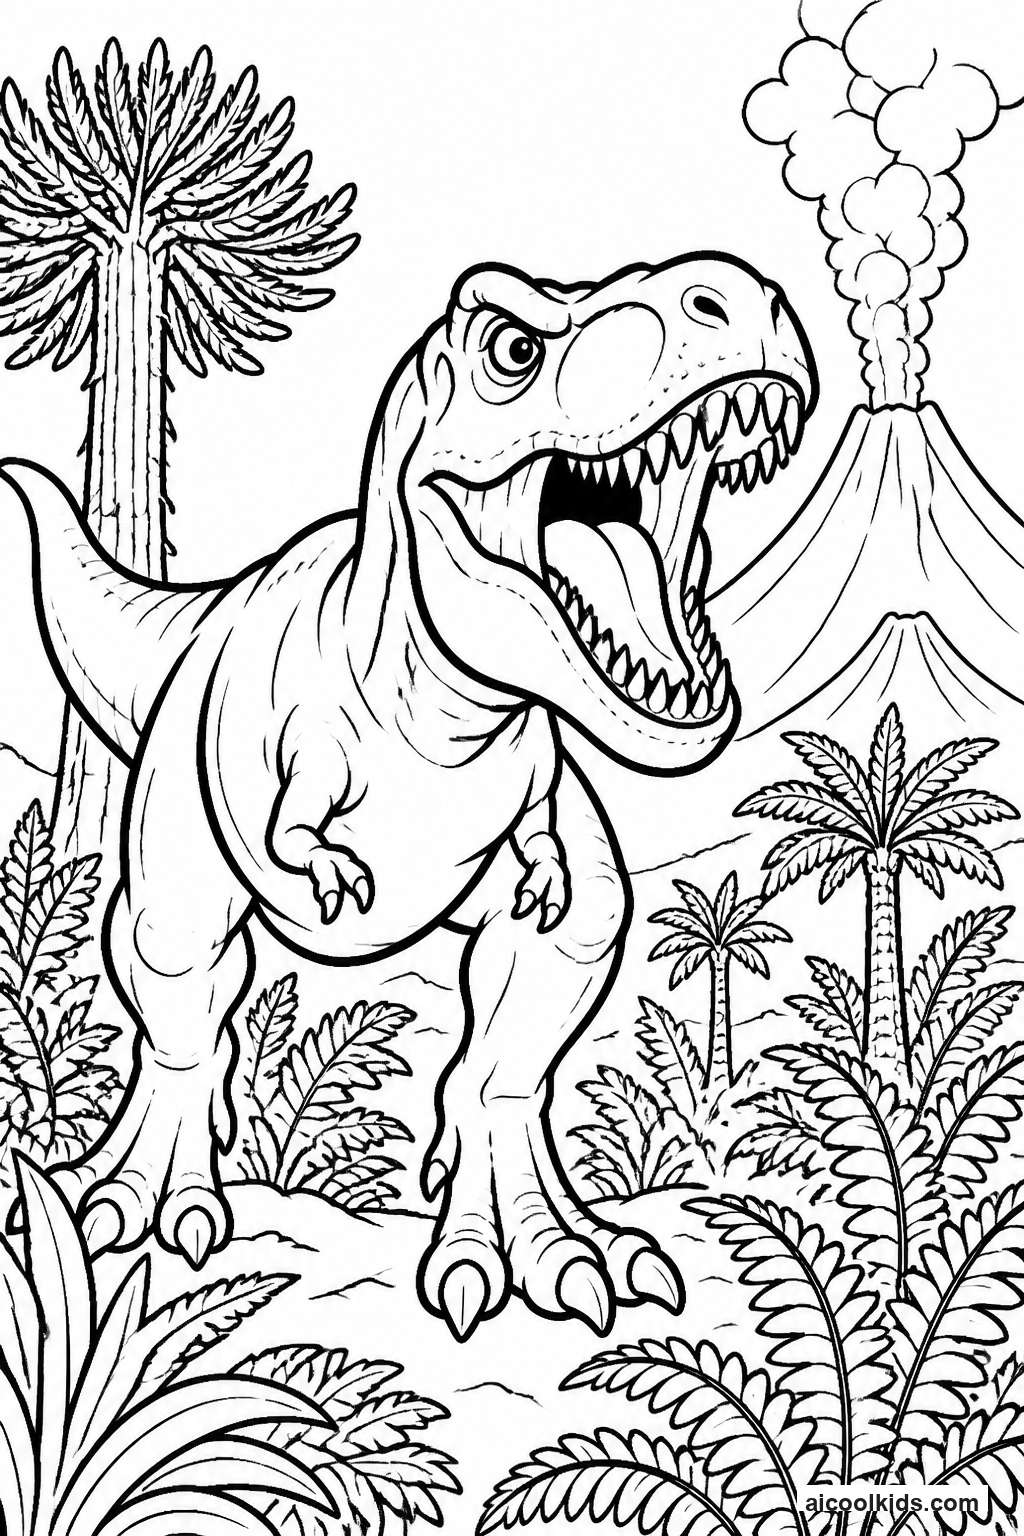
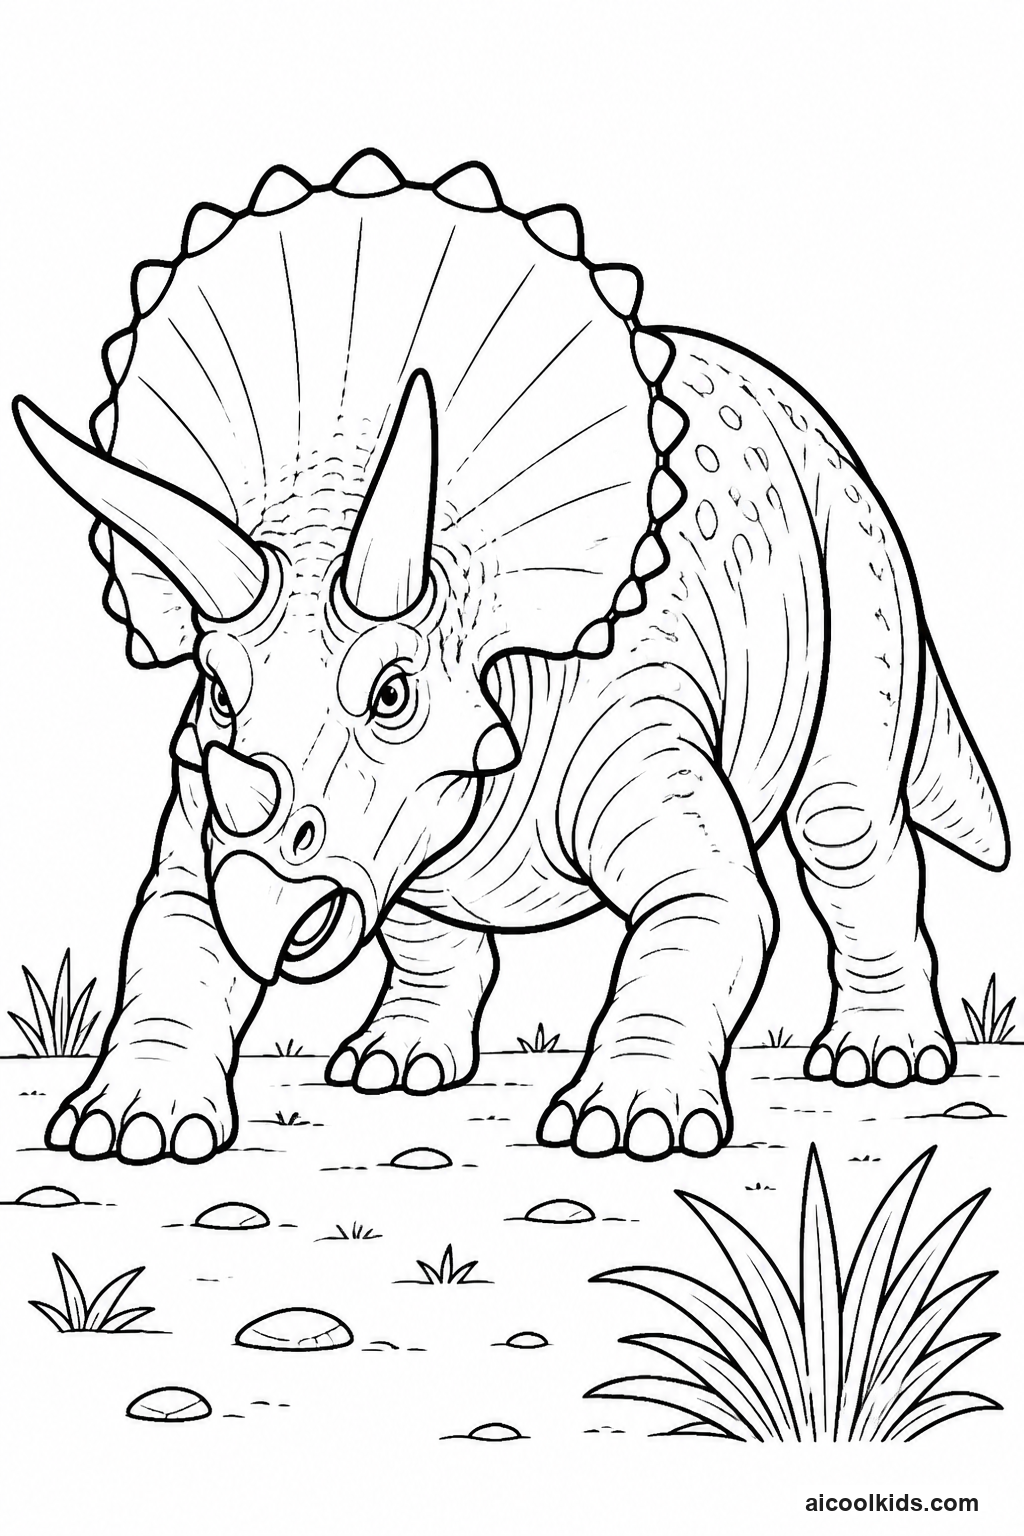
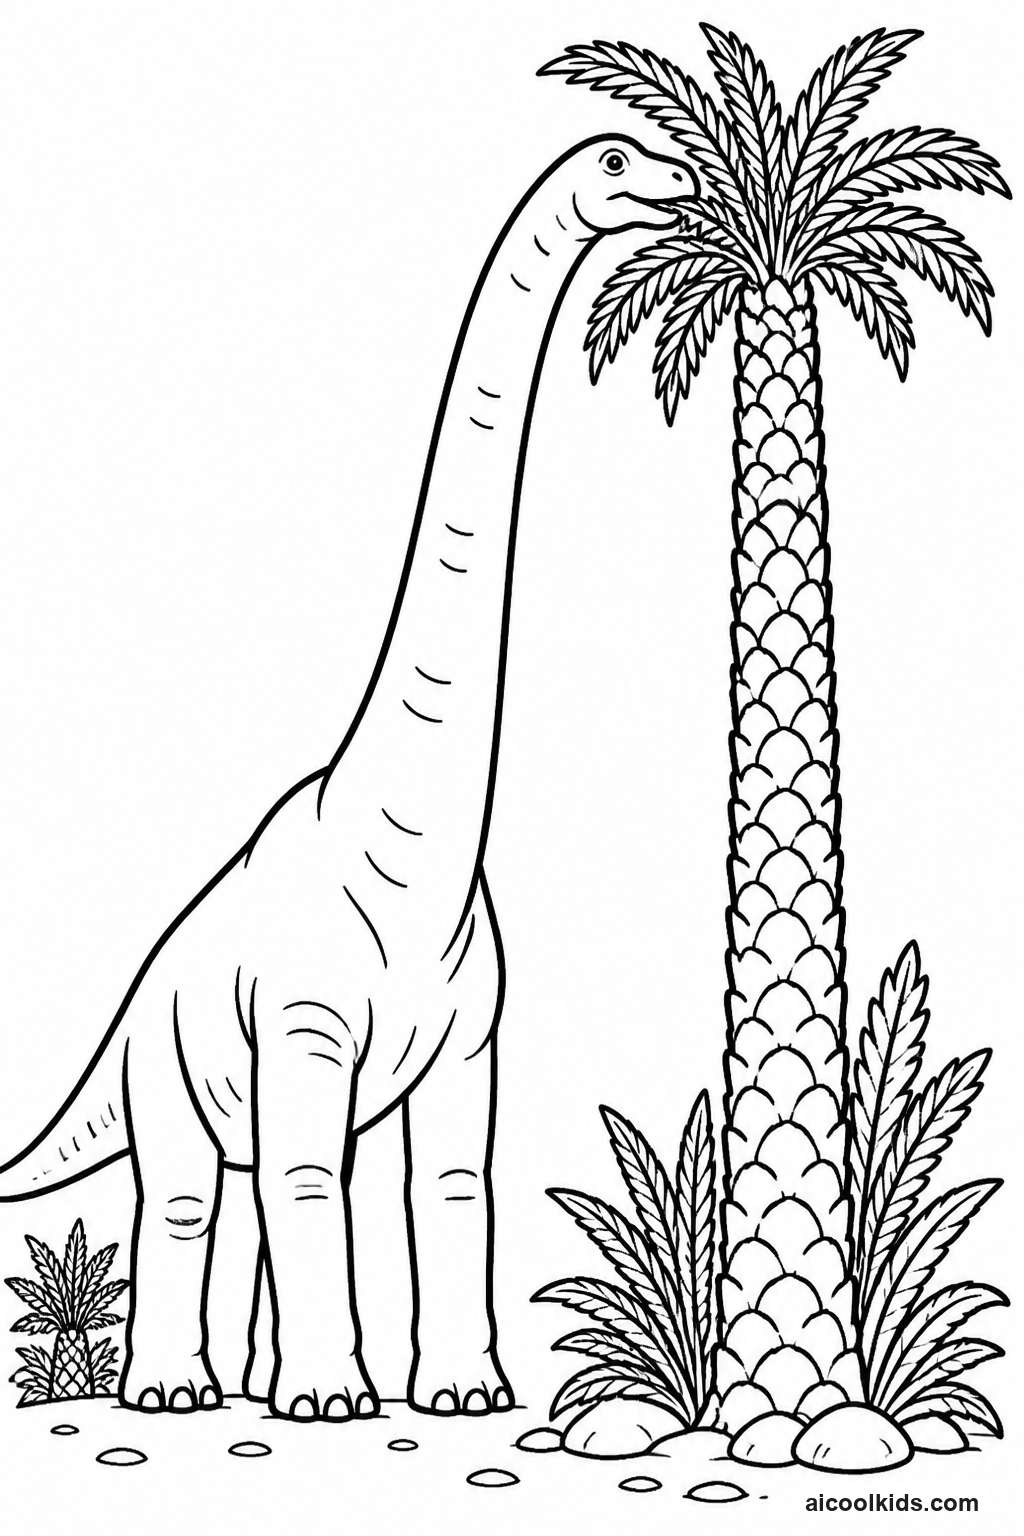
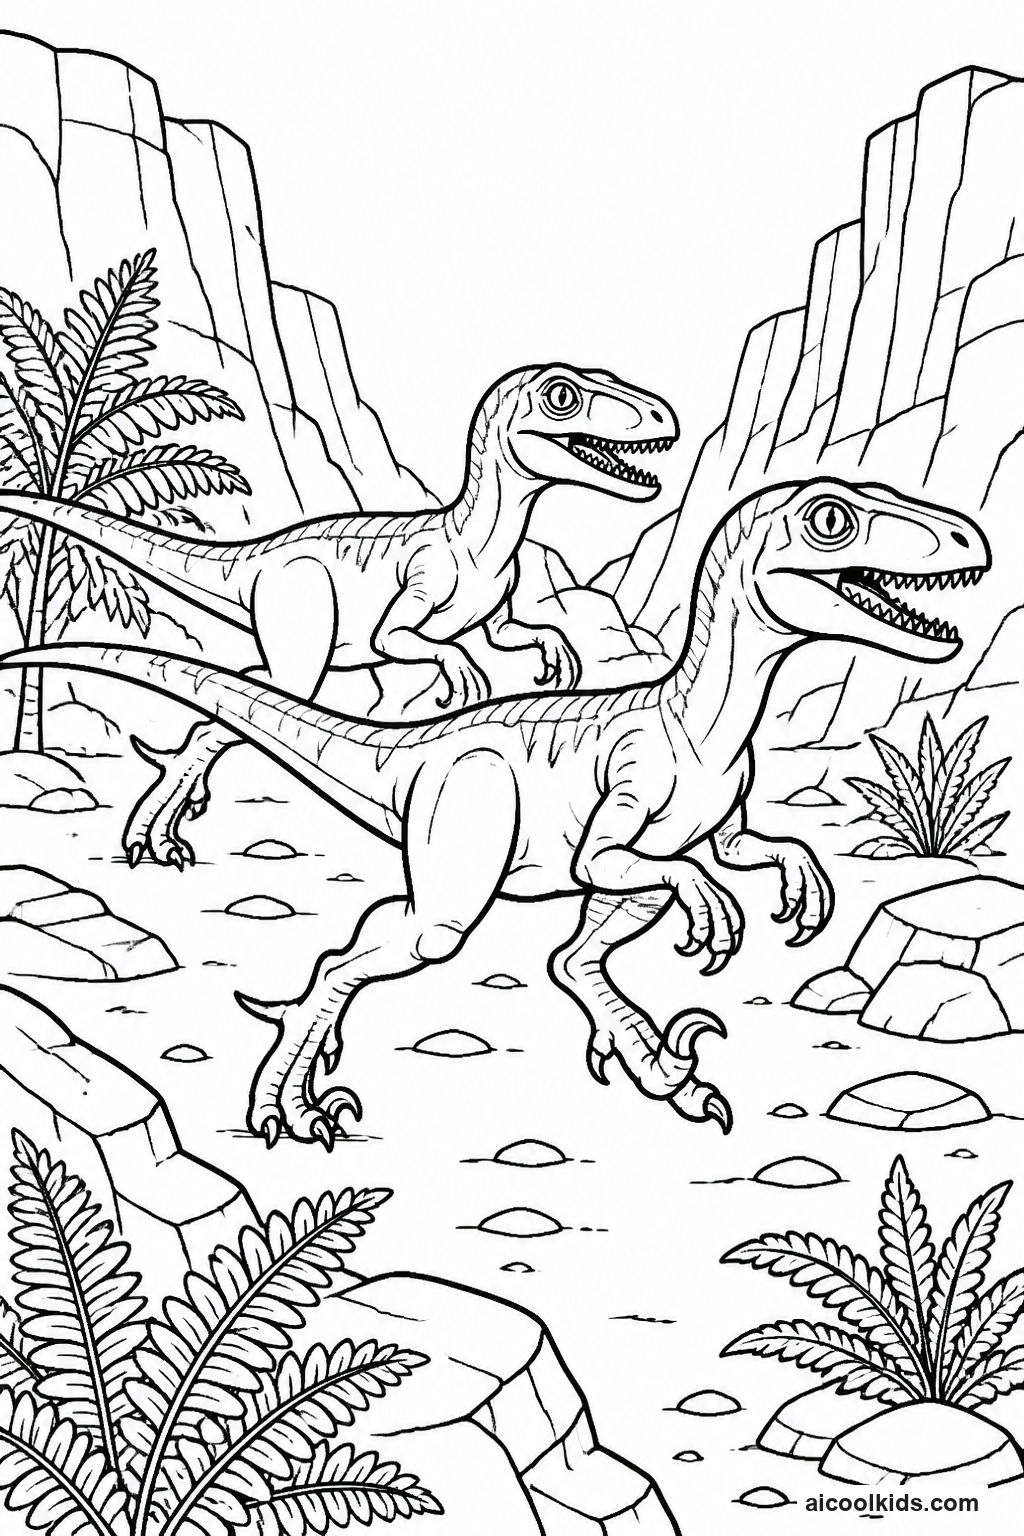
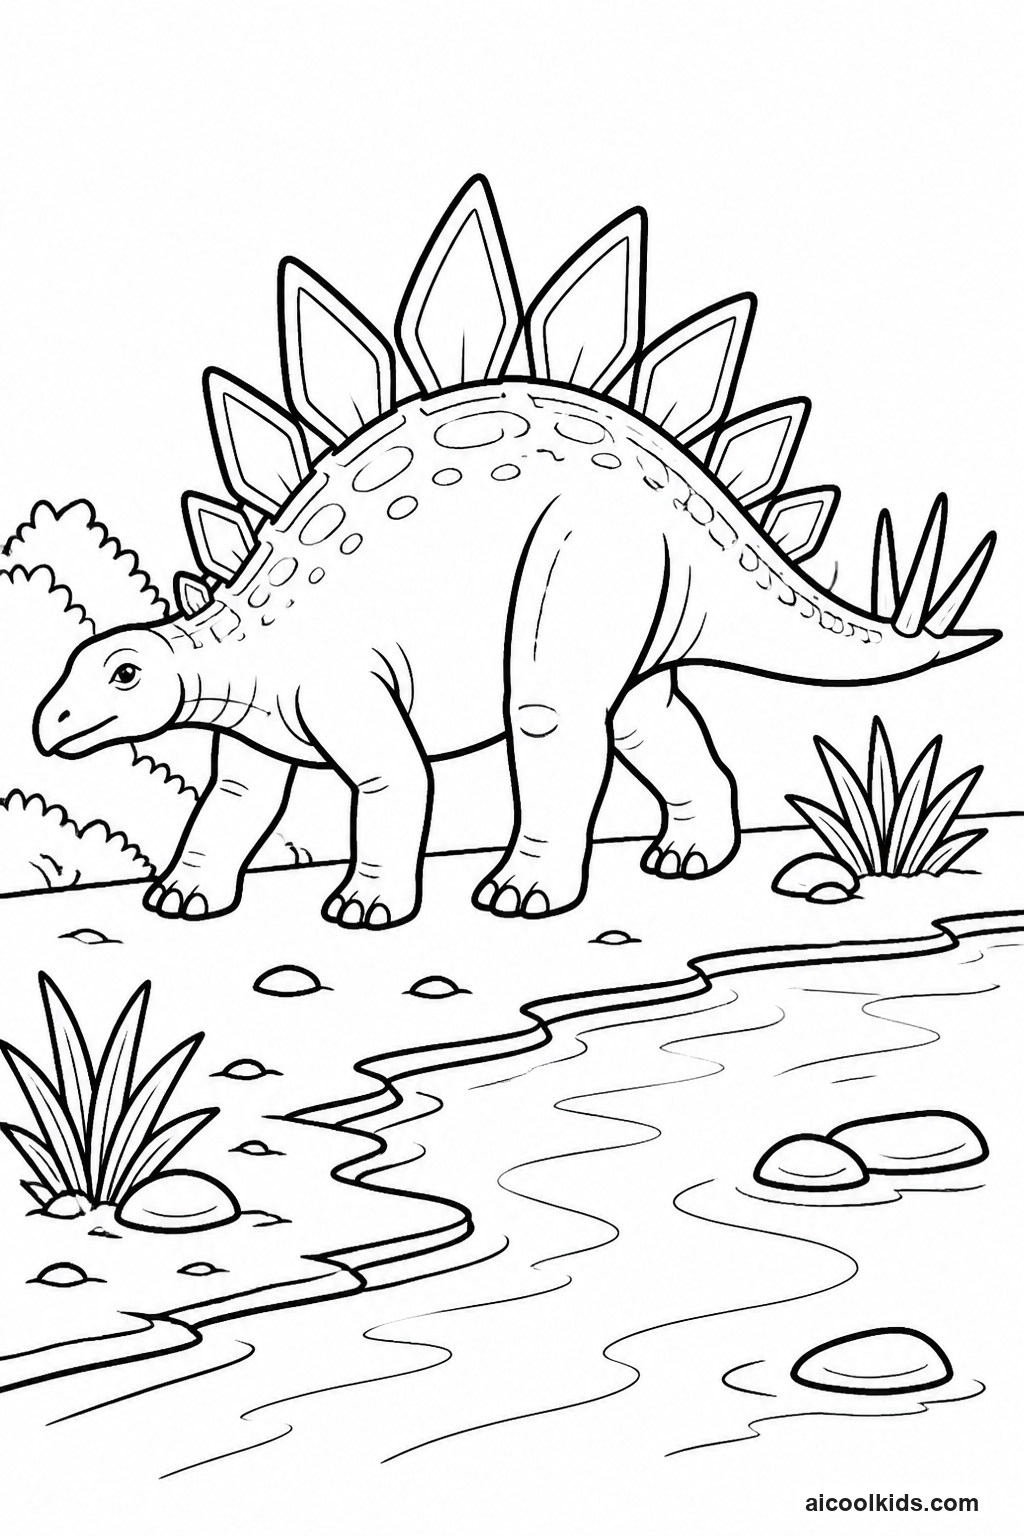
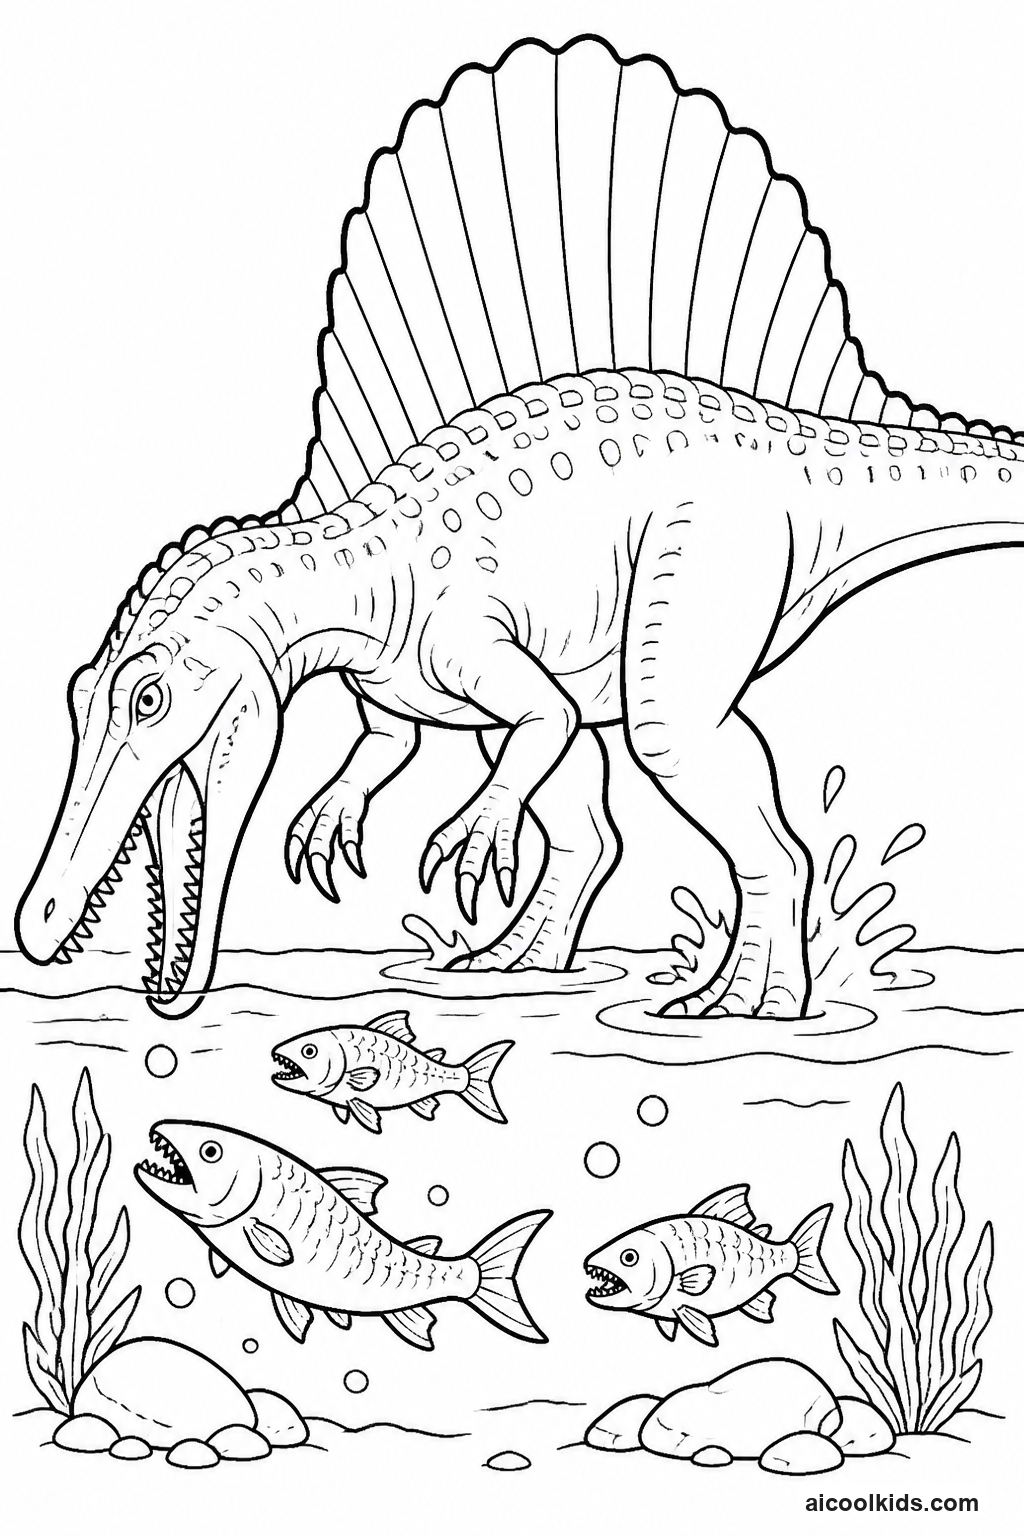
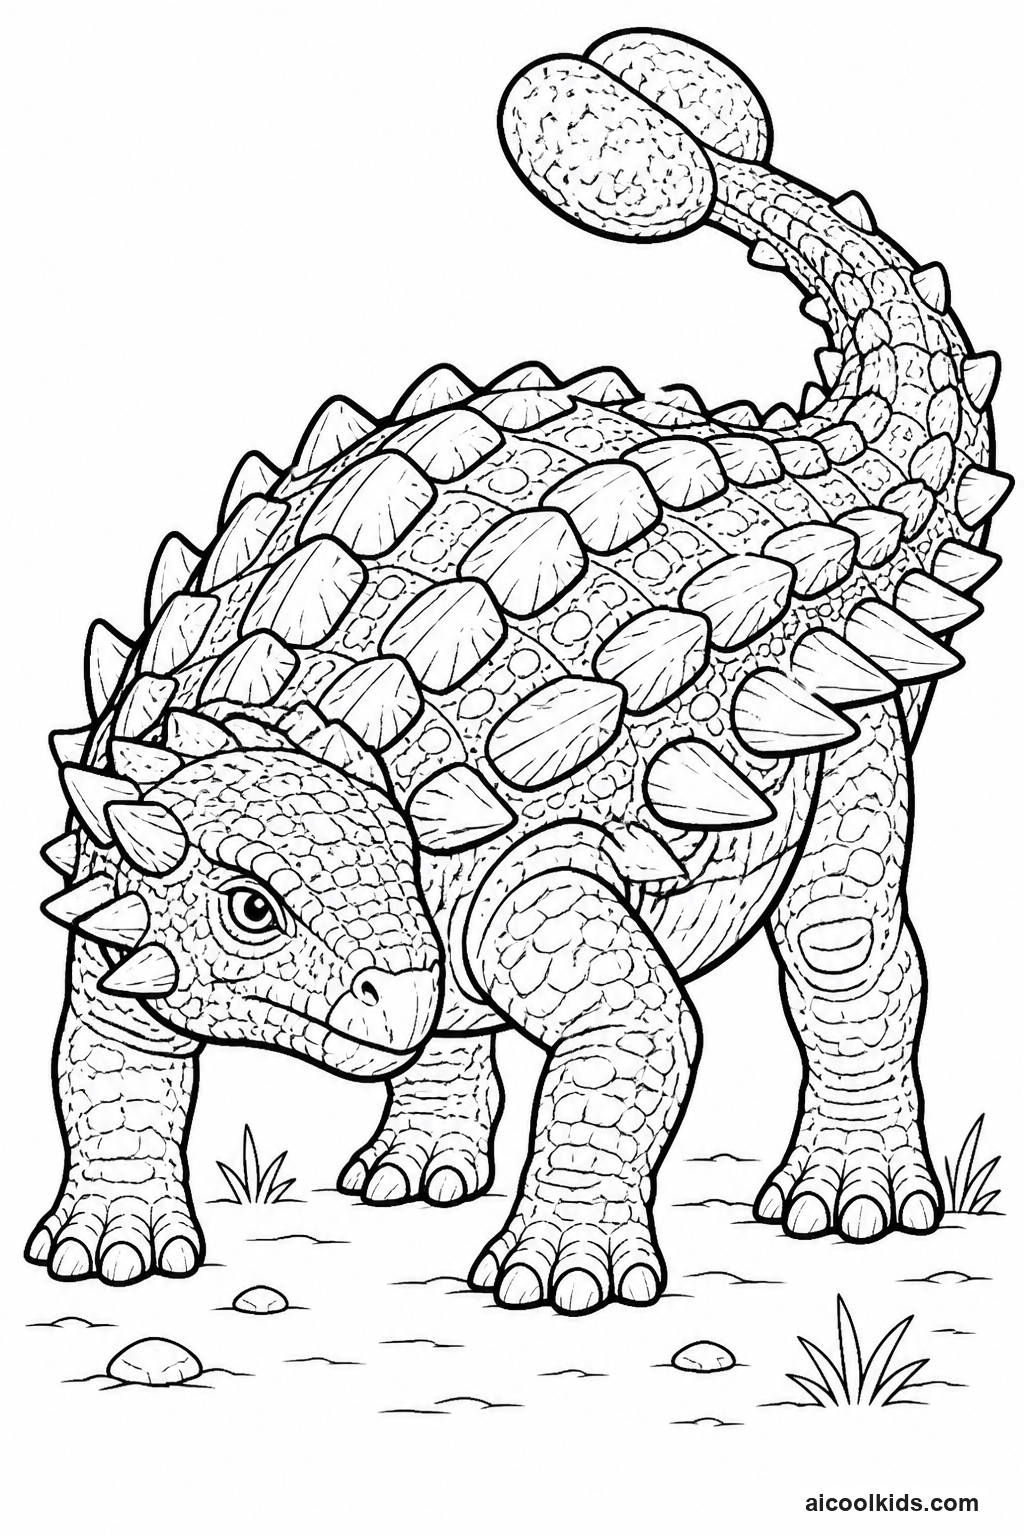
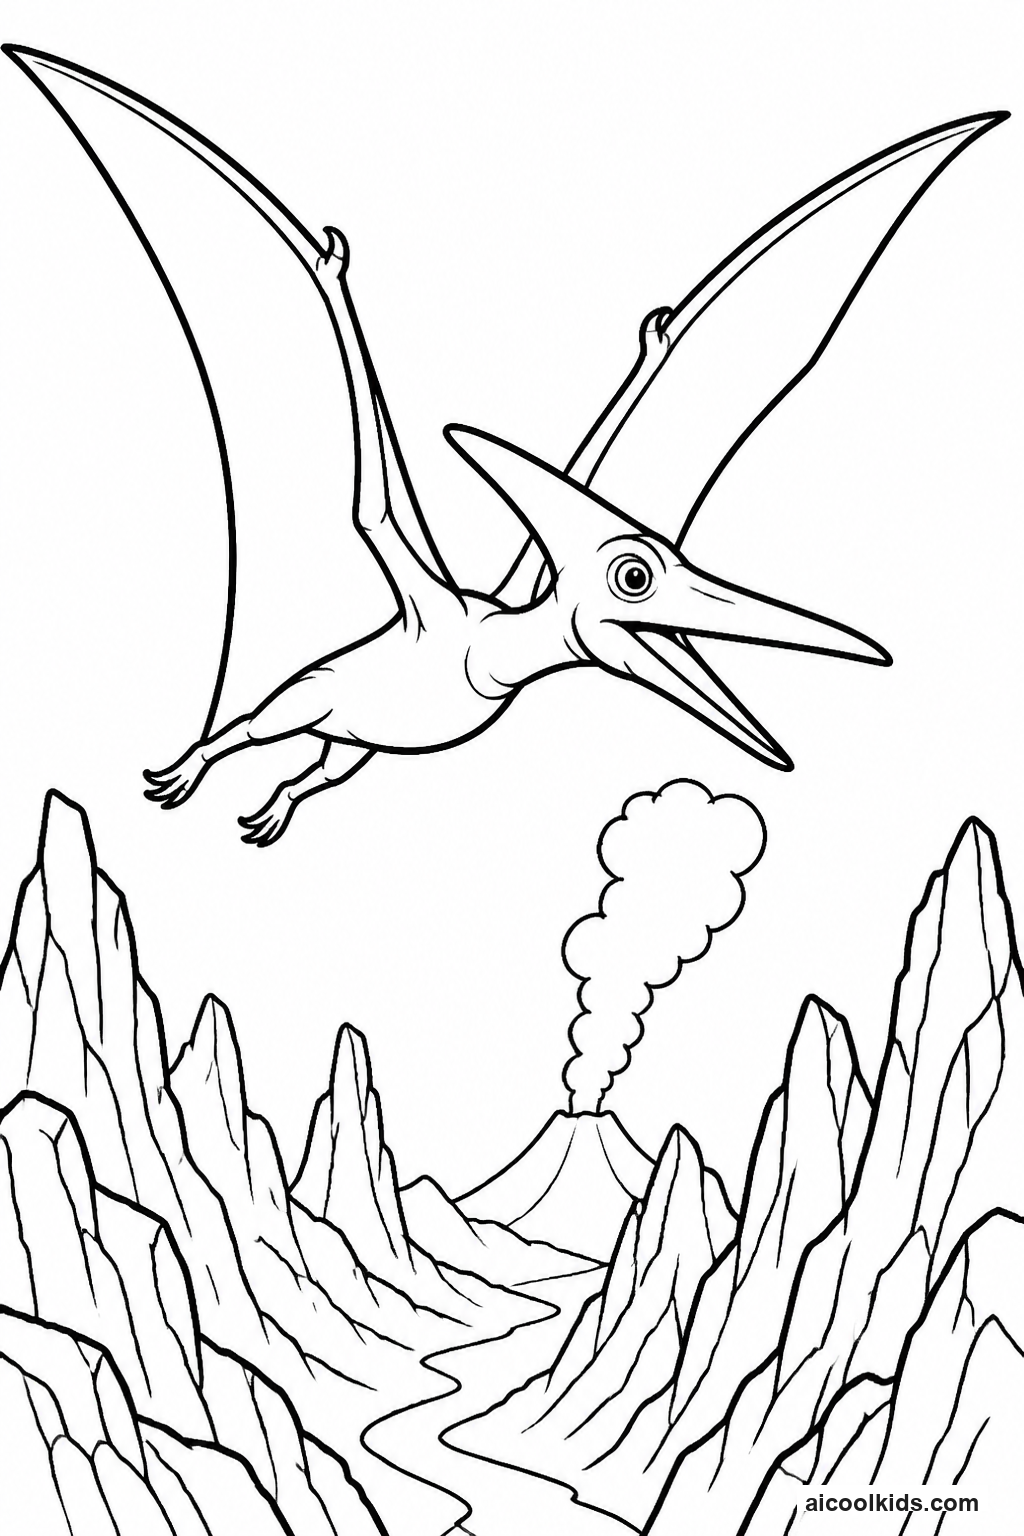
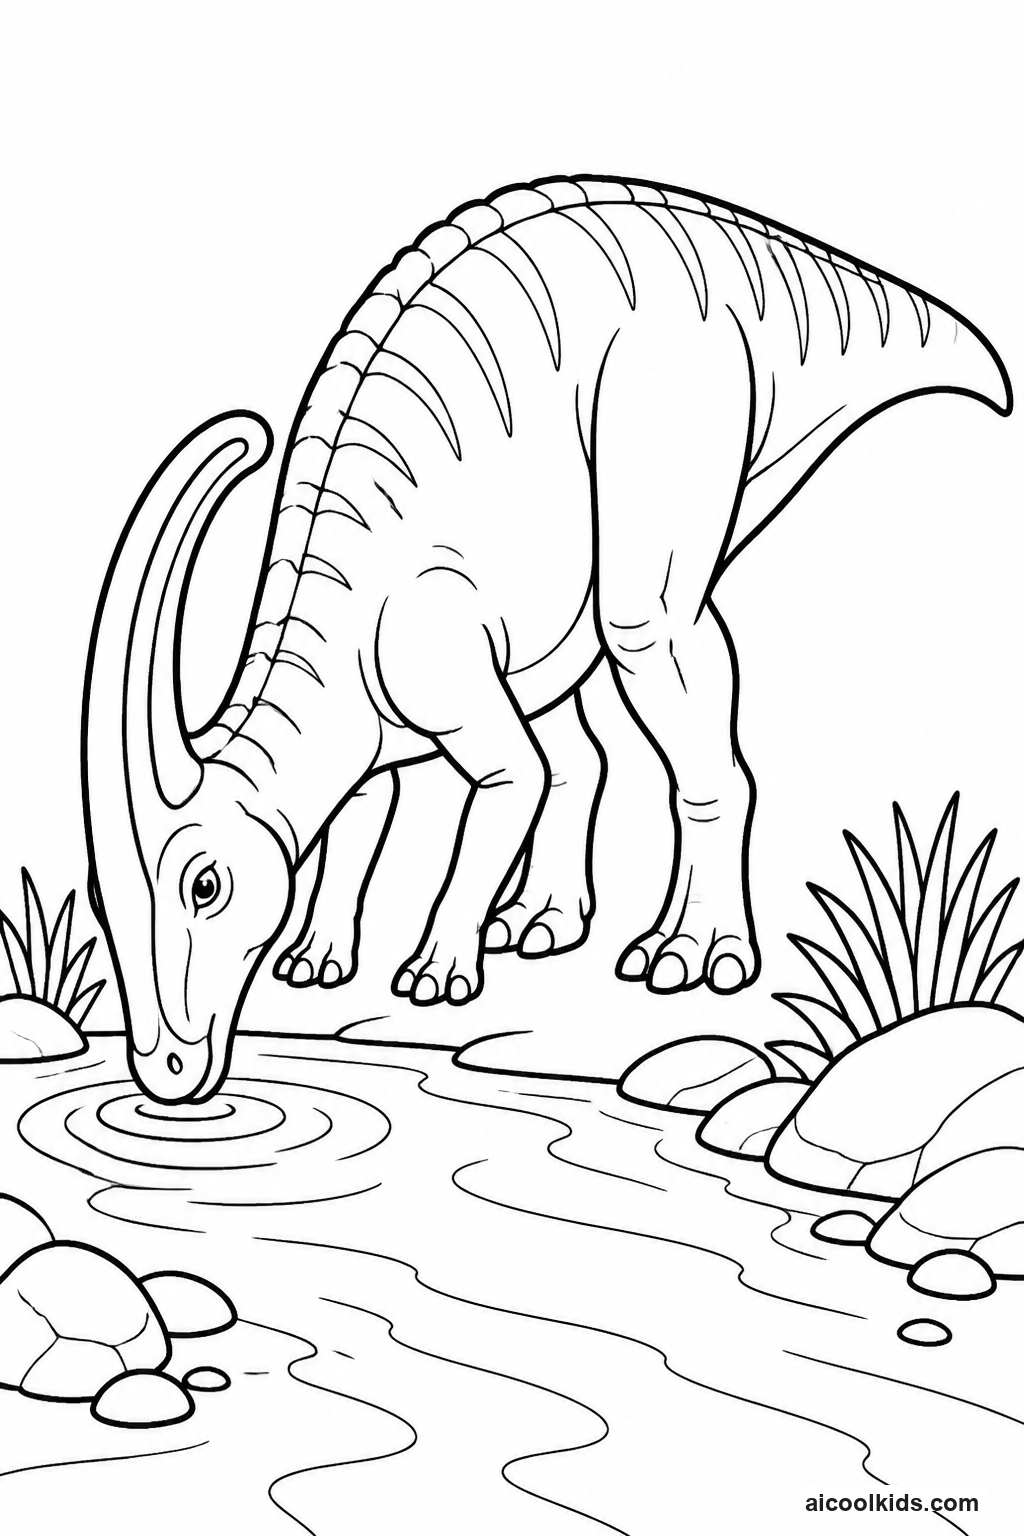
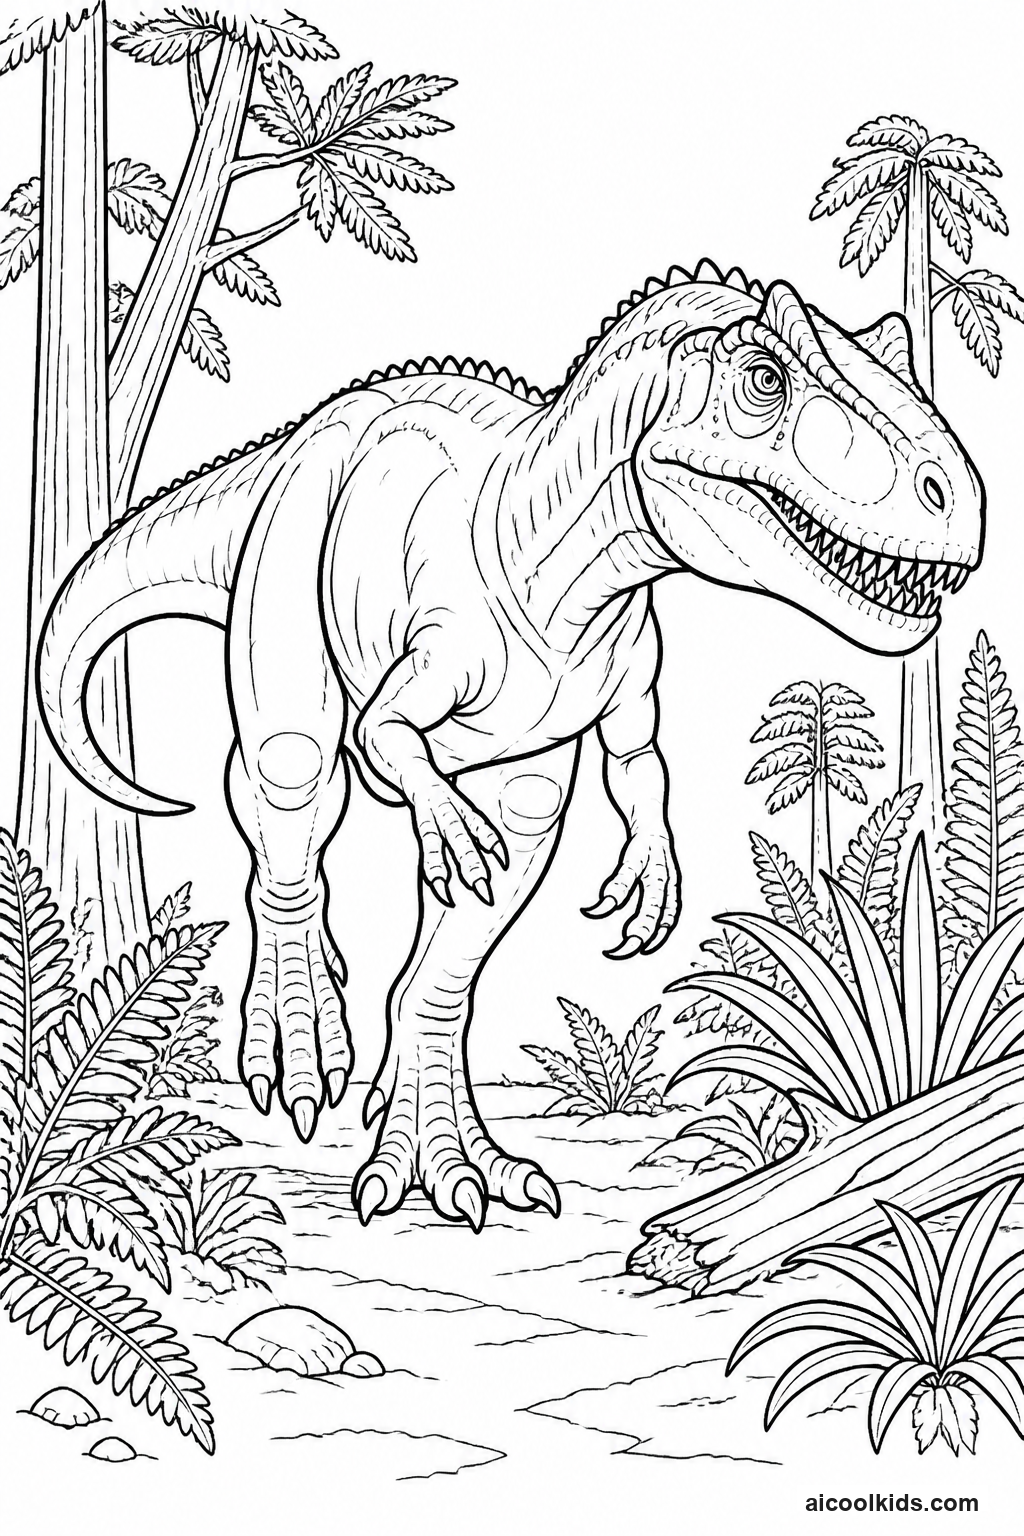
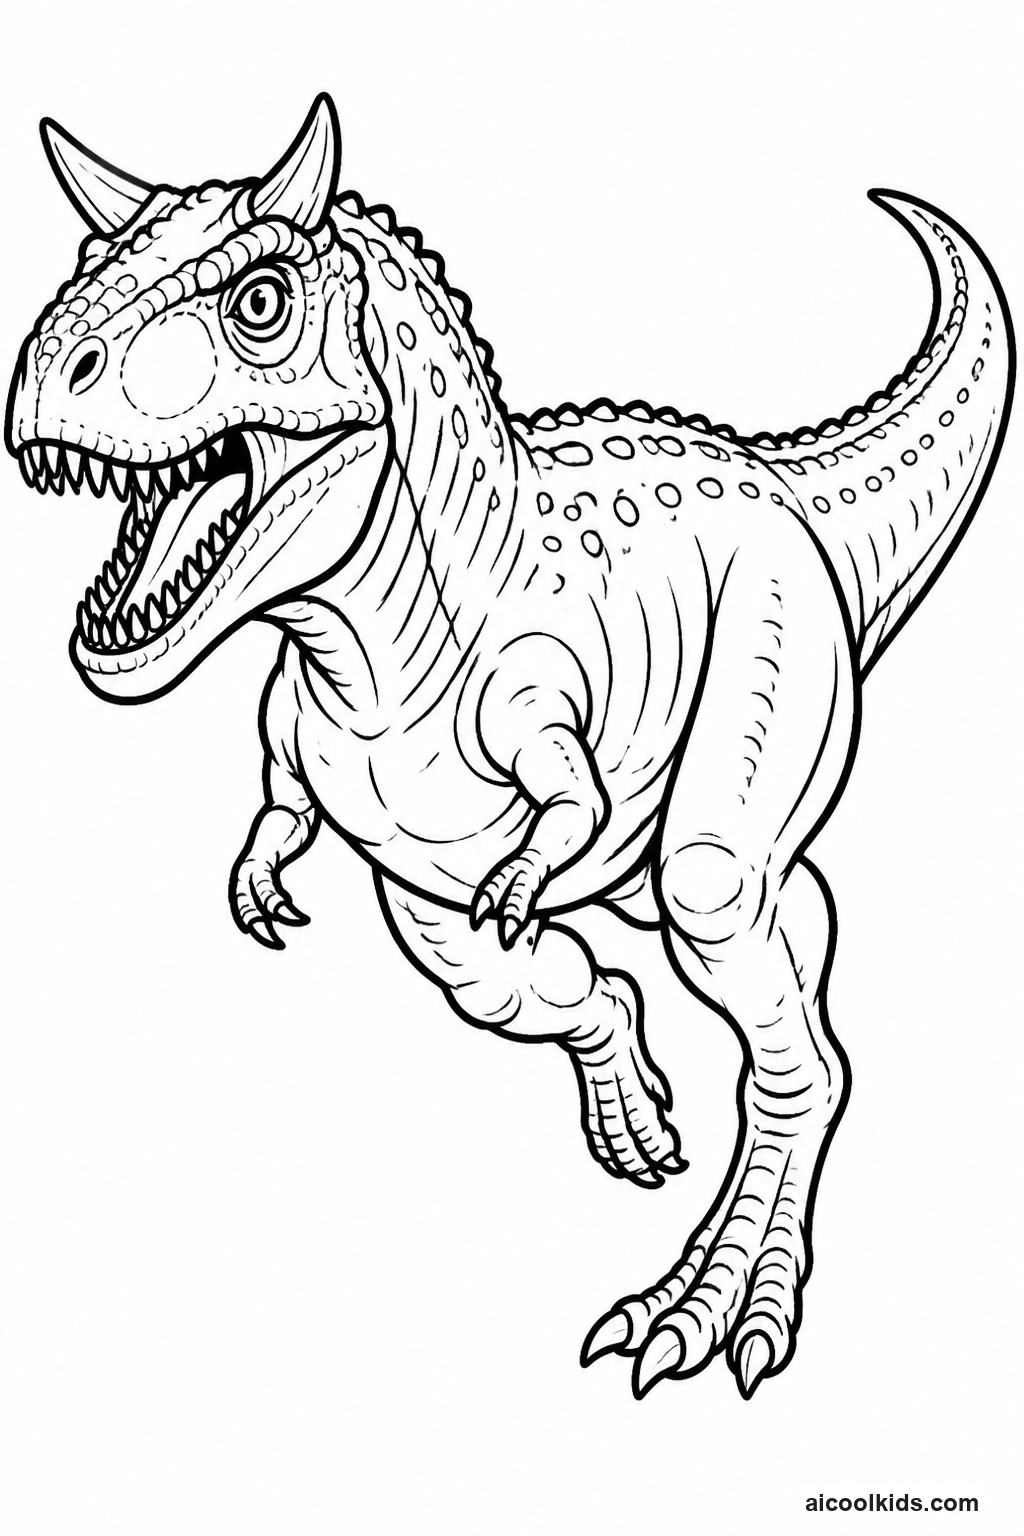
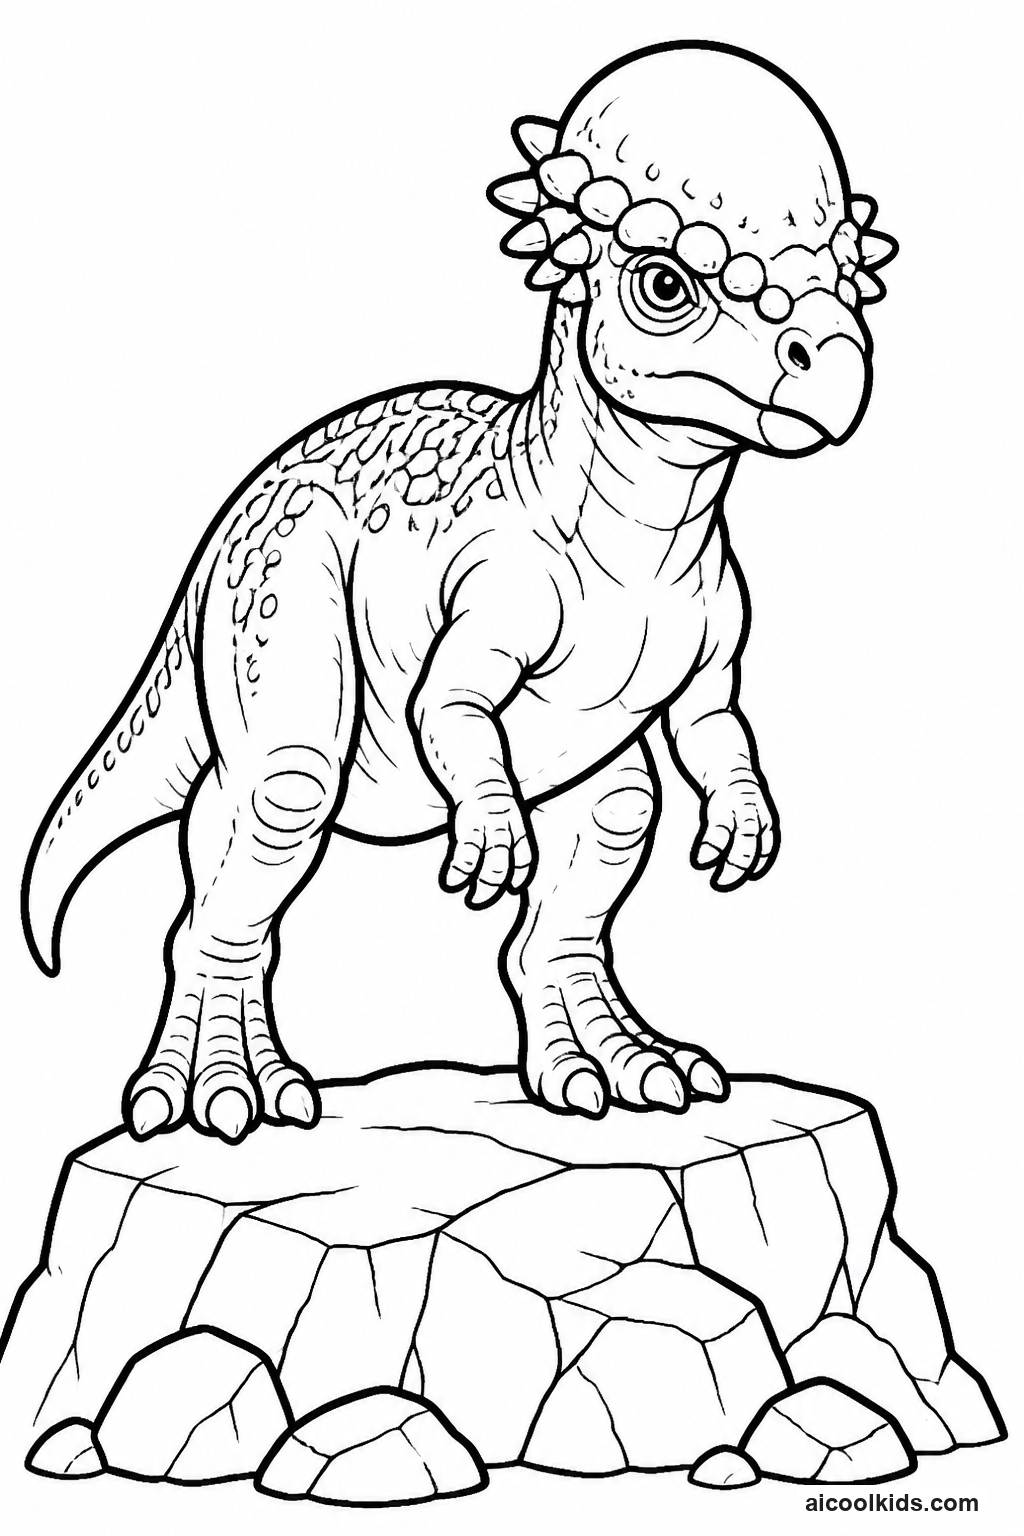
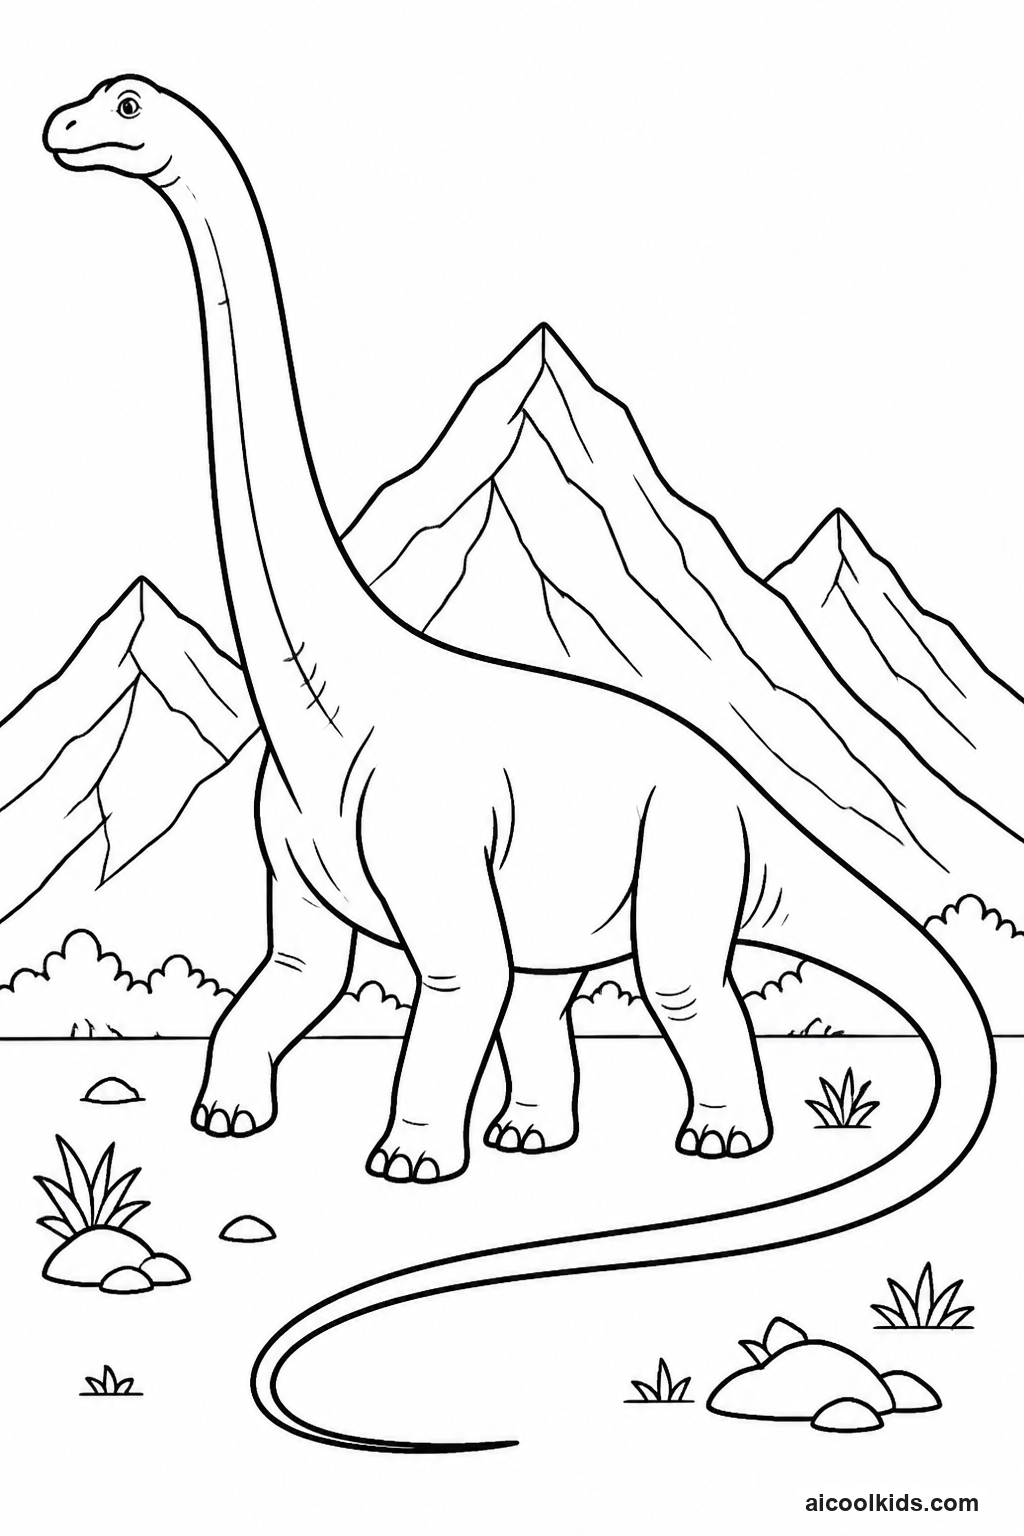
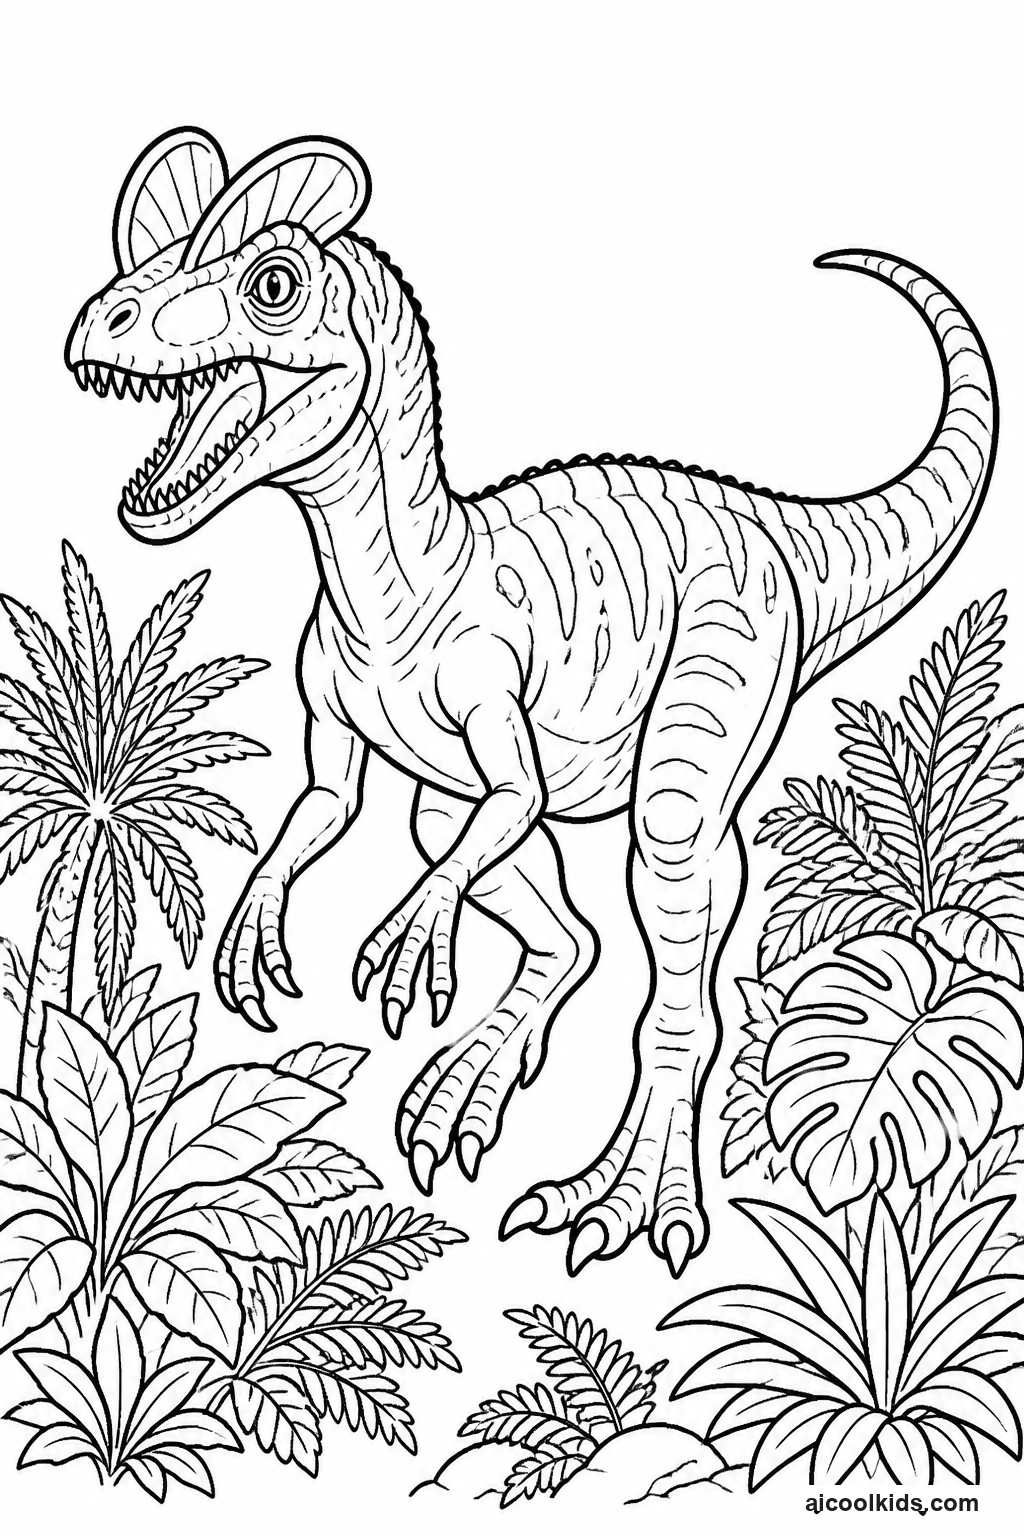
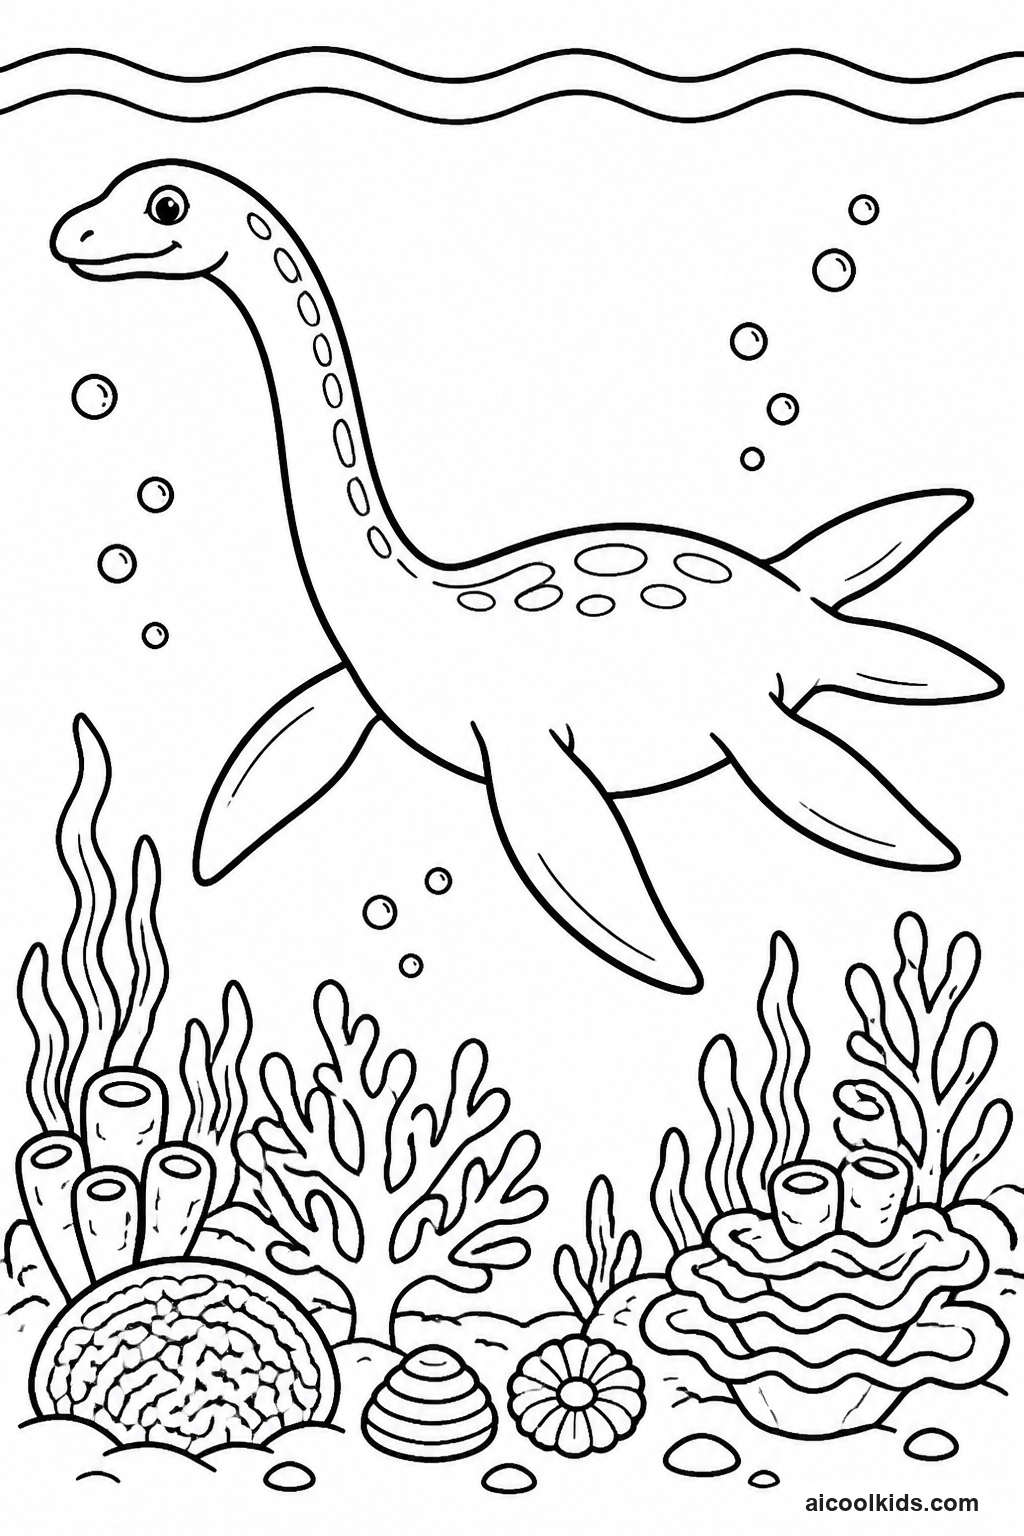
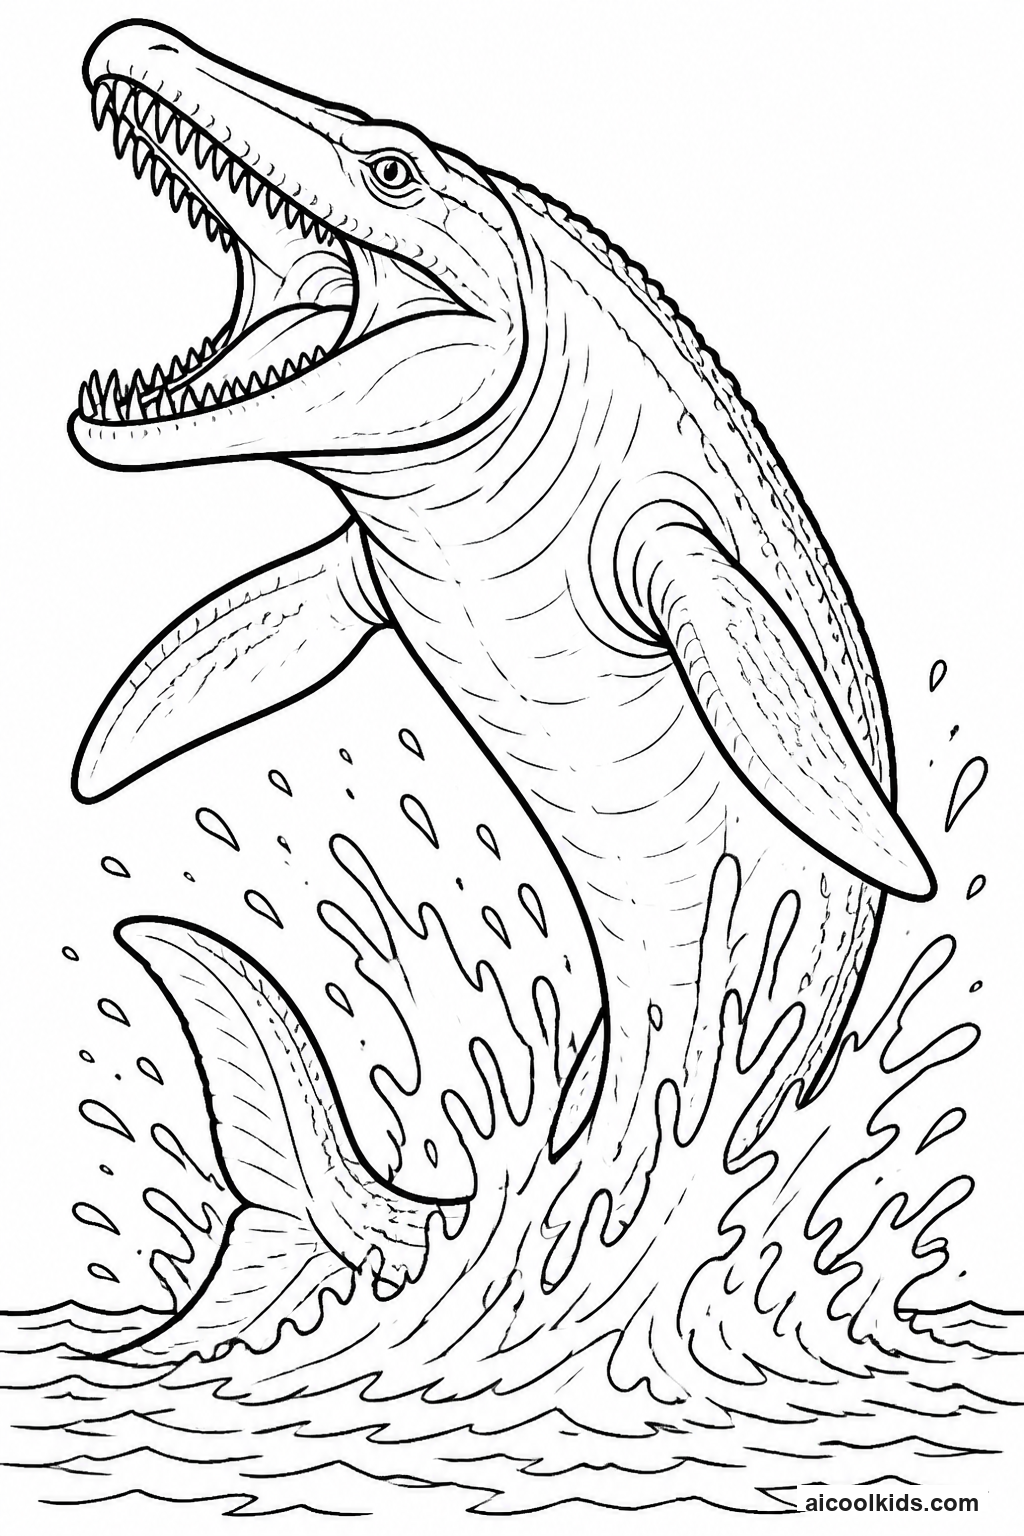
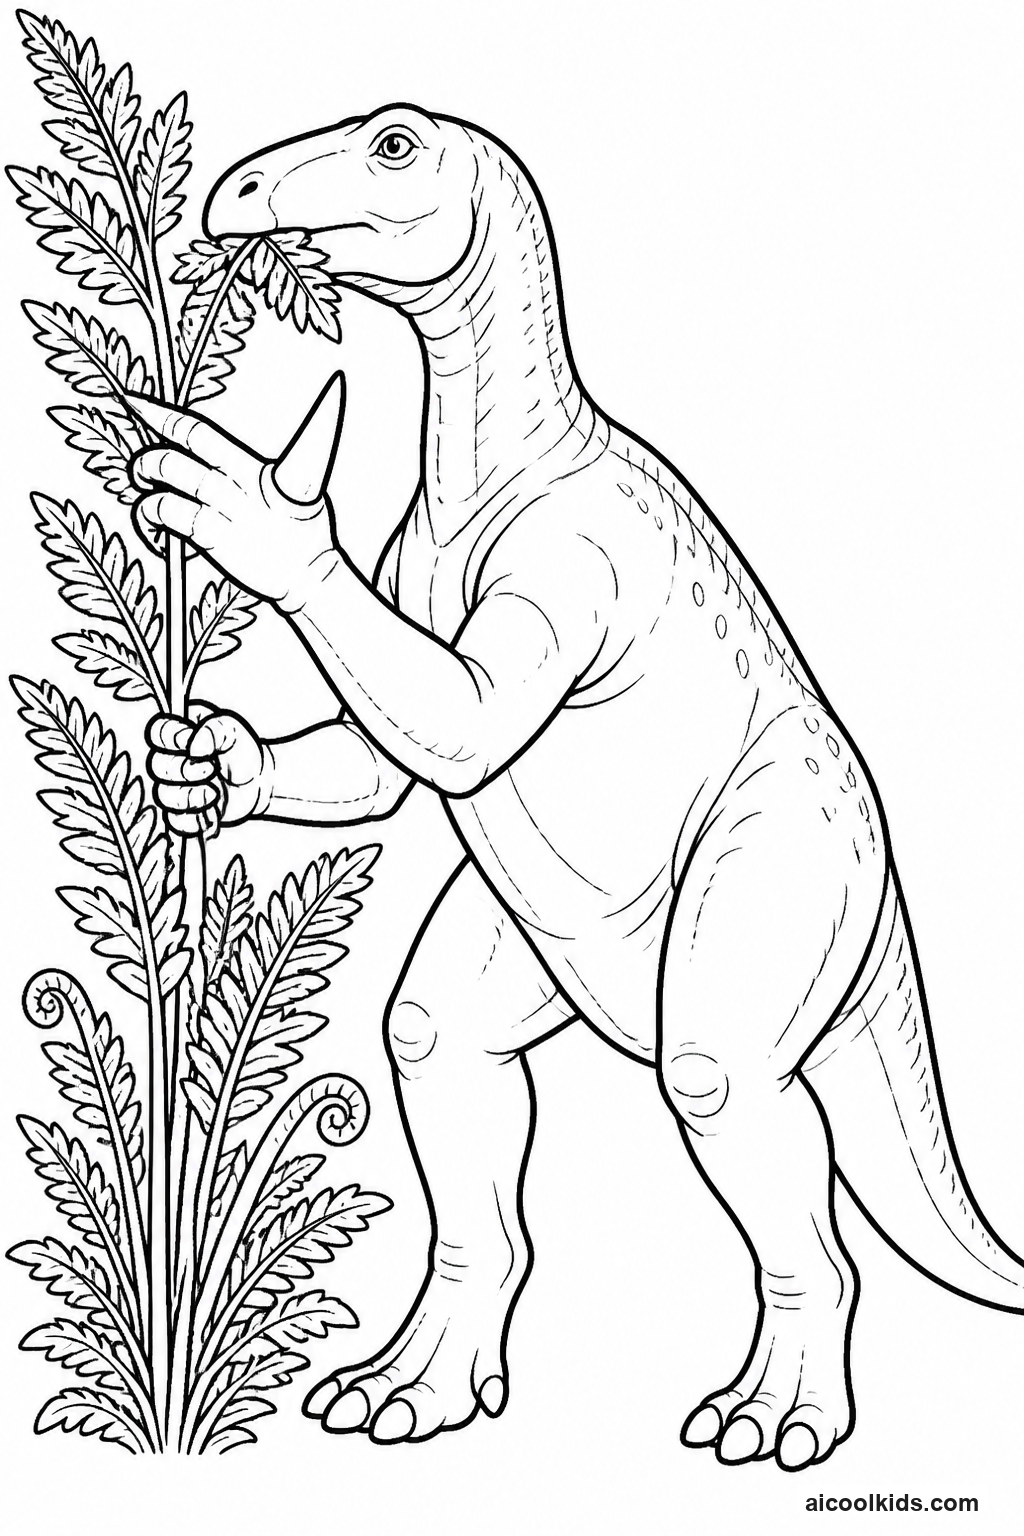
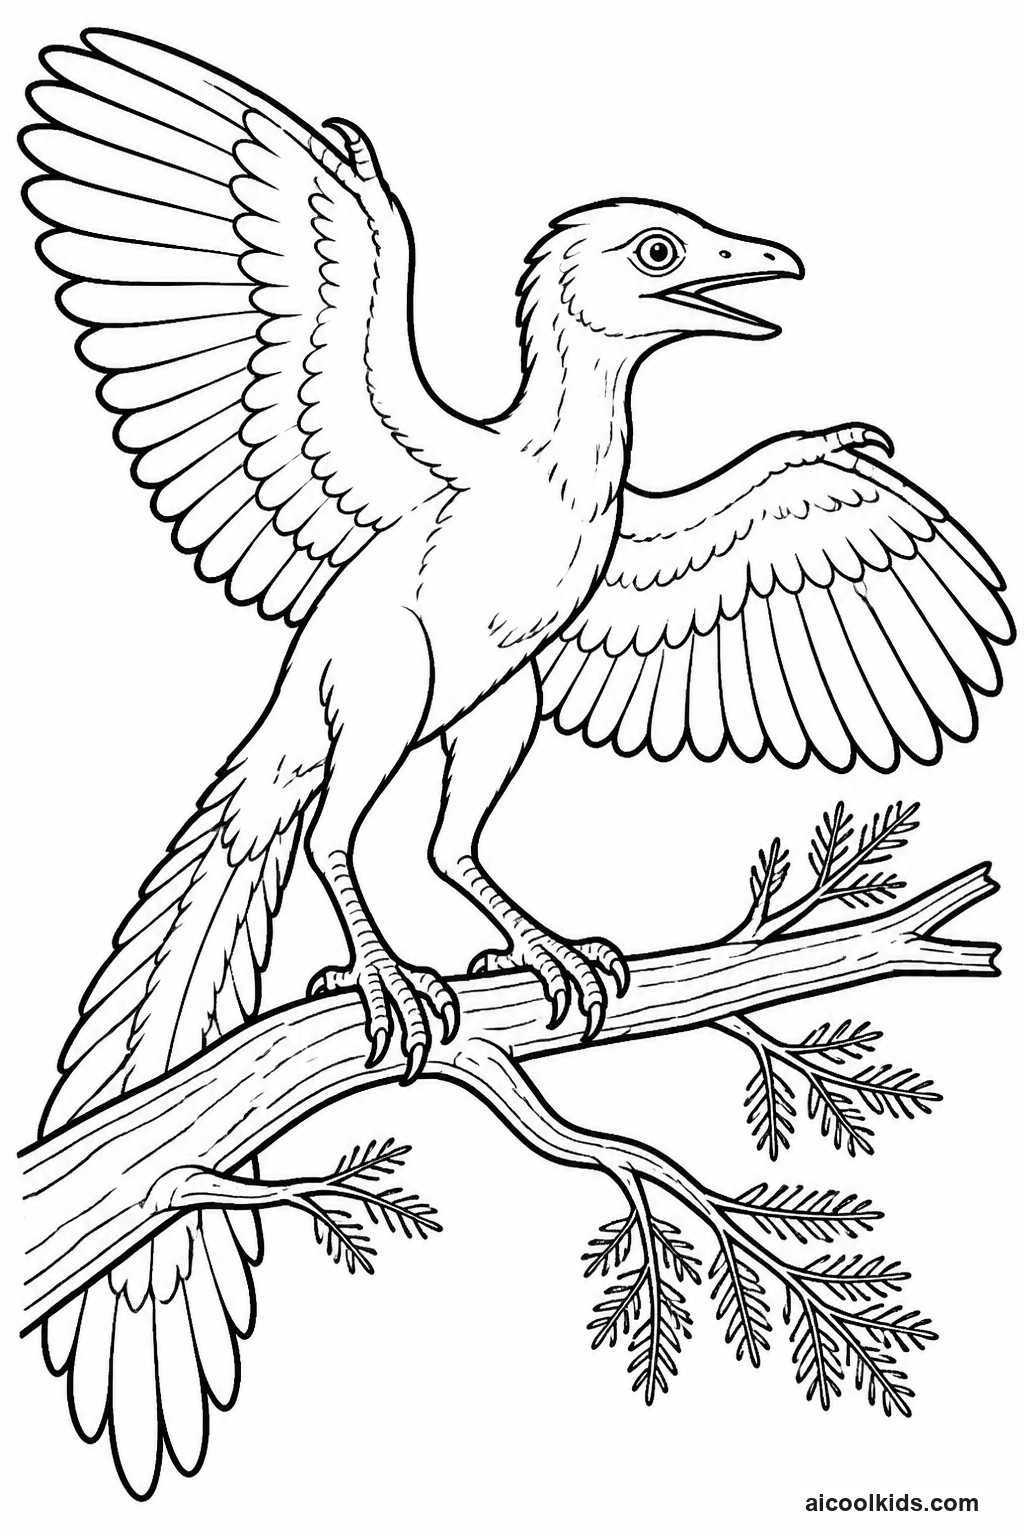
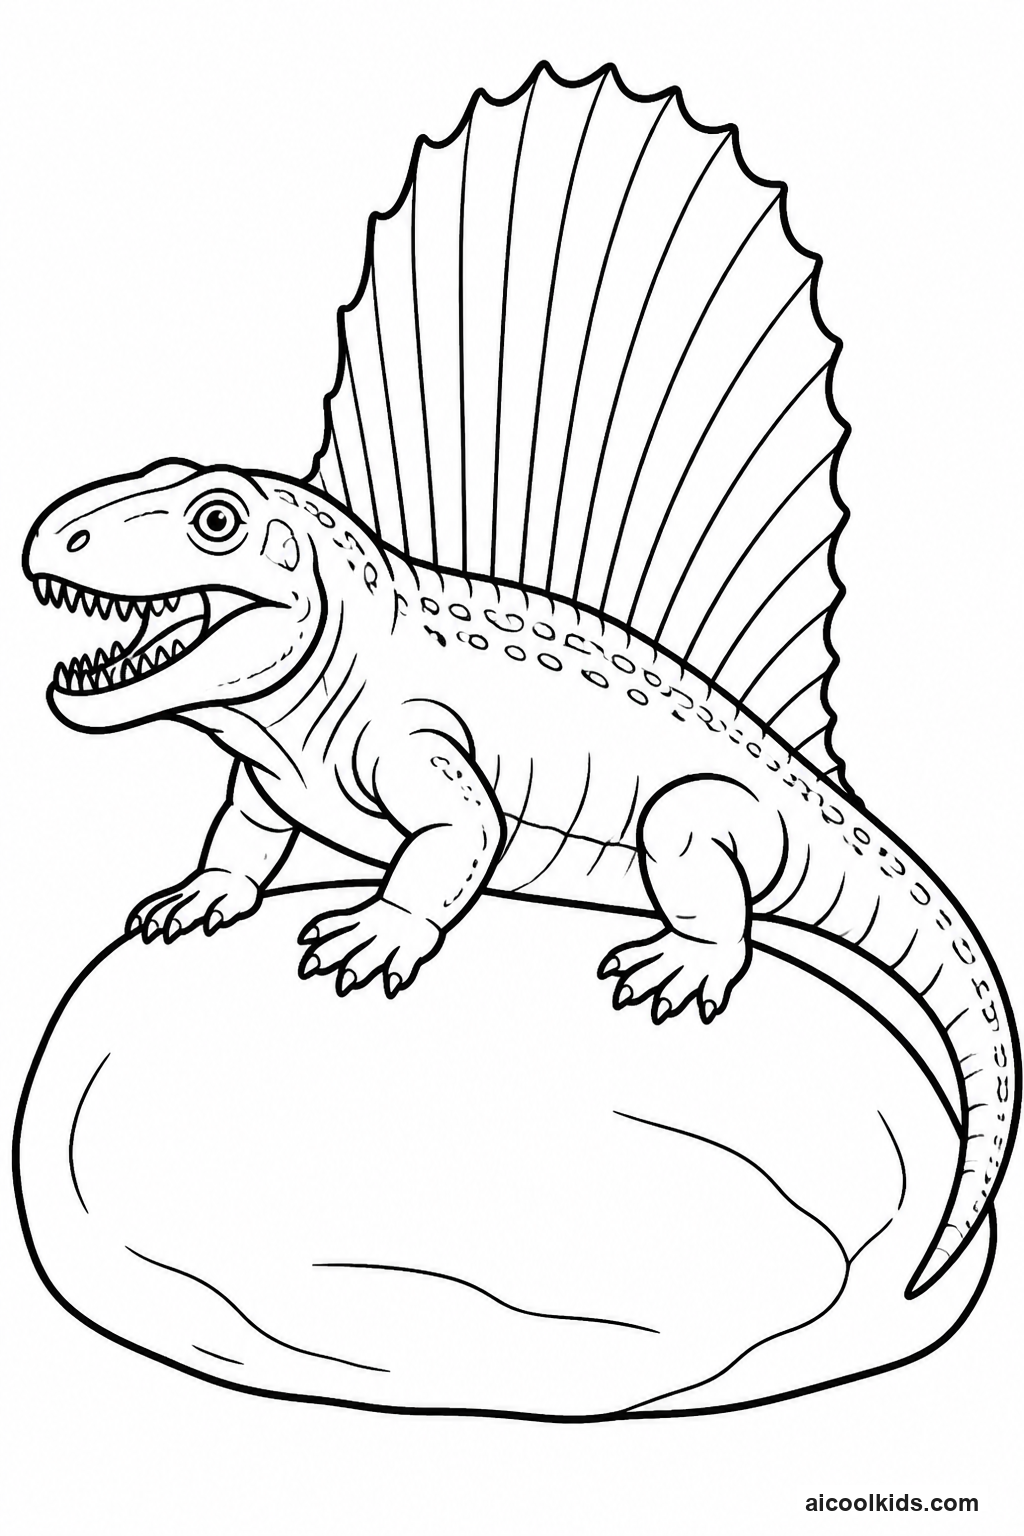
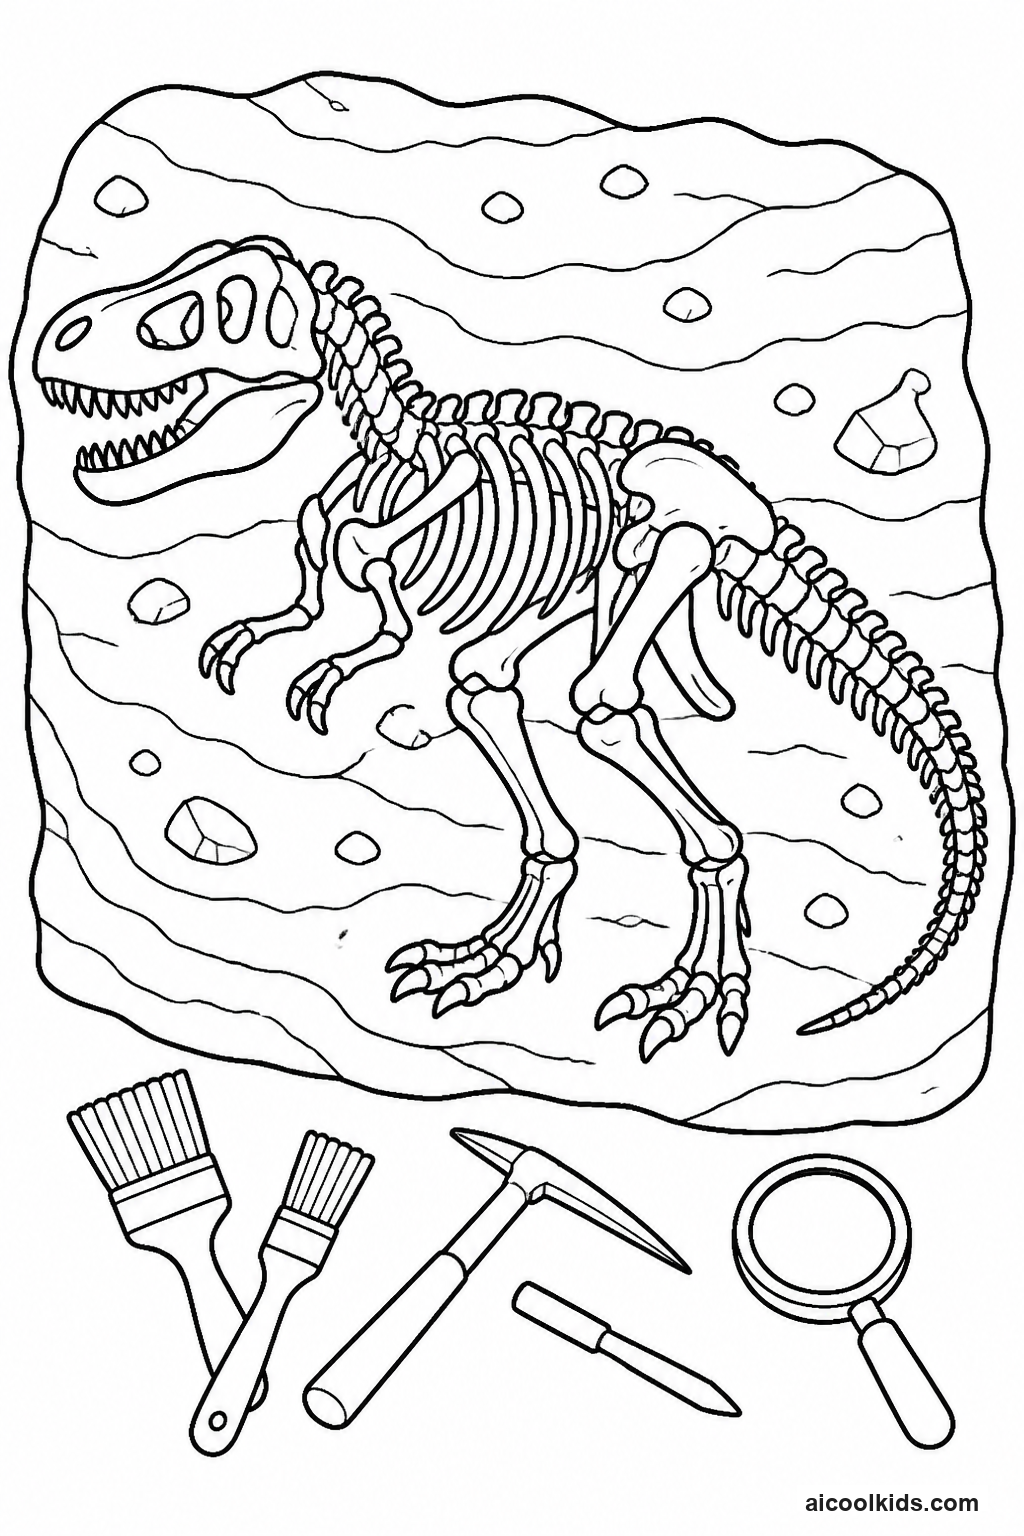
Once the pages are colored, you can turn them into simple projects for home or the classroom. Here are 6 easy craft ideas using supplies you probably already have, like scissors, glue sticks, and construction paper.
1
1. Prehistoric Habitat Diorama
Materials Needed:
Colored dinosaur pageEmpty cereal boxCardstock or construction paperChild safe scissorsGlue stickCrayons or colored pencils
Step by Step Guide:
- Choose a dinosaur page and color the animal and any plants or rocks on it. Use darker shades near the feet to suggest contact with the ground, and leave the background lighter if you plan to add a separate paper sky. Cut out the colored dinosaur carefully, leaving a narrow border around its outline so small claws or tail tips are less likely to tear.
- Ask the child to choose a habitat for the scene, such as a leafy forest, a dry plain, or a muddy lakeshore. Cut the cereal box so it has an open front and a deep cardboard floor. If an adult makes the opening, keep the box edges smooth and save the removed panel for extra scenery or a title sign.
- Cover the inside back wall and floor with cardstock or construction paper. Use one color for the ground and another for the sky or distant landscape. Add paper plants, rocks, or water shapes, drawing them first in pencil and cutting them out after the child is satisfied with their positions.
- Fold a small strip of cardstock into a tab with two short legs, then glue one side of the tab to the back of the dinosaur cutout. Glue the other side to the box floor or wall so the dinosaur stands upright. Test the placement before the glue dries, checking that the dinosaur does not hide the scenery.
- Finish with a small label that names the imagined habitat and dinosaur. Invite the child to explain which parts are based on a coloring page and which parts were invented. Place the diorama on a shelf, away from busy walkways, and let it dry fully before moving it.
2
2. Dinosaur Field Guide Booklet
Materials Needed:
Two or three dinosaur coloring pagesPrinter paper or thin cardstockStaplerPencils and colored pencilsRulerDinosaur reference books or printed fact cards
Step by Step Guide:
- Select one dinosaur coloring page as the cover image and one or two pages for inside illustrations. Before coloring, choose a simple booklet topic, such as body features, food, movement, or habitat. For a classroom project, assign each child a different dinosaur or let children choose from a teacher prepared list.
- Fold several sheets of paper in half to make a small booklet. Put the cover page at the front and arrange the inside pages in an order that leaves space for writing. An adult can staple the folded edge twice, keeping the staples away from the child's fingers. If using cardstock, use only for the cover because thick inner pages can be difficult to fold.
- Color the cover and illustrations with pencils or crayons. Encourage children to use a small color key if they want to show a detail, such as a skin pattern or a habitat feature. They can add an arrow to a horn, tail, or foot, but should avoid covering important parts of the picture with labels.
- On each inside page, write a heading and two or three short sentences. Use a reference book or fact card for scientific details, and mark imagined details with language such as 'I picture' or 'In my scene.' Younger children can dictate a sentence to an adult, while older children can add a source title at the bottom.
- Read the booklet aloud and check that each page is easy to follow. Add a contents line or a final page called 'Questions I still have.' Invite the child to share one fact and one creative choice with a family member or classmate, then store the booklet with other art projects.
3
3. Layered Dinosaur Landscape Poster
Materials Needed:
Colored dinosaur coloring pageLarge sheet of cardstockConstruction paper in several colorsChild safe scissorsGlue stickMarkers or colored pencils
Step by Step Guide:
- Color the dinosaur and cut it out with a small border. Decide whether the creature will appear close to the viewer or farther away. A large cutout often works well in the foreground, while a smaller cutout can suggest distance. Keep the original page nearby so the child can refer to details while building the poster.
- Choose a background color for the large cardstock sheet. Add a simple sky, distant hills, or a line of trees with colored pencils or markers. Ask the child to draw the horizon line lightly first, then add more marks once the placement feels right. Leave enough open area for the dinosaur and a title.
- Cut paper shapes for the middle distance, such as low hills, leafy plants, or a winding river. Arrange these pieces on the poster without glue. Overlap some shapes slightly, and move the dinosaur around until the scene feels balanced. This planning step makes it easier to change the layout before anything is attached.
- Glue the farthest shapes first, followed by the middle distance pieces. Attach the dinosaur last, using a thin layer of glue so the cutout lies flat. Add a small paper shadow under its feet or tail with a darker shade to help it sit visually on the ground.
- Write a clear title and, if desired, add a short caption about the setting. The child can include a simple legend naming the plants or landforms they invented. Press the poster flat beneath a clean book for a few minutes while the glue sets, then display it where it will not be exposed to moisture.
4
4. Dinosaur Egg Surprise Card
Materials Needed:
Dinosaur coloring pageFolded cardstockScrap paperChild safe scissorsGlue stickMarkers or colored pencils
Step by Step Guide:
- Fold a piece of cardstock in half to make the card base. On scrap paper, draw a large egg shape that fits on the front without touching the folded edge. Cut out the paper egg as a template. Younger children can use an adult drawn outline, while older children can create a cracked shell shape with a few wide zigzag edges.
- Trace the egg on a separate sheet of cardstock or construction paper and cut it out. Draw a line across the egg where the top shell should open. Cut only along that line and around the outside of the shell pieces, leaving a narrow uncut hinge on one side so the top flap can lift.
- Choose a dinosaur from the coloring page and color a small section that will fit behind the egg opening. Cut it out with a border. If the dinosaur is too large, use a small detail such as its head, a baby dinosaur, or one visible claw. Keep scissors pointed away from the body and ask an adult for help with tight curves.
- Glue the lower part of the egg to the front of the folded card, leaving the top flap free. Open the flap and position the dinosaur behind it. Attach the dinosaur to the card itself, not to the moving shell, so the picture stays in place when the egg opens and closes.
- Decorate the outside with spots, stripes, or a short greeting. Inside the card, write a message or a simple story about what the egg might hatch. Test the flap several times and press any loose edges down gently. Let the card dry flat before giving it to someone.
5
5. Dinosaur Desk Mat and Observation Sheet
Materials Needed:
Completed dinosaur coloring pageCardstock backingClear contact paper or laminating pouchDry erase markersSoft clothNotebook paper
Step by Step Guide:
- Choose a completed coloring page that has dried fully. If the page is on thin printer paper, glue it to cardstock and smooth it from the middle toward the edges to reduce wrinkles. Let the glue dry before covering it. Check that pencils or markers have not left loose pigment that could smear under the clear layer.
- Ask an adult to cover the page with clear contact paper or use a laminator according to its safety directions. Keep fingers away from hot surfaces and moving parts. Trim the protected page with a small clear border around the artwork, so the edges stay sealed and the page is easier to wipe clean.
- On a separate sheet of notebook paper, make a small observation chart with three prompts: colors used, details noticed, and one question. The child can write or draw responses. Keeping the chart separate allows the desk mat to be wiped without erasing the child's notes.
- Set the mat on a level desk and use dry erase markers to add temporary labels, arrows, or a habitat outline. Test a small corner first and wipe it with a soft cloth. Avoid permanent markers, which may not come off. Children can use the page during homework breaks or as a surface for planning a story.
- After each use, wipe the surface gently and store the mat flat. Invite the child to compare a new set of temporary labels with the original coloring choices. If the clear layer begins to lift or tear, stop using it and ask an adult to repair or replace the covering before the edges catch on clothing or paper.
6
6. Dinosaur Texture and Color Swatch Gallery
Materials Needed:
Dinosaur coloring pageScrap paperColored pencils or crayonsMarkersRulerClipboard
Step by Step Guide:
- Place the coloring page on a clipboard and choose three areas to study, such as the dinosaur's body, a patch of ground, and a plant. On scrap paper, draw a row of small boxes with a ruler. Label the boxes with simple ideas such as light pressure, firm pressure, dots, short lines, and two color layers.
- Try each mark in the boxes before coloring the page. Use one color at a time and keep the boxes separate so the child can compare results. With markers, test on the back of the scrap sheet or on another sheet beneath it, since ink can pass through thin paper.
- Choose two or three textures for the dinosaur. Repeated short curves might suggest scales, small dots might create a spotted pattern, and longer strokes might show featherlike marks. Explain that these are art choices unless a reliable reference confirms a feature. The child can invent a pattern while keeping the distinction between imagination and evidence clear.
- Color the page using the tested marks. Press lightly first, then add a second layer only where the child wants more depth. Leave some areas plain for contrast. If the page has a detailed background, work from larger spaces toward smaller details so the child can finish without feeling rushed.
- Place the swatch sheet beside the finished page and circle a favorite technique. Ask the child to describe which mark was easiest to control and which color combination stood out most. Keep the two pages together in a folder, or display them as a before and after study of the choices behind the final artwork.