Parent & Teacher Craft Guide
6 Creative Learning & Craft Ideas for Dog Coloring Pages
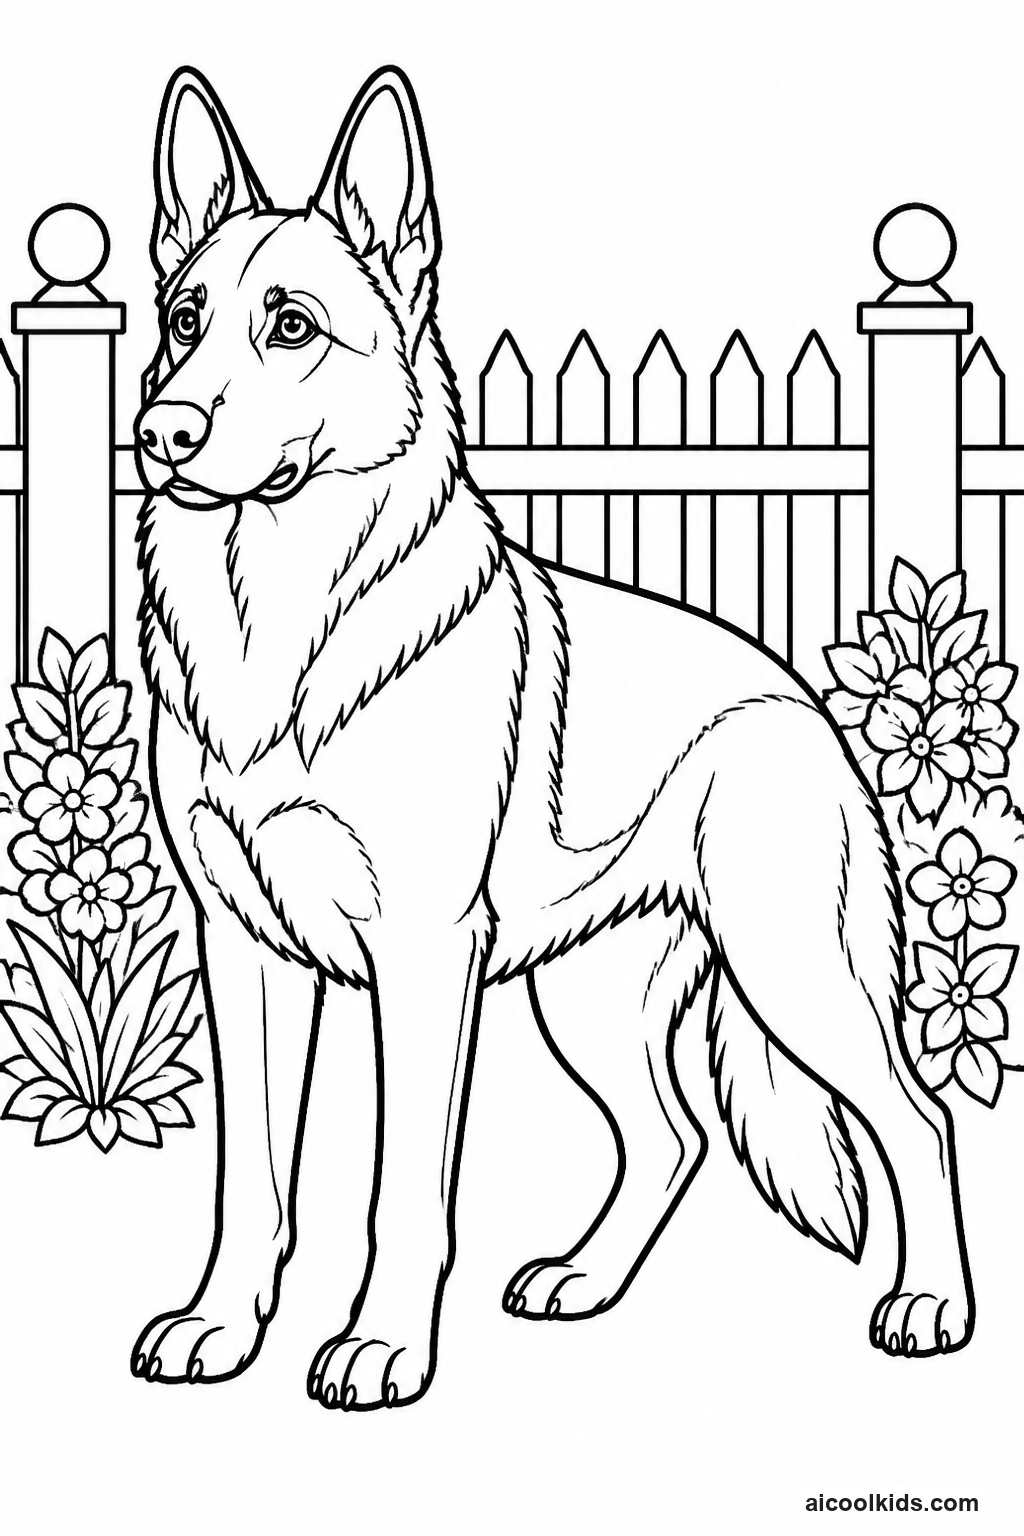
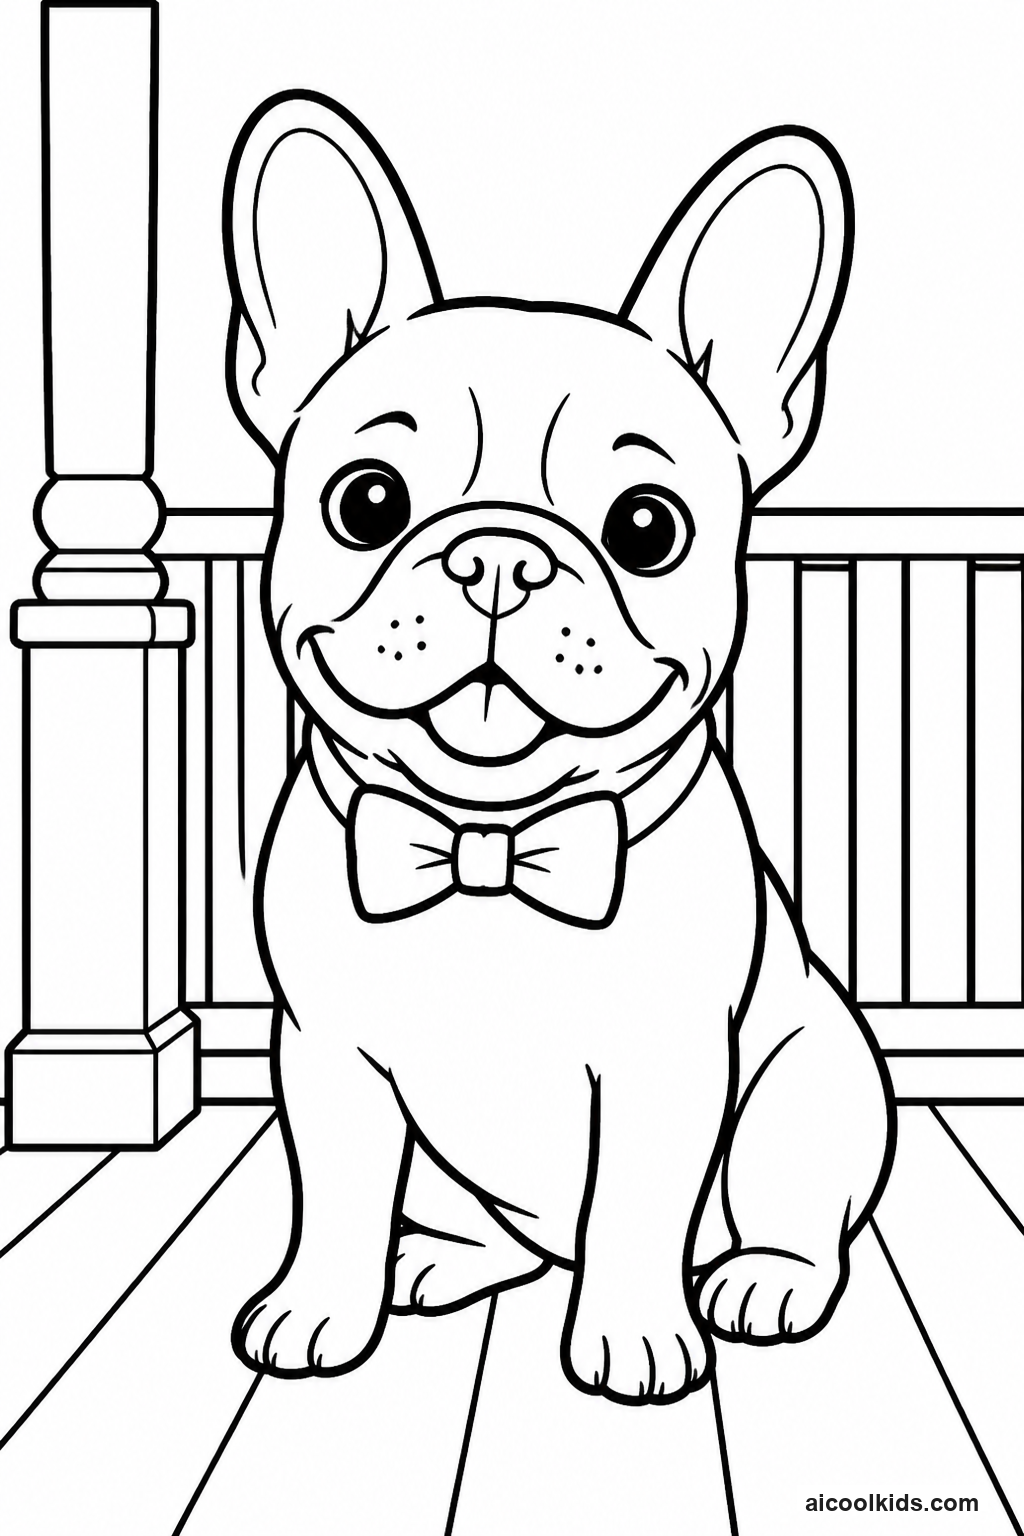
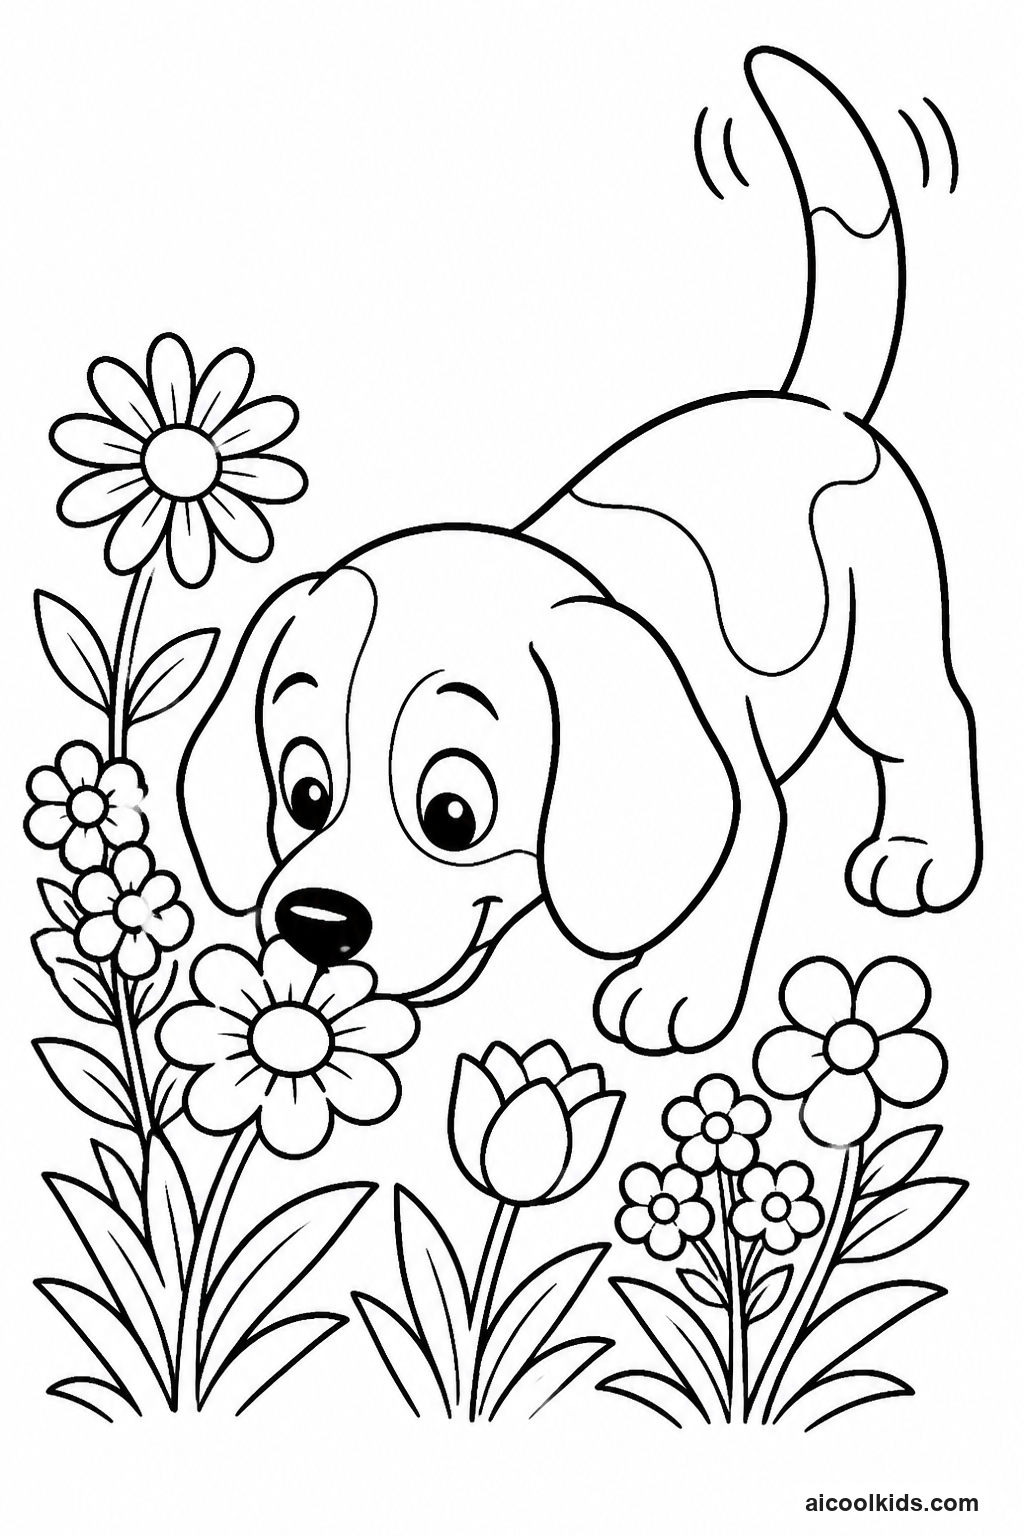
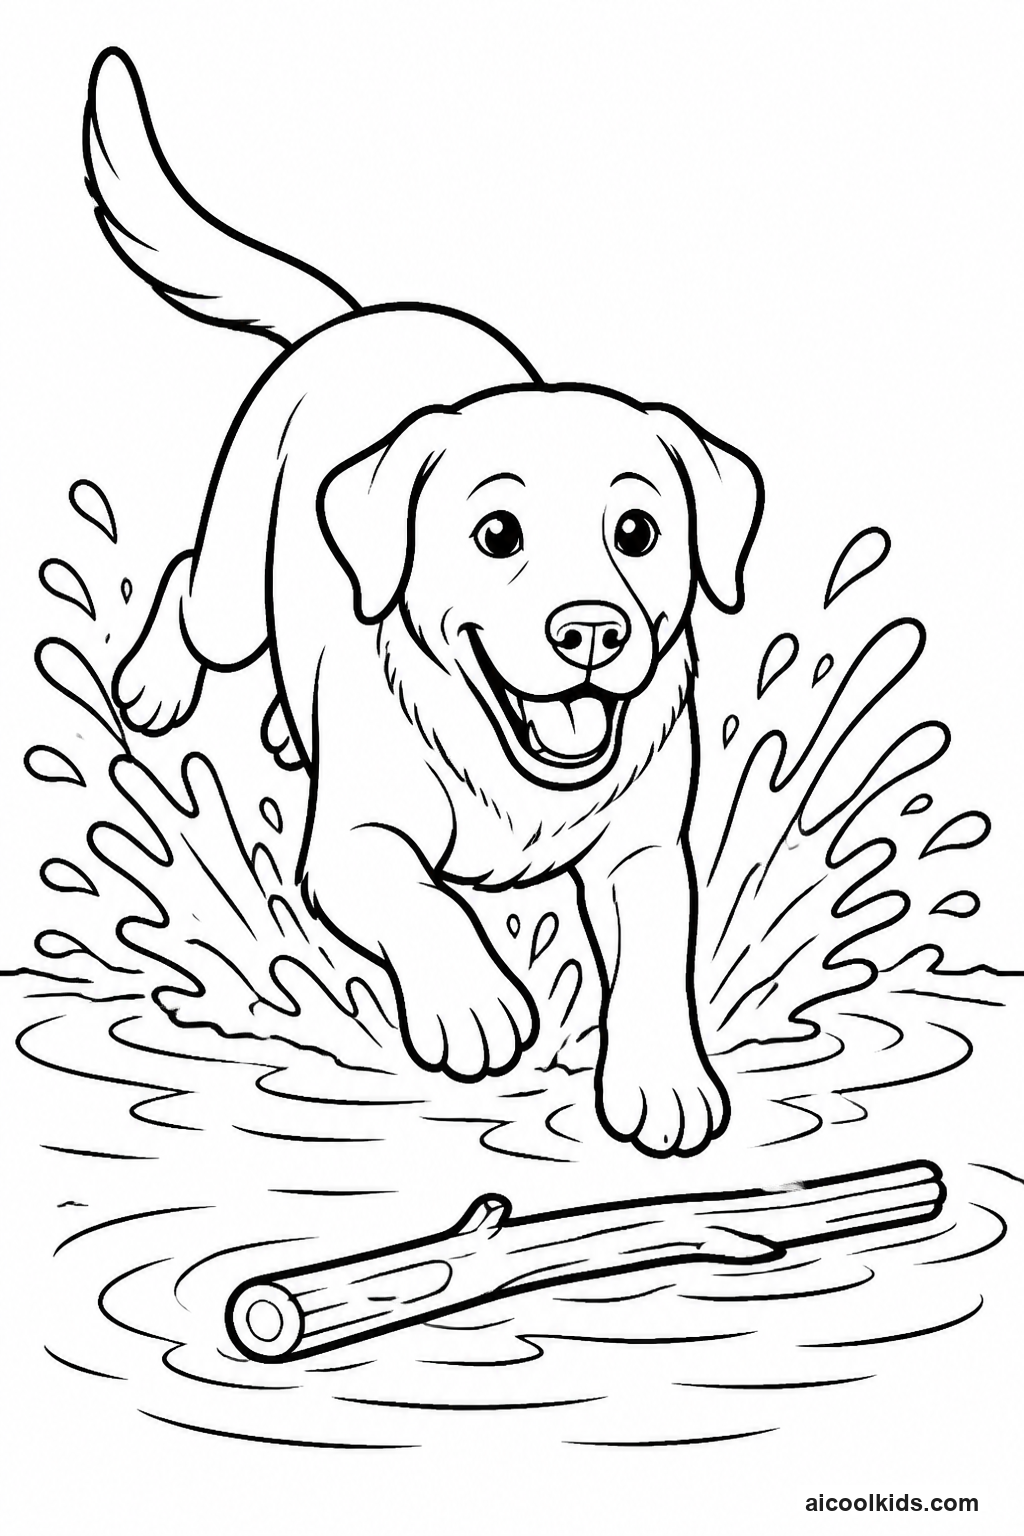
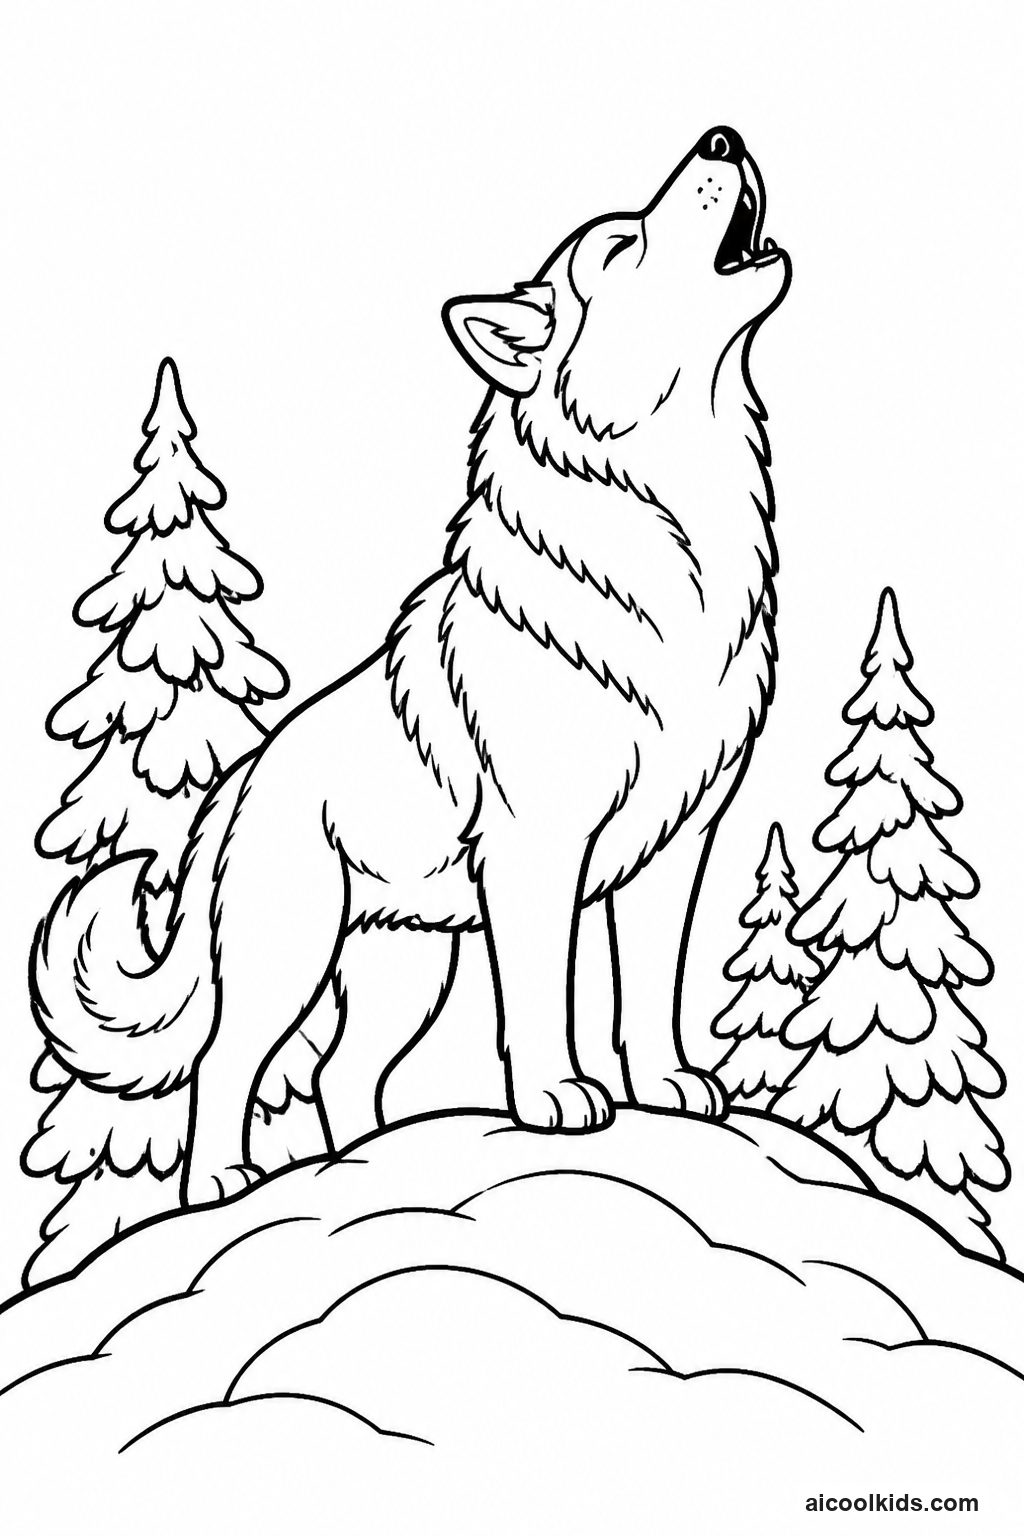
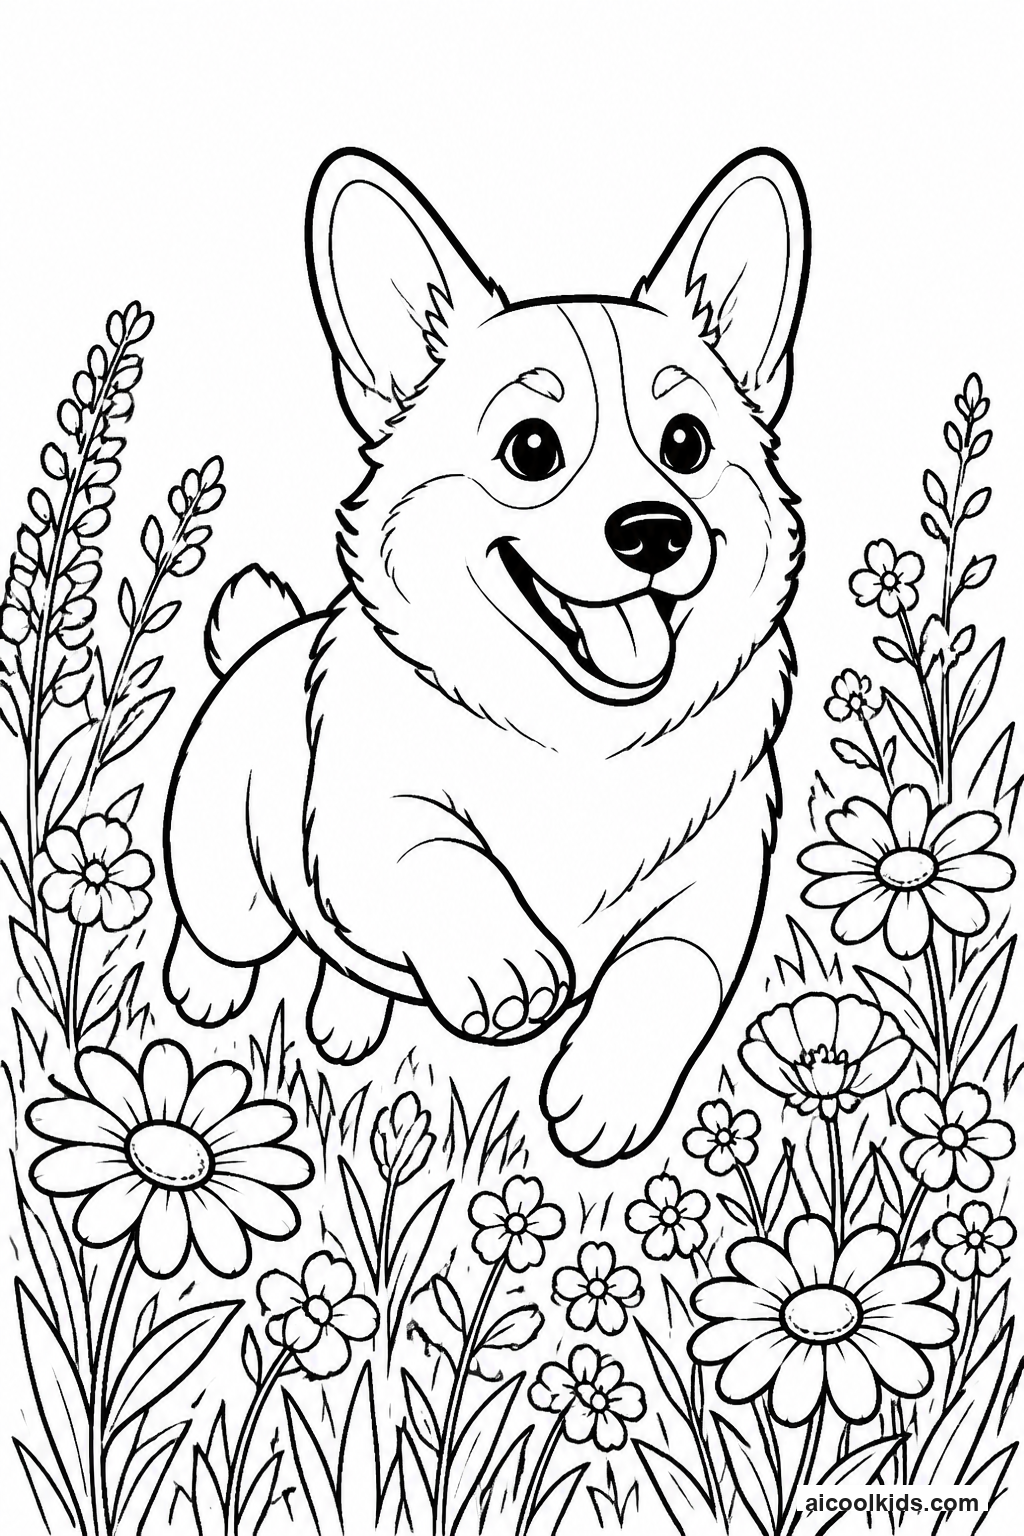
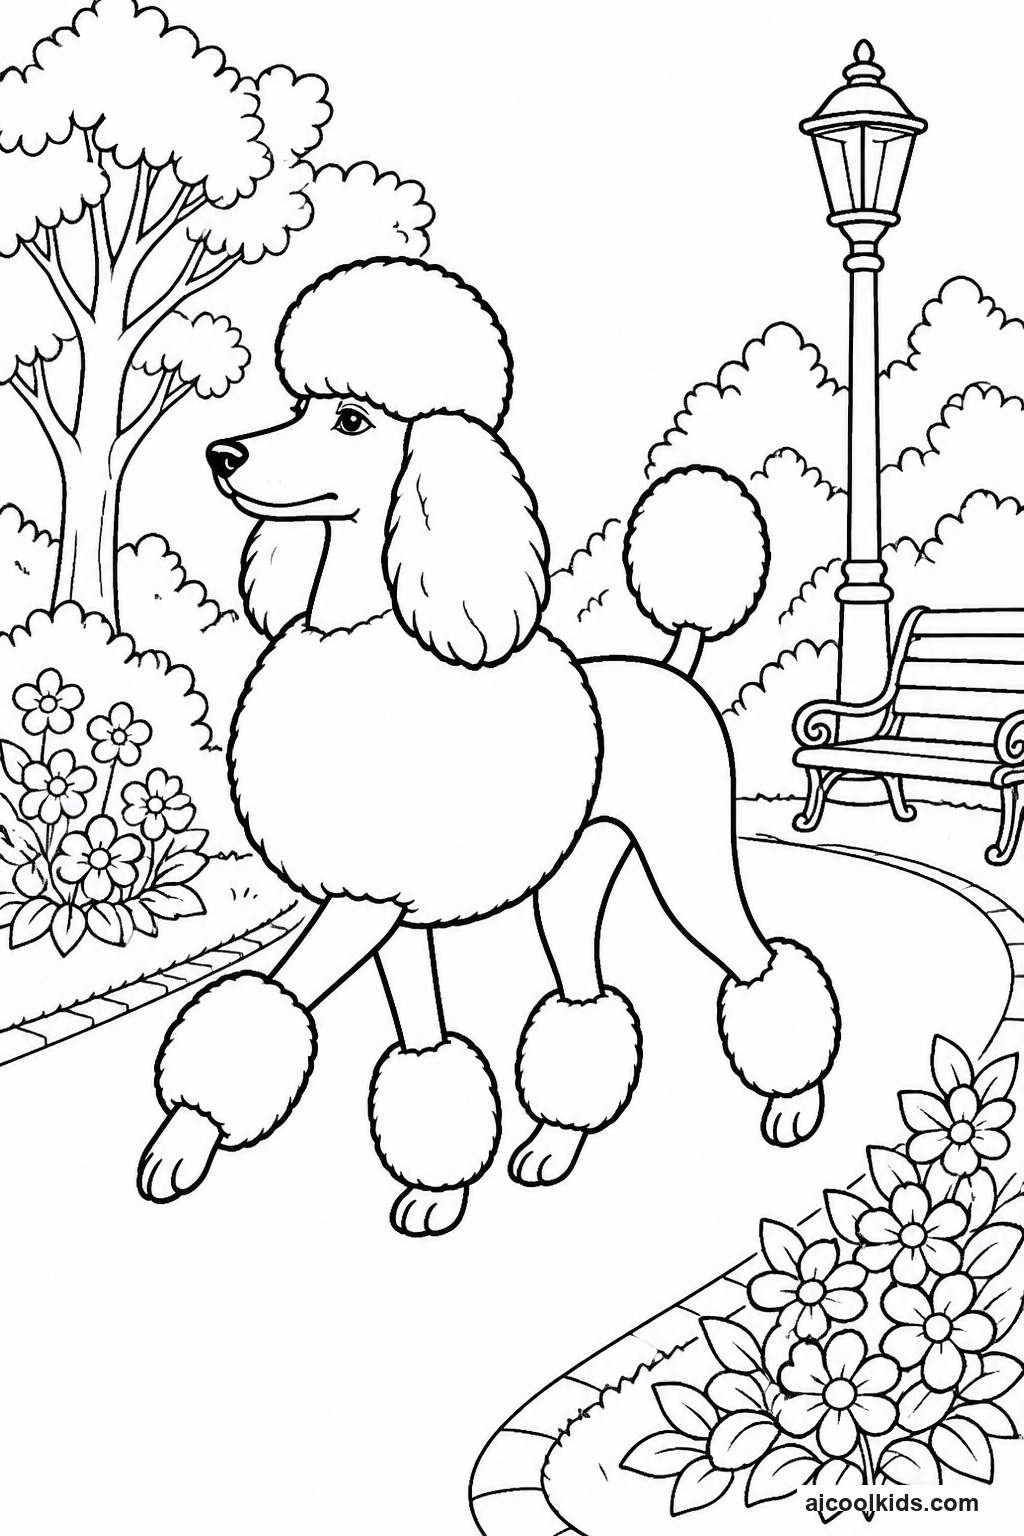
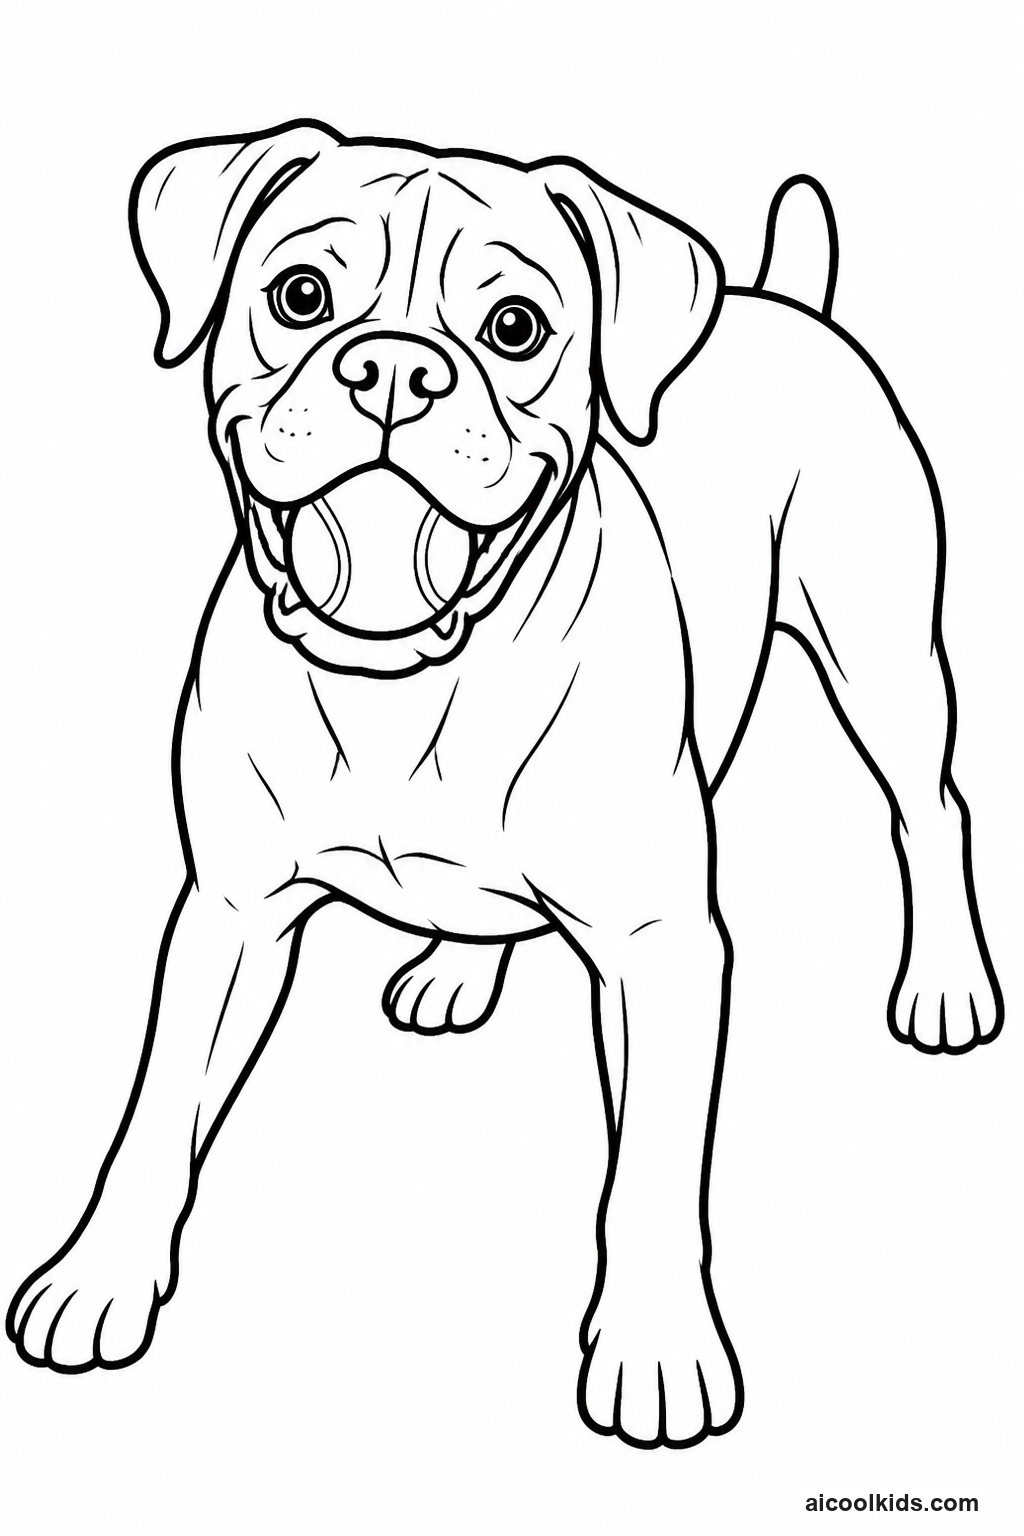
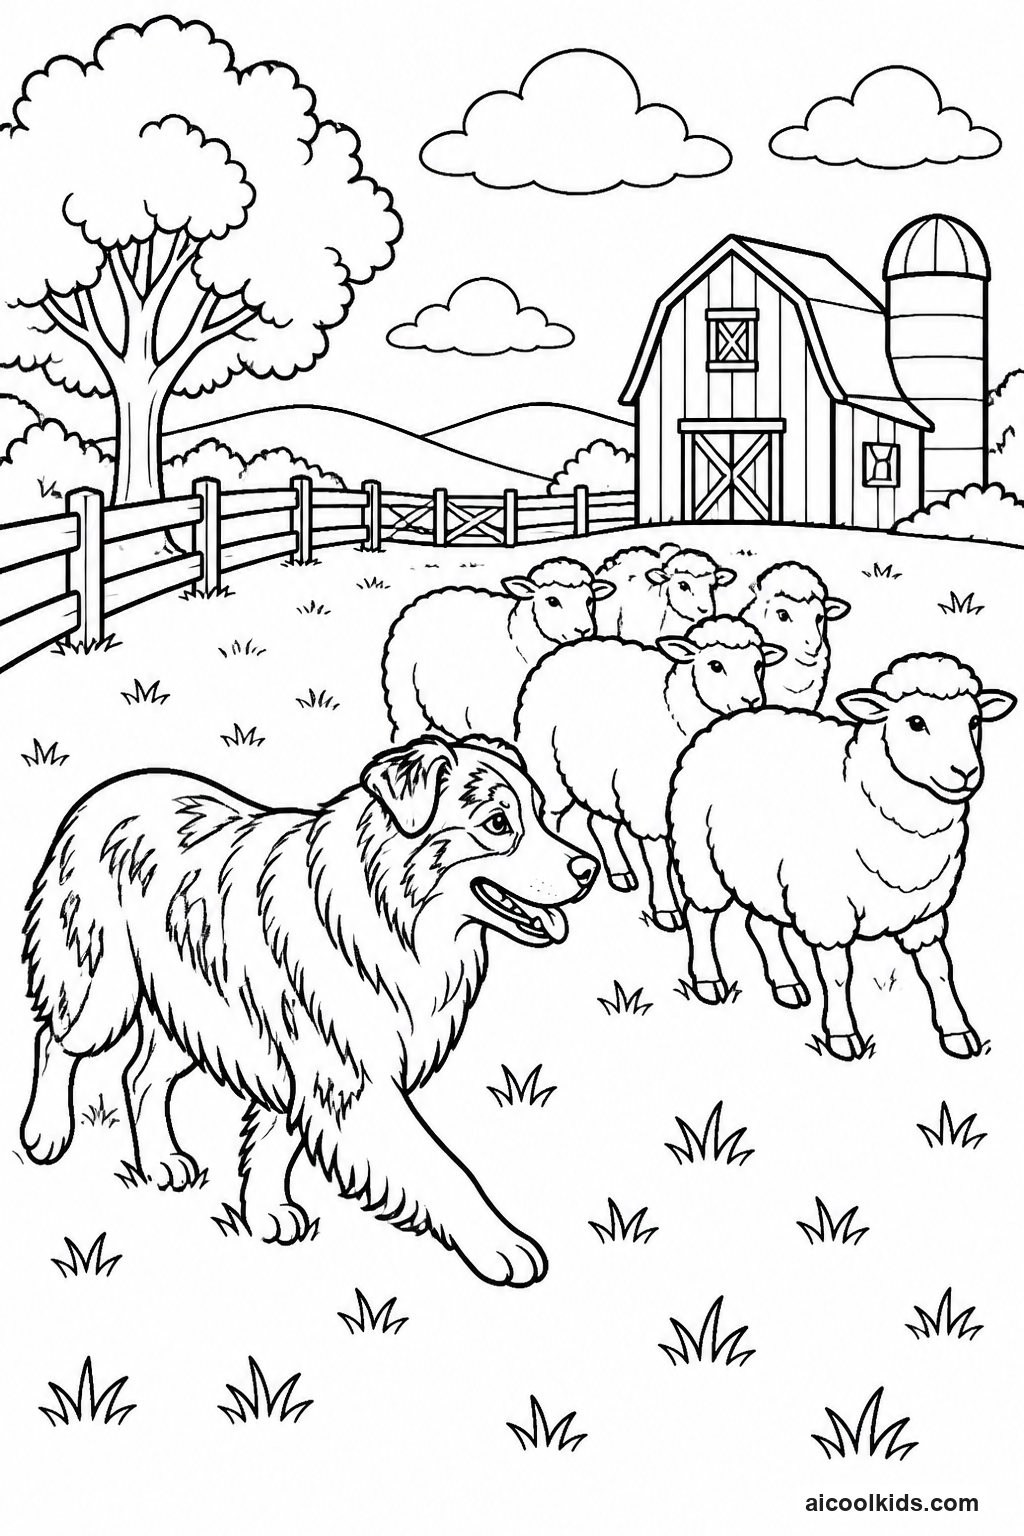
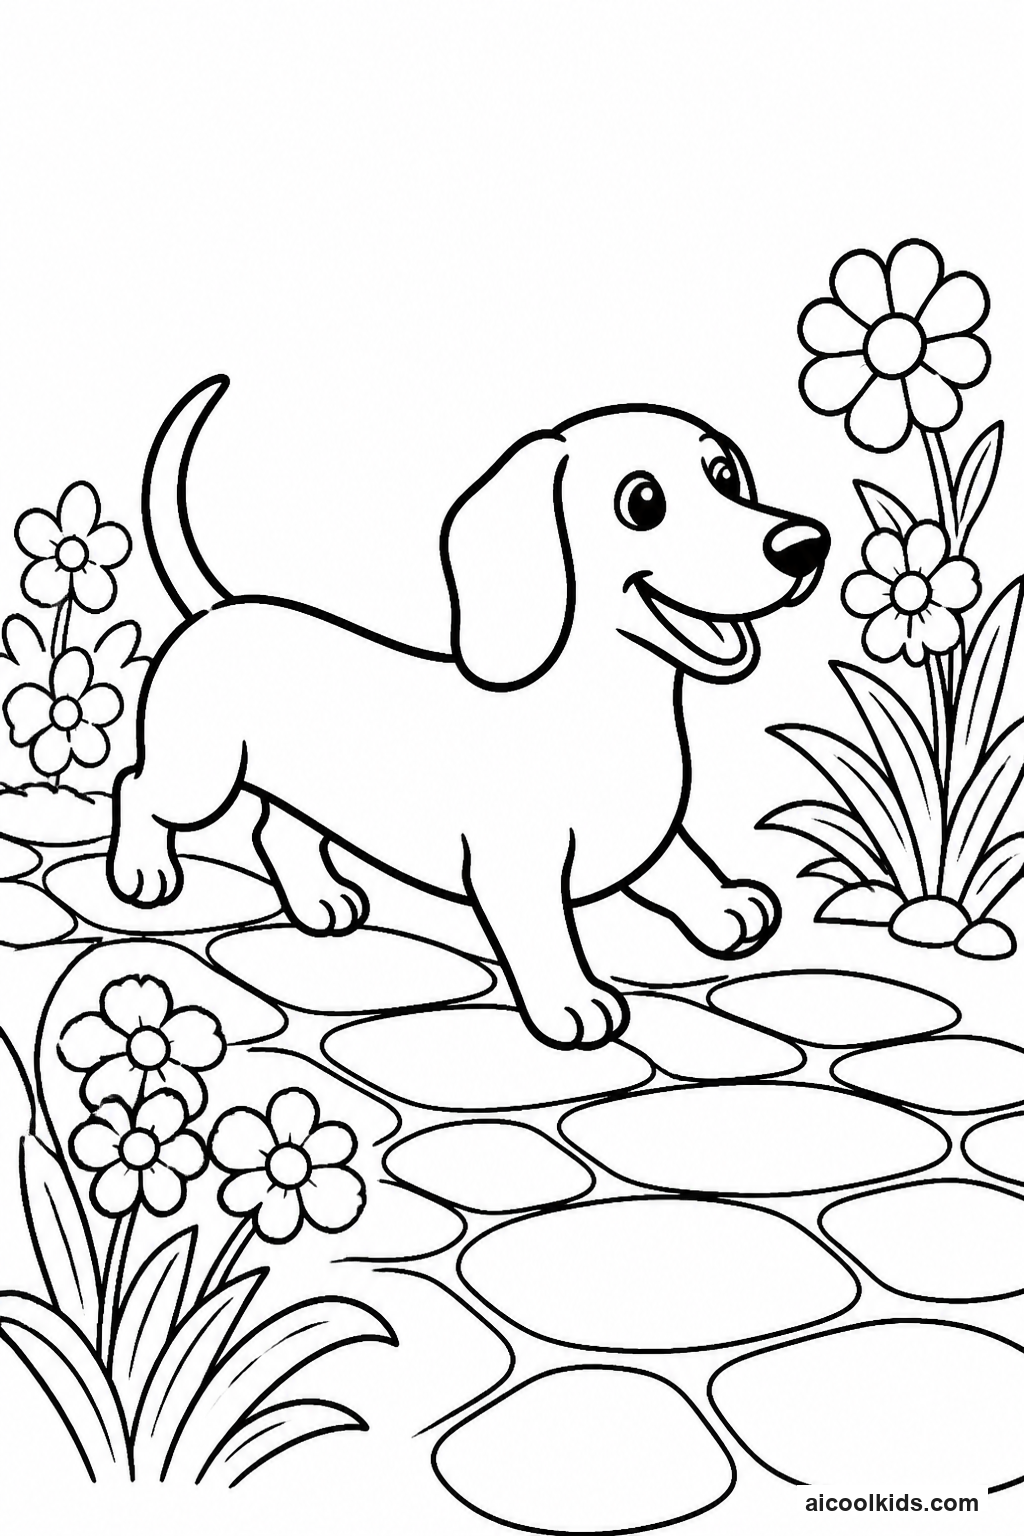
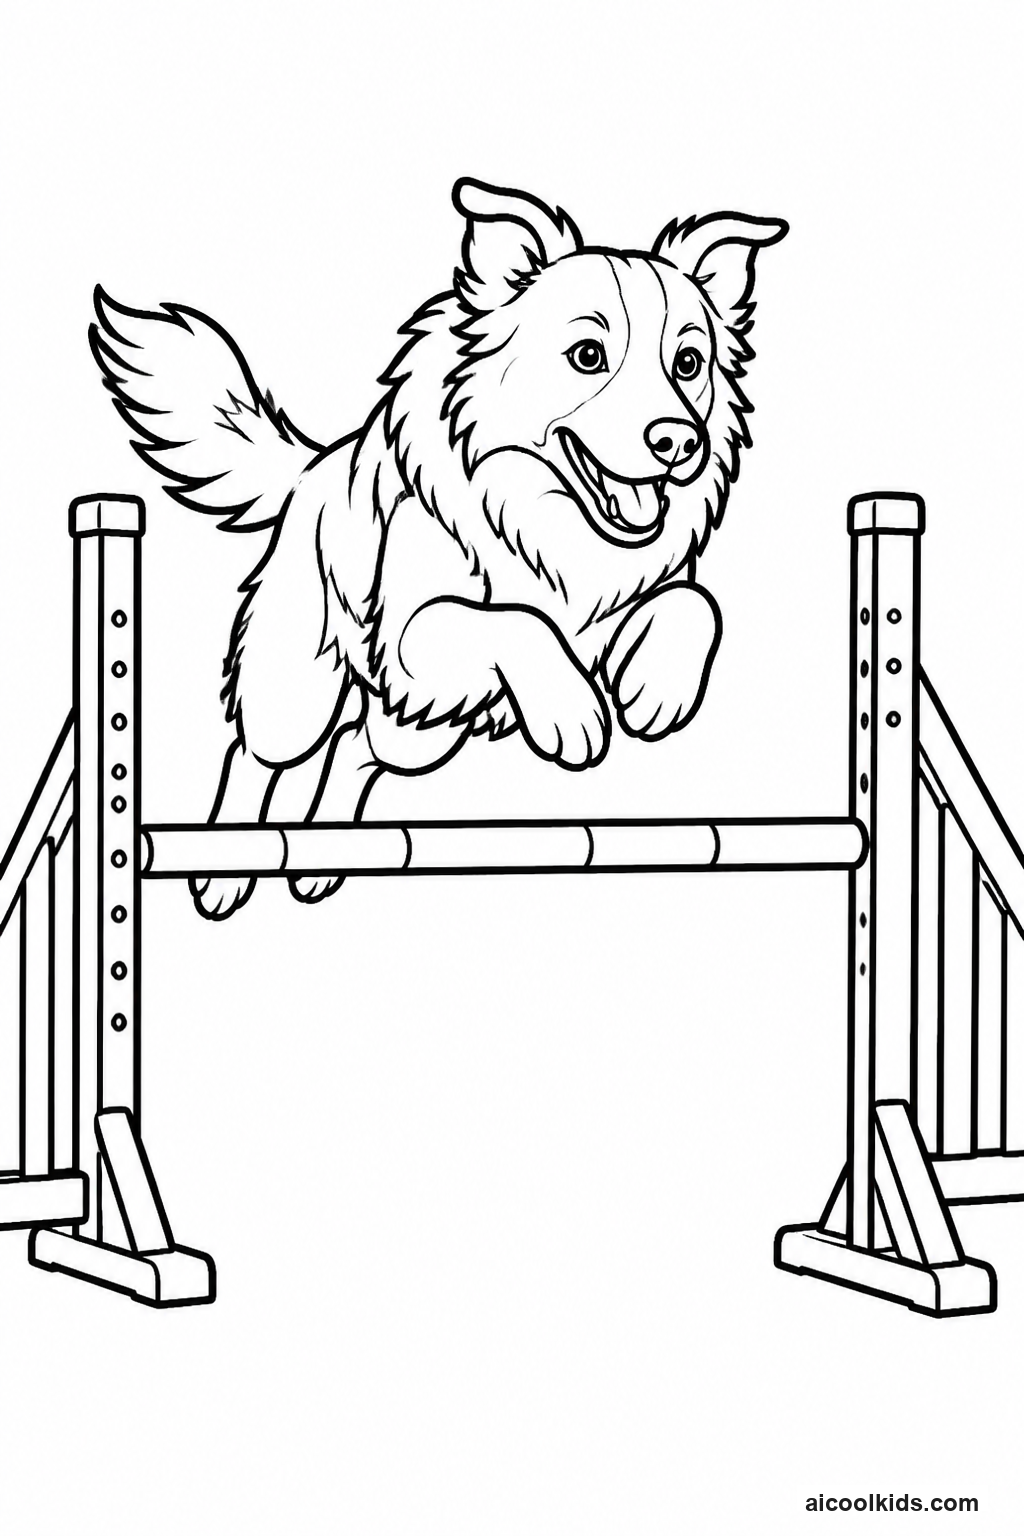
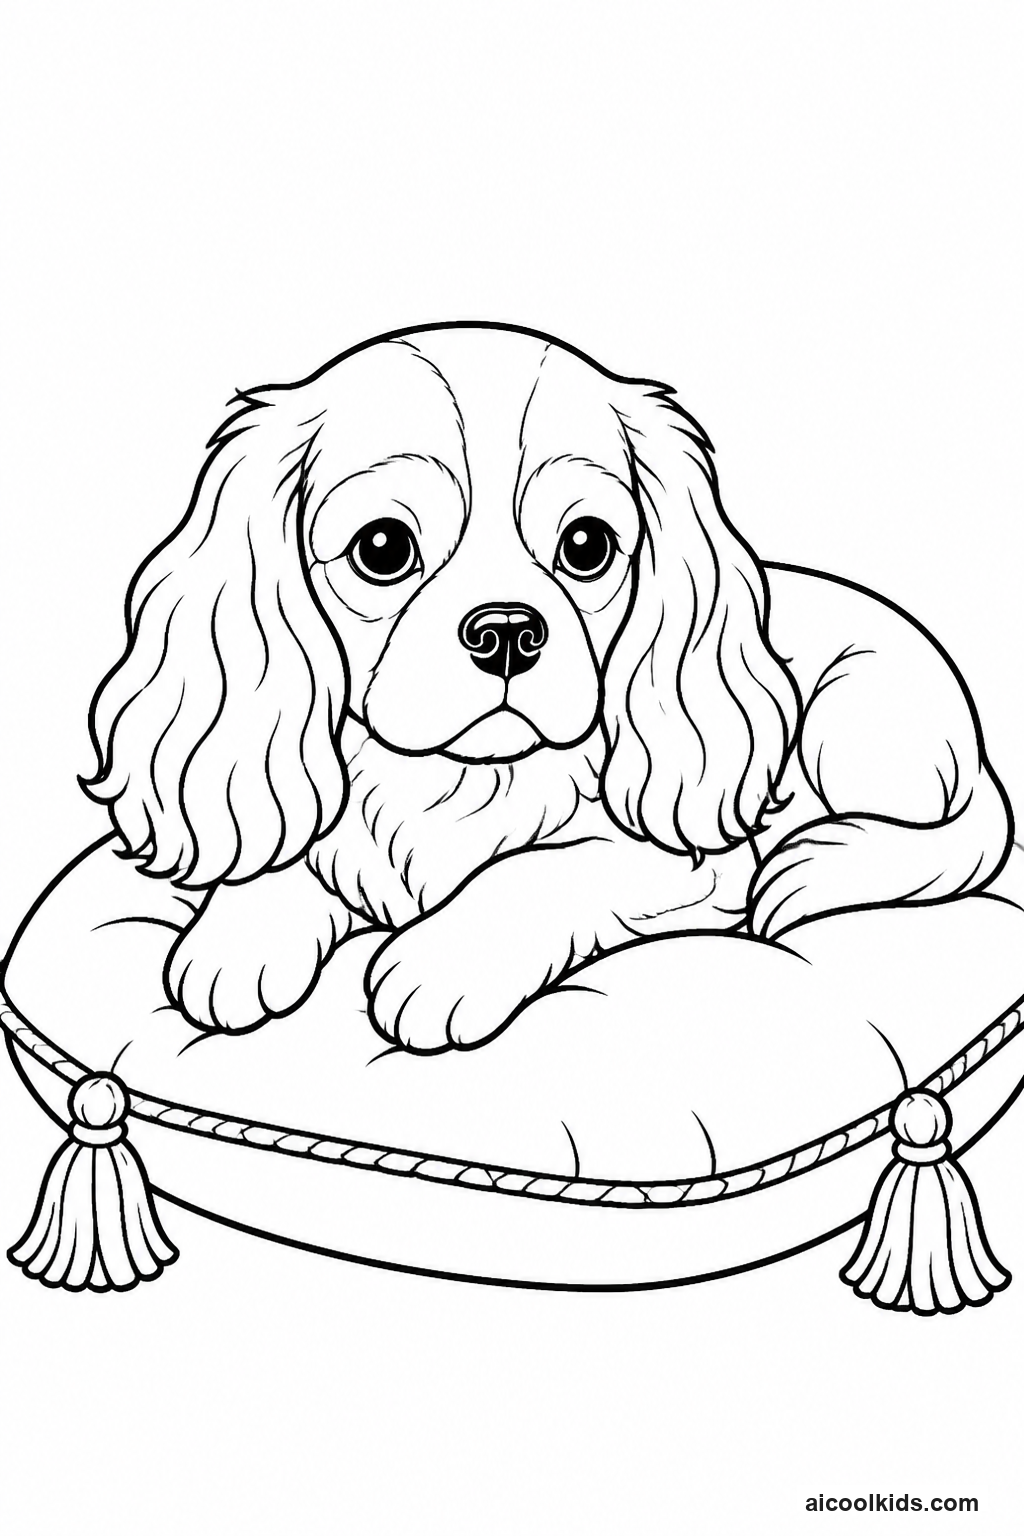
Once the pages are colored, you can turn them into simple projects for home or the classroom. Here are 6 easy craft ideas using supplies you probably already have, like scissors, glue sticks, and construction paper.
1
1. Dog Breed Field Guide
Materials Needed:
Three printed dog coloring pagesCrayola colored pencilsClipboard or firm cardboardNotebook paperMarkersStapler
Step by Step Guide:
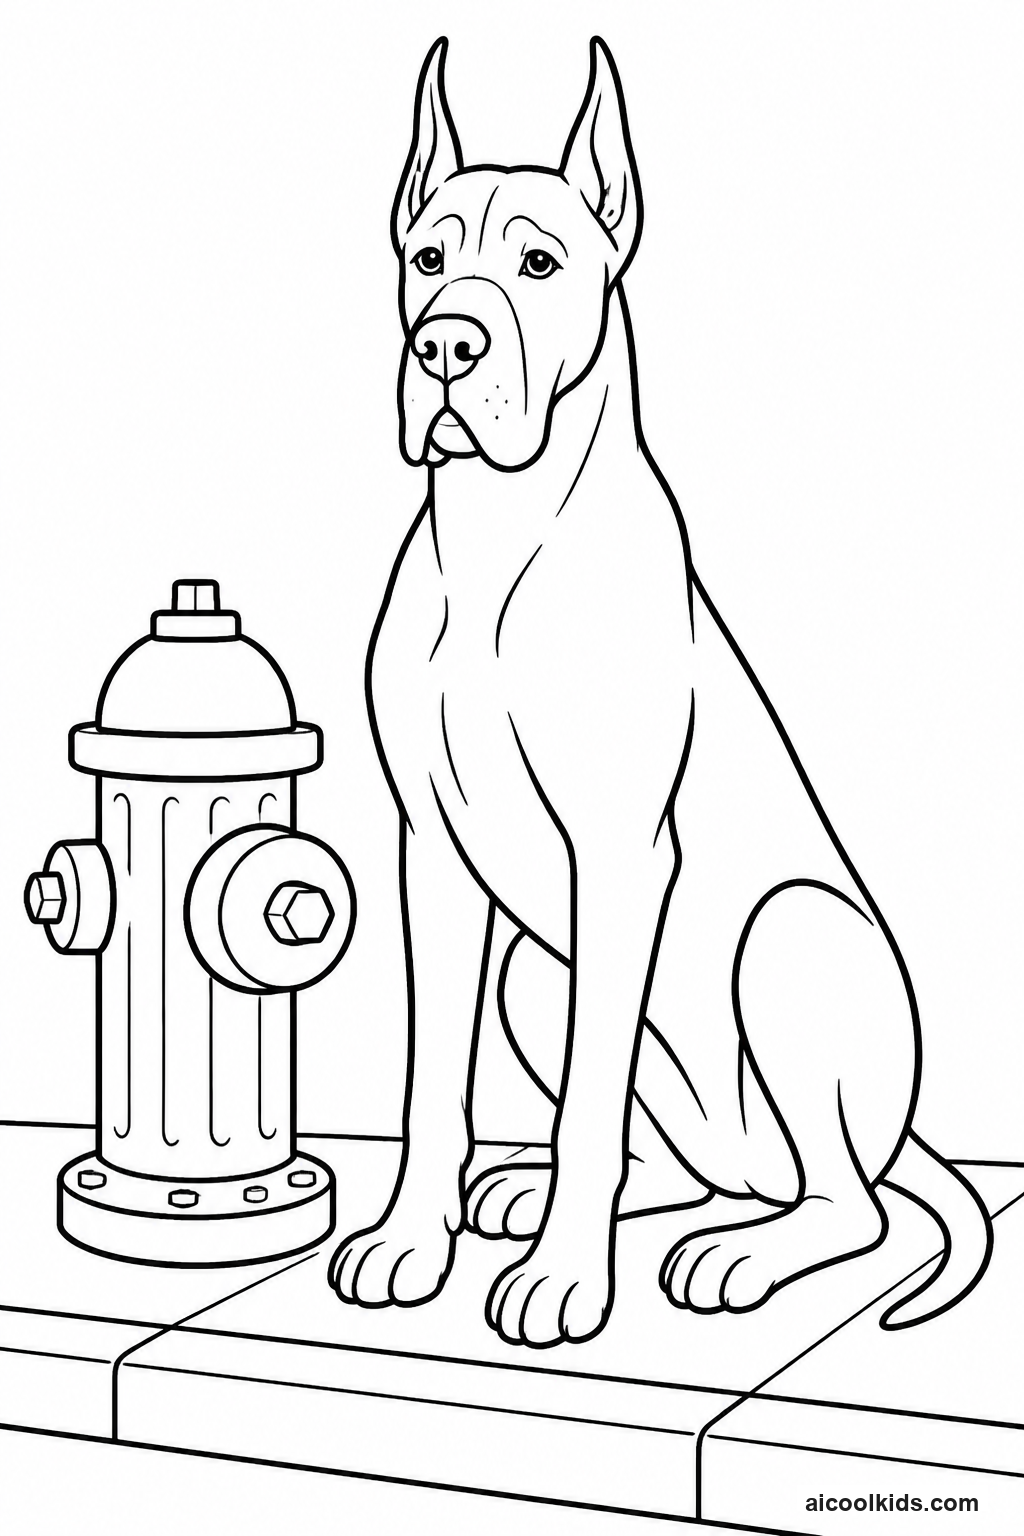
- Choose three dog pages with noticeably different shapes or coat patterns. Before coloring, look closely at each outline and point out features that can be compared, such as floppy or upright ears, a long or short coat, and a curled or straight tail. Write the page names at the top of separate notebook sheets. If a breed is not named, give the dog a descriptive label such as spotted puppy or long eared hound.
- Color each dog using a limited set of shades so the physical features remain easy to see. Use short pencil strokes to suggest the direction of fur, and choose a second shade for a shadow beneath the belly, ears, or paws. Children can make realistic choices or invent a pattern, but ask them to identify which details came from the outline and which details they added themselves.
- On each notebook sheet, draw a small observation box with the headings ears, coat, tail, and special detail. Add one short description under each heading. For example, a child might write that the dog has long ears, a smooth coat, a curved tail, and a dark patch over one eye. Younger children can dictate their observations to an adult before copying a few words.
- Add one research fact to each page using a library book or a trusted animal care source. Keep the fact focused on the dog, such as a breed's typical job, coat type, or exercise needs. Explain that individual dogs can differ from general breed descriptions. This reminder helps children treat the guide as a learning project, not a rule for identifying every dog.
- Arrange the three colored pages and their observation sheets in a logical order. Stack them with a simple cover made from cardstock, then staple along the left edge with adult help. Add a title and the child's name. Invite the child to present the guide to a family member or classmate, explaining one feature they noticed on each dog.
2
2. Layered Dog Park Story Scene
Materials Needed:
One printed dog coloring pageCardstock or construction paperColored pencils or markersChild safe scissorsGlue stickScrap paper
Step by Step Guide:
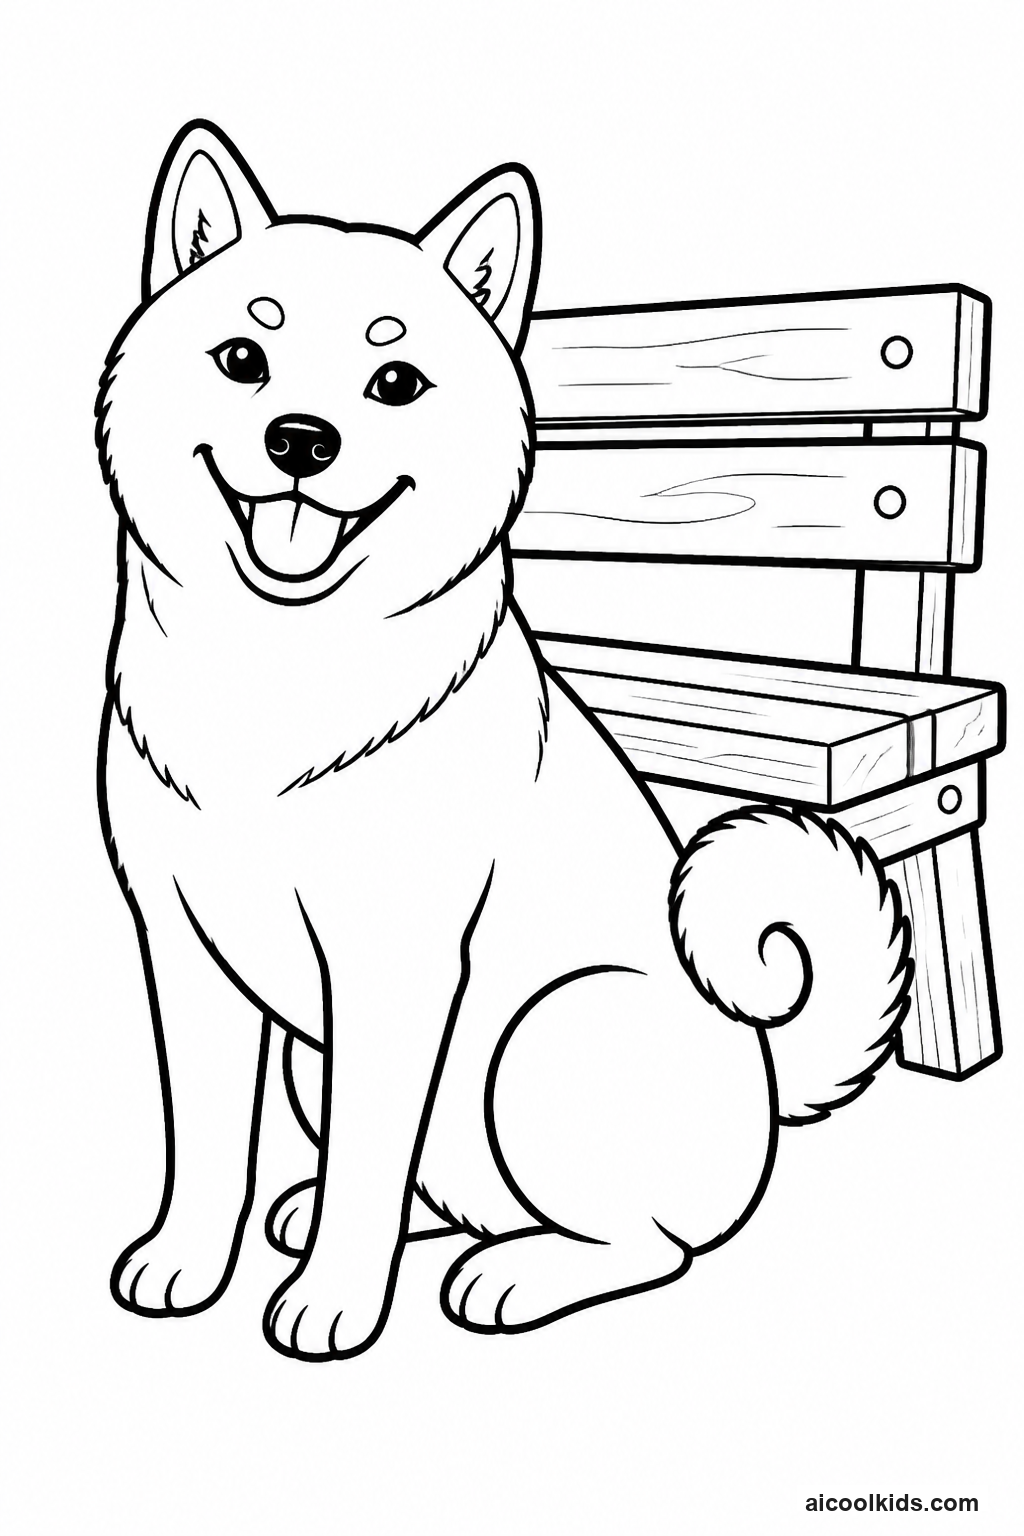
- Ask the child to choose a dog page and imagine a place where that dog might be spending time. Talk through a simple story before cutting anything: perhaps the dog is looking for a ball, greeting a neighbor, or resting after a walk. On scrap paper, sketch three parts of the setting, such as a path in front, a dog and bench in the middle, and trees or a house behind them.
- Color the dog and its main accessories first. Use a clipboard or a firm piece of cardboard under the page so it stays steady. Add shadows beneath the paws and collar details with pencil or marker. If the printed dog is large, keep it as the central subject. If the dog is smaller, carefully cut it out with adult supervision and glue a small folded paper tab to its back for a raised effect.
- Choose a piece of cardstock for the background. Draw the horizon line about halfway down, then add a park path, lawn, fence, or room wall. Use lighter colors and fewer details for distant objects, and darker or sharper marks for nearby objects. This helps children see how artists can suggest distance without changing the size of the paper.
- Cut simple shapes from scrap paper to make foreground objects, such as a water bowl, ball, stick, flowers, or a sign. Place the shapes on the background before gluing so the child can test different arrangements. Keep important details away from the page edges. Glue the background shapes first, then attach the dog over the setting so the dog appears in front of them.
- Write a one or two sentence caption along the bottom or on a separate paper strip. The caption should explain what is happening in the scene and include one detail the child added. For example, the child might describe the dog waiting beside a red ball near the park gate. Display the scene on a refrigerator or classroom board and invite viewers to notice the layers.
3
3. Canine Coat Color Study
Materials Needed:
One printed dog coloring pageWhite drawing paperColored pencilsRulerEraserFine tip marker
Step by Step Guide:
- Divide a sheet of white drawing paper into six boxes using a ruler. In the first row, choose three colors that could appear in a natural looking coat, such as tan, brown, and cream. In the second row, choose a playful invented group, such as violet, blue, and pale pink. Label each row natural coat study or imaginative coat study so the child can compare the choices later.
- Test each pencil in its box using light pressure first, then add a second layer with firmer pressure. Notice which colors look smooth together and which ones are hard to distinguish. Ask the child to arrange the selected colors from lightest to darkest. This simple value check makes it easier to choose a shadow shade and a highlight shade for the dog.
- Color the dog page using one of the planned color groups. Begin with the lightest color across the coat, leaving small areas uncolored for highlights. Add medium shades around the ears, back, and sides, following the shape of the body. Use the darkest color sparingly beneath the body, near the collar, and between the legs so the shadows support the form.
- Add a coat pattern if the outline leaves room for one. Children can make spots, stripes, patches, or a soft gradient. For a repeated pattern, lightly mark where each spot will go before coloring, so the marks are spread across the body rather than crowded in one place. Encourage children to avoid covering important facial features or the line that separates the legs from the body.
- Compare the finished dog with the color chart. Ask which combination made the coat look soft, which created the strongest contrast, and which colors were easiest to layer. Write a short note on the back of the page naming the color group and one technique used. Children can repeat the activity with a second dog page and deliberately choose a different set of values.
4
4. Sunlit Dog Window Picture
Materials Needed:
One printed dog coloring pageLightweight cardstockColored pencils or washable markersClear contact paperTissue paper scrapsChild safe scissors
Step by Step Guide:
- Select a dog page with a clear outline and broad areas that are easy to color. Color the dog using pencils or washable markers, keeping the main subject bold enough to stand out when light passes through the paper. Add a simple collar, tag, or background detail. If using markers, place scrap paper beneath the page and allow the ink to dry before touching the back.
- Mount the finished page on lightweight cardstock with a glue stick. Let the glue dry, then have an adult help trim around the outer edge, leaving a narrow border of cardstock. For an extra window effect, an adult can cut a large opening in the cardstock behind the dog, leaving the colored figure supported by its border. Keep scissors and cutting tasks age appropriate.
- Lay a piece of clear contact paper sticky side up on a clean table, with the adult securing its corners. Tear tissue paper into small pieces and arrange them behind the dog or around the edges. Choose two or three colors that work together. Overlapping pieces create new color combinations, so children can place blue over yellow to see a greenish area in the light.
- Place the dog picture face down over the tissue paper and press gently from the center outward. Cover the back with a second sheet of contact paper, smoothing slowly to reduce air bubbles. An adult can trim excess film while leaving a small sealed border. Avoid pulling hard on the paper because the tissue pieces can shift or wrinkle.
- Display the picture in a bright window using removable tape, or hang it where sunlight reaches the room. Observe it at different times of day and describe any changes in brightness. Ask the child which tissue colors looked different when light passed through them. Explain that the project is for decoration and should be taken down if it blocks an important view.
5
5. My Dog Care Mini Book
Materials Needed:
Three or four printed dog coloring pagesBlank paperCrayola colored pencilsMarkersStaplerPet care book or trusted source
Step by Step Guide:
- Choose three or four dog pages and decide on a simple sequence for the book. A useful order is meeting a dog, preparing for a walk, providing food and fresh water, and resting safely at home. Explain that a coloring page can show a pretend dog, while the care information should be checked with a responsible adult or a reliable animal care source.
- Color each page to match its moment in the sequence. Add small details that help the reader understand the scene, such as a leash near the door or a water bowl beside a resting place. Do not show children handling a dog without adult supervision. If the page has no suitable background, draw a simple room or outdoor setting on blank paper and attach the colored dog page to it.
- Write one short caption for every scene. Use clear sentences such as, A grown up checks the leash before the walk, or Dogs need clean water every day. Children can draft their sentences on scrap paper, read them aloud, and correct any words that are difficult to understand. Younger children can dictate a caption and copy a key phrase.
- Make a cover from cardstock and write a title, such as A Day of Dog Care. Stack the cover, story pages, and a blank back page in order. Add page numbers in pencil before writing them neatly. An adult can staple the left edge, or punch two holes and tie the pages together with yarn if a stapler is not available.
- Read the mini book aloud to a family member or a small group. Ask the audience to name one care task from the story and one question they still have about dogs. If a real pet is in the home, talk with an adult about a safe way to help, such as filling a water bowl with permission. Keep the book beside the coloring supplies for future reading.
6
6. Dog Art Poster and Texture Hunt
Materials Needed:
One printed dog coloring pageLarge sheet of cardstockColored pencilsMarkersGlue stickScrap paper
Step by Step Guide:
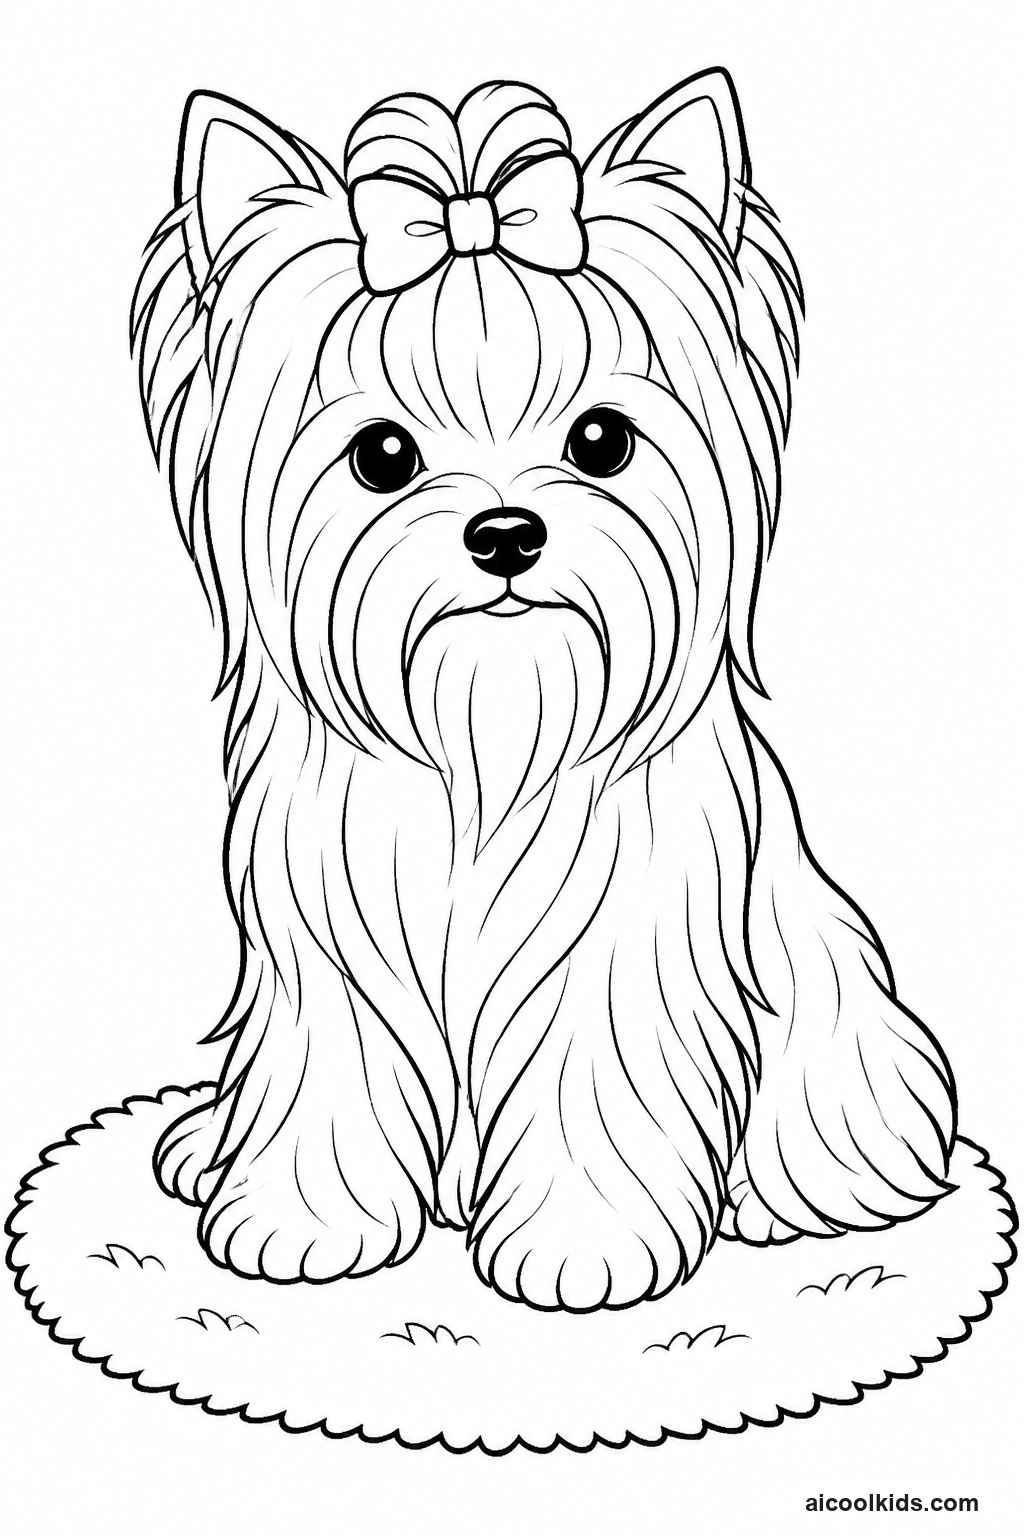
- Choose a dog page and look at the outline for places where texture could help the subject stand out. Make a quick list on scrap paper: short strokes for close fur, wavy lines for long fur, dots for spots, and curved lines for a smooth collar. Try each mark on the scrap paper first. Children can describe the texture with words such as fluffy, sleek, rough, or spotted.
- Color the dog with a base layer, using light pressure and marks that follow the direction of the body. Add a second shade around the neck, under the belly, and behind the legs. Use a few texture marks rather than filling every area with lines. Leave the face readable by keeping marks light near the eyes and nose. Add a small highlight with a white pencil if one is available.
- Plan a poster border on the large cardstock. Draw a simple frame with a ruler or make a border from colored paper strips. Before gluing, place the coloring page in the center and check that there is enough space at the top for a title and at the bottom for a short caption. A title might name the dog's pretend breed, its favorite activity, or the scene shown.
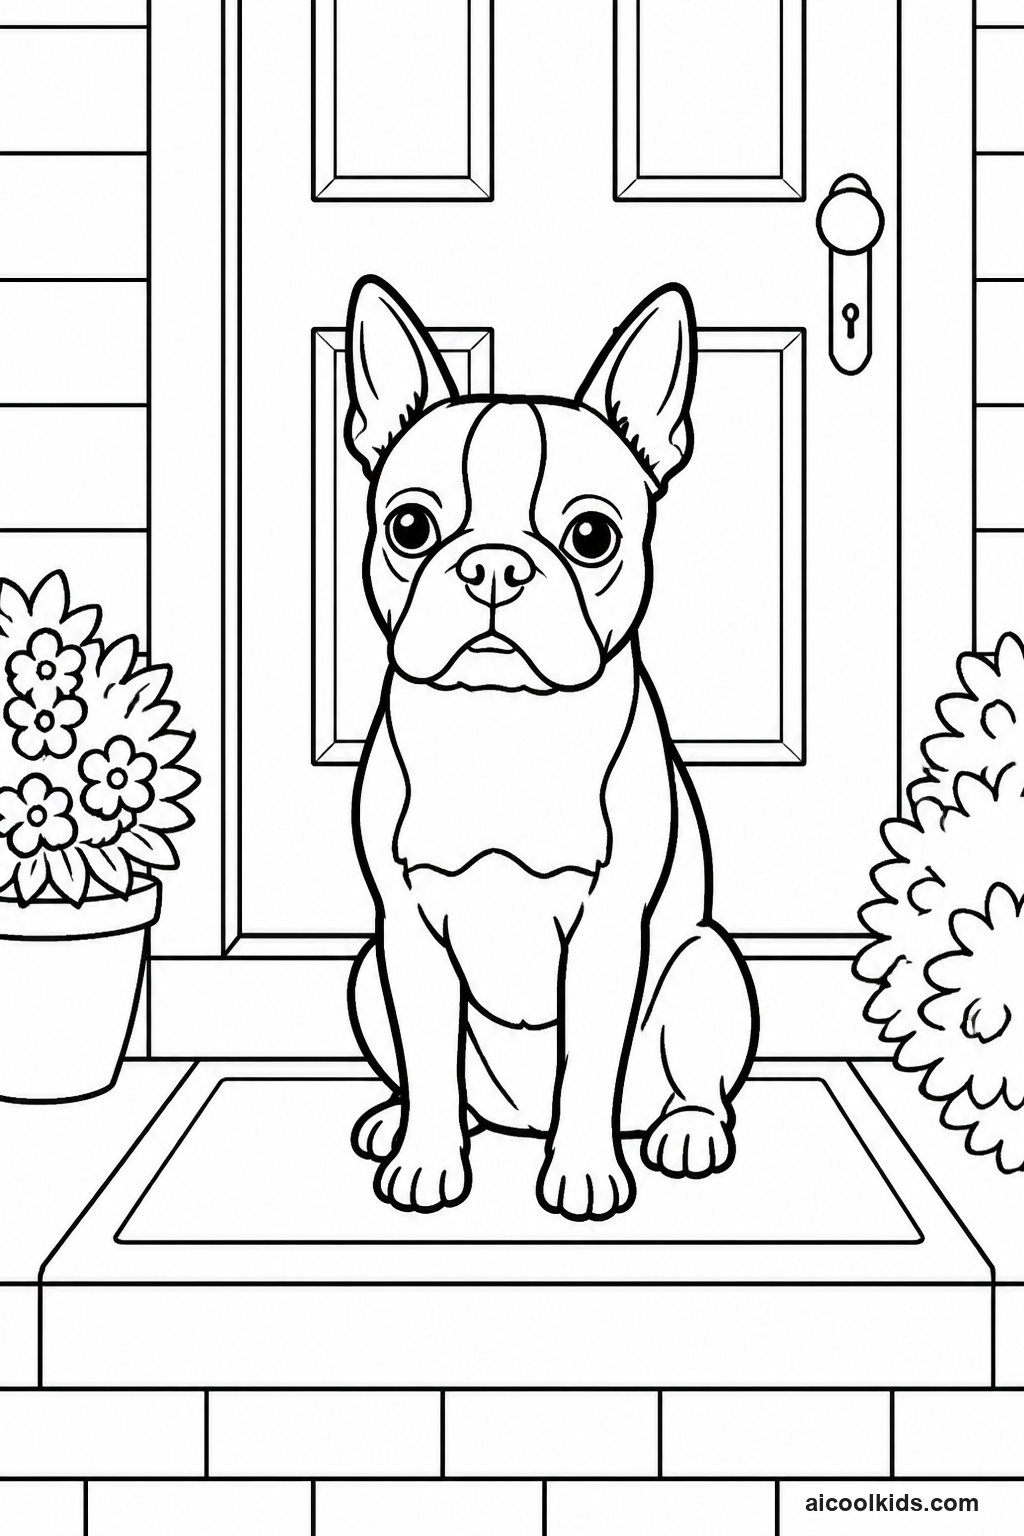
- Glue the coloring page onto the cardstock. Add a background that supports the dog without competing with it, such as a band of grass, a doorway, or a few clouds. Write the title in large, easy to read letters. Beneath the picture, add one sentence explaining a texture choice, such as, Short brown strokes make this dog's coat look smooth.
- Invite the child to present the poster and point out three texture marks. Ask classmates or family members to name what each mark suggests before the artist explains the choices. Display the poster at the child's eye level. After a few days, ask whether the title and caption are still easy to read from across the room, then make any small changes.