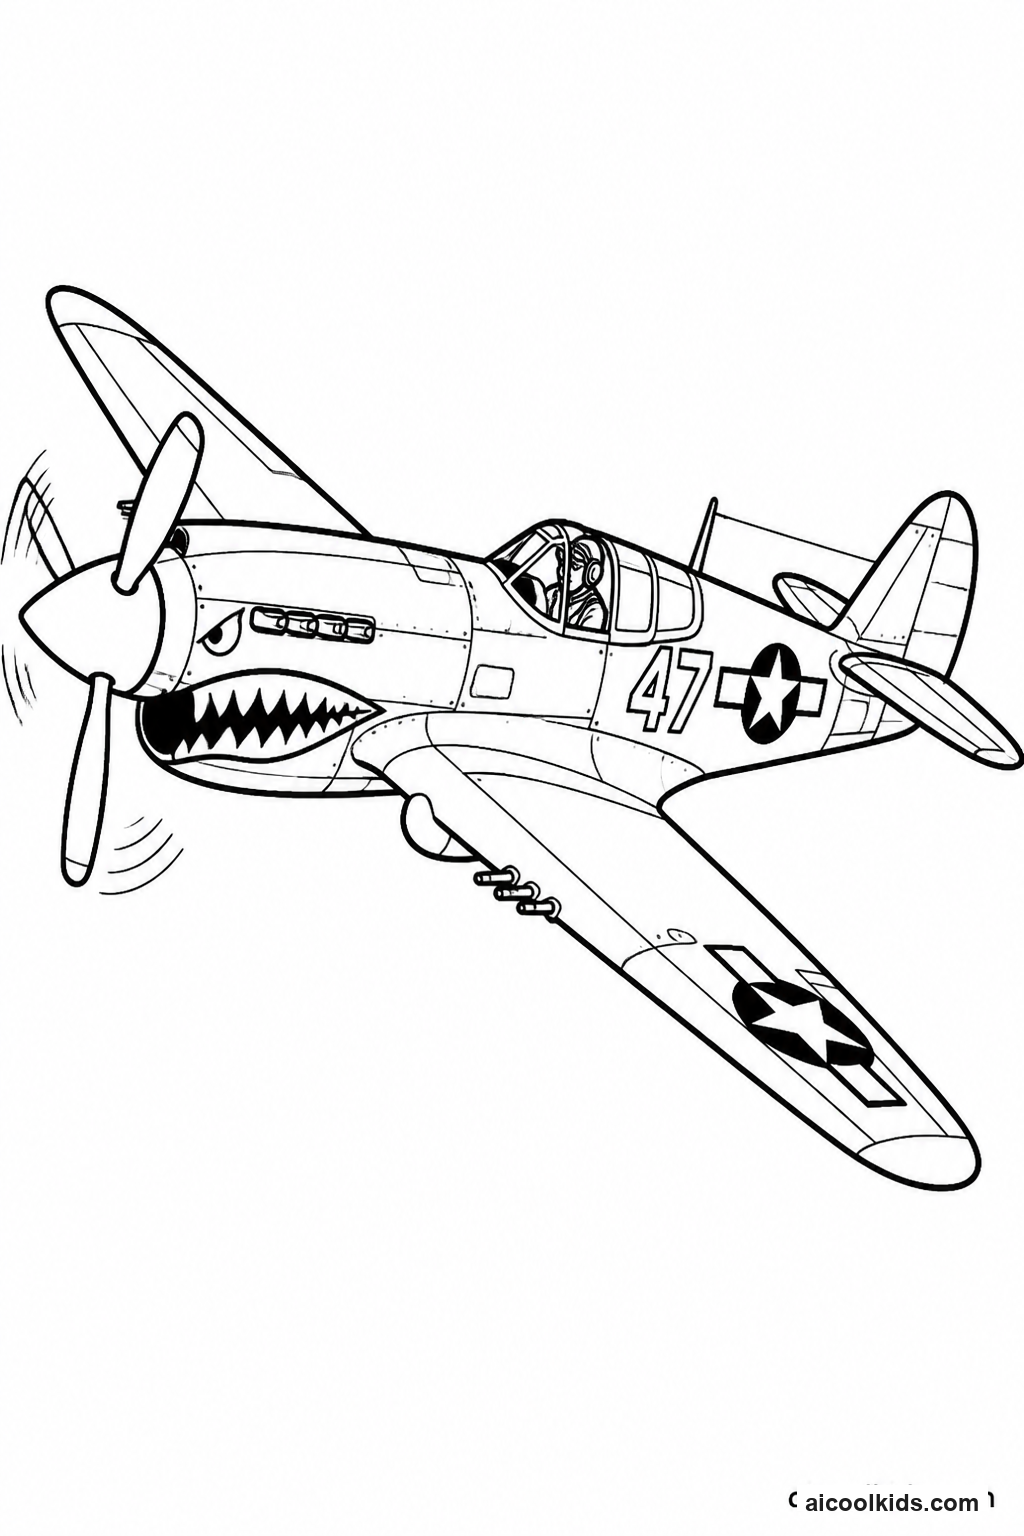
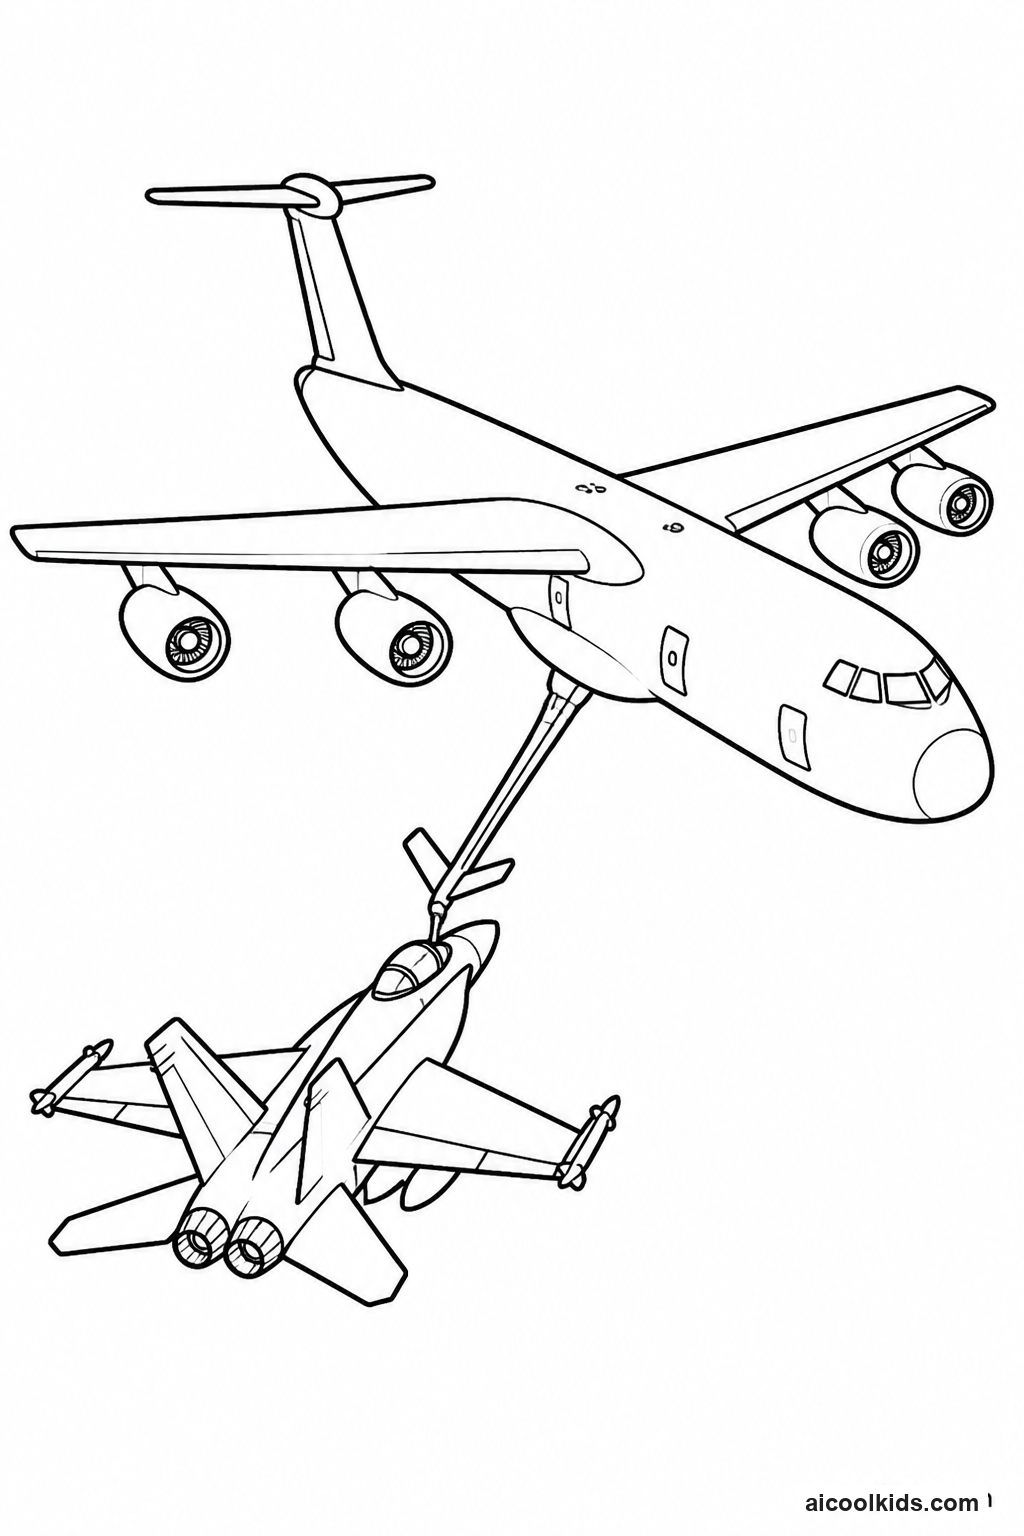
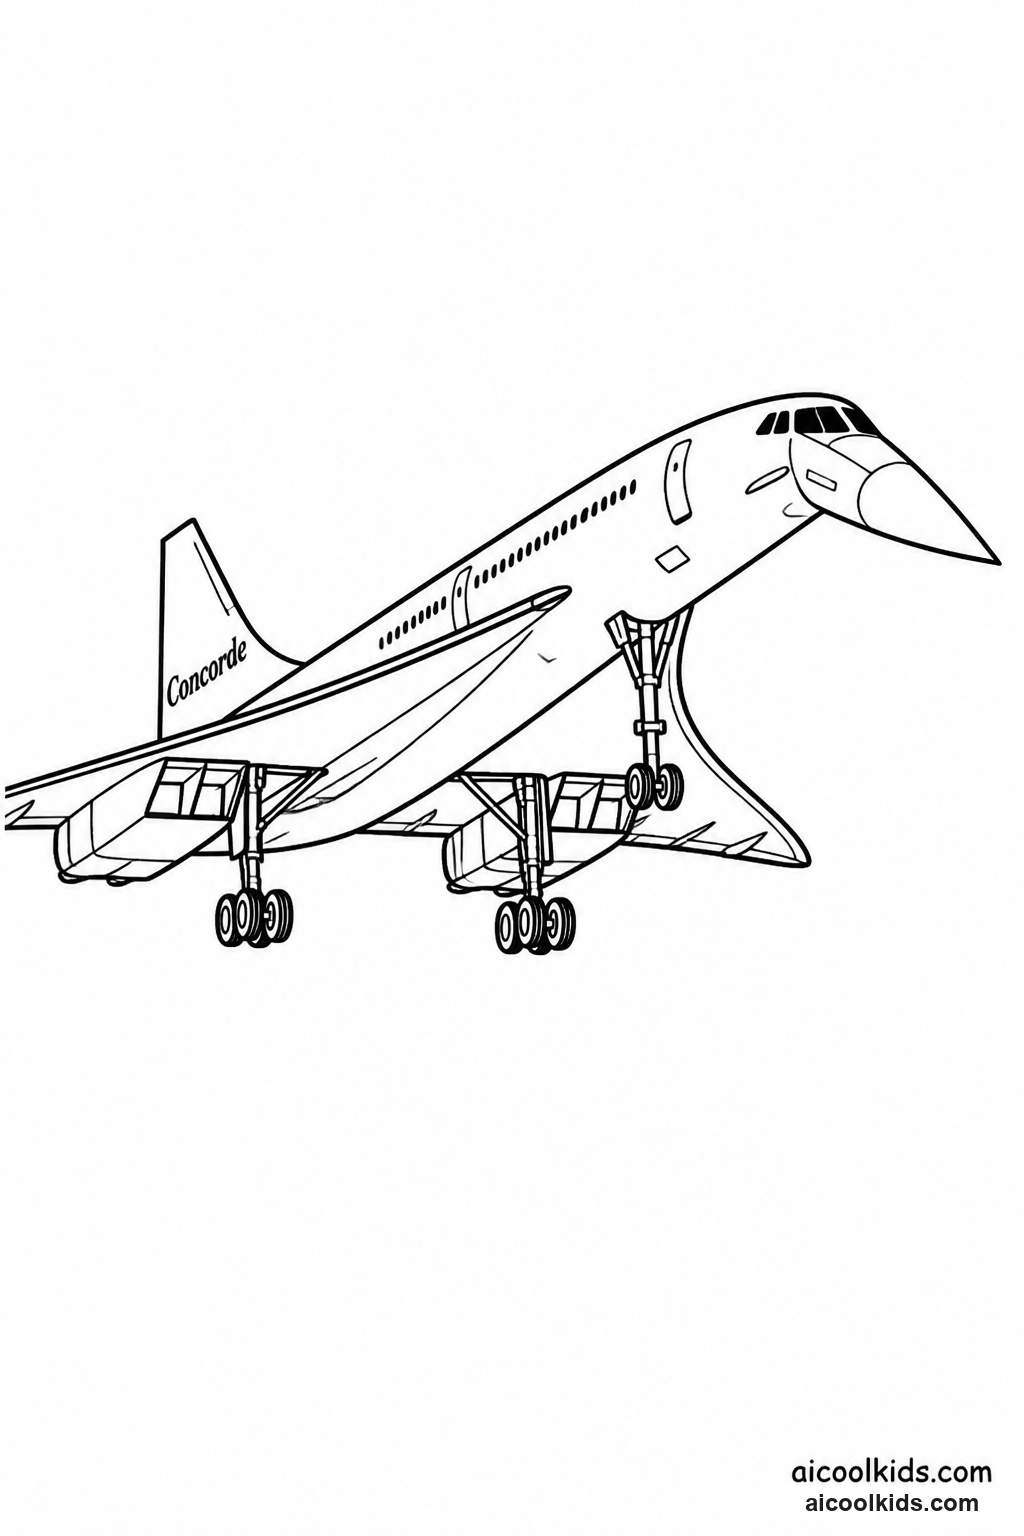
Parent & Teacher Craft Guide
6 Creative Learning & Craft Ideas for Free Airplane (Ages 6-12) Coloring Pages
Once the pages are colored, you can turn them into simple projects for home or the classroom. Here are 6 easy craft ideas using supplies you probably already have, like scissors, glue sticks, and construction paper.
1
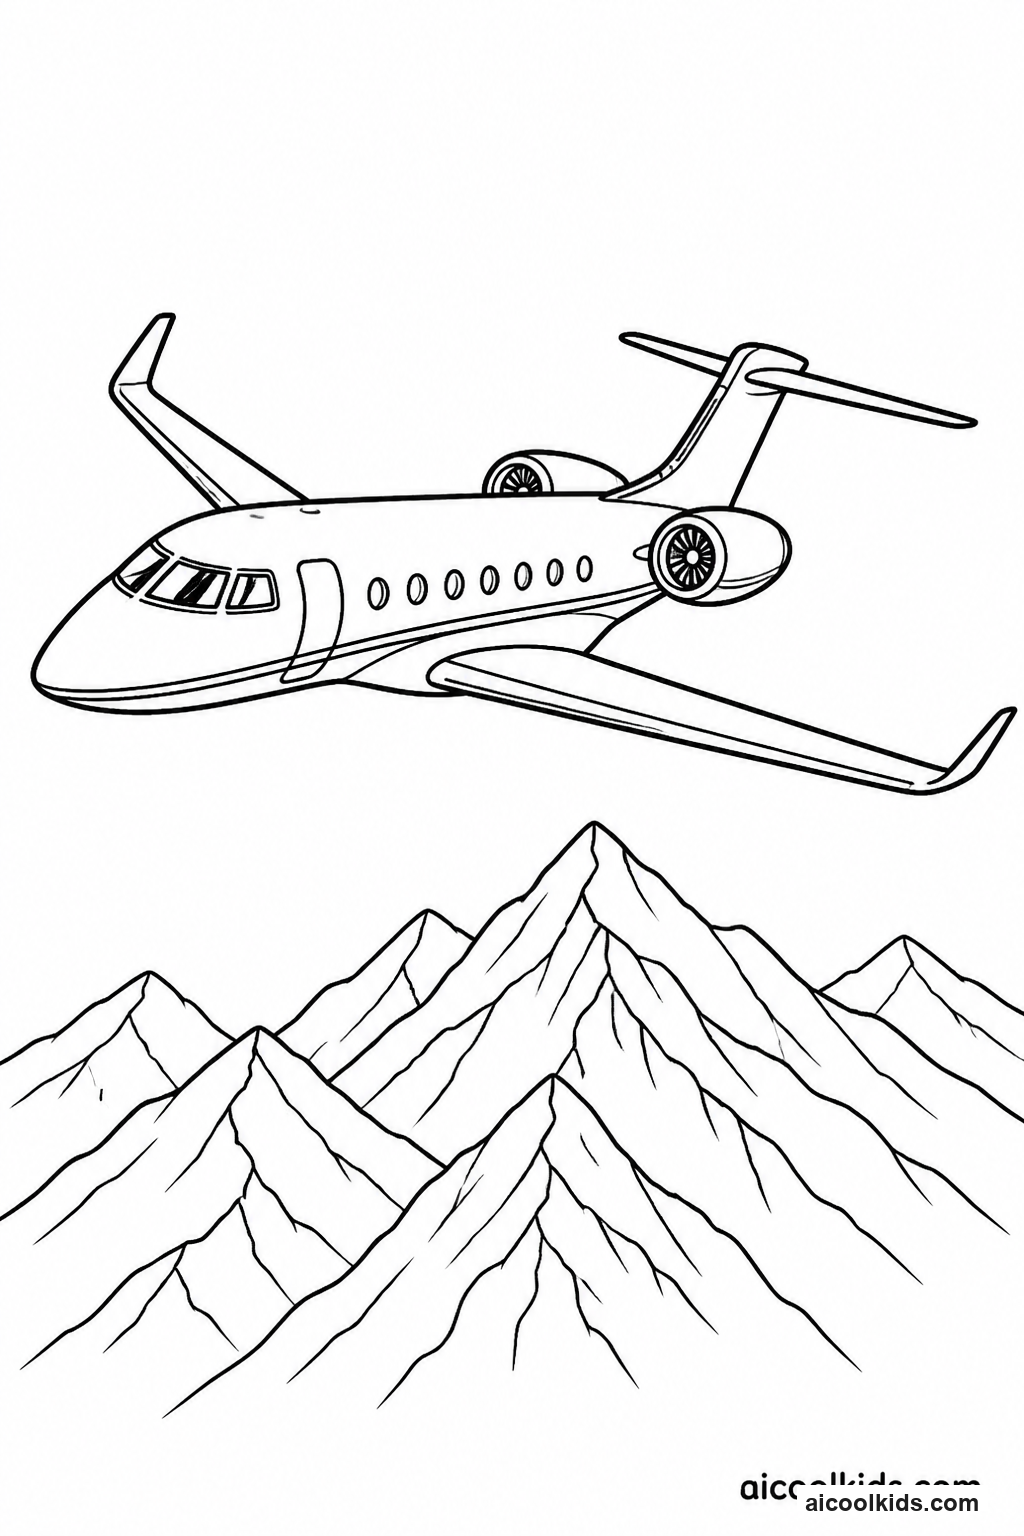
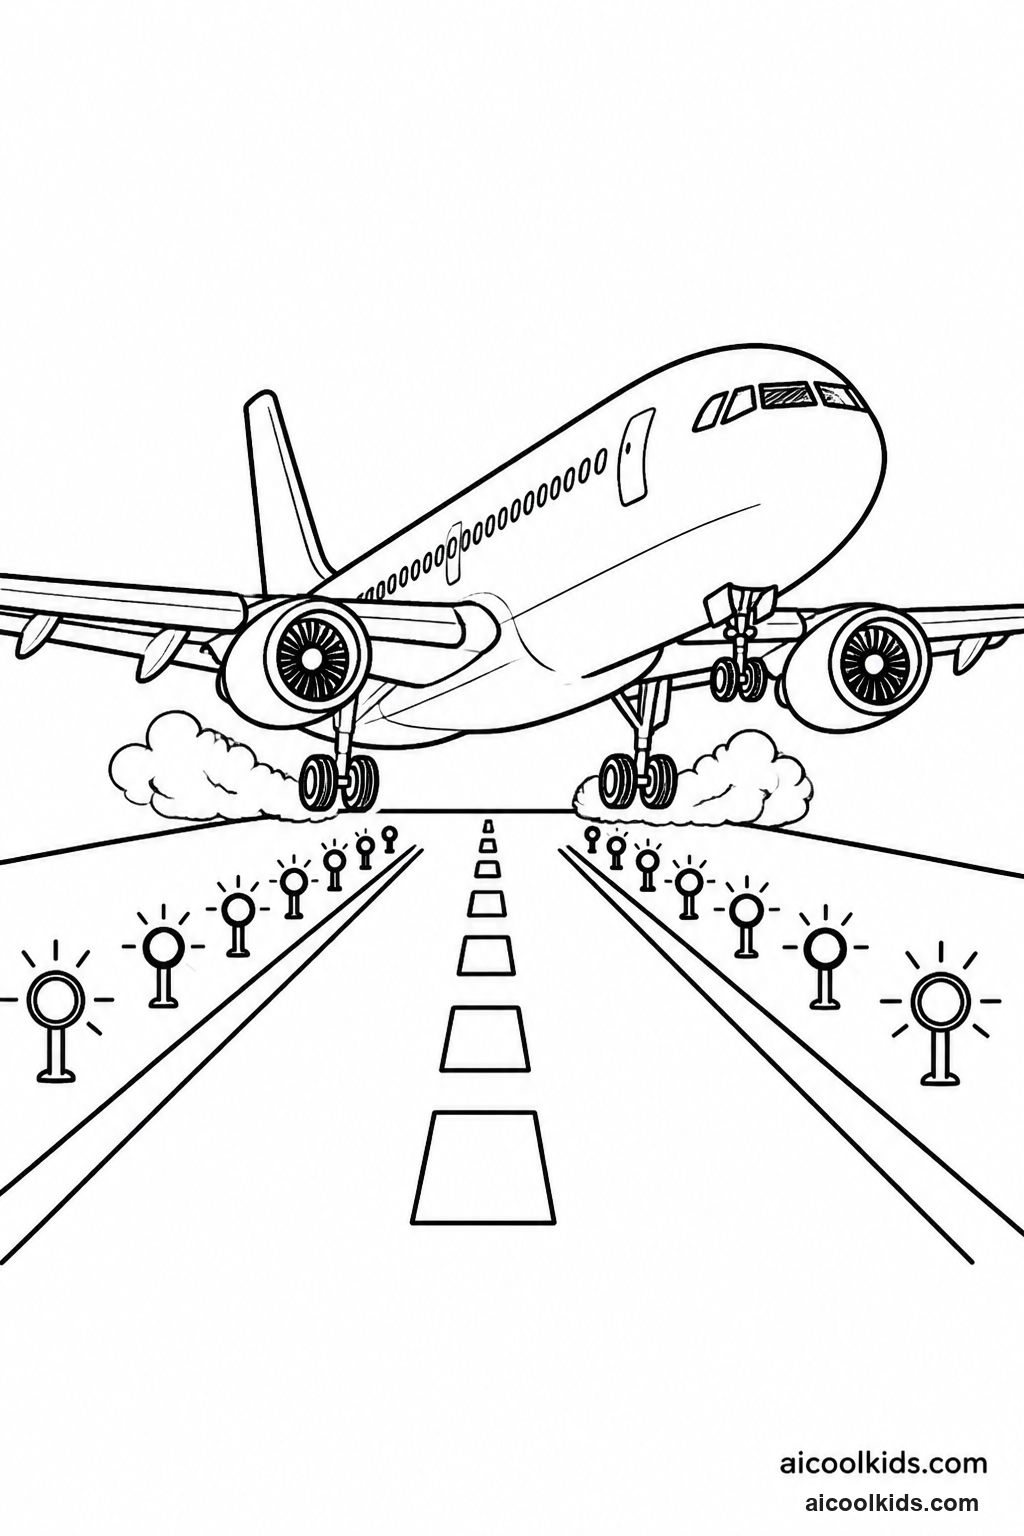
Plan Color Patterns with a Jet Airliner Window Strip
Materials Needed:
Printed jet airliner coloring pageCrayons or colored pencilsConstruction paperChild-safe scissorsGlue stickRulerPencil
Step by Step Guide:
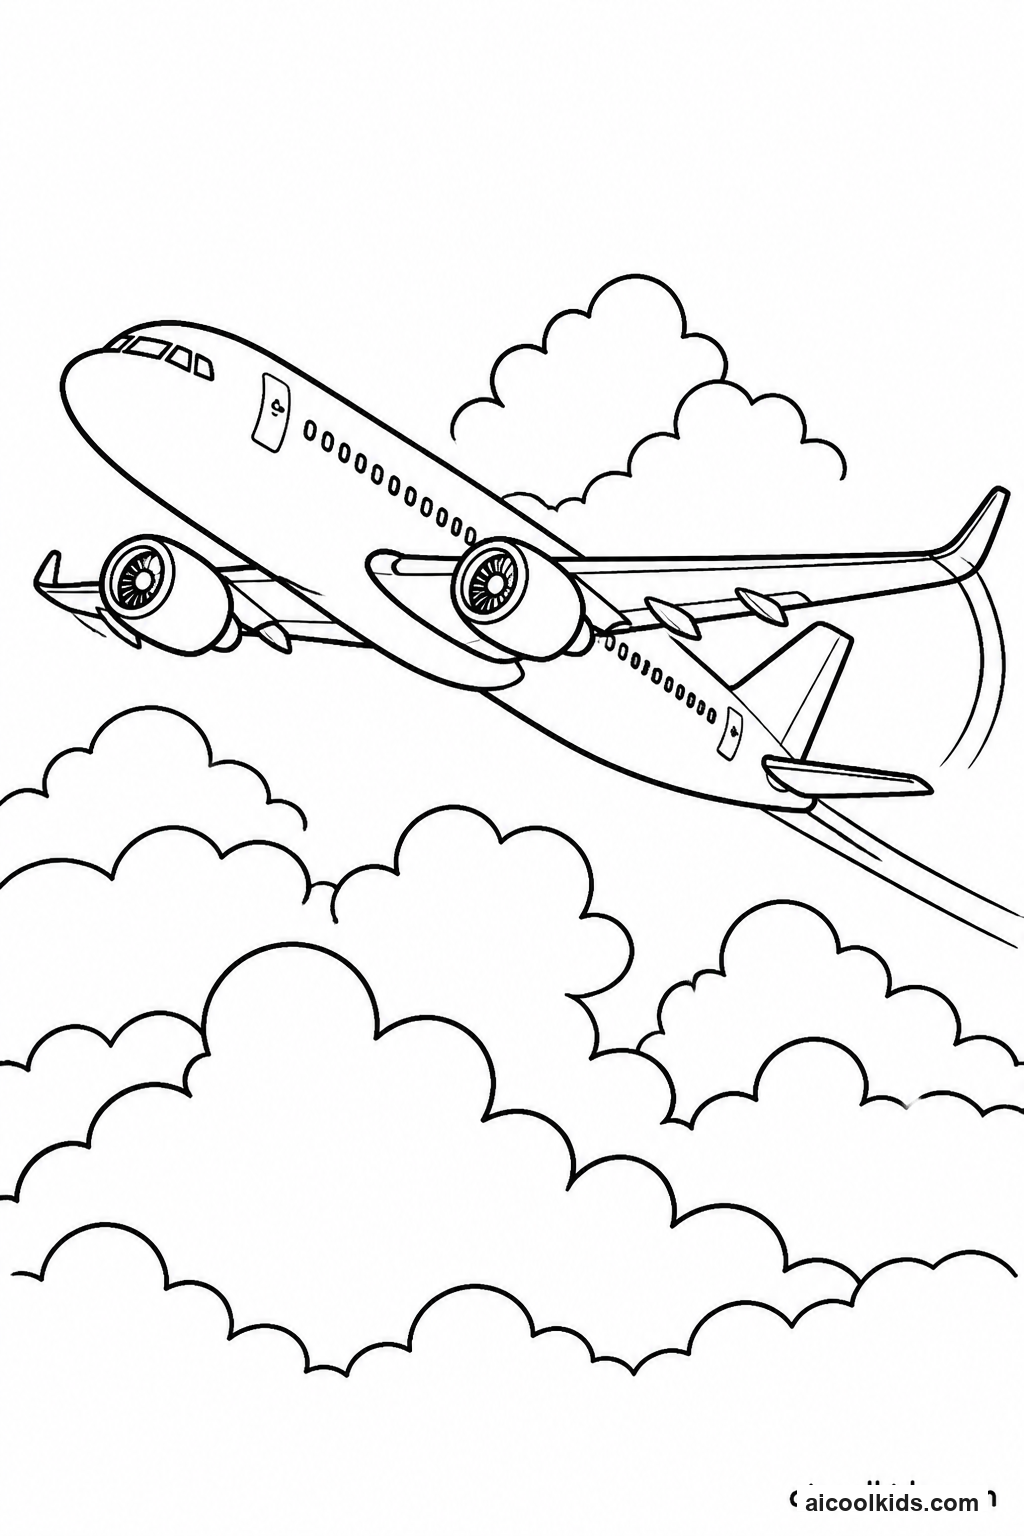
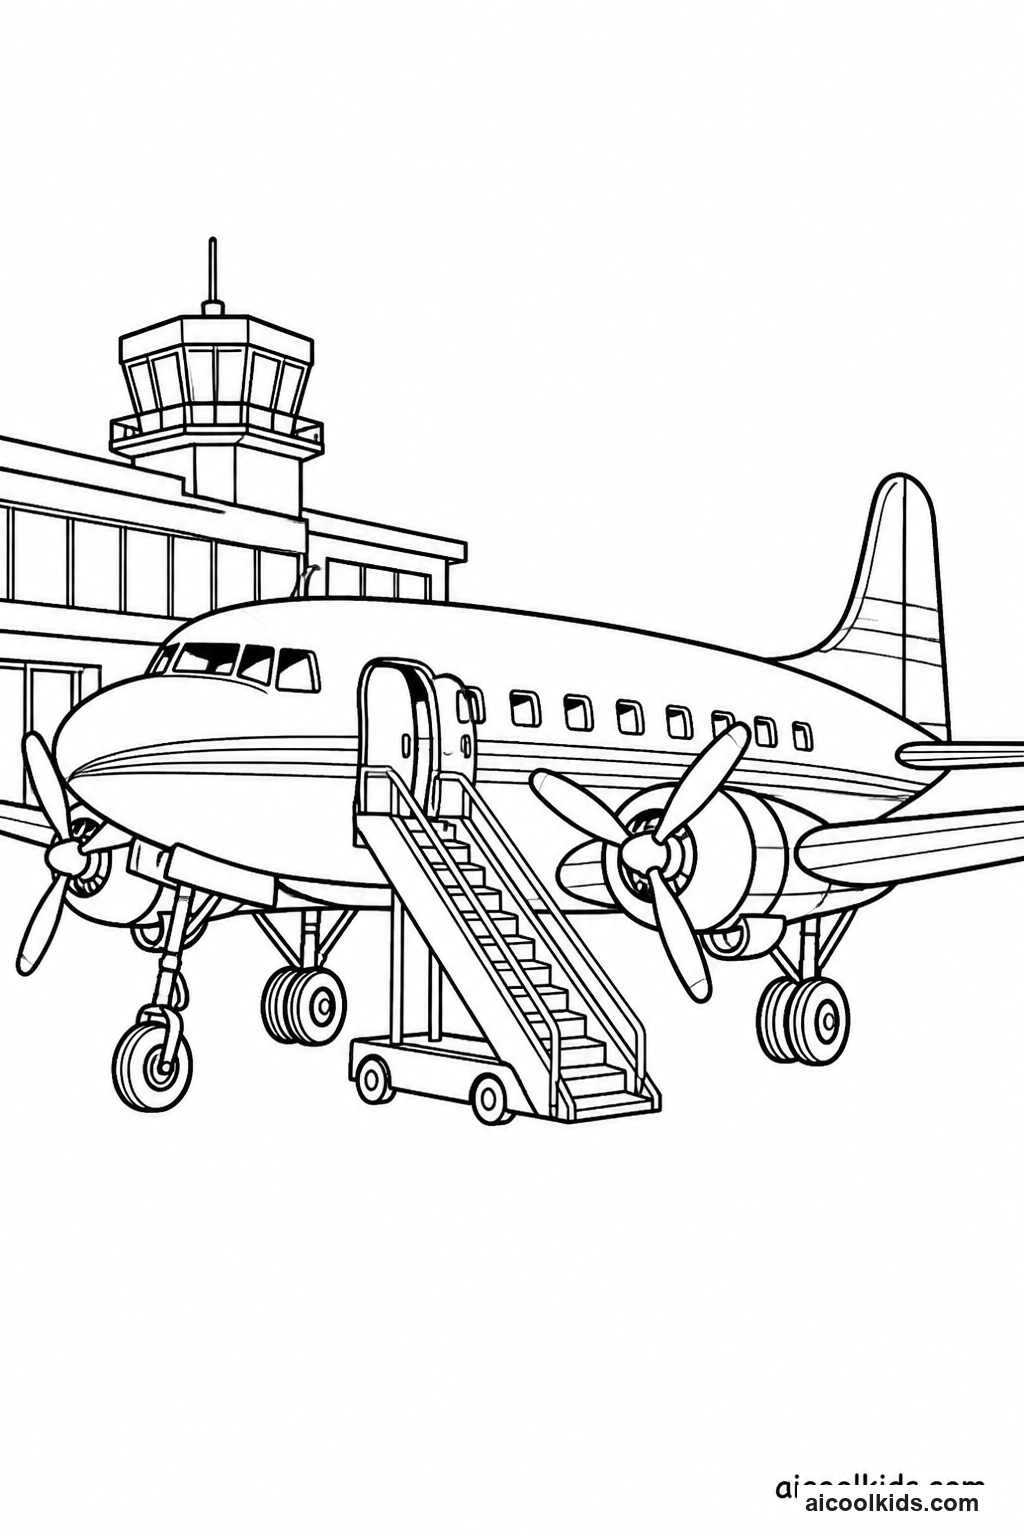
- Color the airliner before cutting anything out. Choose two or three main colors for the fuselage and wings, then use a contrasting color for the tail or airline emblem. Encourage children to leave the printed outlines visible so the airplane details remain easy to see.
- Look closely at the row of cabin windows and decide which ones to turn into a pattern. For example, color every other window blue, or alternate two colors from the nose to the tail. Older children can draw tiny passenger faces or shade a few windows as if the cabin lights were on.
- With adult guidance for younger children, cut around the airplane outline or trim the page into a neat rectangle that keeps the aircraft intact. If the page is thin, glue it onto construction paper first and let it dry briefly before cutting to make the display more durable.
- Cut a long strip of construction paper wide enough to support the coloring page. Use a ruler to mark a straight edge if desired, then glue the airplane in the center. Add a paper title such as 'Window Pattern Flight' and write the name of the chosen color sequence underneath.
- Display the finished strip at child height or place it on a table for a short pattern-sharing activity. Invite each child to point out the repeated colors and explain one design choice. In a classroom, connect several strips to make a hallway-length fleet while leaving space between pages.
2
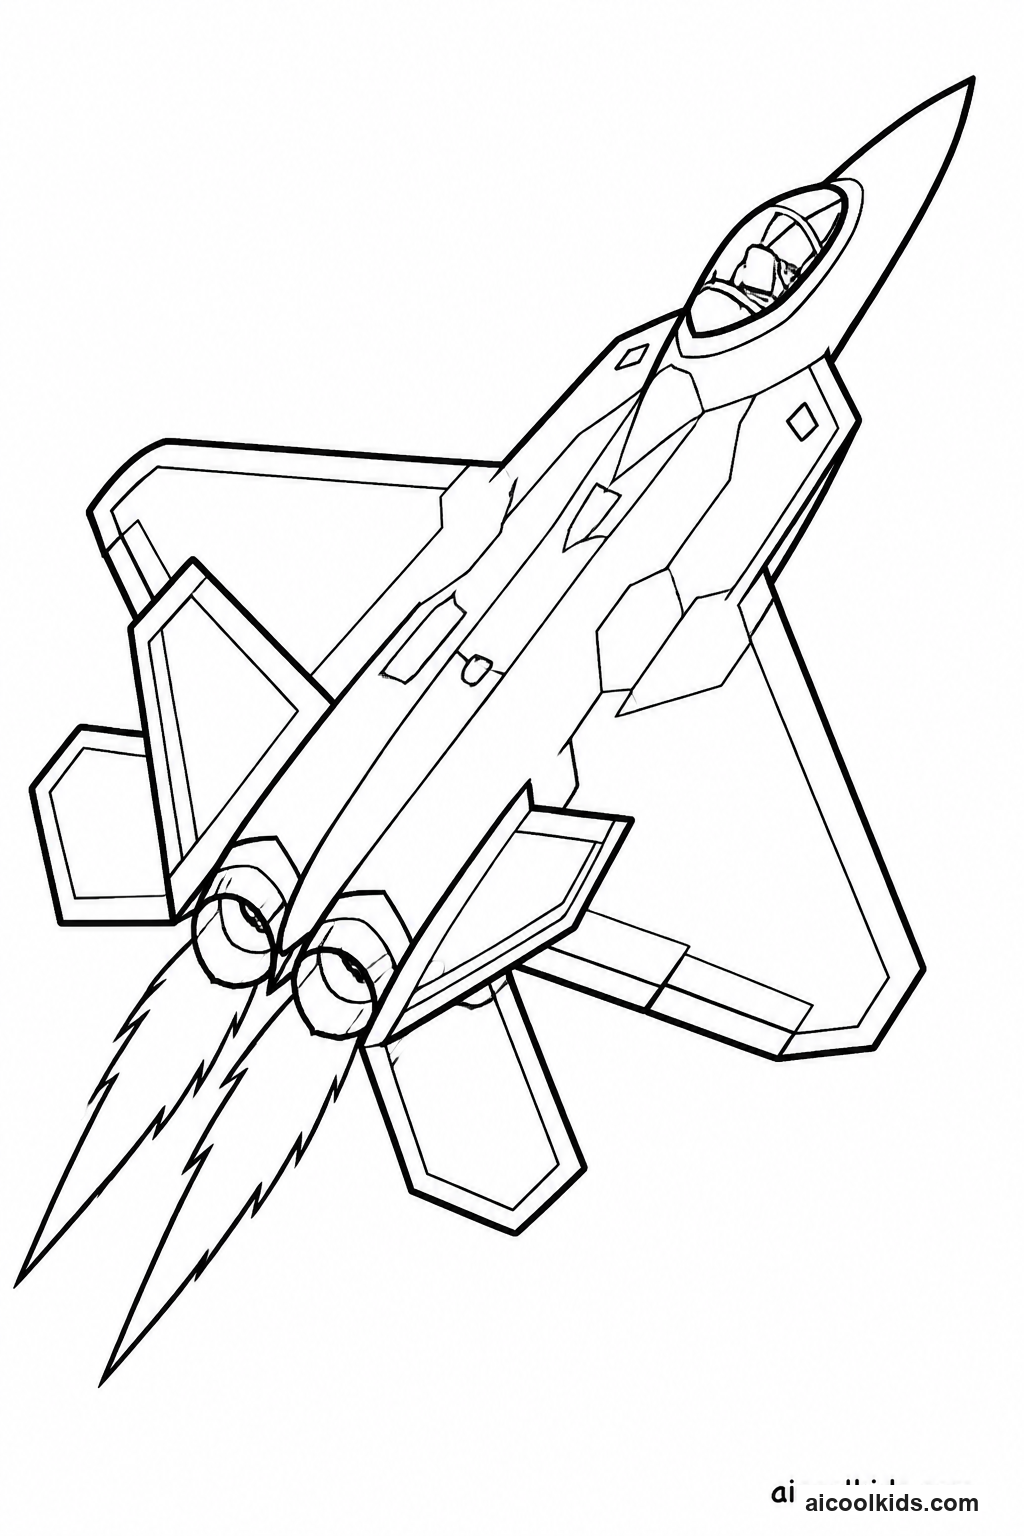
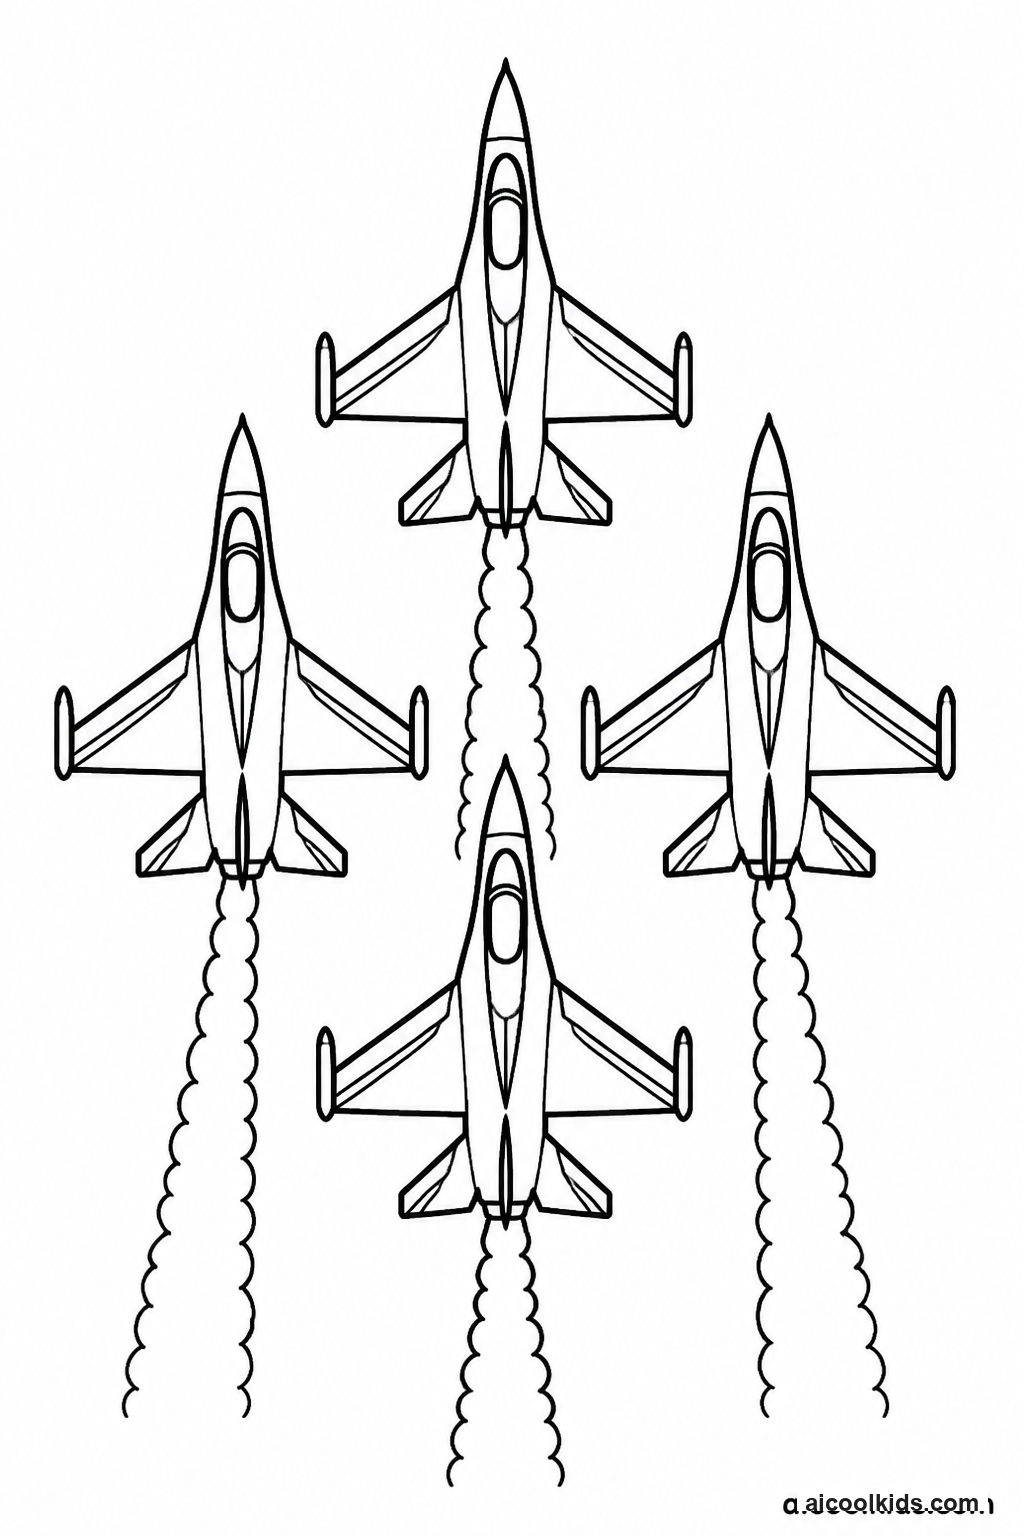
Build Storytelling Skills with a Fighter Jet Mission Map
Materials Needed:
Printed fighter jet coloring pageCrayons or colored pencilsLarge sheet of paperChild-safe scissorsGlue stickMarkersPencil
Step by Step Guide:
- Color the fighter jet with a planned palette. Children may choose realistic gray tones or invent a bright demonstration-team design. Add a clear cockpit, wing markings, and a tail pattern, taking care not to cover printed details that help identify the aircraft.
- On the large sheet of paper, draw a simple route map with a starting runway and a destination such as a mountain weather station or island supply depot. Add three or four landmarks, including a cloud bank, river, hill, or town. Use large shapes so the route will be easy to follow.
- Cut out the colored jet with child-safe scissors, keeping a small paper border around the wings and tail to prevent delicate parts from tearing. Glue the aircraft near the starting point. If the page is thin, mount it on scrap paper before cutting so the jet is sturdy enough to handle.
- Draw a dotted flight path from the runway to the destination. Add one or two decision points, such as going around a cloud or following a river. Children can draw an arrow at each turn and label simple directions such as north, left, or toward the coast.
- Tell or write a short mission story using the route as a sequence. Include where the jet begins, what it notices along the way, and how it reaches its destination safely. Younger children can dictate their story to an adult, while older children can add a title, captions, and a key explaining the map symbols.
3
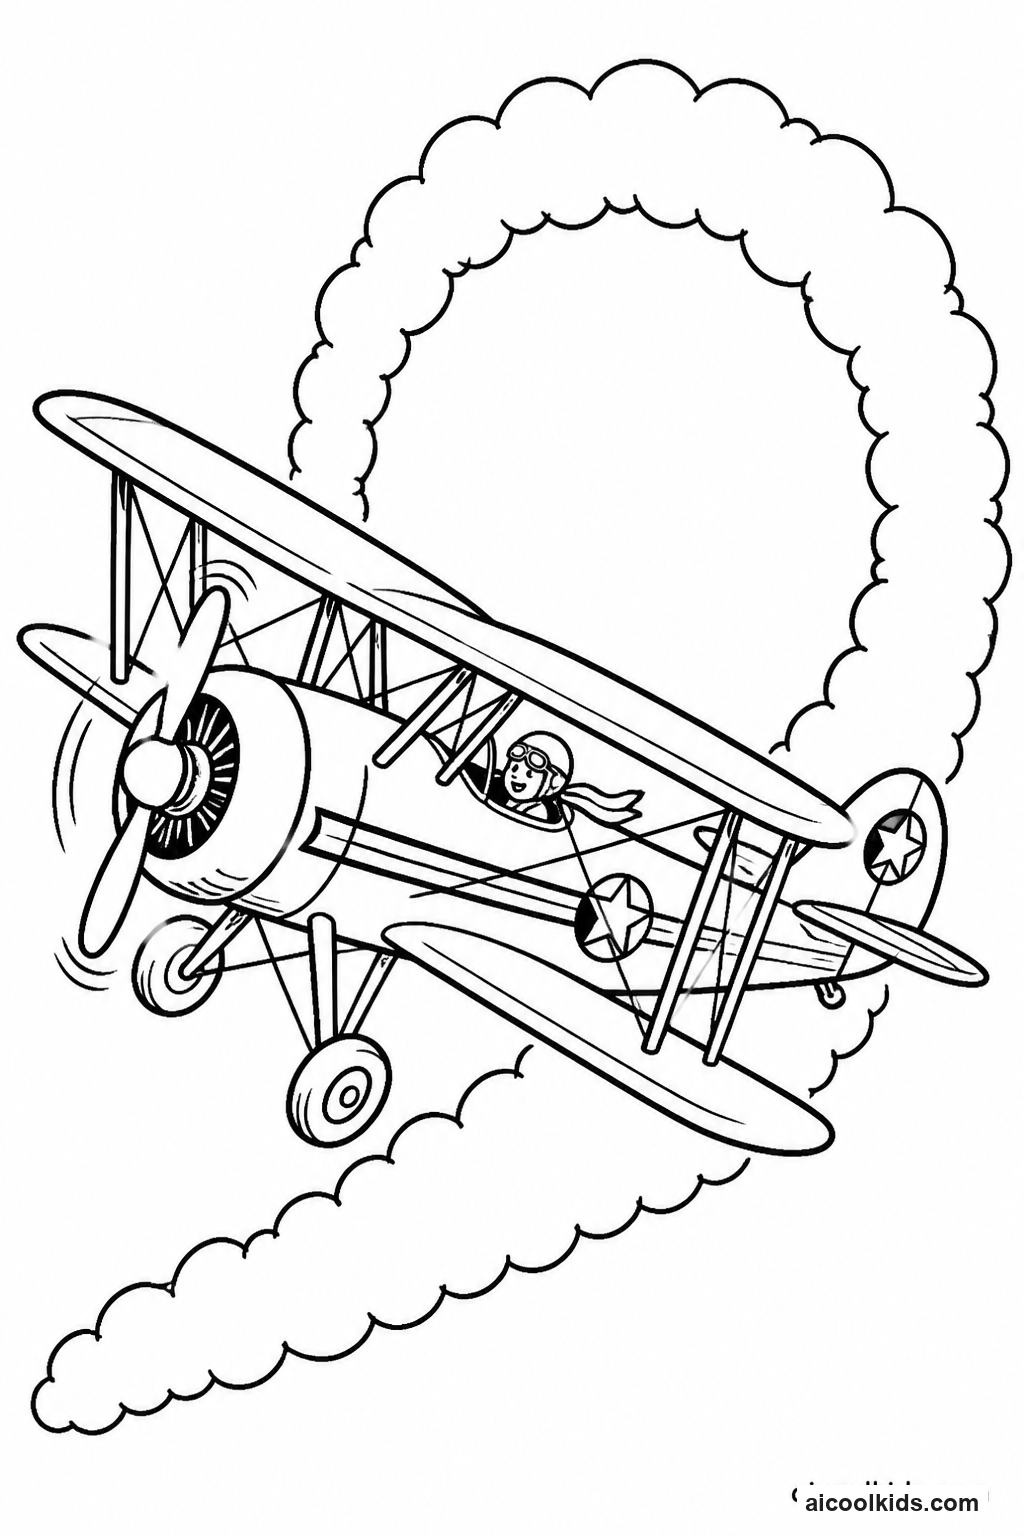
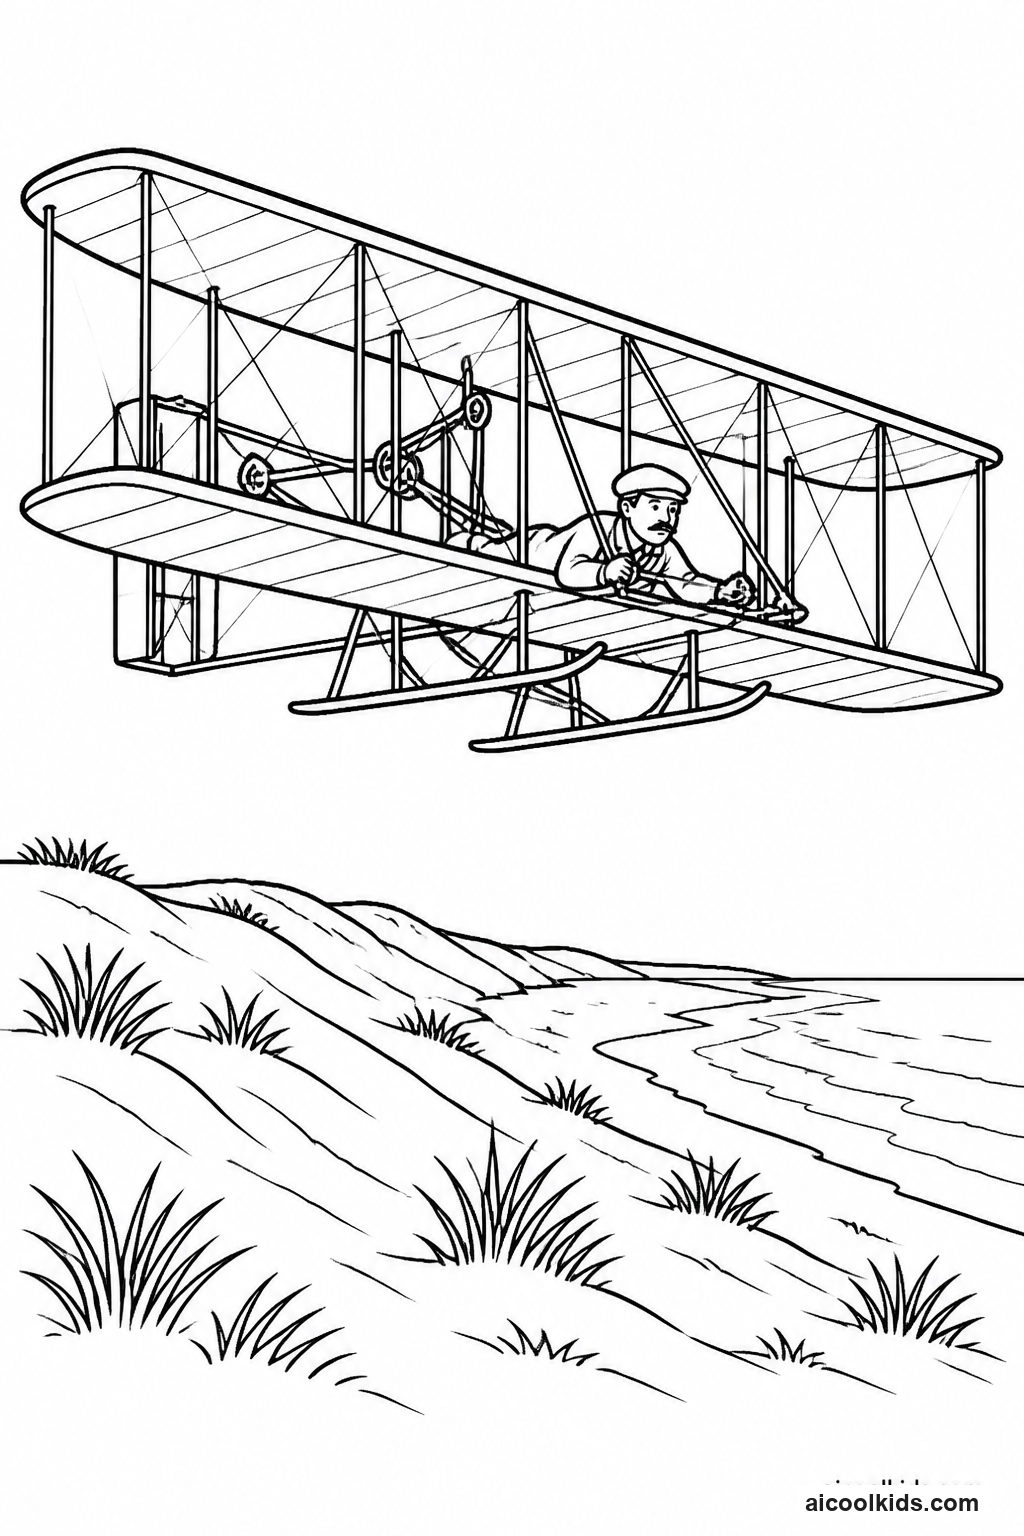
Explore Wing Shapes with a Biplane Shadow Display
Materials Needed:
Printed biplane coloring pageColored pencils or crayonsLightweight construction paperTracing paper or thin copy paperChild-safe scissorsGlue stickBlack marker
Step by Step Guide:
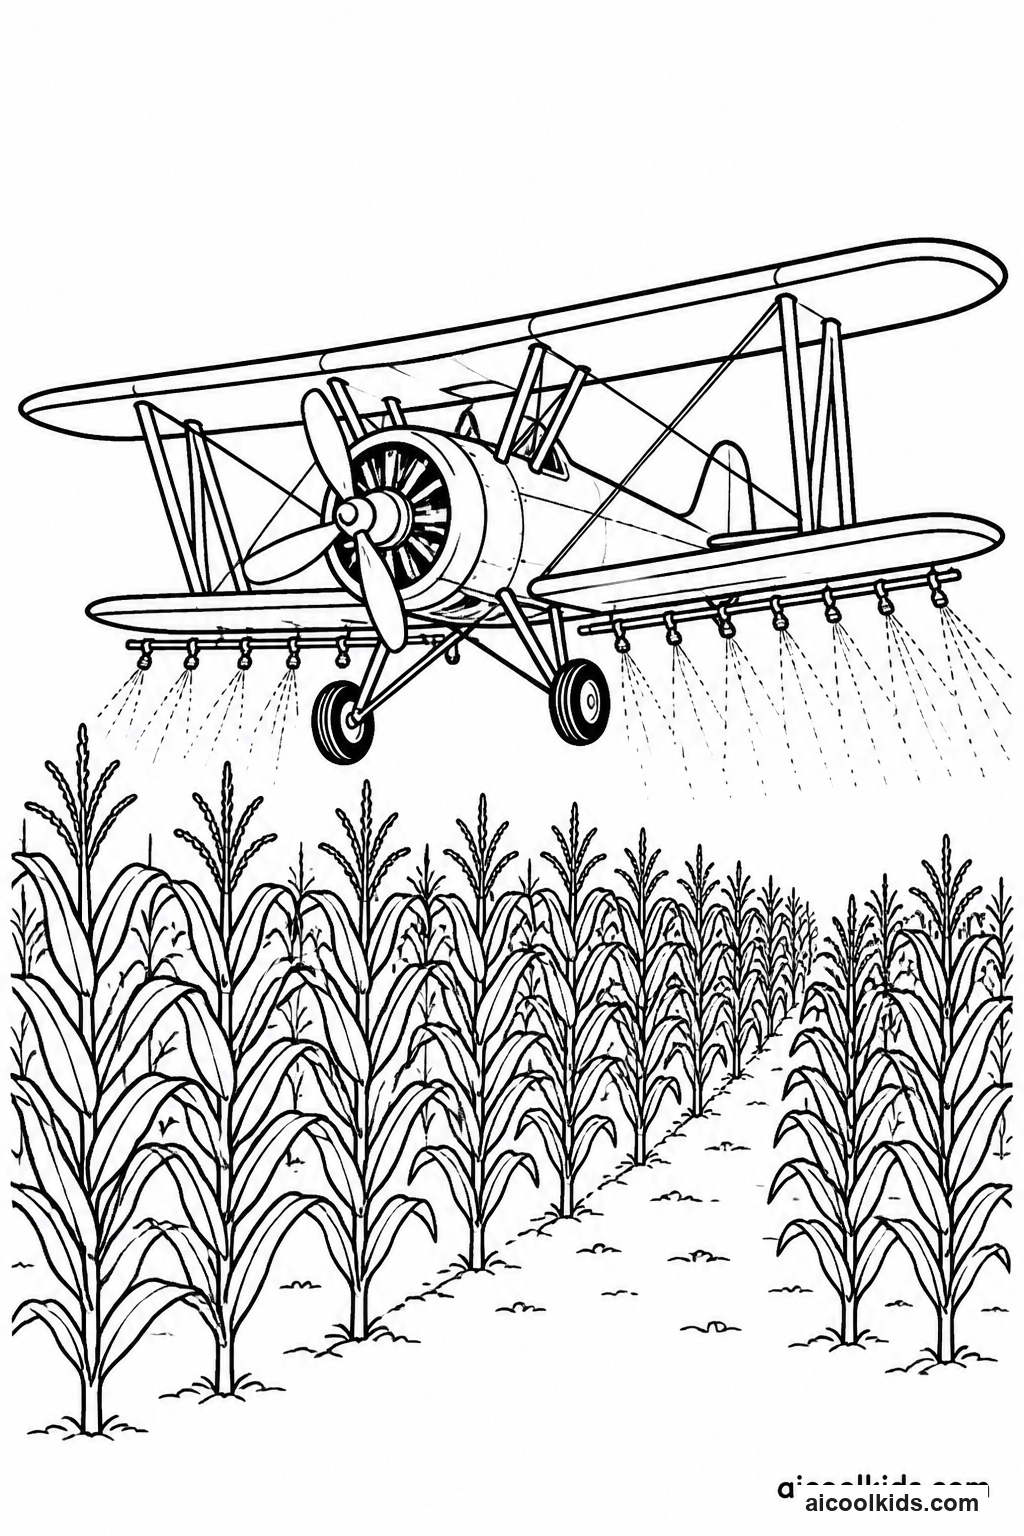
- Color the biplane page, choosing colors that make the upper and lower wings easy to distinguish. Use one color for the fuselage and a second color for both wings, then add a narrow contrasting stripe or dot pattern. Leave the outlines clear so the aircraft's stacked wing arrangement remains visible.
- Place tracing paper over a large wing area and lightly trace its outer shape with a pencil. If tracing paper is unavailable, look at the printed picture and draw a simple wing shape on lightweight construction paper. Keep the shape broad and uncomplicated so it is easy to cut safely.
- Cut out the extra wing shape. Place it behind the printed airplane, lining it up with the wing position shown in the picture. Before gluing, move it slightly to test a shadow effect, then choose a position that shows both the printed wing and the added layer clearly.
- Glue the wing layer in place using a small amount of glue near the center and edges. Press it gently with a clean sheet of scrap paper to help it lie flat. Add a small label with arrows pointing to the upper wing and lower wing, using words or simple number labels.
- Invite the child to compare the biplane with another airplane page. Ask what is different about the wings and which details help identify each plane. Older learners can write one observation on the display, while younger children can tell an adult who records their words.
4
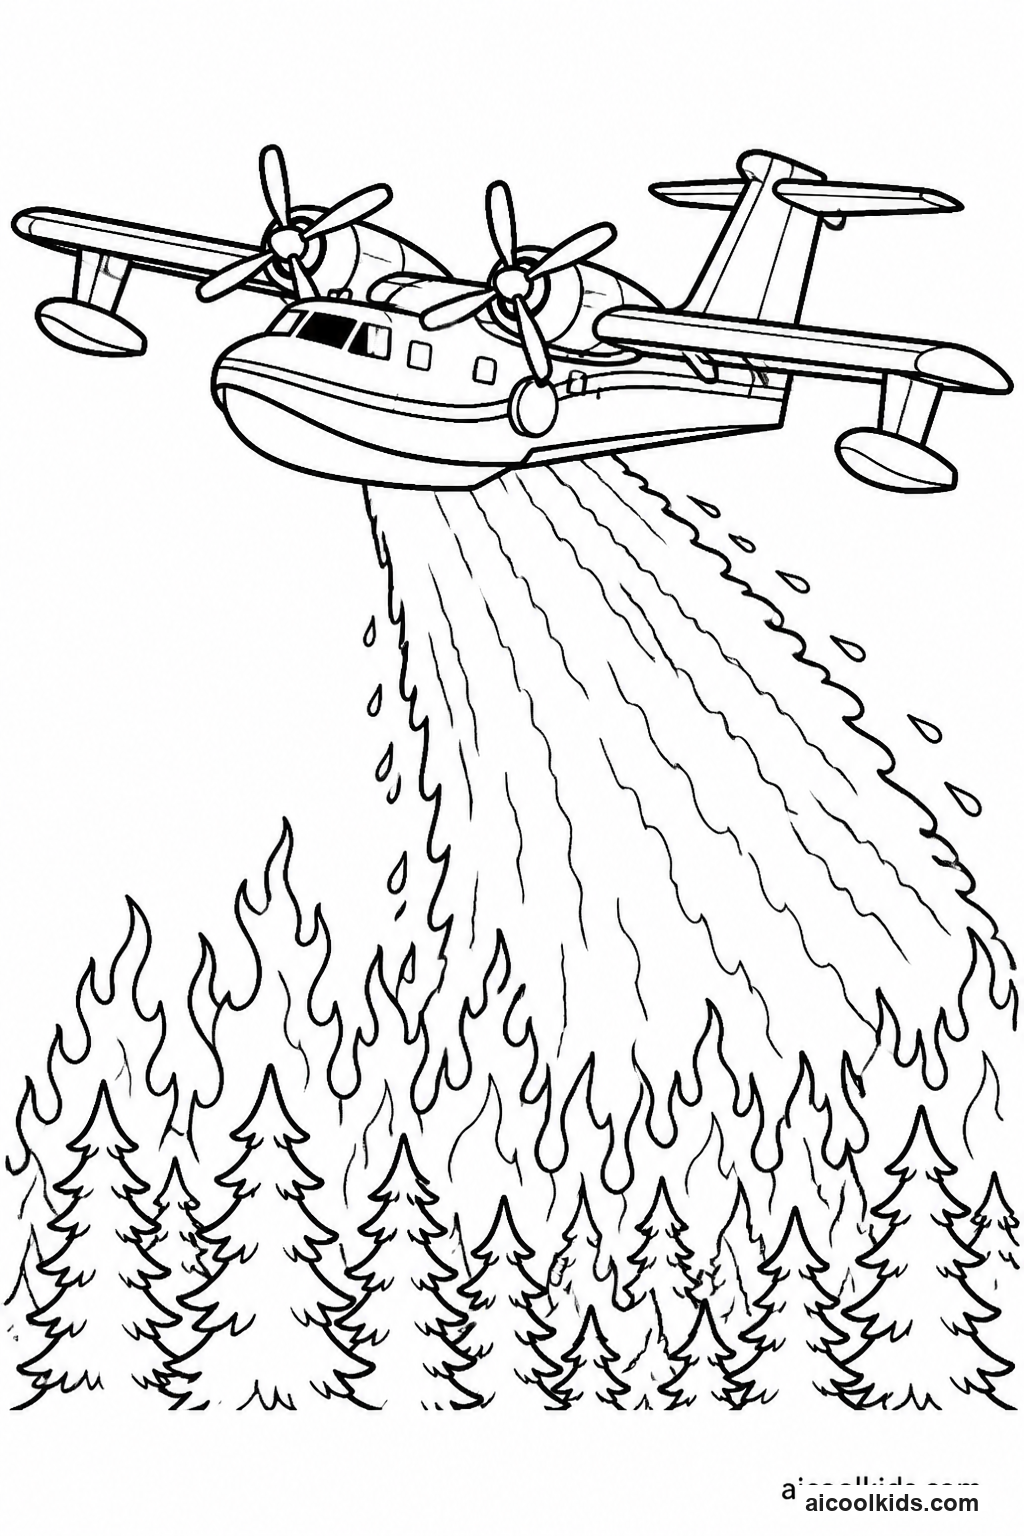
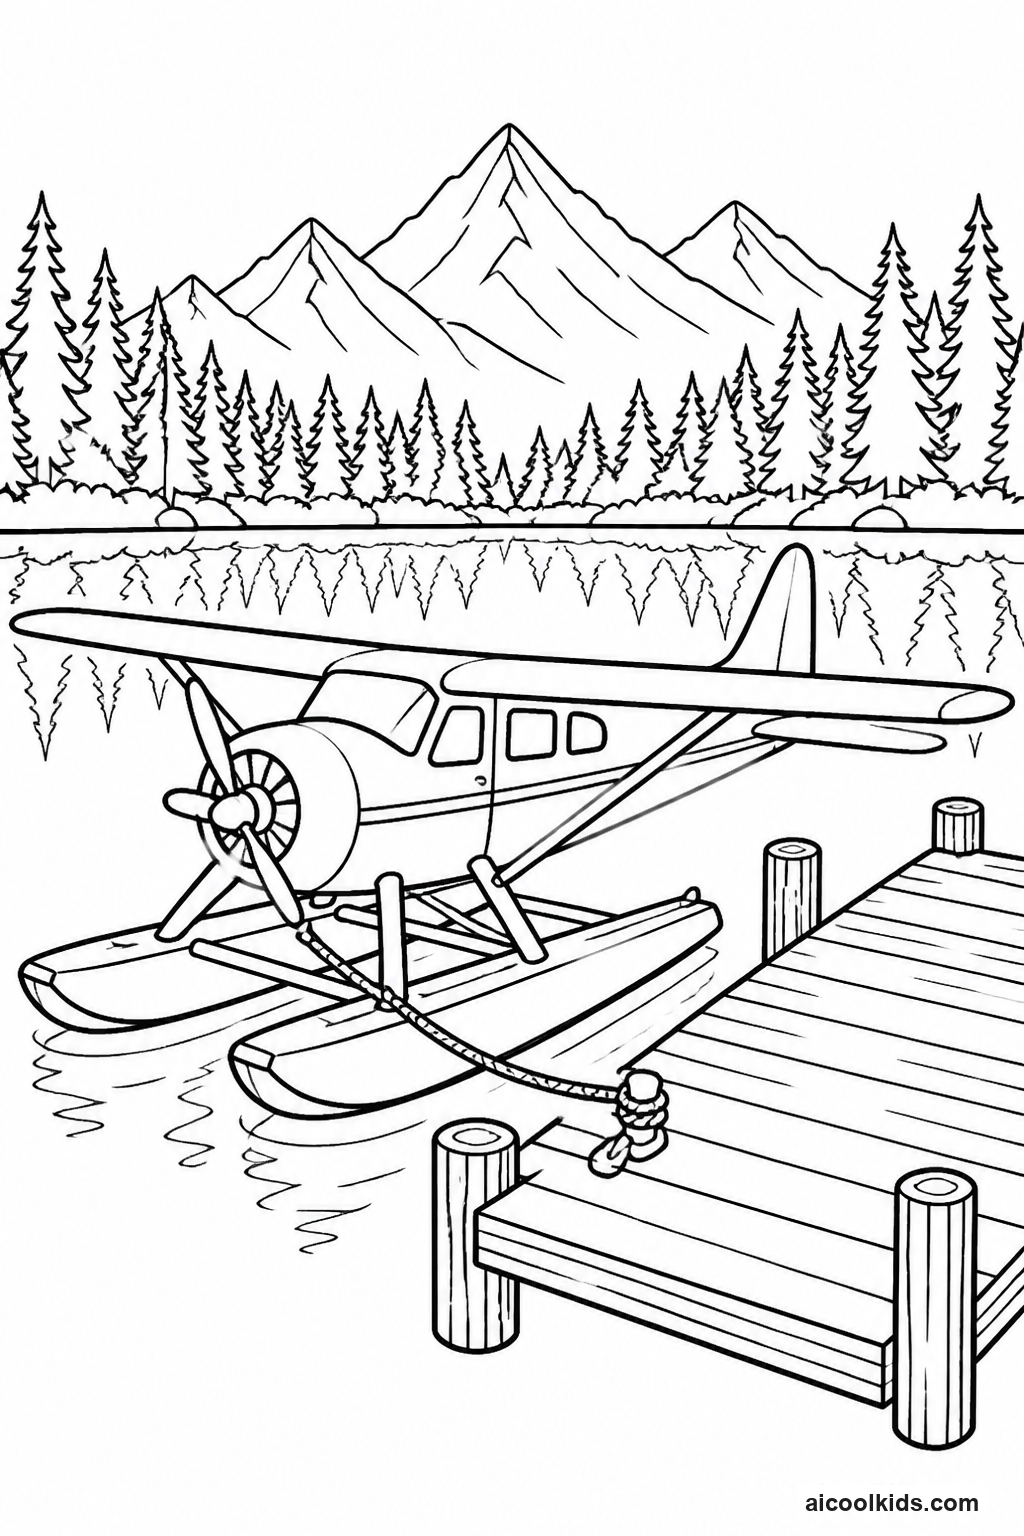
Practice Careful Coloring with a Seaplane Water Scene
Materials Needed:
Printed seaplane coloring pageCrayons or colored pencilsBlue and green construction paperGlue stickChild-safe scissorsCotton swabsWhite paper
Step by Step Guide:
- Color the seaplane first, paying attention to the floats or boat-shaped lower body if they appear in the drawing. Use one color for the main body and a contrasting shade for the wing tips or tail. Keep small parts such as windows and propellers neat by using the tip of a colored pencil or crayon.
- Choose a background color for the water and sky. Place the airplane page over construction paper to preview the scene, then decide whether the plane will sit above a lake, river, or coastal bay. Add a strip of green paper for a shoreline if the picture needs a clear horizon.
- Make water marks using short horizontal strokes rather than coloring the whole area in one direction. Combine two or three shades of blue and green, leaving a few narrow paper gaps as bright reflections. A cotton swab can soften a small area of crayon, but avoid rubbing hard enough to tear the page.
- Cut out the airplane with a small border around its outline, or keep the full page intact and glue it onto a larger background sheet. Add paper clouds, reeds, or a small dock if desired. Keep extra decorations away from the aircraft's wings and floats so its shape remains easy to identify.
- Add three or four curved ripple lines beneath the seaplane using a colored pencil. Write a short caption such as 'Ready for a lake landing' or ask the child to describe the setting in their own words. Display the scene flat until the glue is dry to prevent corners from lifting.
5
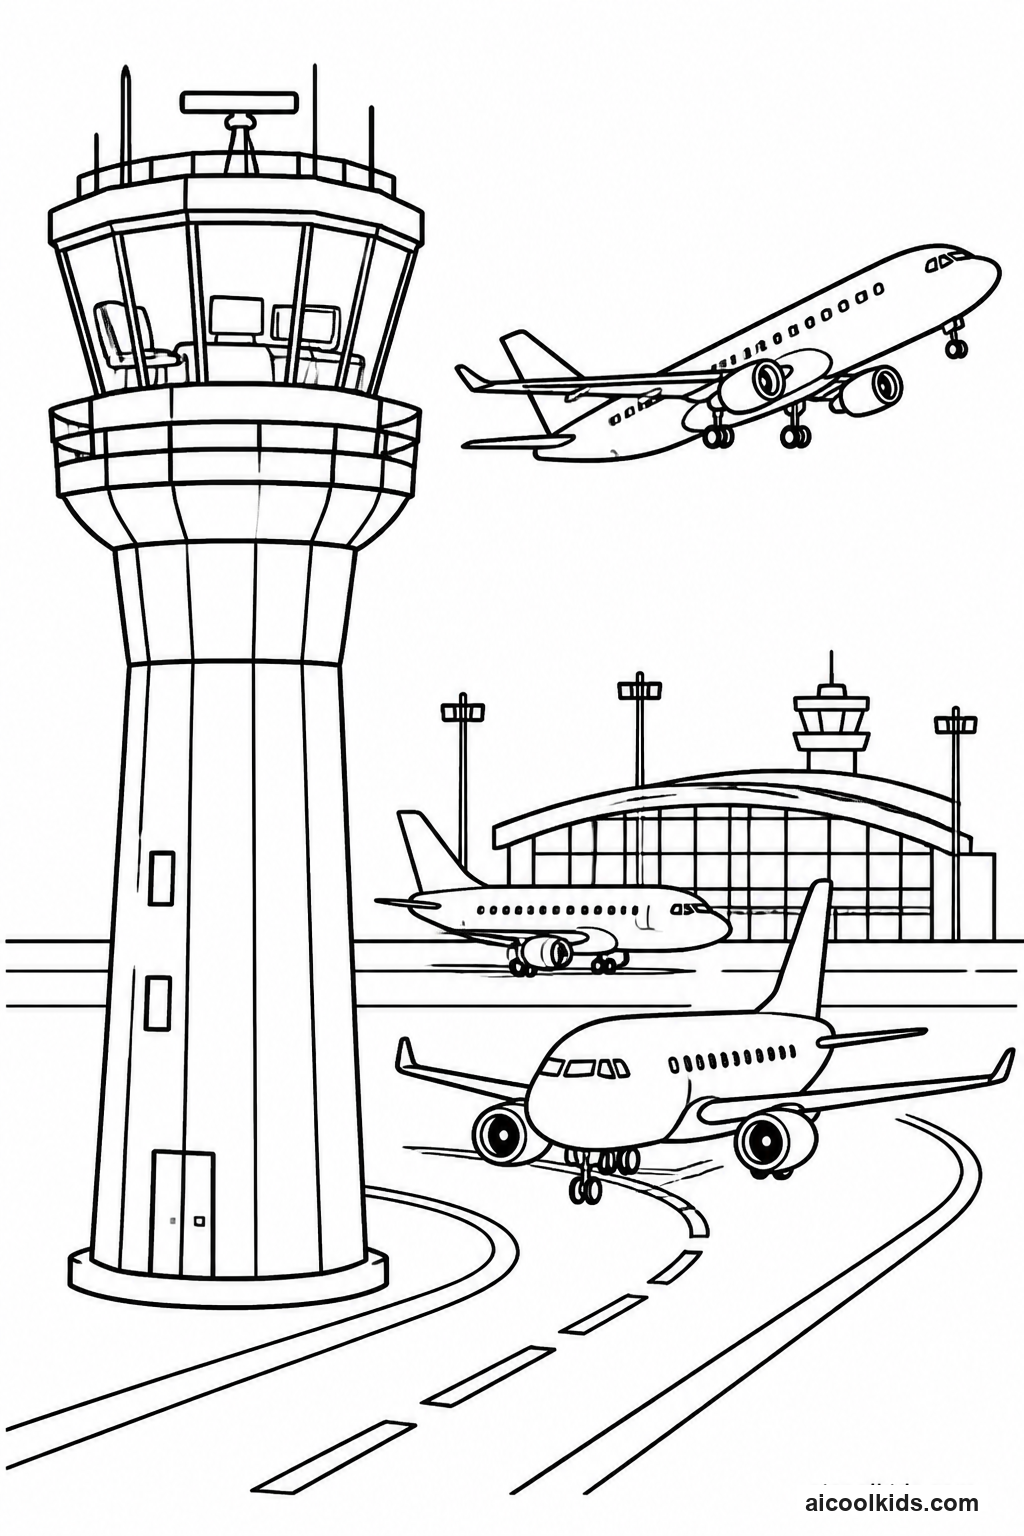
Strengthen Cutting Skills with an Airplane Hangar Scene
Materials Needed:
Printed airplane coloring pageConstruction paperCrayons or colored pencilsChild-safe scissorsGlue stickRulerMarkers
Step by Step Guide:
- Color the airplane with enough contrast to stand out against a building background. Add details that suit the aircraft, such as passenger windows, a propeller, or a bold tail design. Before cutting, ask the child to decide whether the plane will be parked inside the hangar or positioned near the runway.
- Fold a sheet of construction paper in half, then open it flat to make a light center guide. Draw a large rectangular hangar opening on one side and a roof line above it. Younger children can keep the doorway as a drawn outline, while older children can cut along the top and sides to make two paper doors.
- Cut out the airplane around its outer shape, using slow, small snips around wings and tail parts. If the child is still learning scissor control, leave a generous border instead of cutting close to every curve. Place the aircraft on the background before gluing to check that the runway and doorway remain visible.
- Glue the airplane either inside the hangar opening or on the runway in front of it. Add two or three simple runway markings with a ruler and marker. Draw a sign above the building, then add a tool cart, cloud, or ground crew figure using large shapes that are easy to color and cut.
- Let the scene dry on a flat surface. Children can use it as a backdrop for a short pretend flight story or explain which aircraft is parked there and where it might go next. For a classroom display, mount each scene on a larger sheet and arrange the pages side by side as one shared airport.
6
Make a Reusable Aviation Quiz with Colored Plane Cards
Materials Needed:
Printed airplane coloring pagesIndex cards or cardstockColored pencils or crayonsChild-safe scissorsGlue stickPencilMarkersEnvelope
Step by Step Guide:
- Select four or more airplane pictures that show different designs, such as a jet airliner, fighter jet, biplane, and seaplane. Color each picture so its important features stand out. Use a different accent color for each aircraft to make the cards easy to sort and recognize later.
- Cut out each colored airplane picture or trim the printed page into a rectangle. Glue one picture to the front of an index card or piece of cardstock. Press the picture from the center outward to reduce wrinkles, then set the cards aside until the glue is dry.
- On the back of each card, write two or three clues about the aircraft's visible shape or likely job. For example, a clue might mention two sets of wings or floats beneath the body. Invite the child to use the printed picture as a reference and avoid adding facts they have not checked.
- Add a simple question to each card, such as 'Which picture shows a plane designed to land on water?' or 'Which aircraft has two main wings stacked above one another?' For younger players, include a small answer symbol or let a partner read the question aloud.
- Shuffle the cards and take turns reading a clue while another player guesses the aircraft. After each answer, explain which picture detail helped. Store the completed cards in an envelope, label it 'Airplane Quiz,' and bring it out for a short review activity at home or in a classroom center.