Parent & Teacher Craft Guide
6 Creative Learning & Craft Ideas for Minecraft (Ages 6-12) Coloring Pages
Once the pages are colored, you can turn them into simple projects for home or the classroom. Here are 6 easy craft ideas using supplies you probably already have, like scissors, glue sticks, and construction paper.
1
Plan a Block Base to Practice Creative Design
Materials Needed:
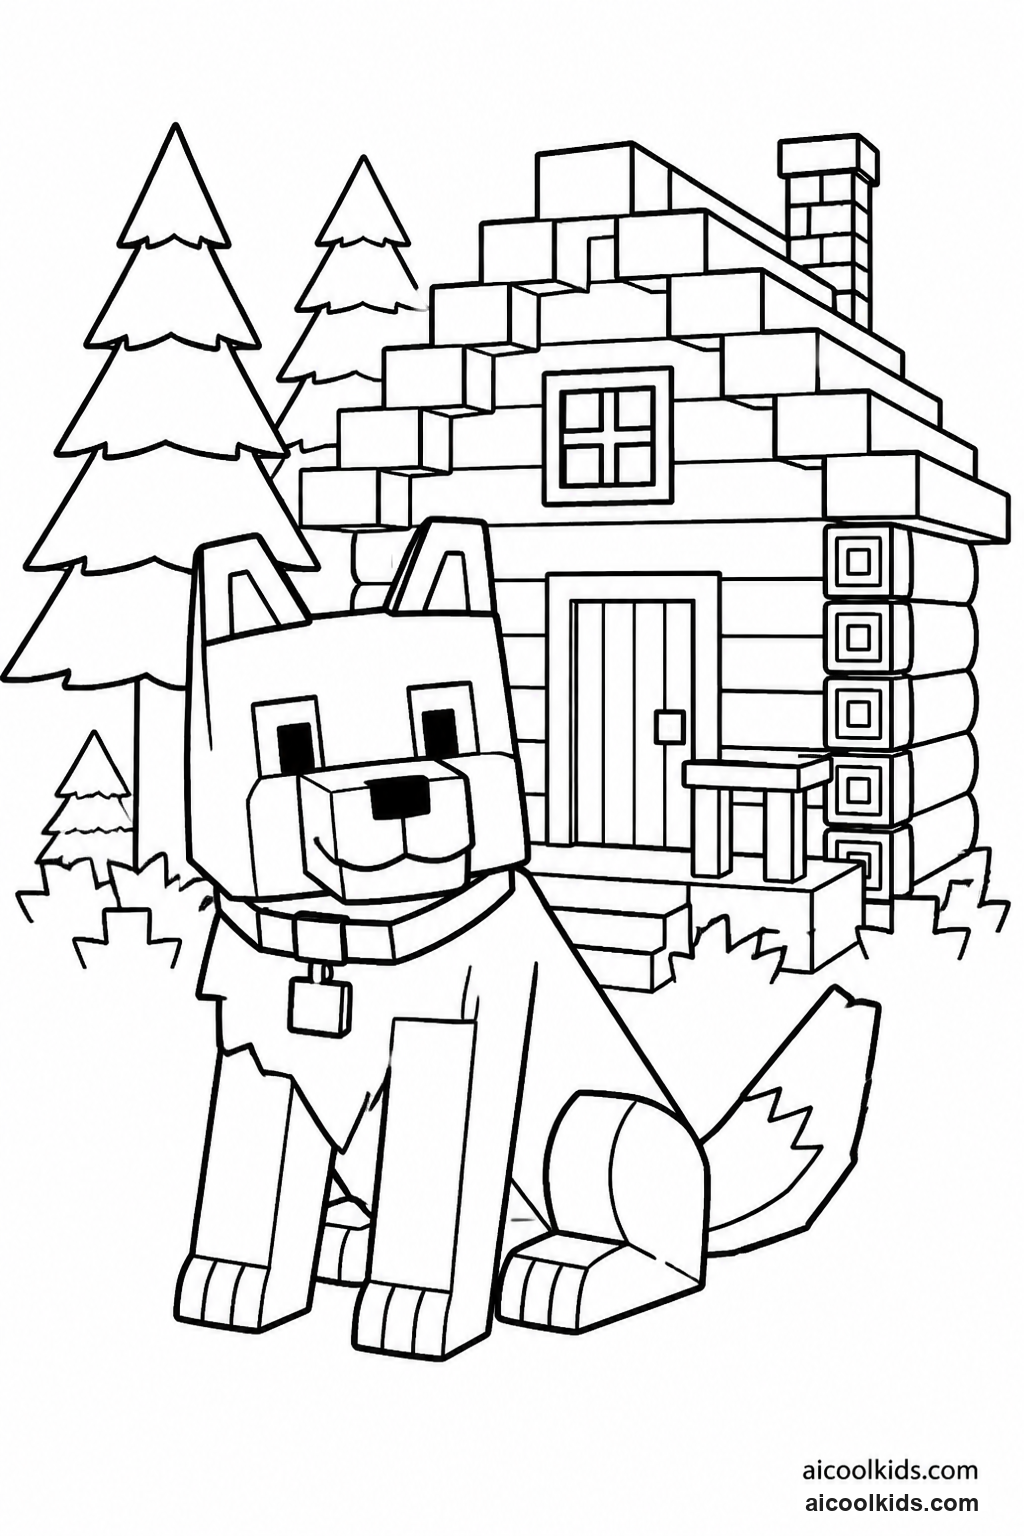
Printed Minecraft building coloring pageCardstock or light cardboardColored pencils or crayonsRulerPencilChild-safe scissorsGlue stickScrap paper
Step by Step Guide:
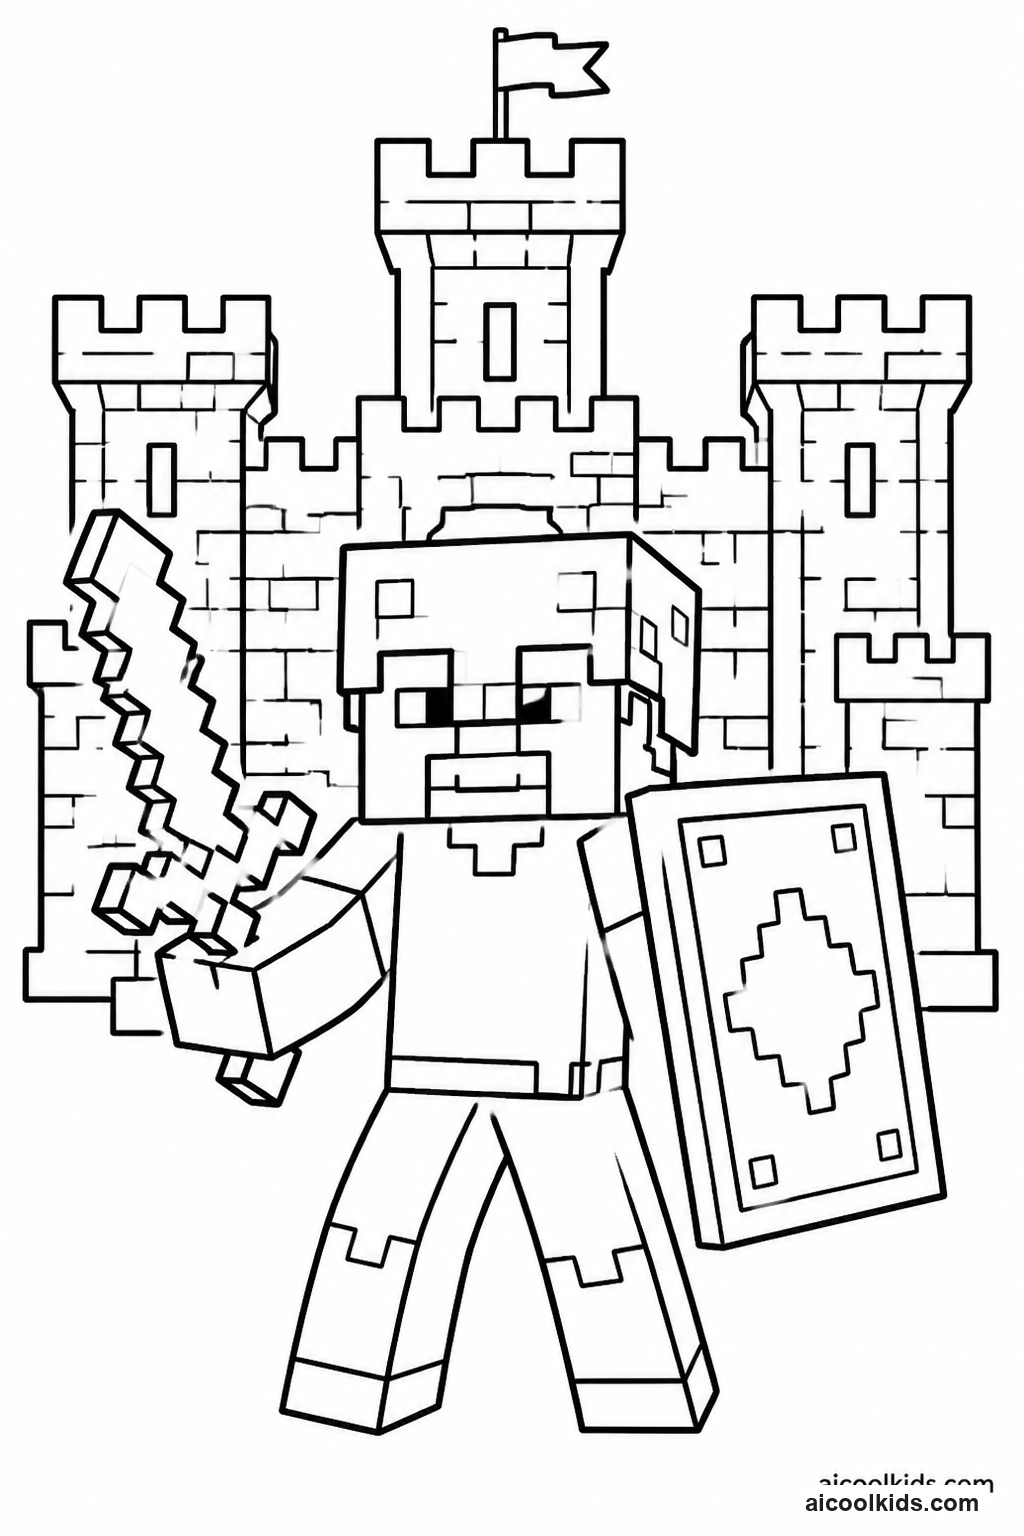
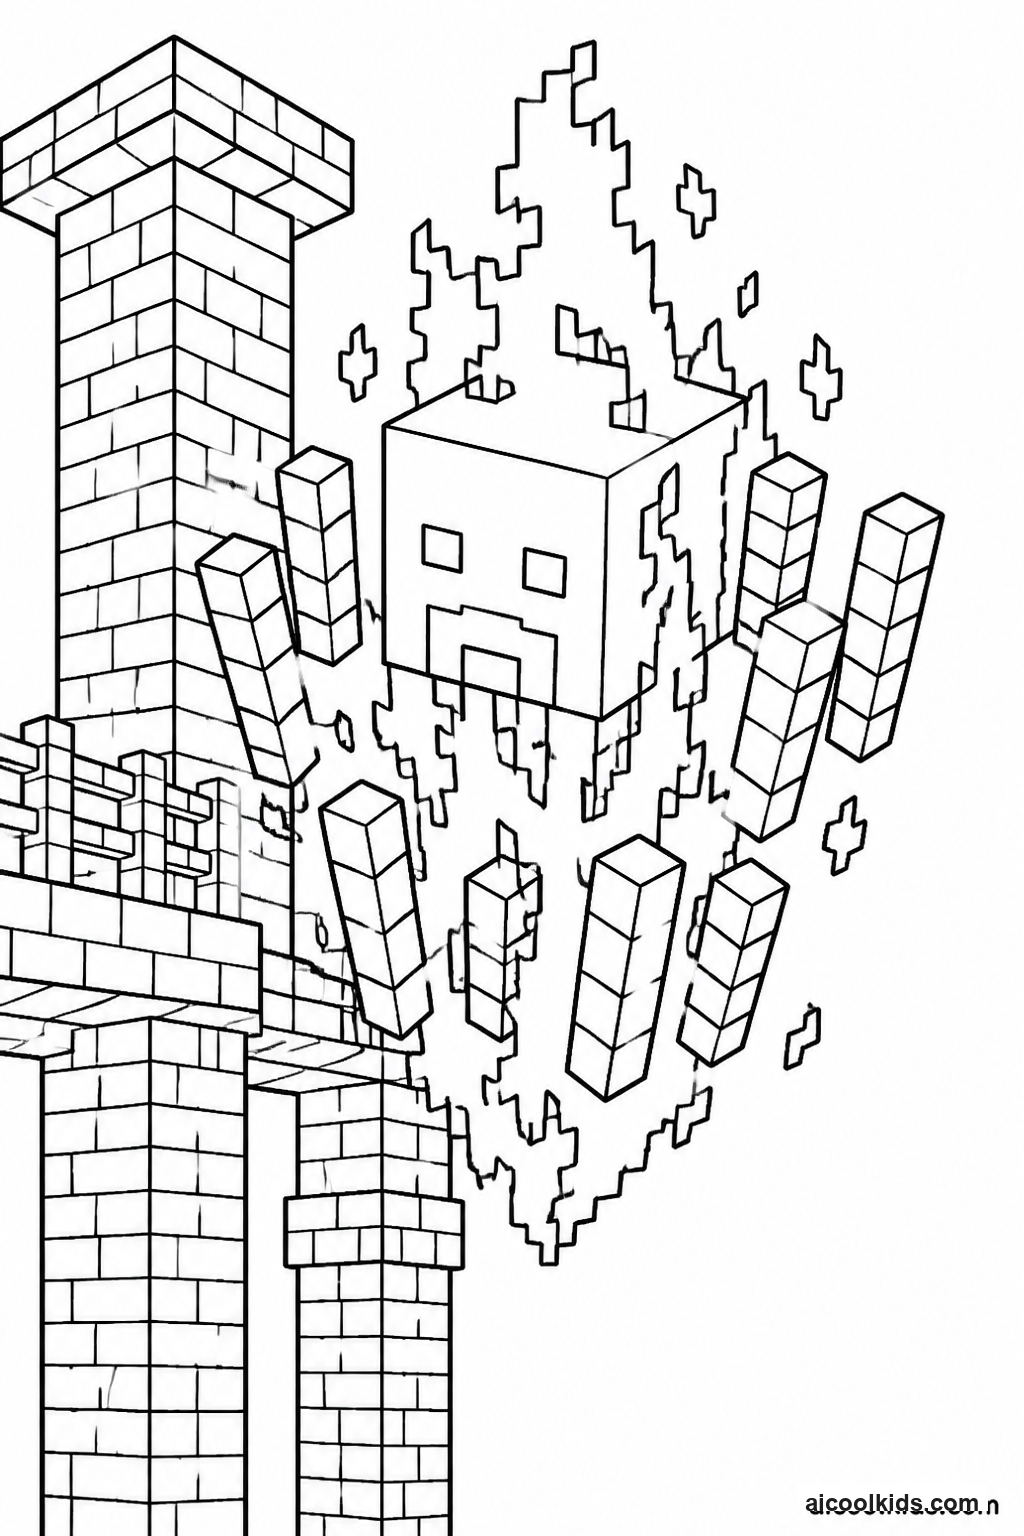
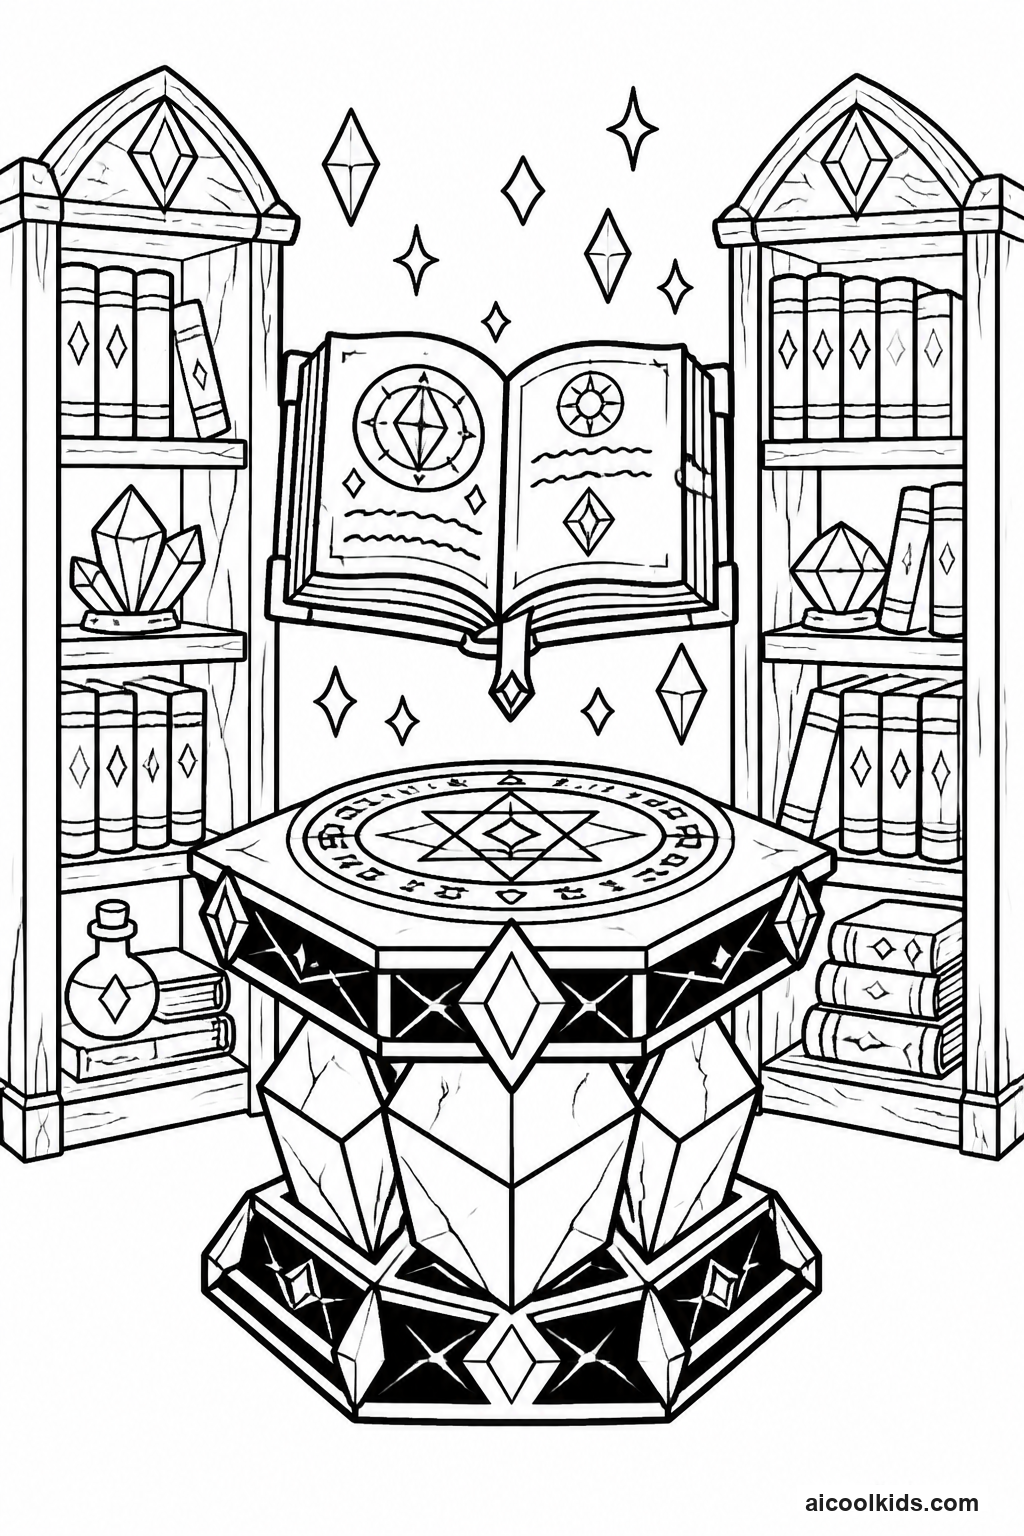
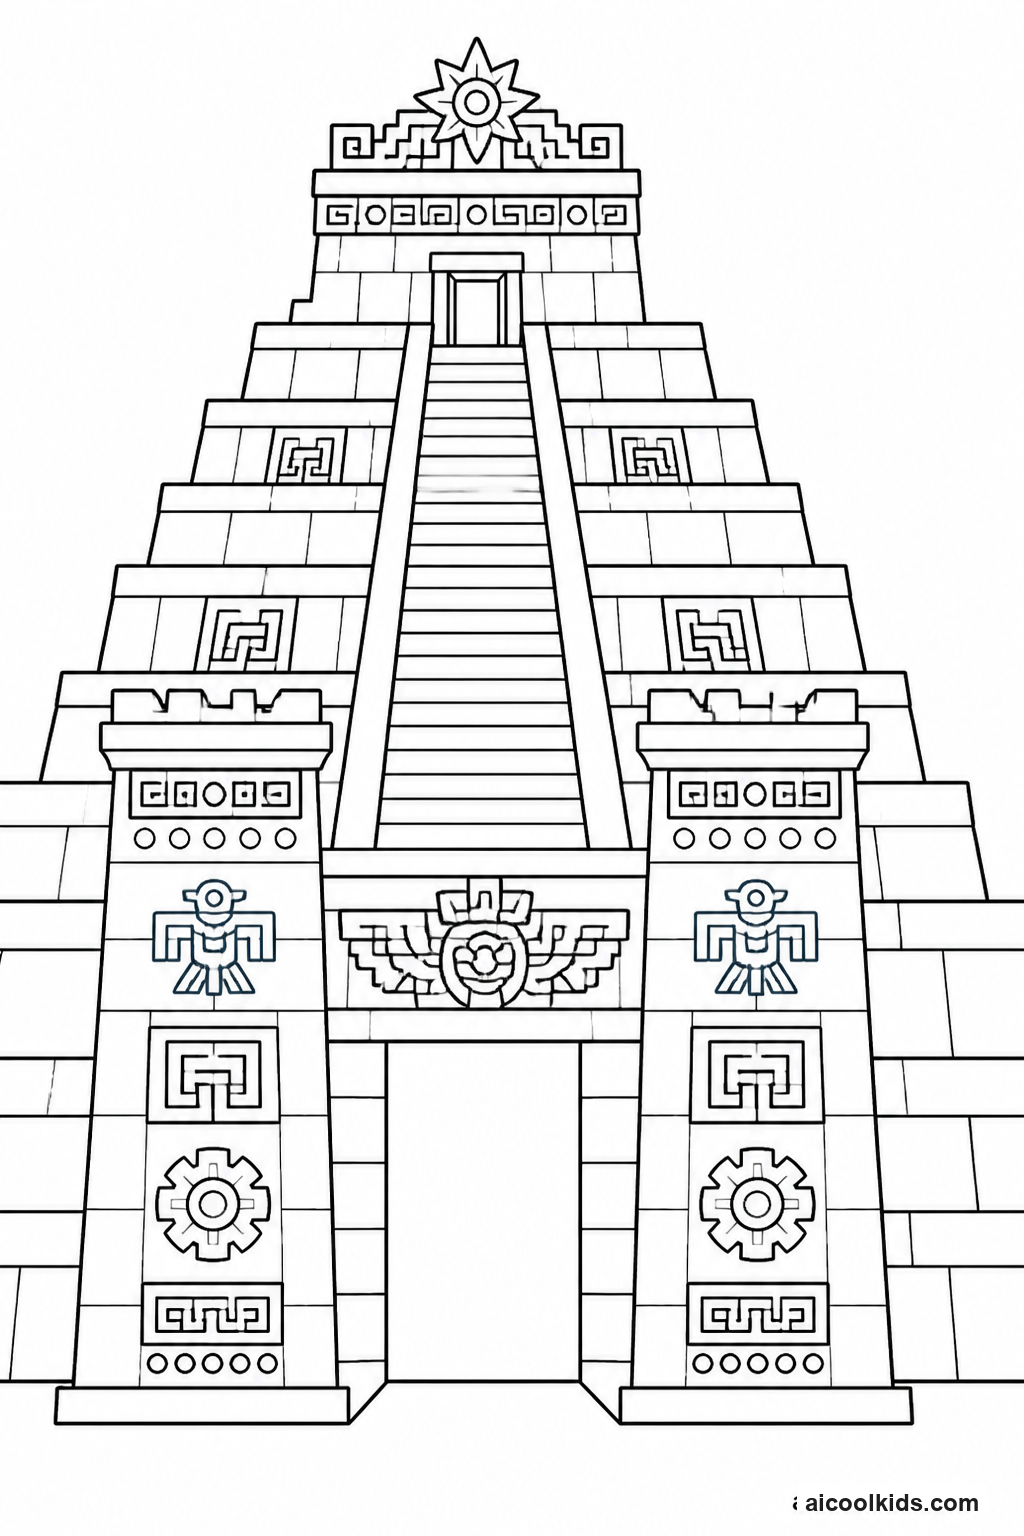
- Color the building page first, choosing a main color for the structure and two or three supporting colors for the roof, windows, ground, or sky. Leave small spaces clear if you want to add labels or design notes later.
- On cardstock, draw six equal squares for each paper cube you want to make. A side length of about two inches is manageable for many children. Ask an adult to check the layout before cutting, and add small glue tabs beside several squares.
- Cut out the cube net carefully. Fold along each square boundary using a ruler edge as a guide, then fold the glue tabs inward. This creates neat corners and helps children notice how a flat pattern becomes a solid shape.
- Add block details to the cube faces with colored pencils or small paper scraps. Use a repeated pattern for stone, grass, wood, or windows. Glue the tabs inside the shape and hold each join briefly so the cube stays square.
- Arrange the paper blocks around the colored page as a model of the building site. Draw a path or garden on scrap paper, position the cubes to show the entrance, and explain why the layout makes the structure easy to reach.
2
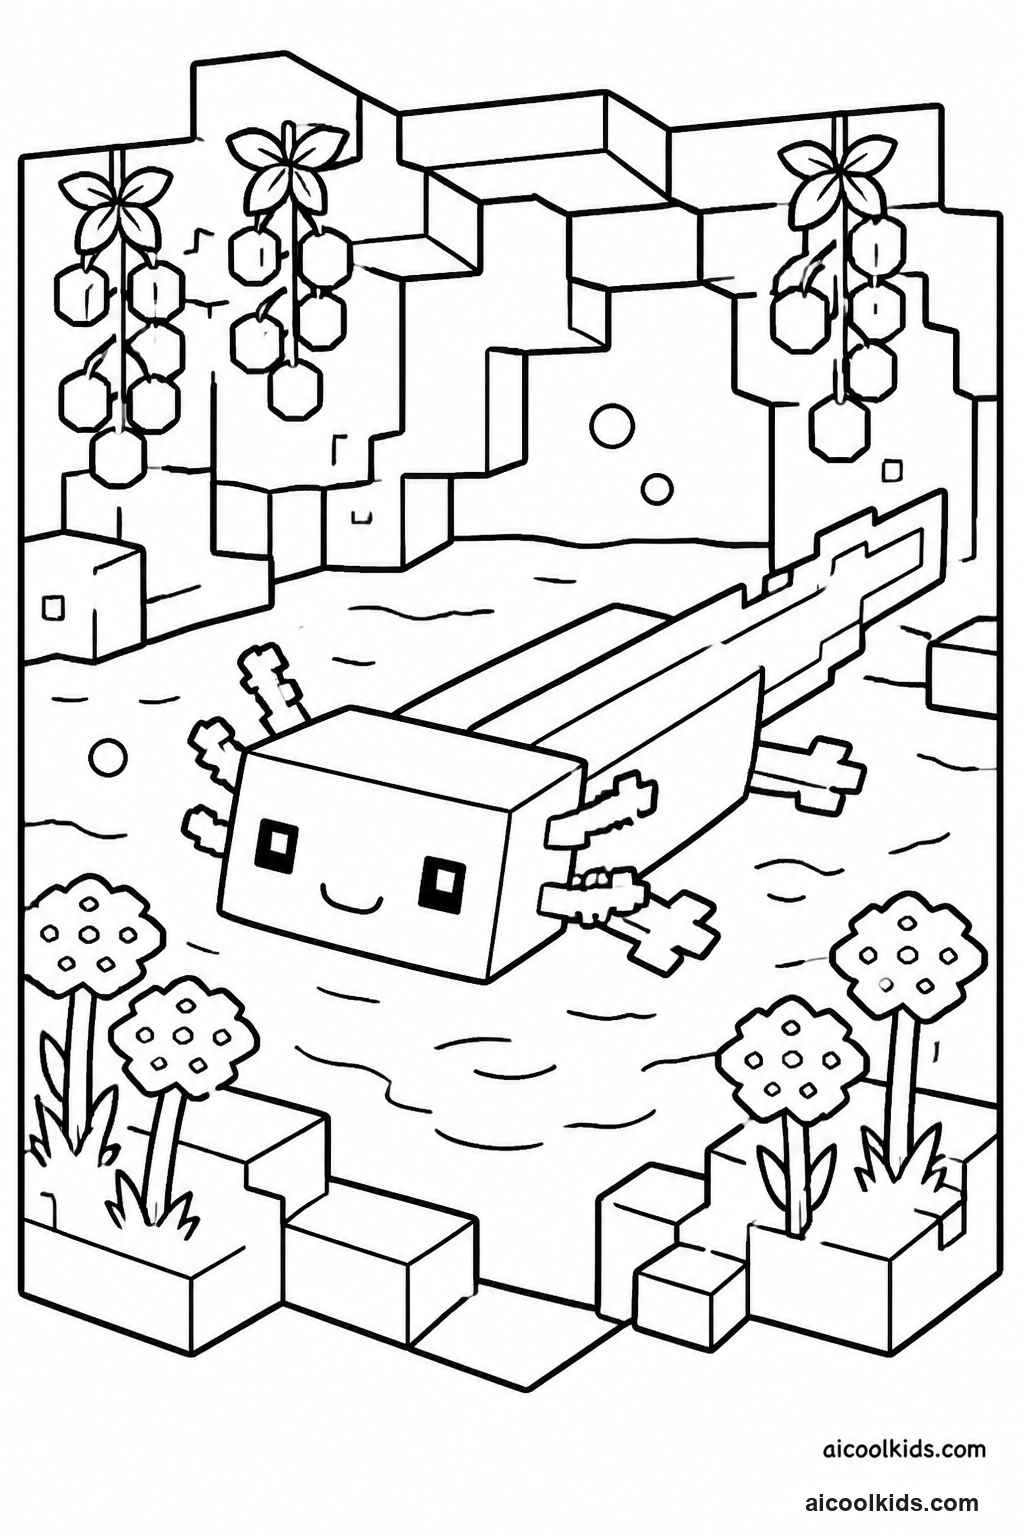
Create a Mob Habitat to Explore Storytelling
Materials Needed:
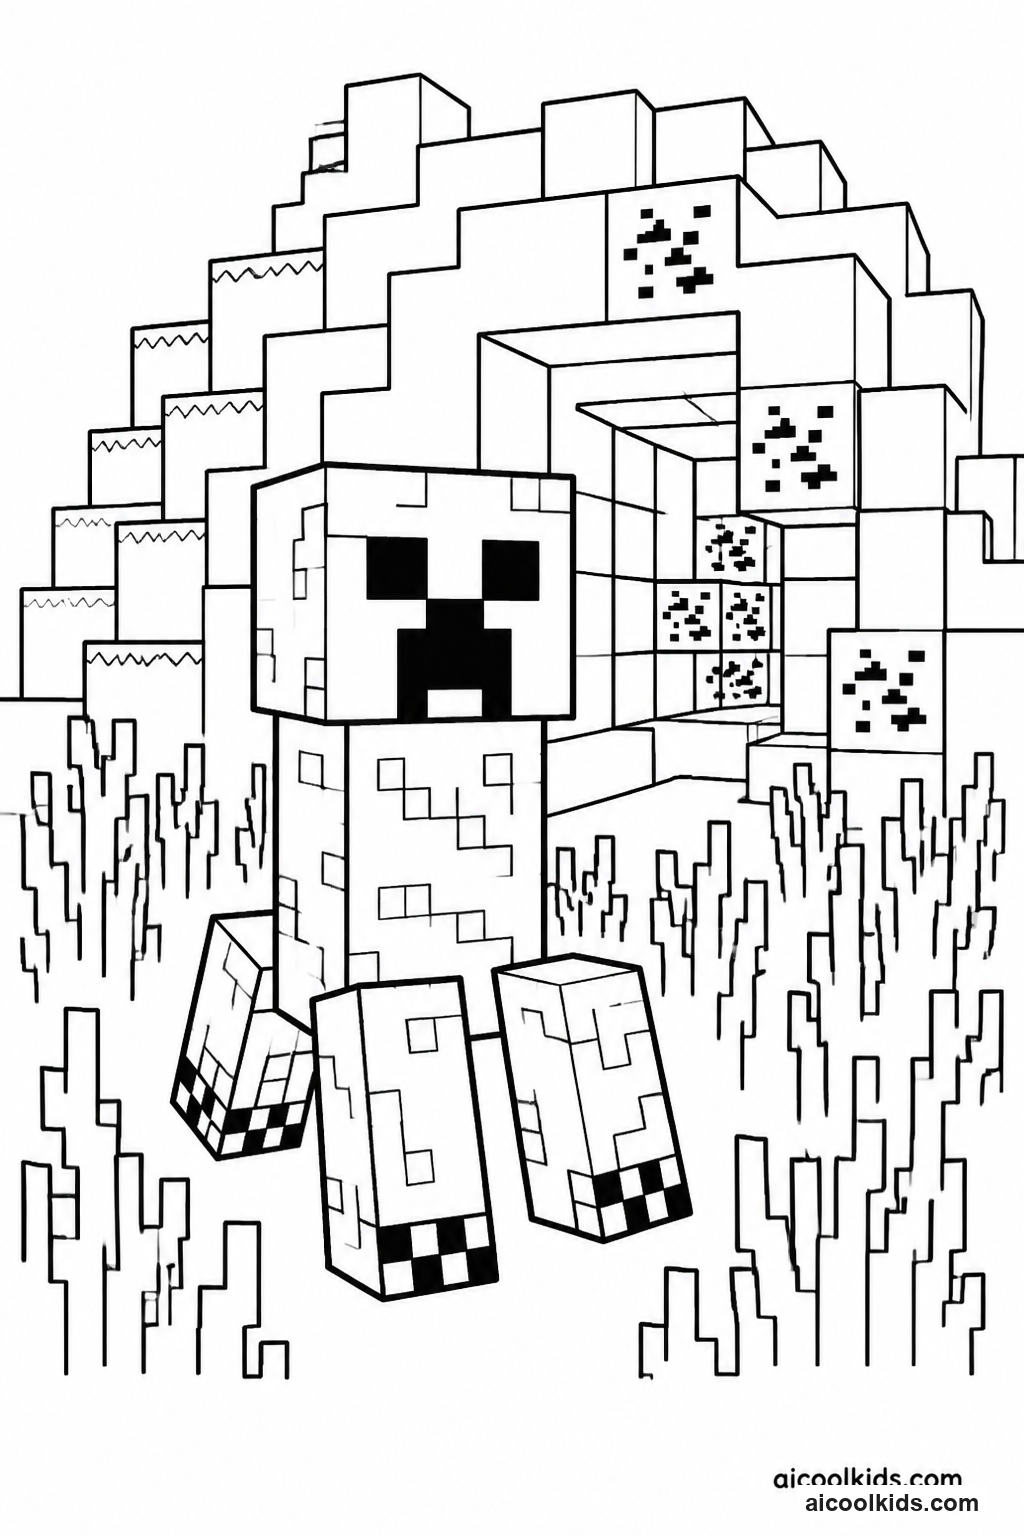
Printed Minecraft mob coloring pageConstruction paper in several colorsCrayons or colored pencilsGlue stickChild-safe scissorsPencilSmall pieces of scrap paper
Step by Step Guide:
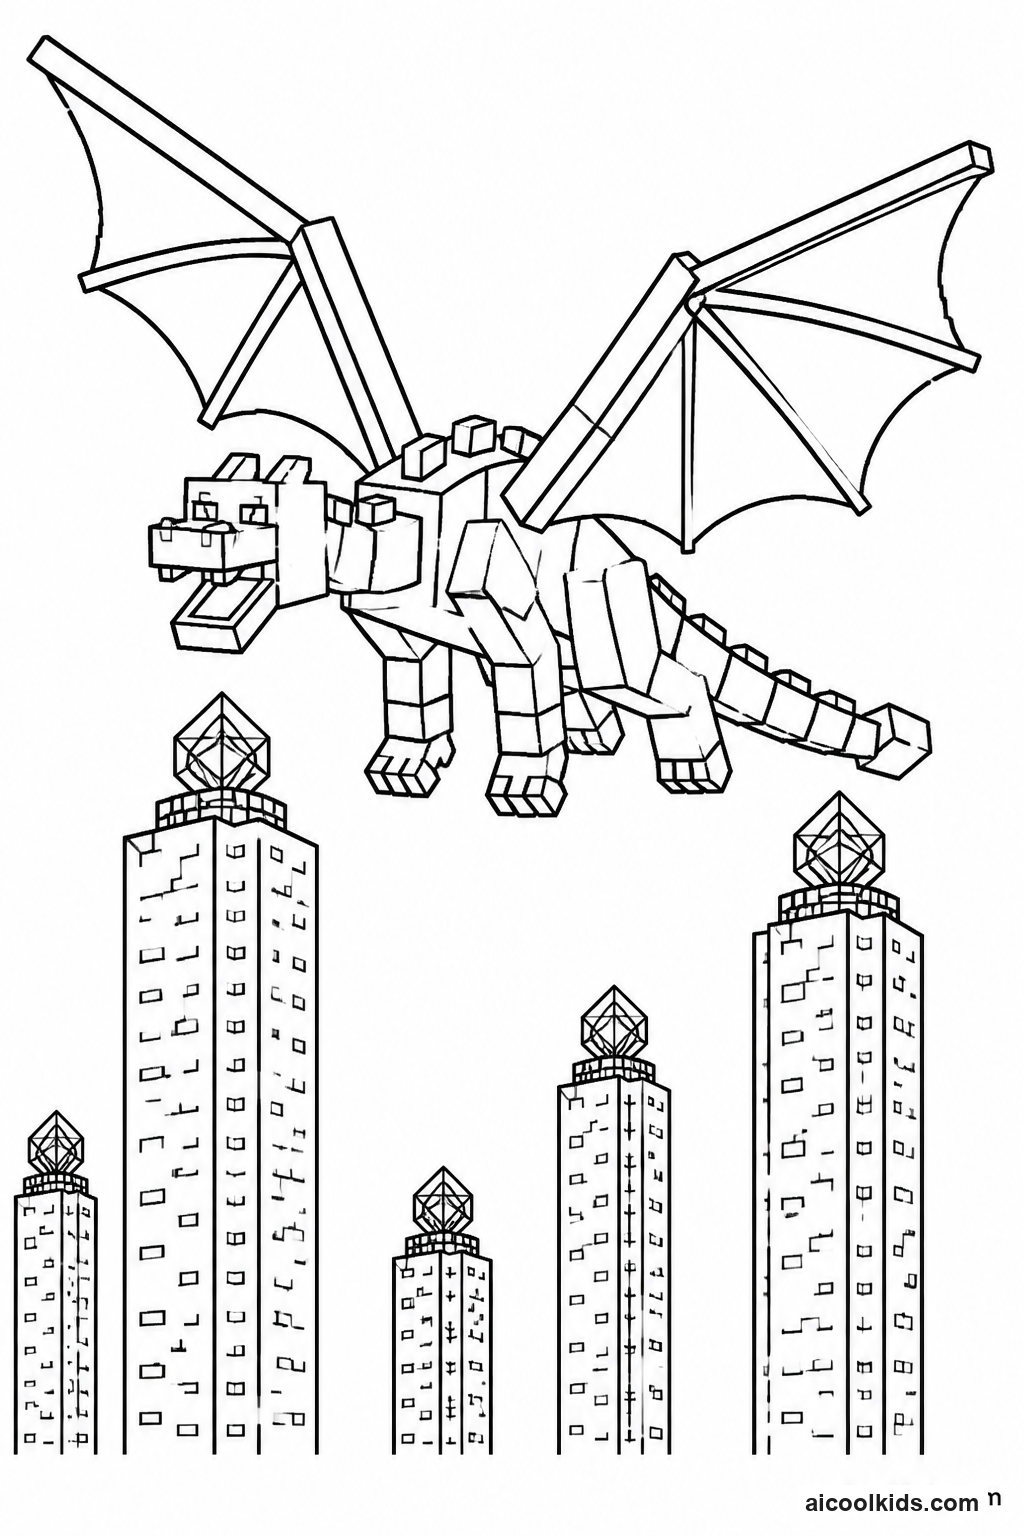
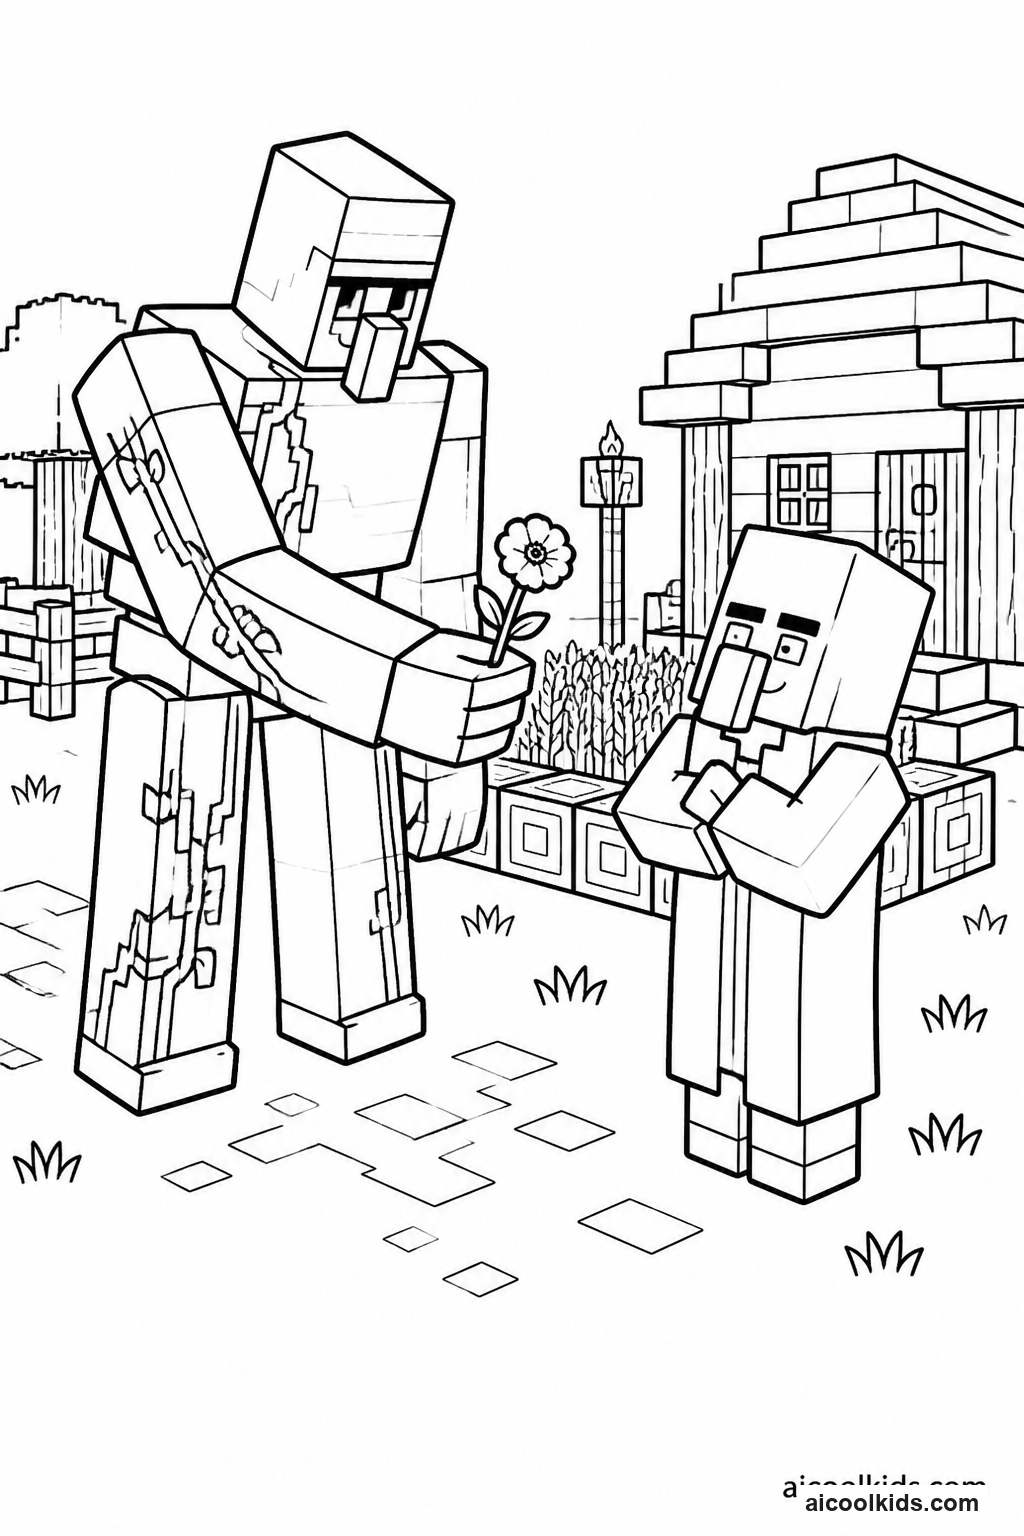
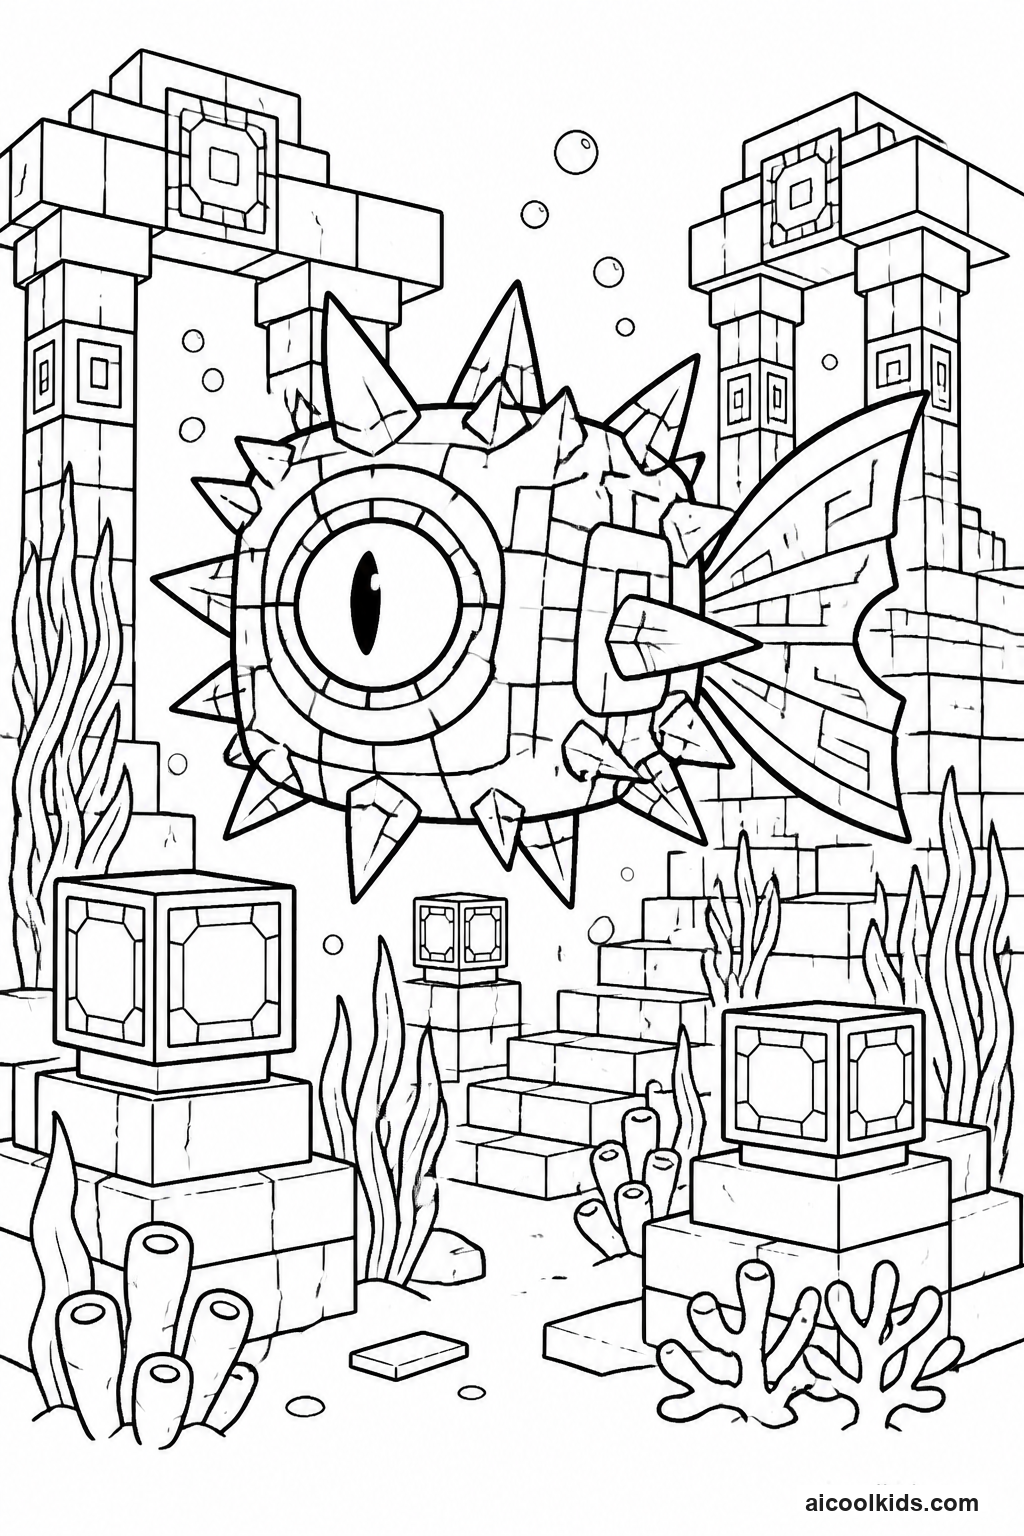
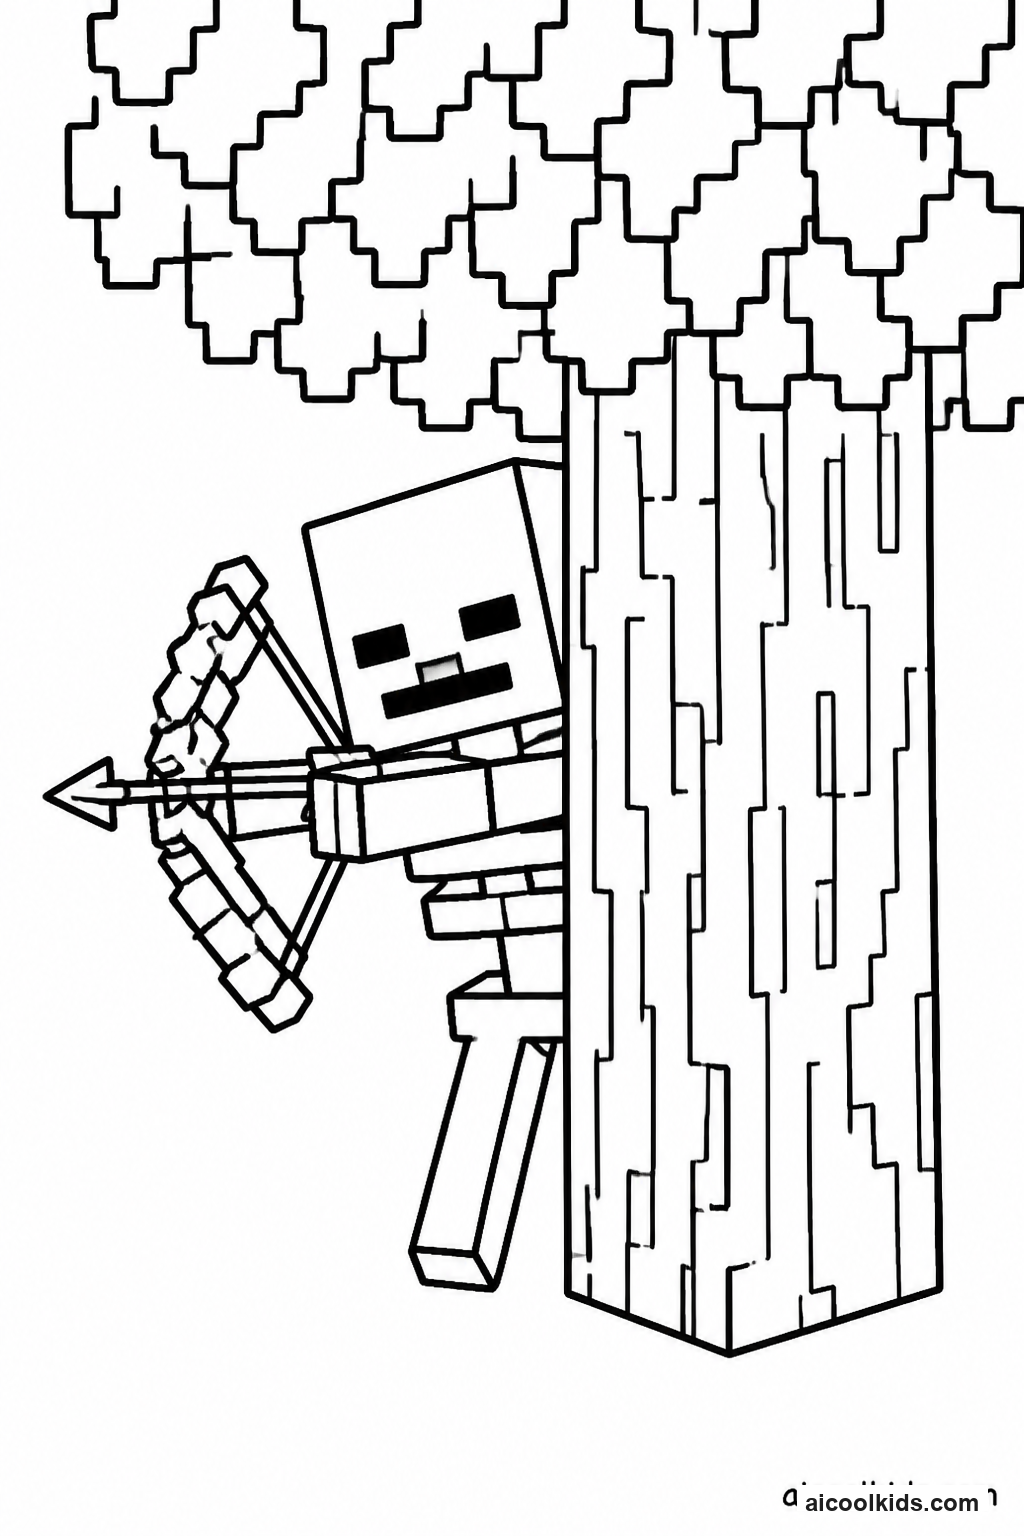
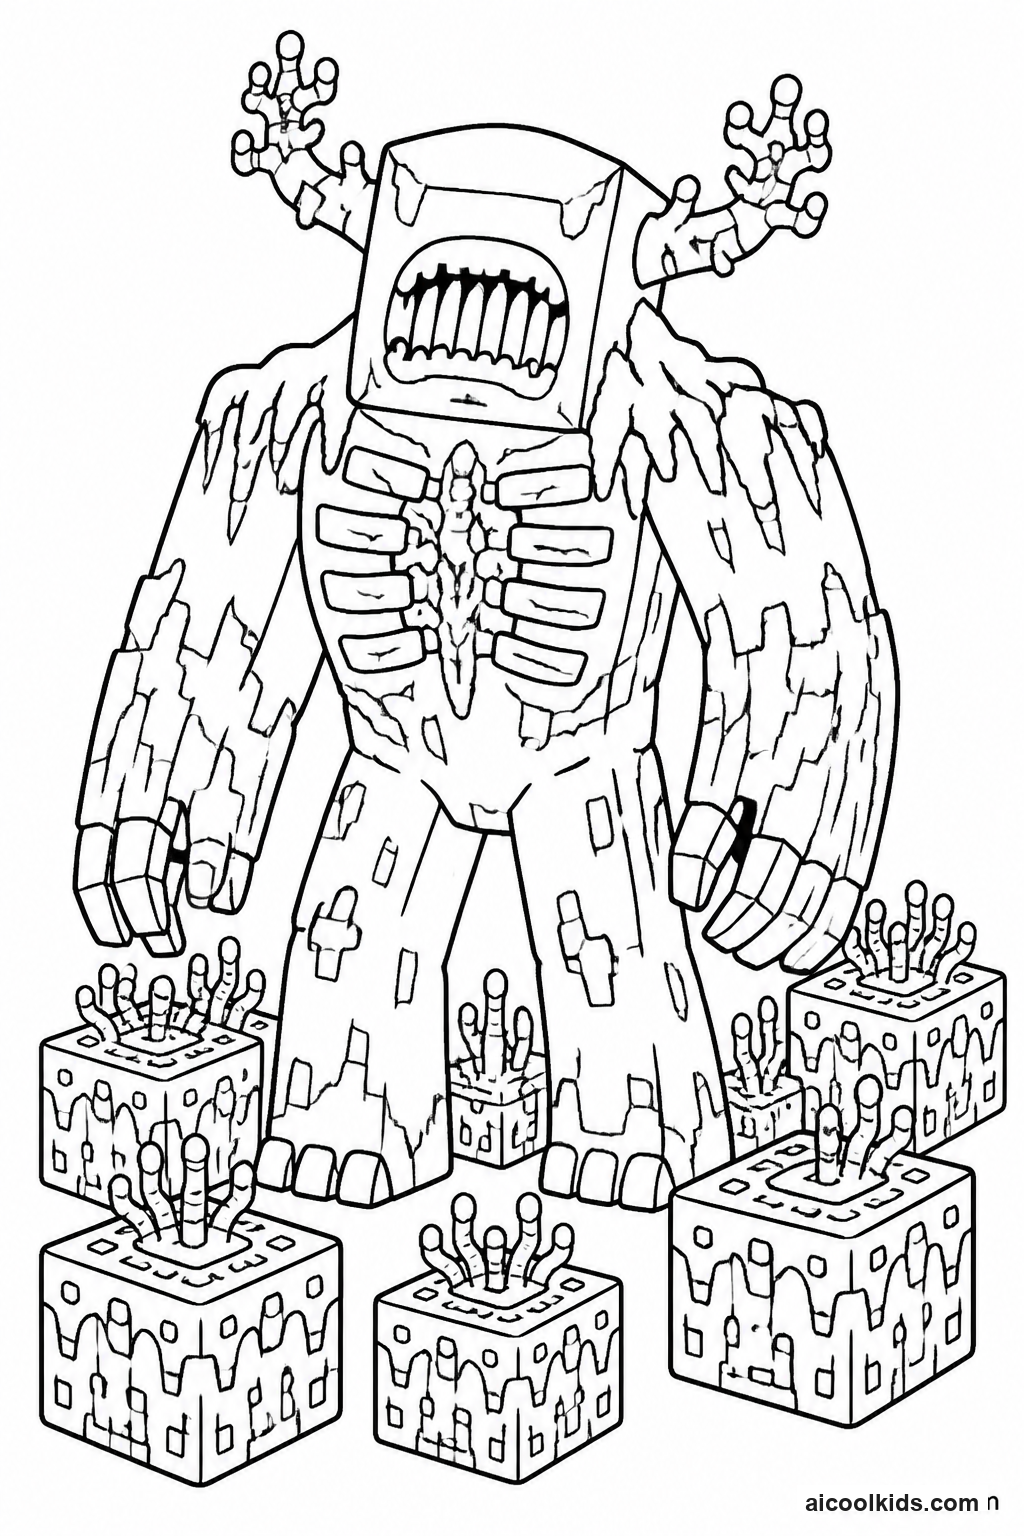
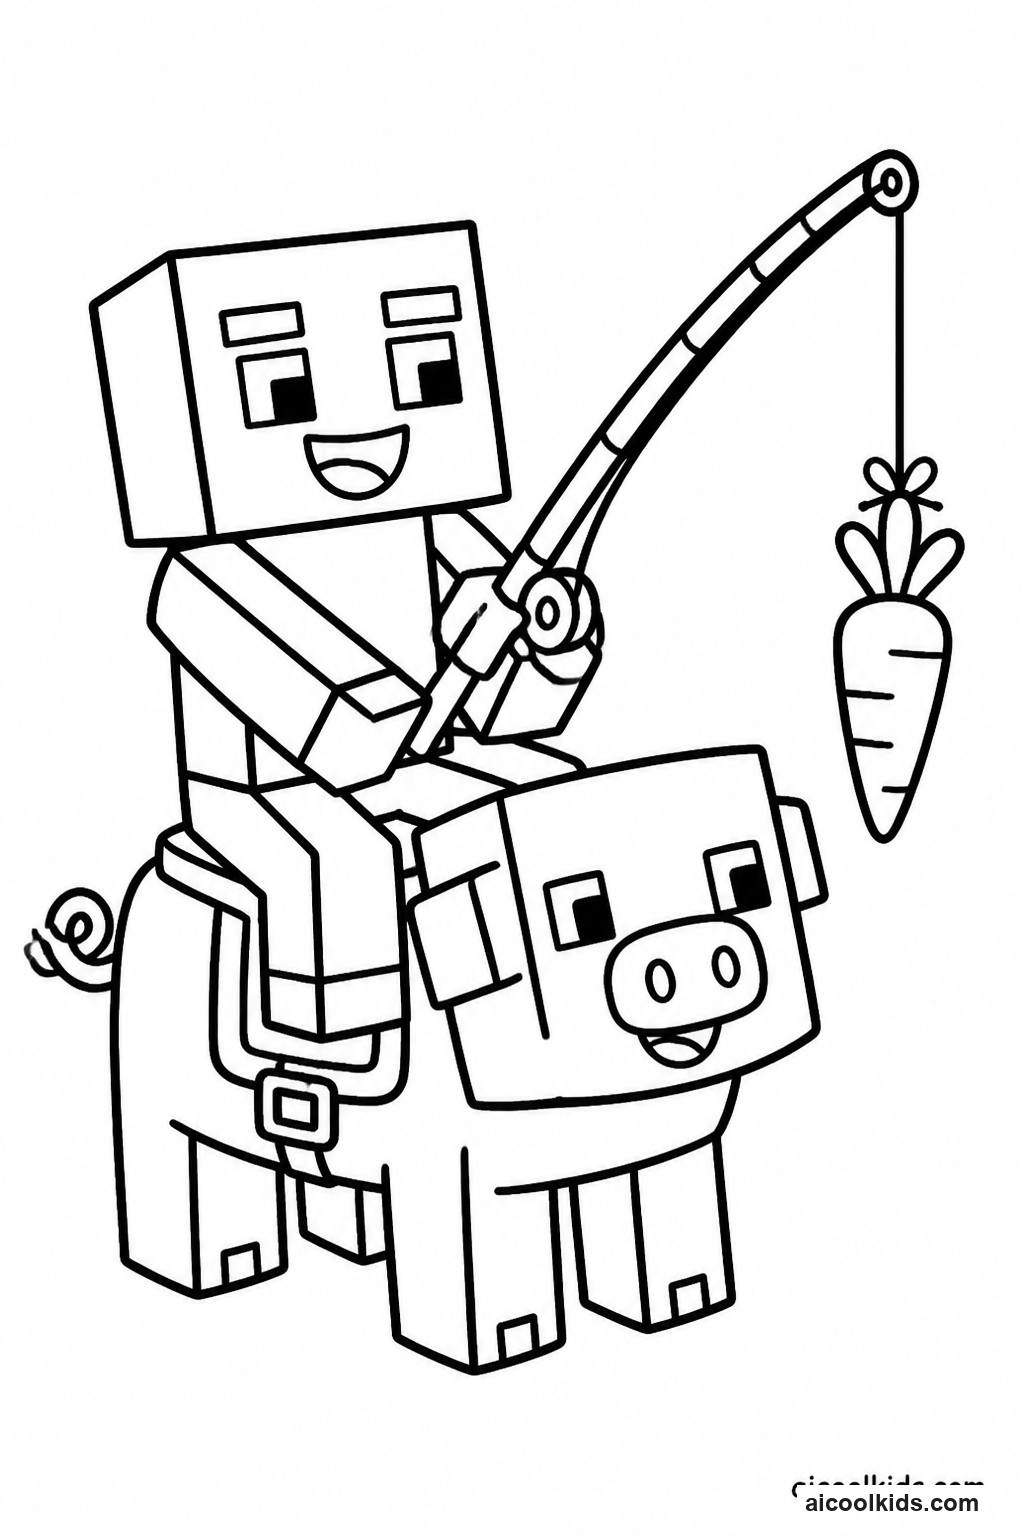
- Choose a page showing a mob and color the character with pencils or crayons. Select colors for the surrounding setting too, even if the printed page has only a simple background. Decide whether the mob belongs in a forest, cave, village, or another imagined place.
- Cut a large strip of construction paper for the foreground and a second strip for the middle ground. Tear or cut smaller shapes for hills, rocks, trees, water, or plants. Keep the shapes broad enough to glue down without fragile points.
- Place the colored page on a table and test the paper shapes around it before gluing. Put close objects near the bottom edge and distant scenery higher on the page. Move the pieces until the mob looks as if it belongs in the habitat.
- Glue down the background shapes first, then layer the middle ground and foreground. Leave the mob visible. Add a paper path or shelter if the character needs a place to go, and press each shape flat to help it adhere.
- Use scrap paper to add one small story clue, such as a food item, footprint, sign, or doorway. Ask the child to describe what happened just before the scene and what the mob might do next.
3
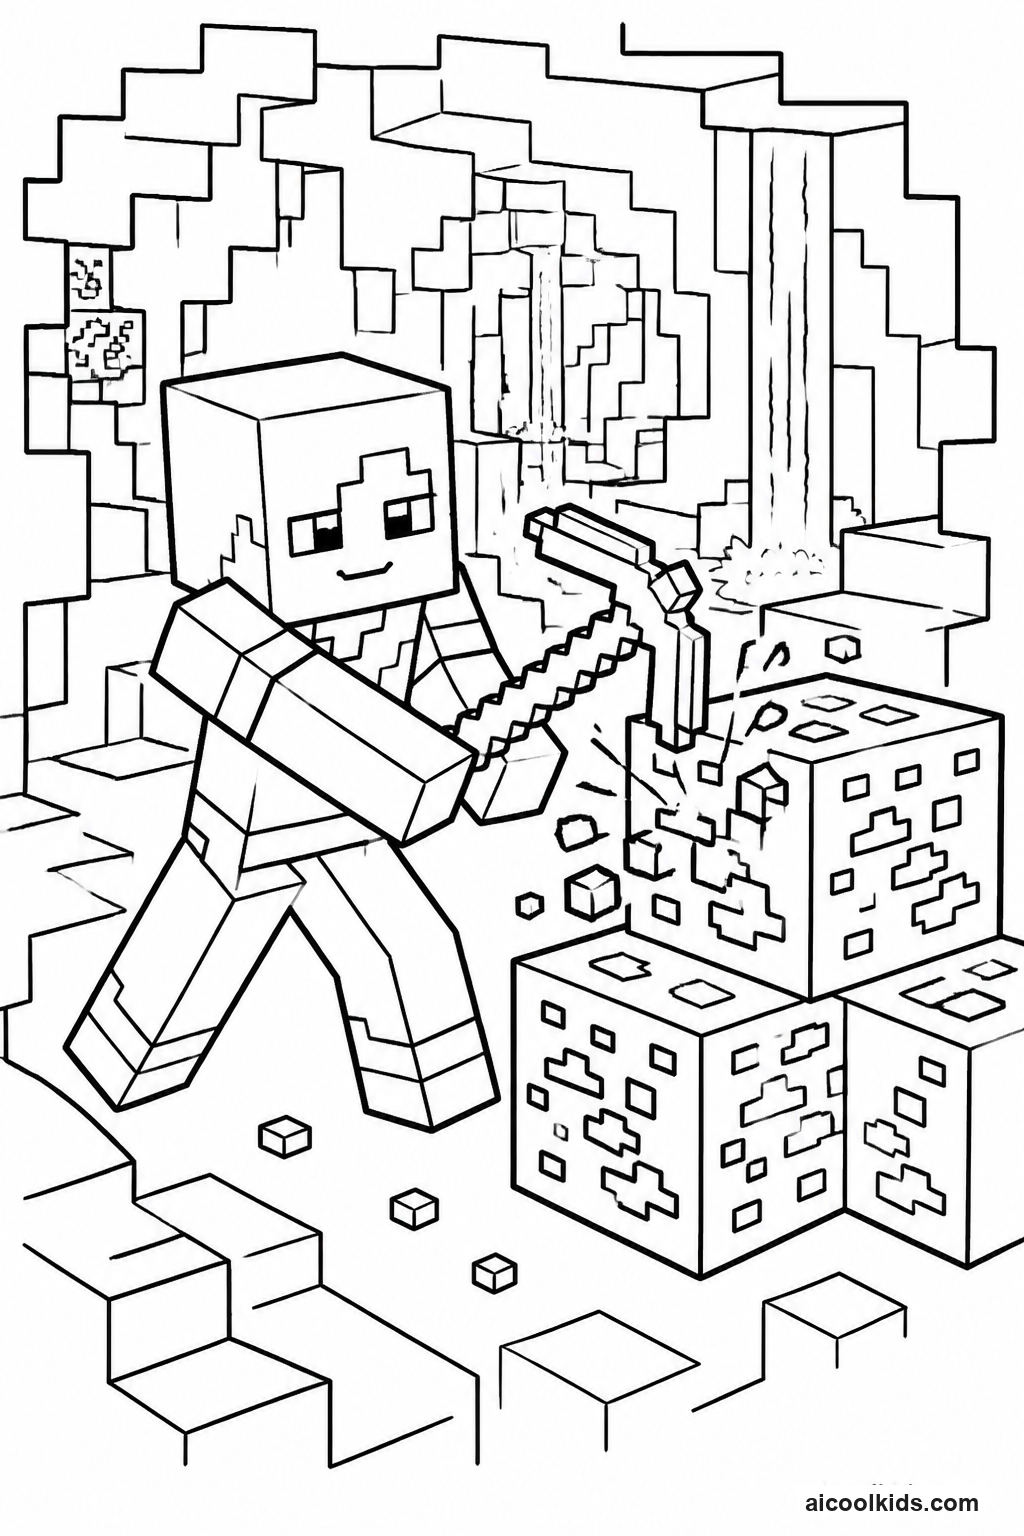
Build a Mining Tunnel to Practice Sequencing
Materials Needed:
Printed Minecraft mining coloring pageCardstockConstruction paperColored pencils or crayonsPencilRulerChild-safe scissorsGlue stick
Step by Step Guide:
- Color the mining page and decide where the tunnel entrance should appear. Add a clear route with a pencil, such as a line of floor blocks or a series of torches, so viewers can follow the scene from the entrance inward.
- Fold a piece of cardstock in half to make a sturdy card. On the front panel, draw a wide tunnel opening and cut along the top and two sides, leaving one side attached as a paper flap. Ask an adult to assist if the cardstock is difficult to cut.
- Lift the flap gently and check that it opens without tearing. Behind it, glue a smaller sheet of construction paper. Draw or attach simple block shapes to show the tunnel interior, keeping the central route clear and easy to see.
- Add three ordered details along the route, such as a torch at the entrance, ore in the middle, and a minecart near the far end. Use different colors or small numbered labels so the viewer can tell what comes first, next, and last.
- Glue the colored mining scene inside the card or beneath the opening. Close the flap, decorate its outside like a stone wall, and write a short direction such as 'Follow the torches' so another person knows how to explore the scene.
4
Design a Nether Window to Experiment with Color
Materials Needed:
Printed Minecraft Nether coloring pageCardstockTissue paper in red, orange, or yellowColored pencils or crayonsChild-safe scissorsGlue stickPencilOptional clear tape
Step by Step Guide:
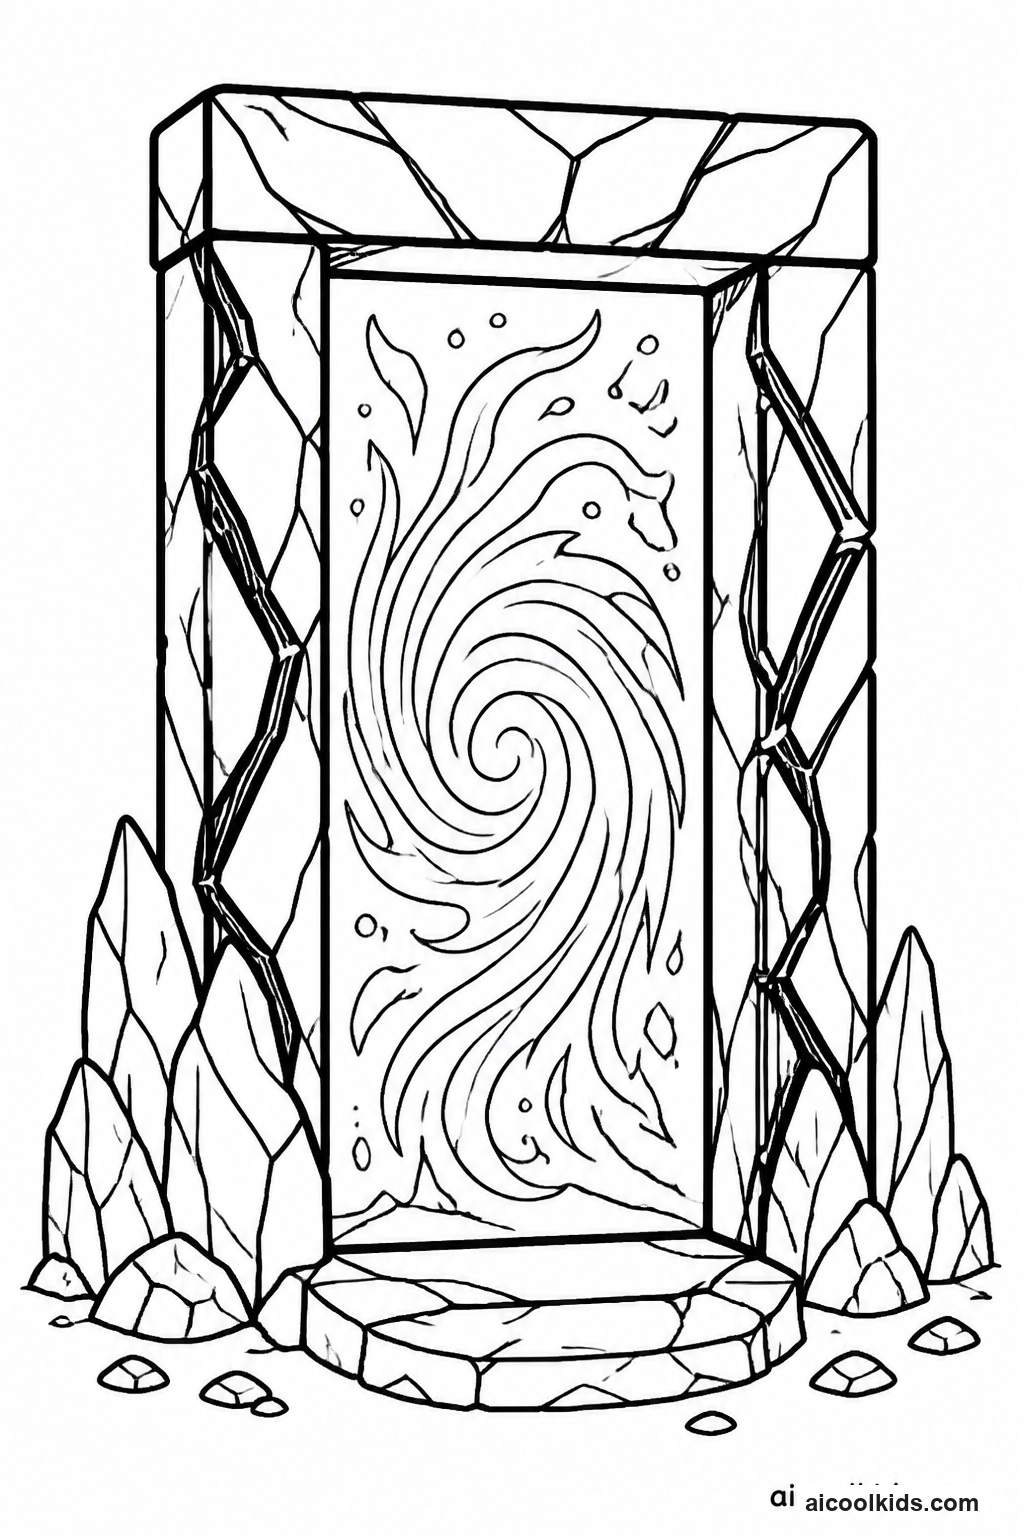
- Color the Nether page, using warm shades for lava or glowing areas and darker shades for rocks or distant shapes. Try changing pencil pressure: press lightly for a softer area and more firmly for a deeper color. Keep the main scene visible.
- Cut a cardstock rectangle slightly larger than the part of the page you want to frame. Draw a smaller rectangle inside it and cut out the center, creating a window frame with a broad border that is easy to decorate.
- Tear tissue paper into pieces large enough to cover the opening. Overlap red, orange, and yellow pieces to test how the colors look together. Choose a combination that makes the scene feel fiery, bright, or mysterious.
- Turn the frame over and attach the tissue paper across the back of the opening with small pieces of tape or glue on the border. Avoid pulling the tissue too tightly, since it can rip. Let the adhesive settle before moving the frame.
- Place the frame over the colored page and adjust it until the tissue window lines up with a bright part of the scene. Glue the frame to the page at its outer edges, then add a simple paper label describing the color effect.
5
Make a Paper Creeper Puzzle to Build Spatial Skills
Materials Needed:
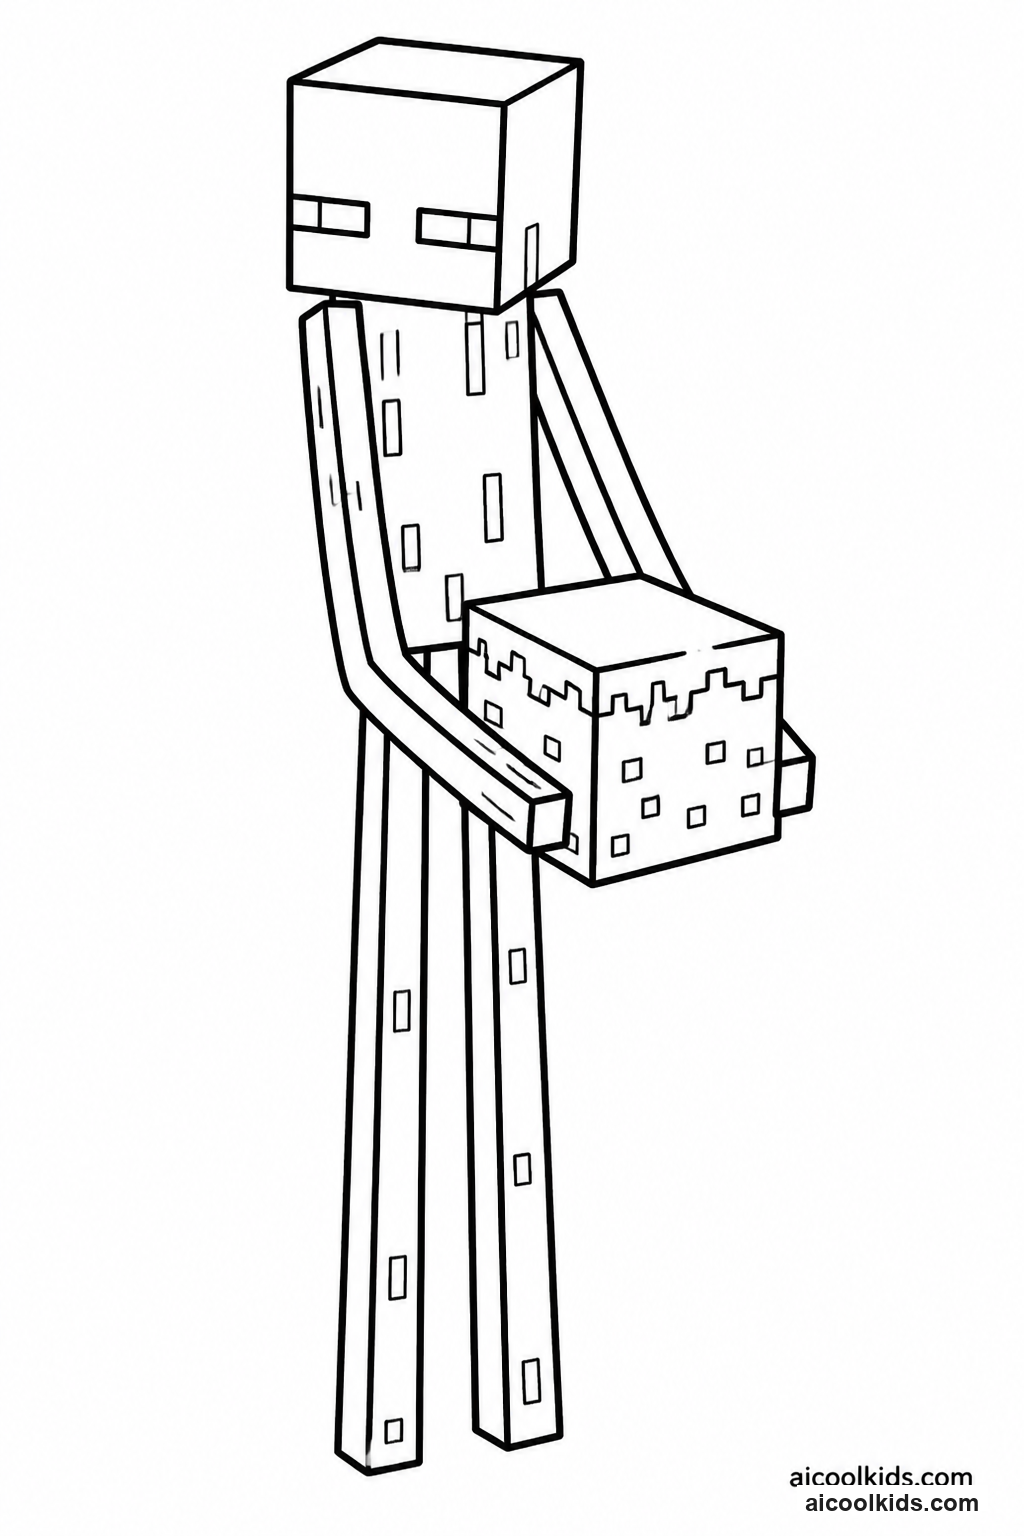
Printed Minecraft Creeper or other mob coloring pageCardstock or thin cardboardColored pencils, crayons, or washable markersRulerPencilChild-safe scissorsGlue stickSmall envelope
Step by Step Guide:
- Color the mob page and add a simple background. Before cutting, glue the page onto cardstock or thin cardboard, smoothing from the center toward the edges to reduce wrinkles. Let the glue dry fully so the puzzle pieces will stay firm.
- On the back, use a ruler and pencil to draw a grid. Start with six large rectangles for an easier puzzle, or make more pieces for an older child who wants a greater challenge. Keep the lines straight and avoid very narrow pieces.
- Cut along the grid lines with child-safe scissors. Work slowly and turn the cardboard rather than twisting the scissors. An adult can make the first cut or supervise closely if the backing is stiff.
- Mix the pieces face up on a table and rebuild the mob image. Look for useful clues such as the outside edges, matching background colors, or facial features. If the puzzle is difficult, sort the pieces into small groups before assembling them.
- Trace the finished puzzle shape on another sheet of cardstock and color the outline as a reference board. Store the cut pieces and reference sheet together in an envelope, then write the puzzle name and piece count on the front.
6
Create a Mining Story Map to Encourage Writing
Materials Needed:
Printed Minecraft mining or adventure coloring pagePlain paperColored pencils or crayonsPencilRulerGlue stickScrap paperOptional stickers
Step by Step Guide:
- Color the adventure page and identify one important place in the scene, such as a cave entrance, a bridge, or a shelter. Think of that location as either the starting point or the destination for a short imagined journey.
- On plain paper, draw a simple map boundary with a pencil. Add a clear route using connected lines or block-shaped paths. Include at least three locations along the way, such as a supply chest, a crossing, and a safe resting place.
- Add a symbol for each location and make a small key in one corner. For example, a square can represent a cave and a star can mark the destination. Color the symbols consistently so a reader can match them to places on the map.
- Write one short sentence beside each stop to explain what happens there. Children who prefer drawing can dictate their ideas to an adult, then copy a few key words. Keep the events in the same order as the route.
- Glue the colored page beside the map or fold the map so it opens next to the scene. Read the route aloud from beginning to end, checking that each sentence matches a place and that the final destination is easy to identify.