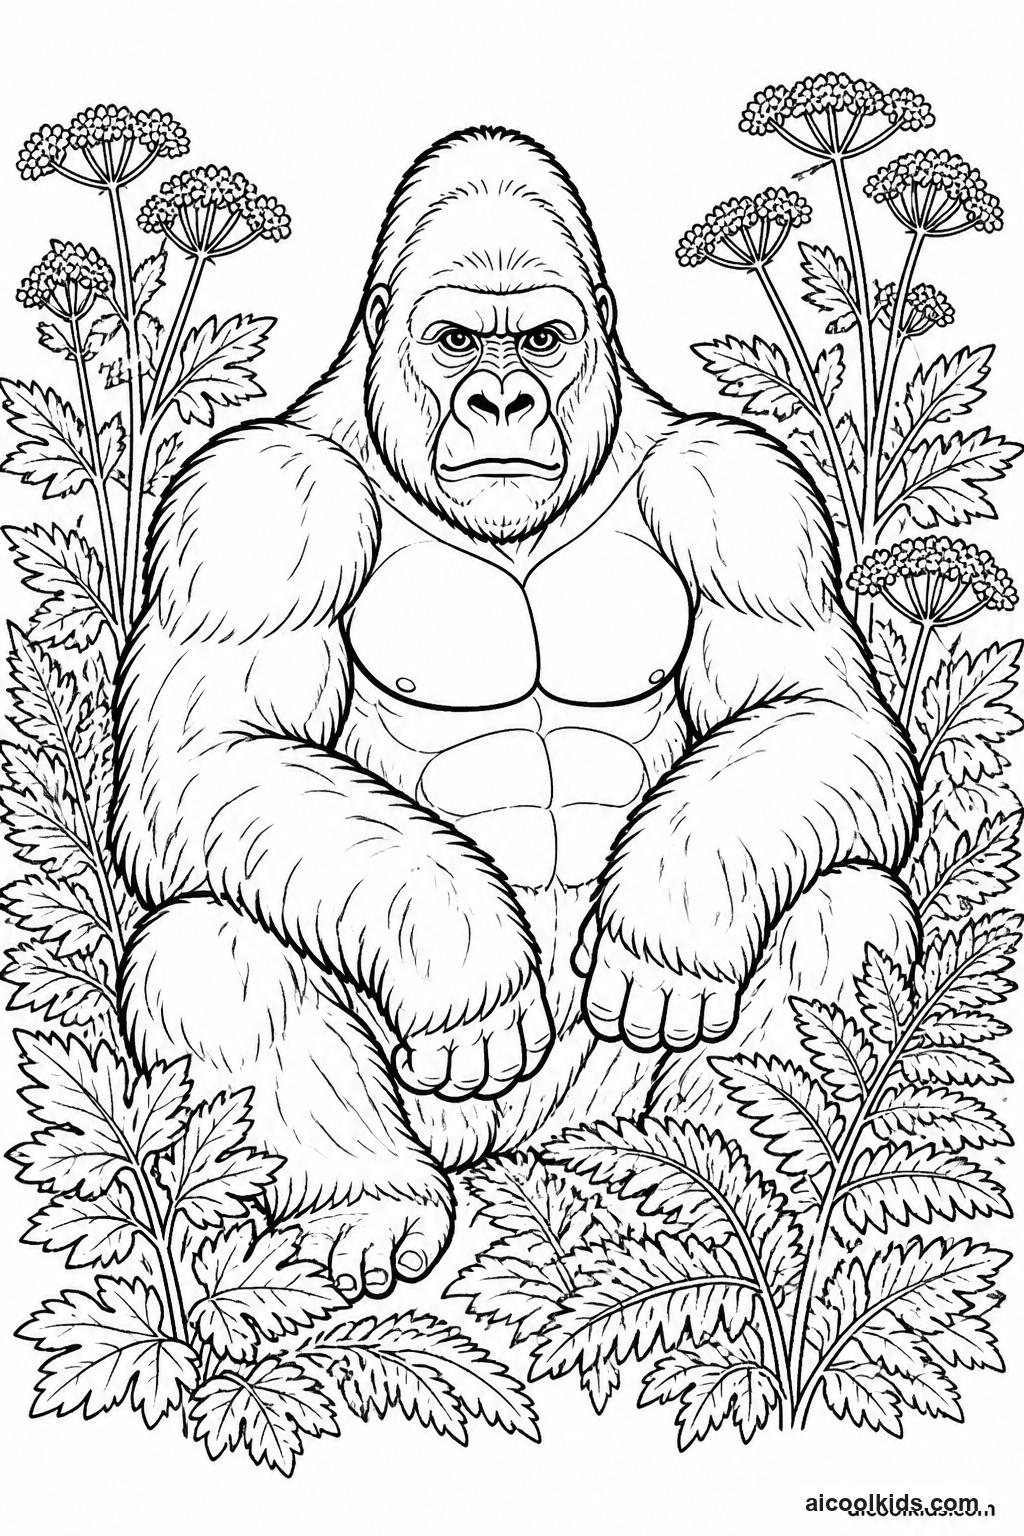
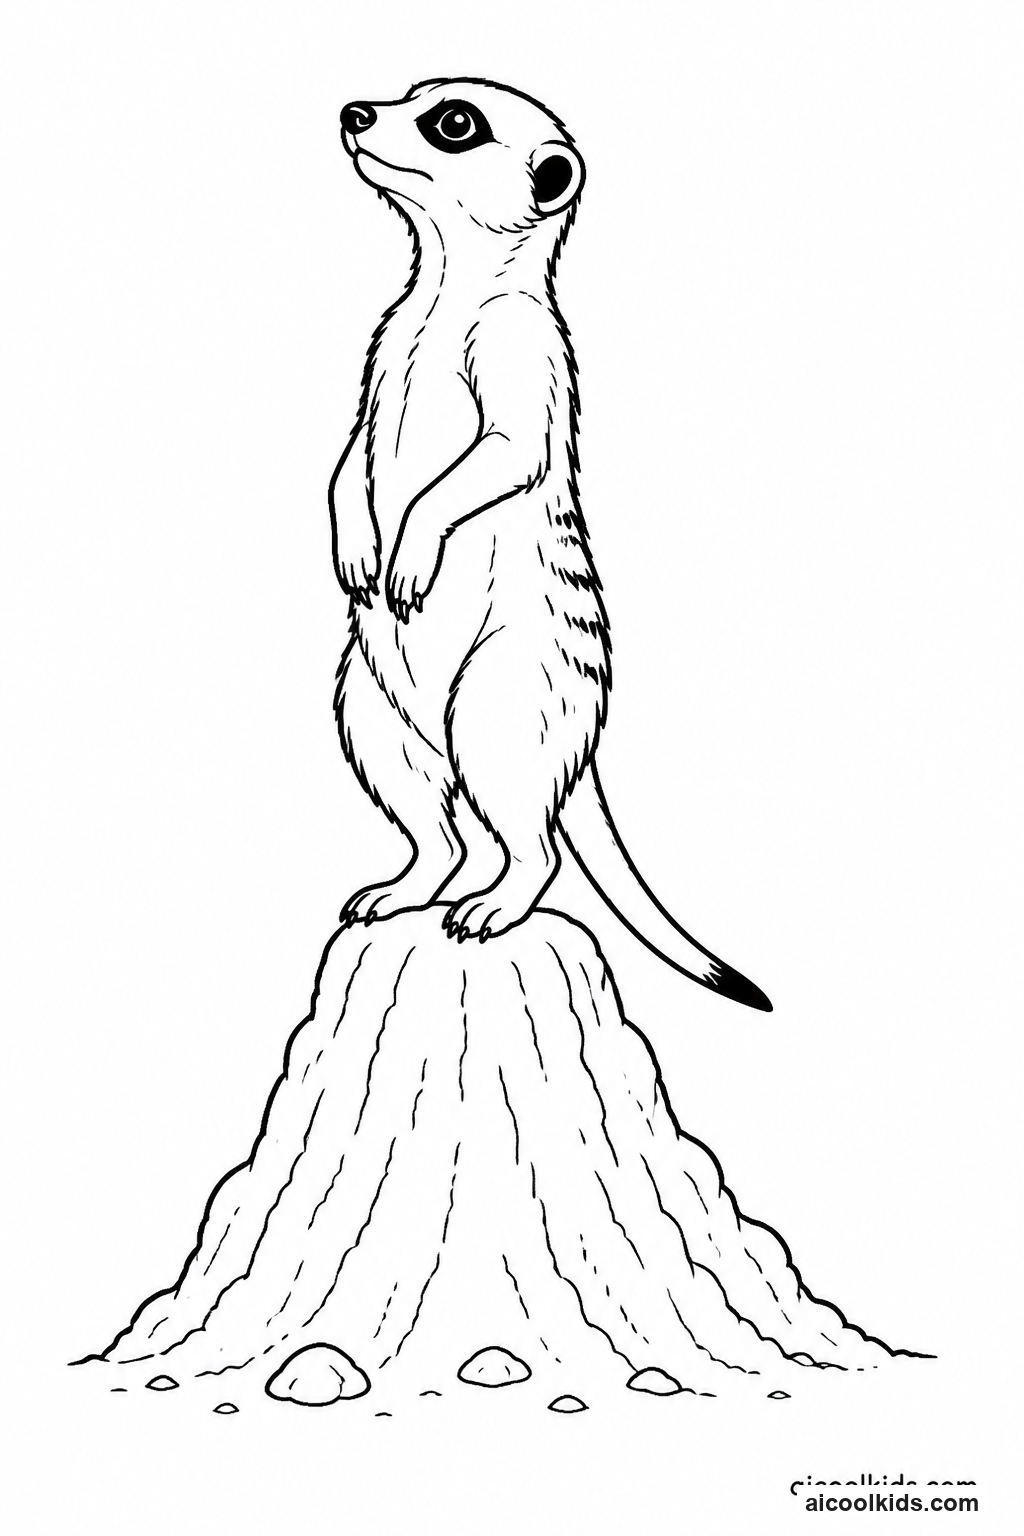
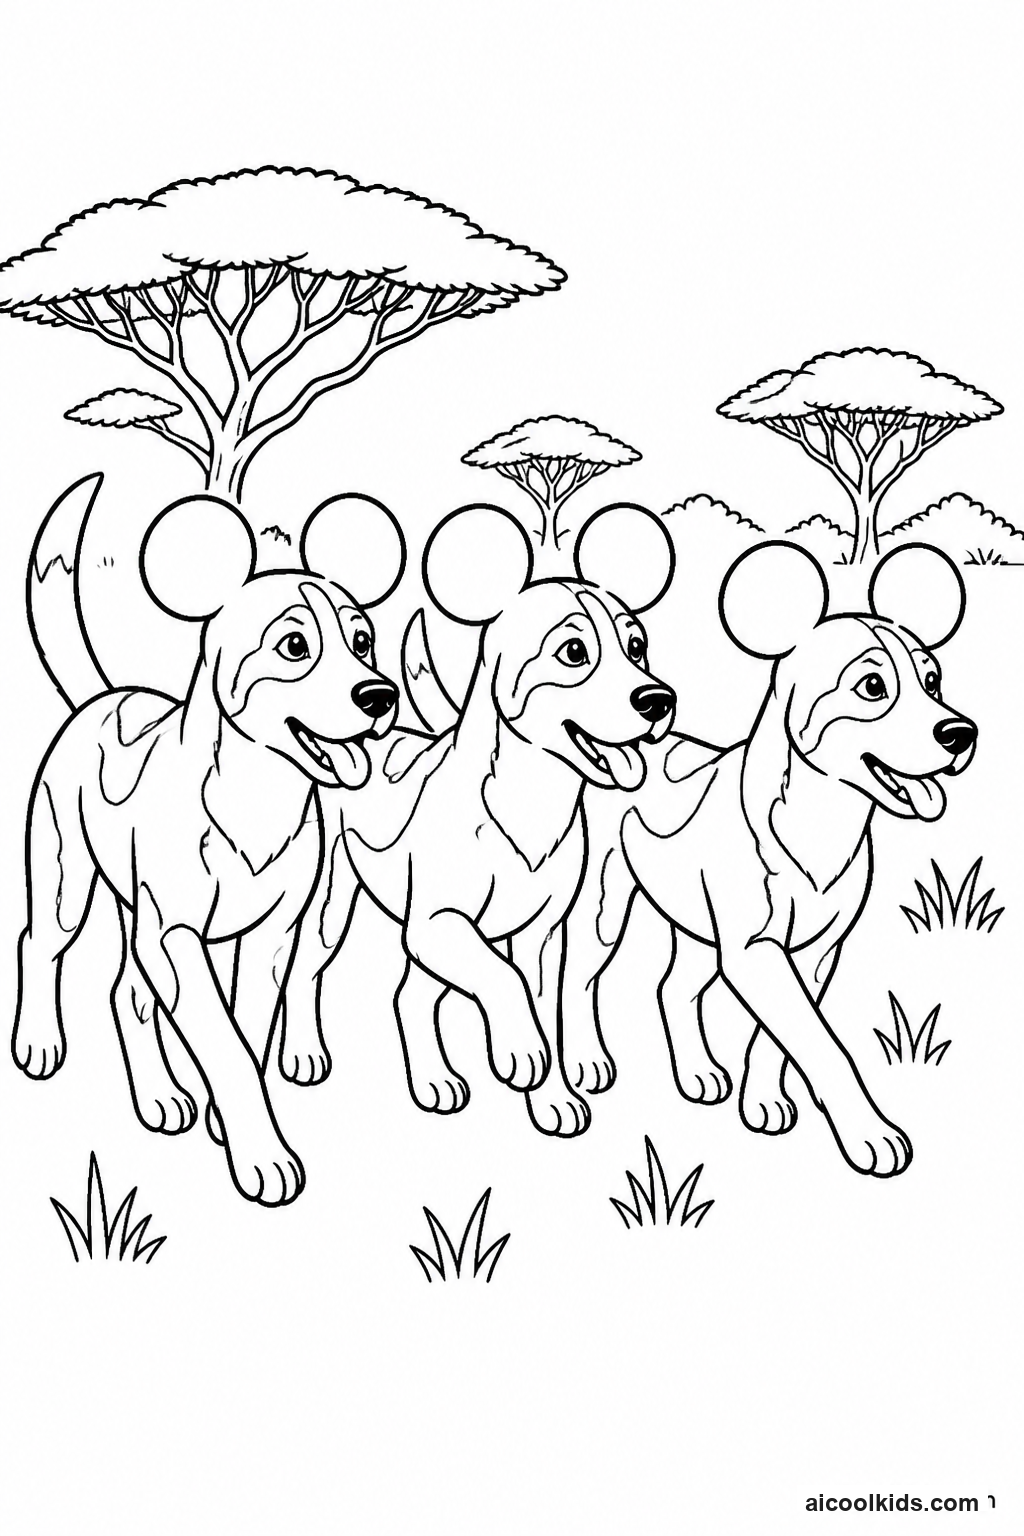
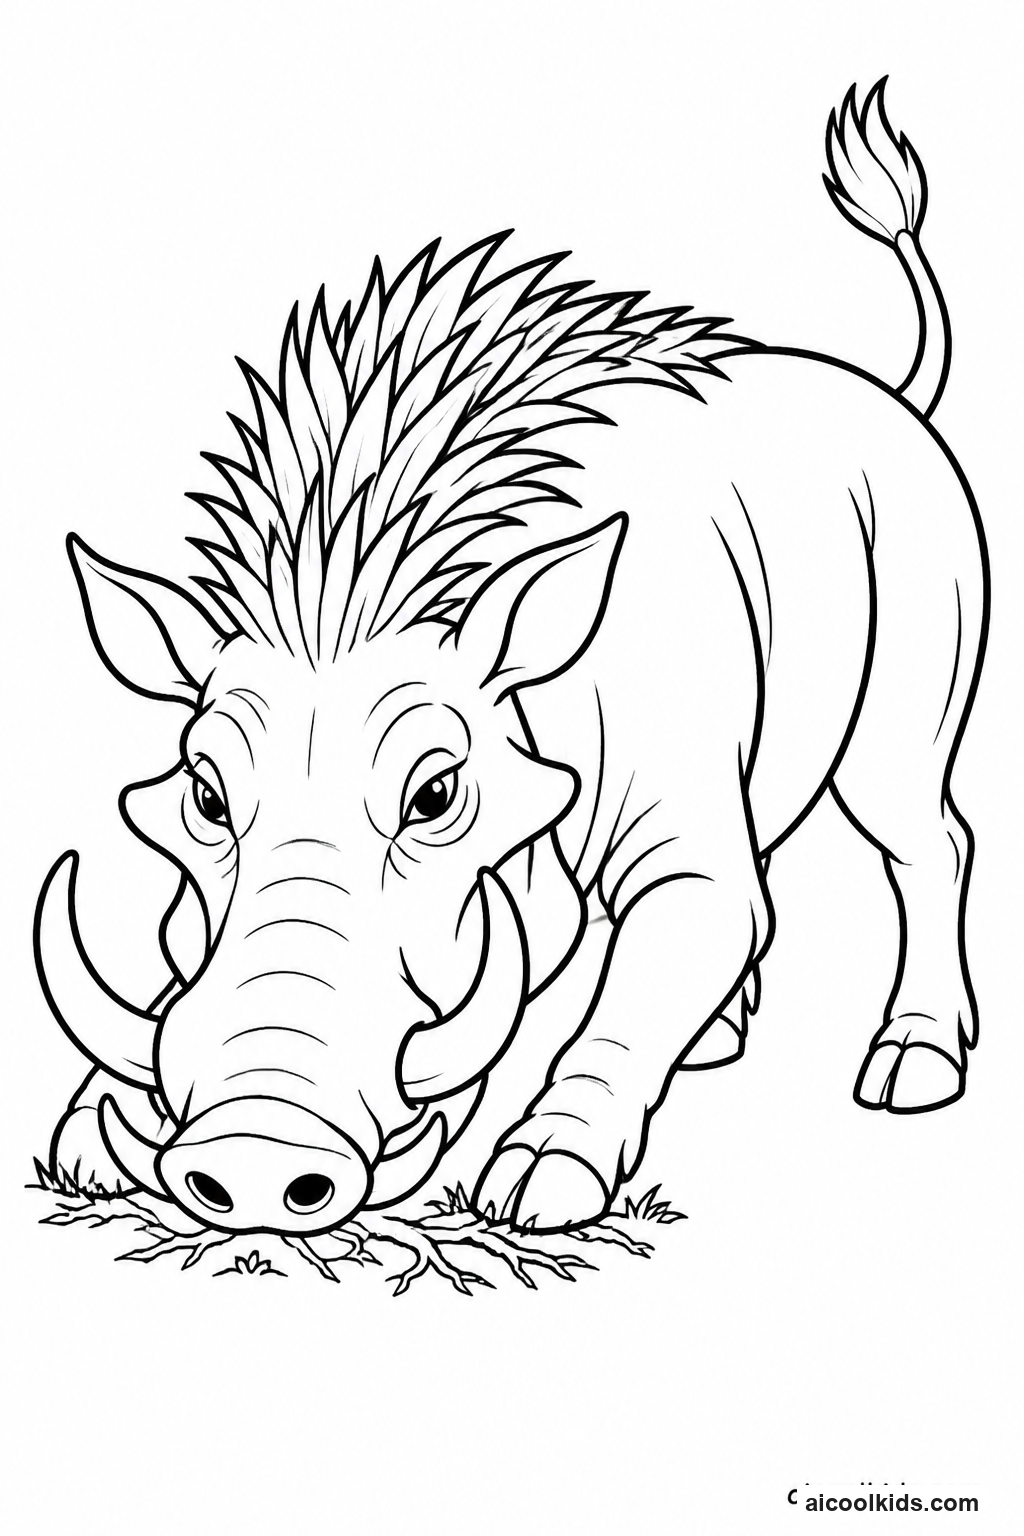
Parent & Teacher Craft Guide
6 Creative Learning & Craft Ideas for Safari Animal Coloring Pages
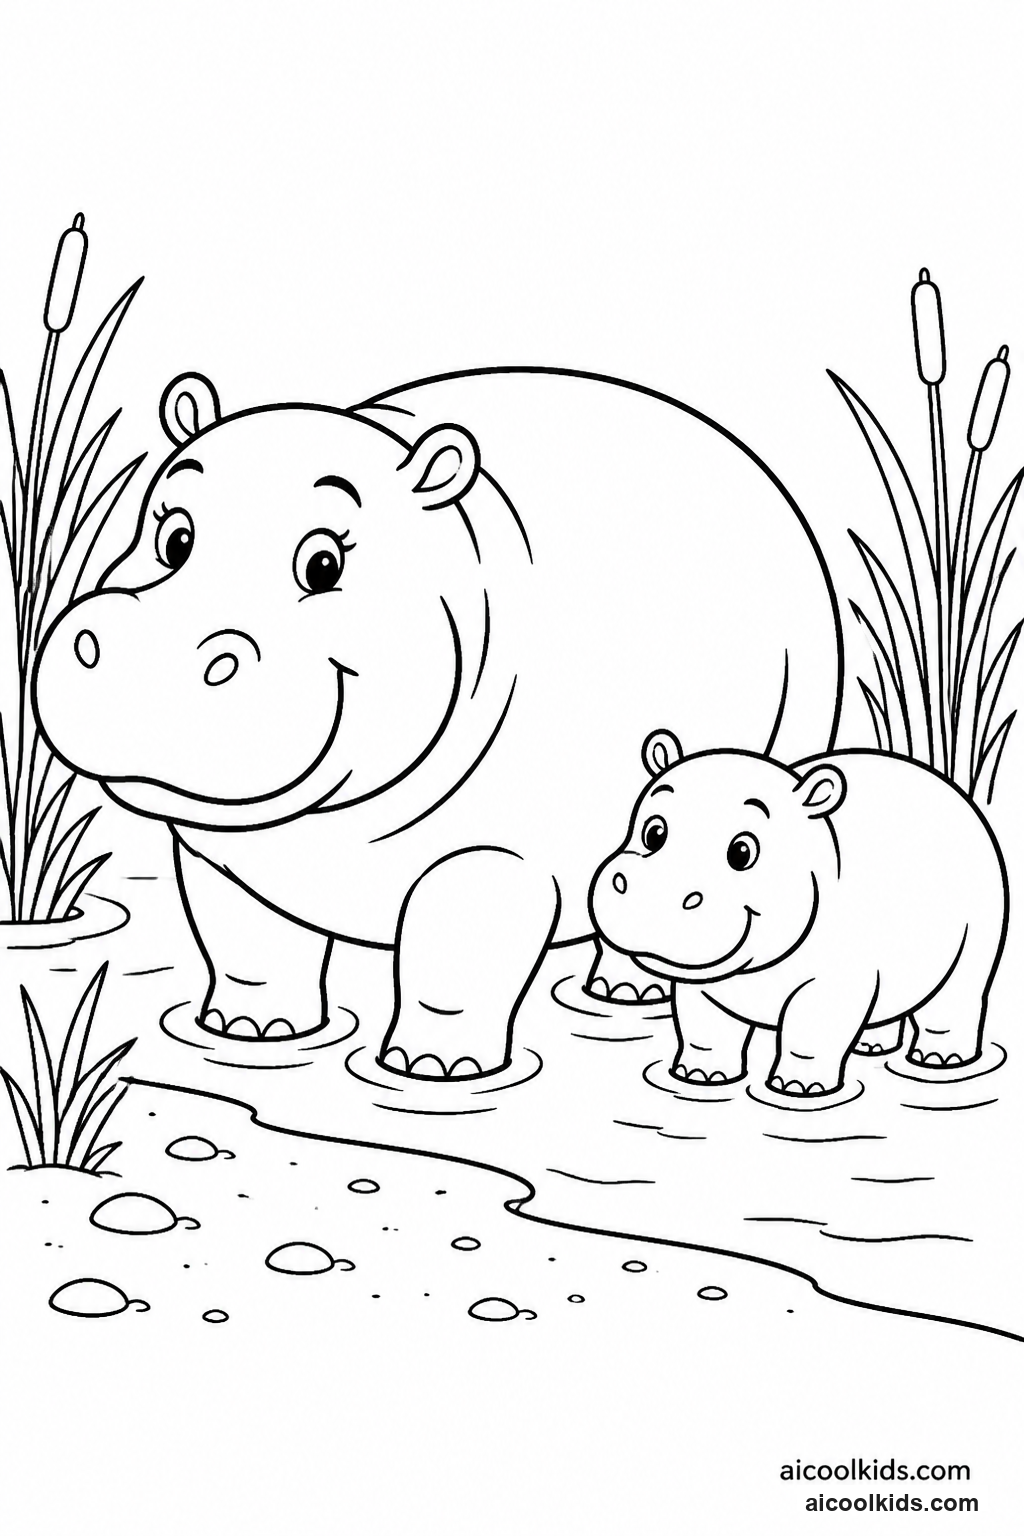
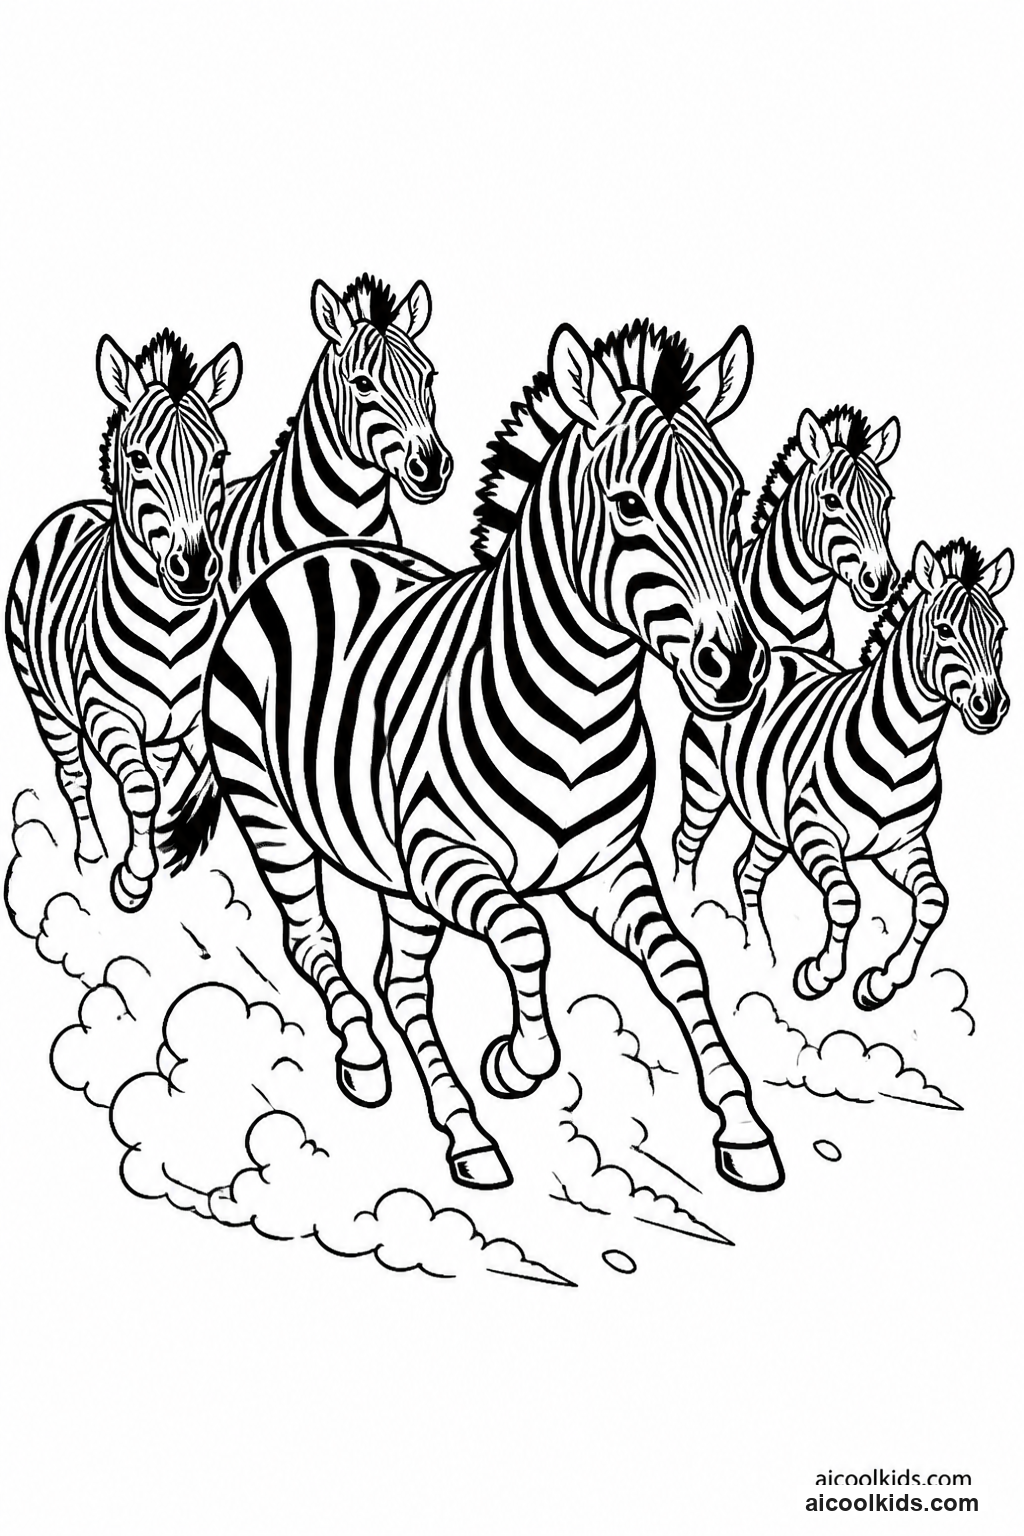
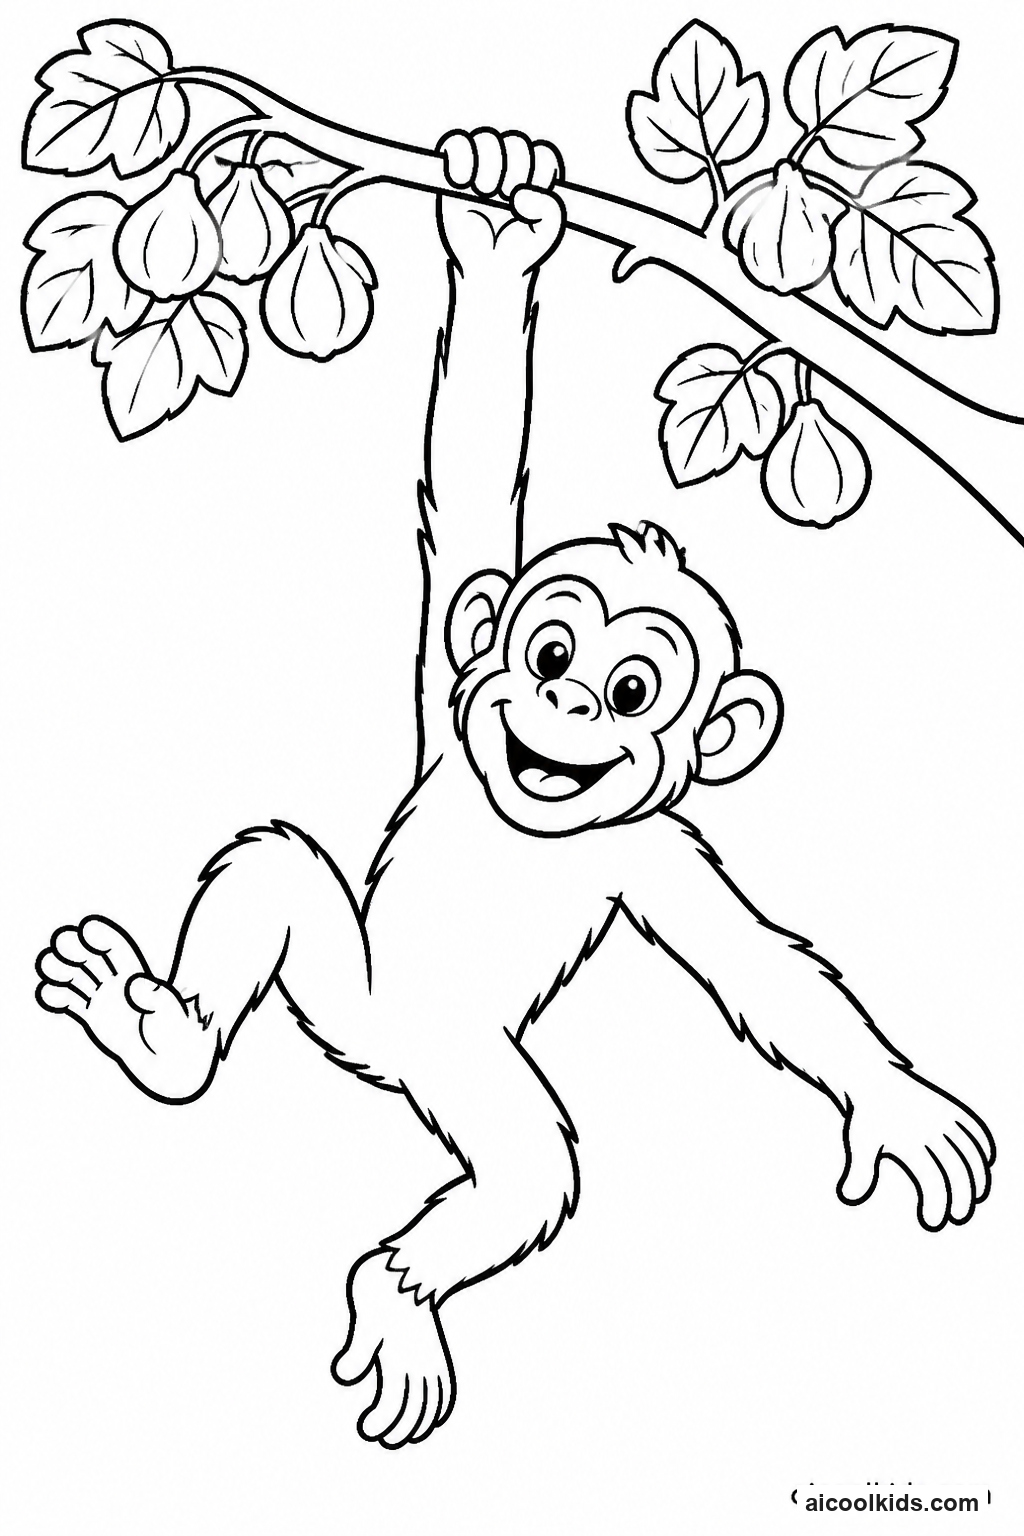
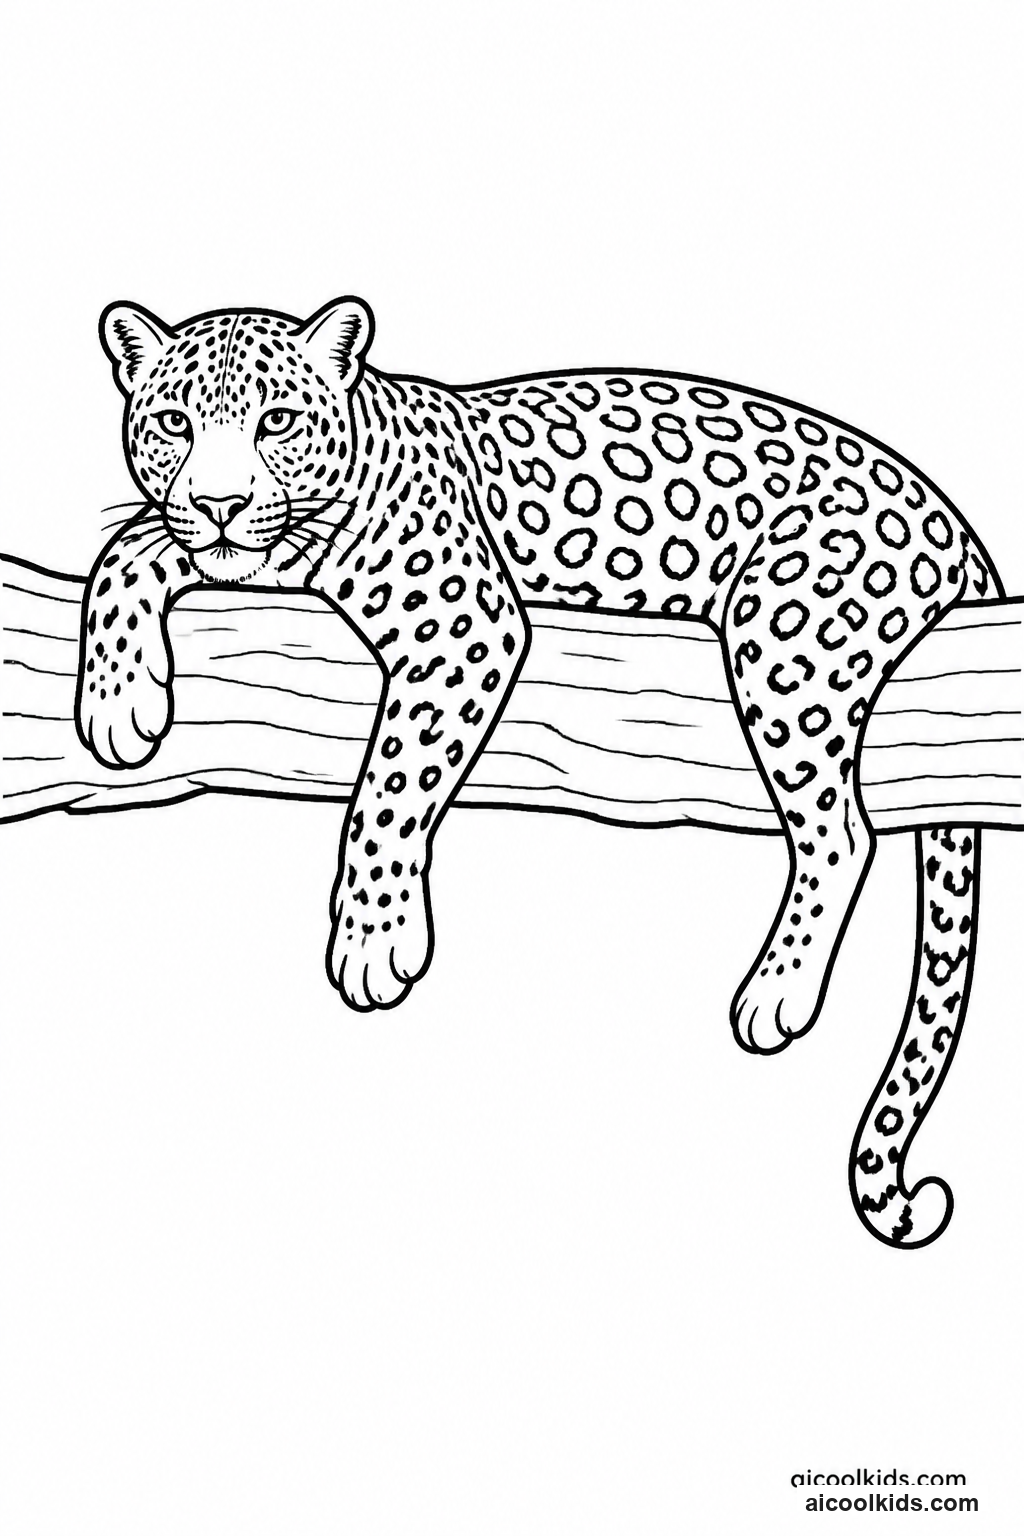
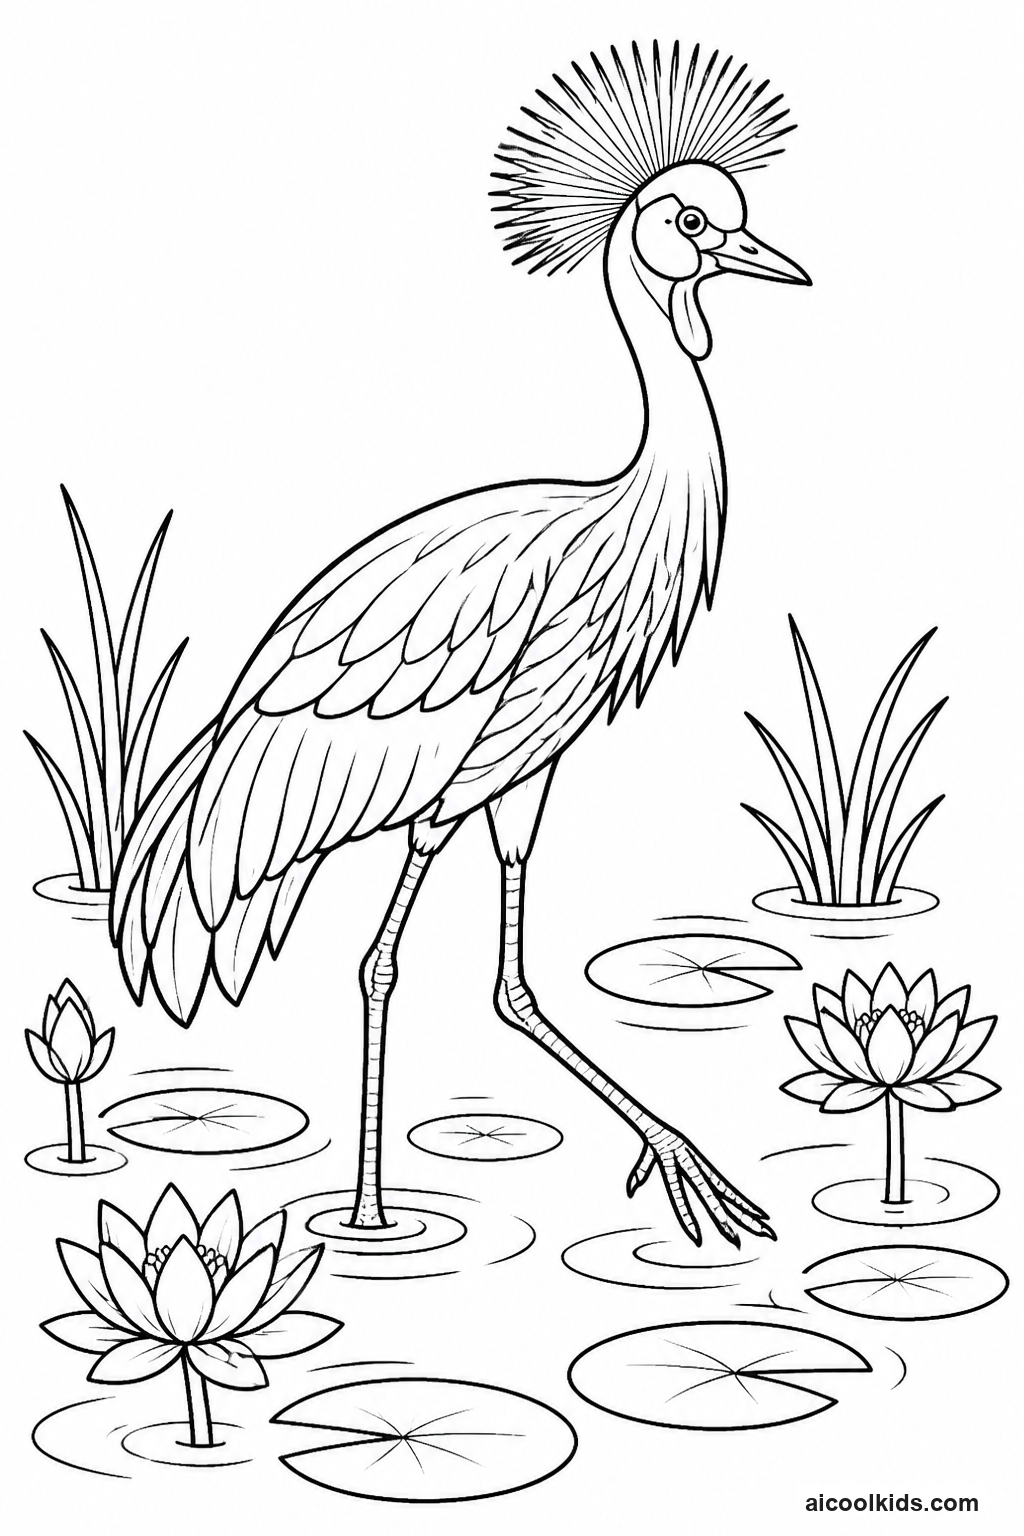
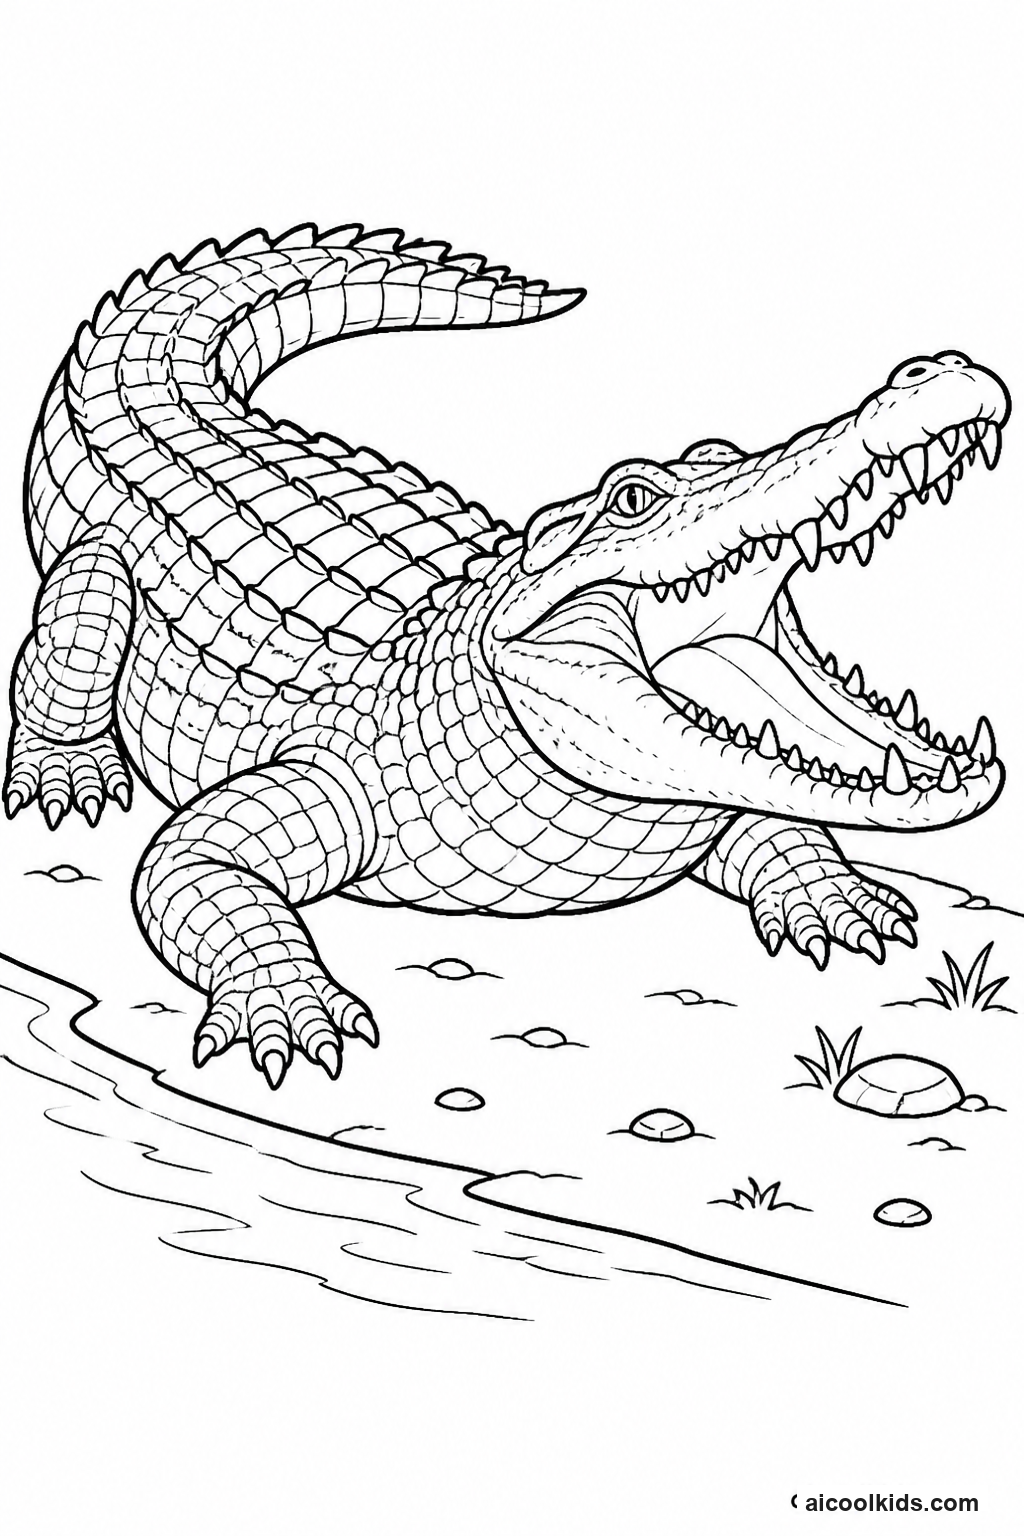
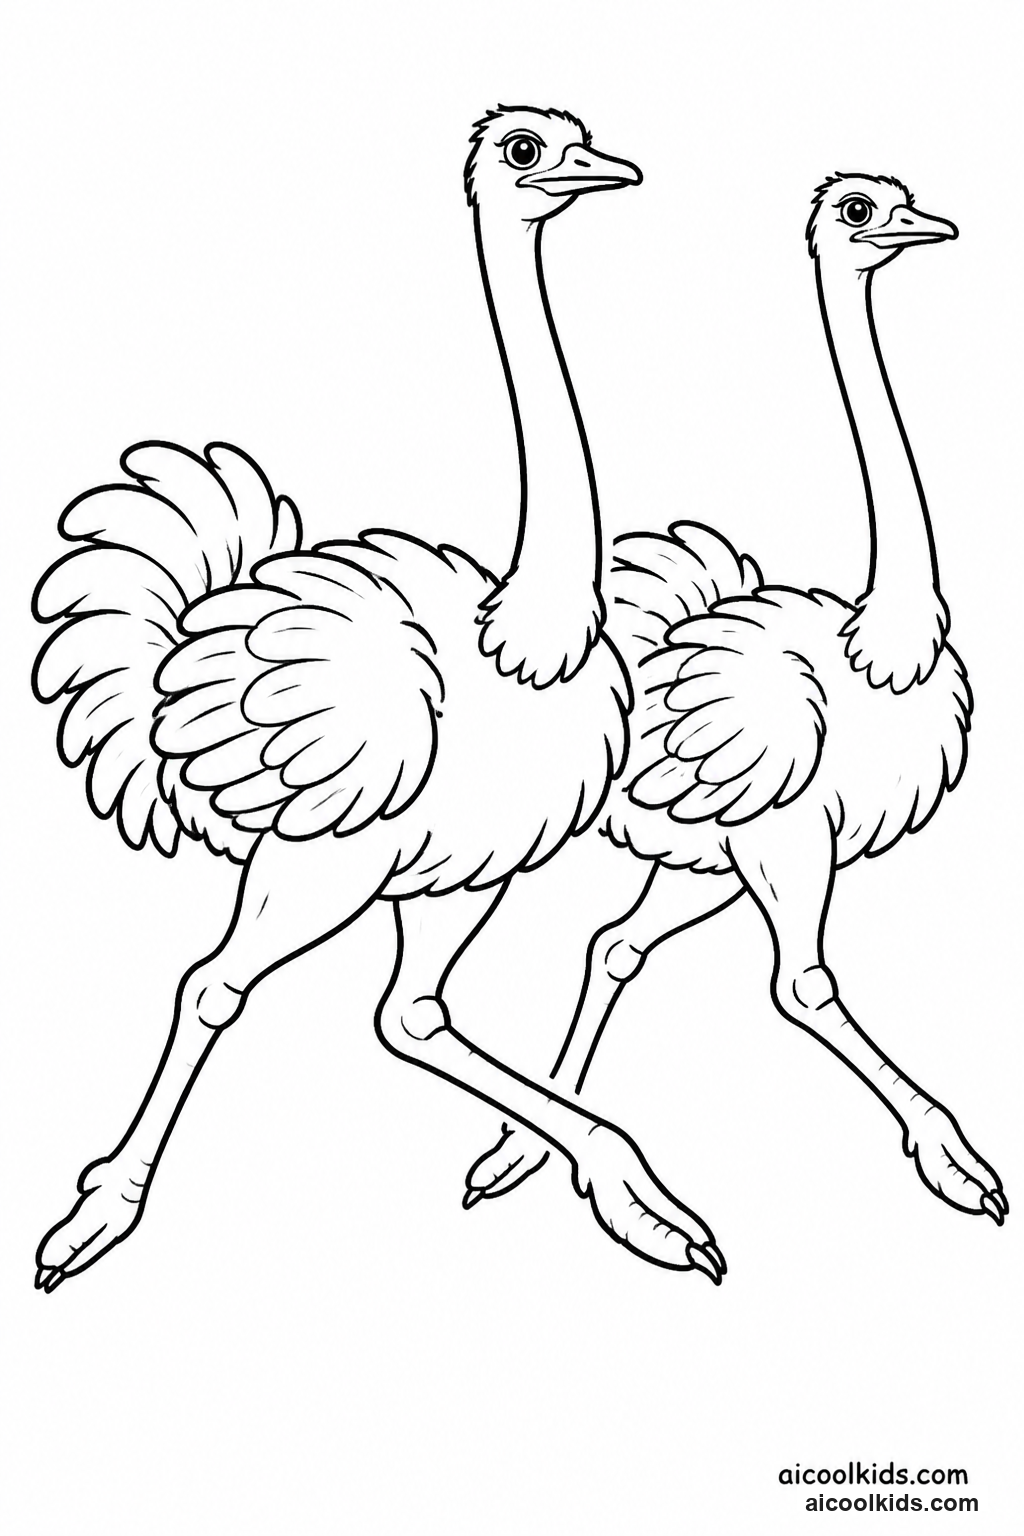
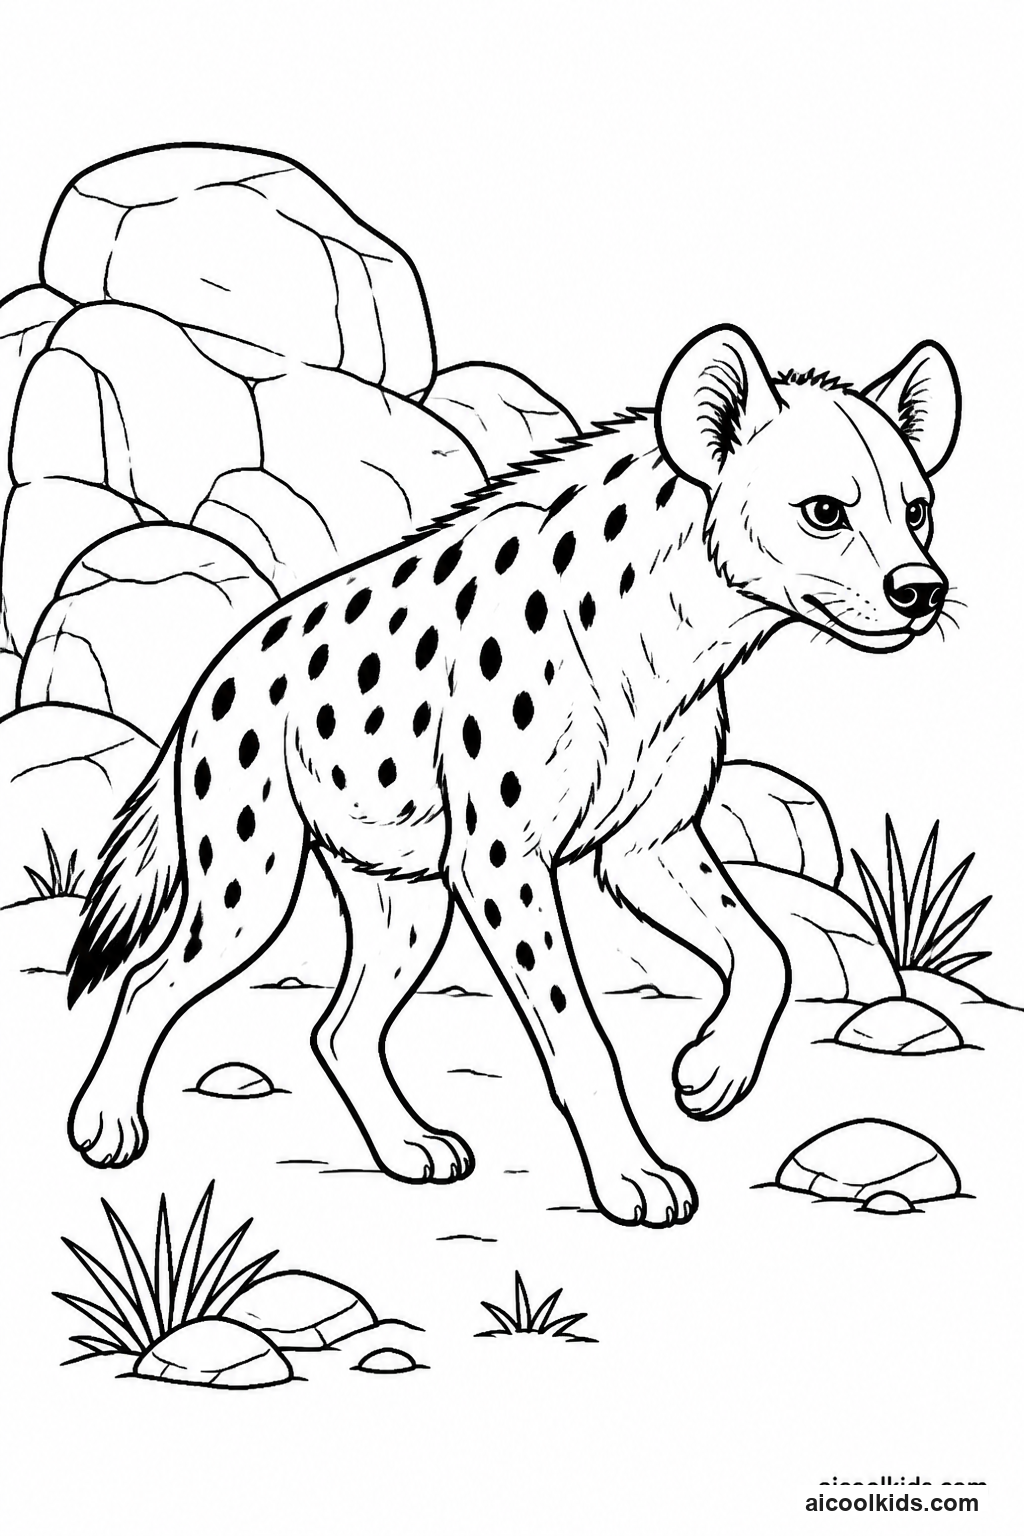
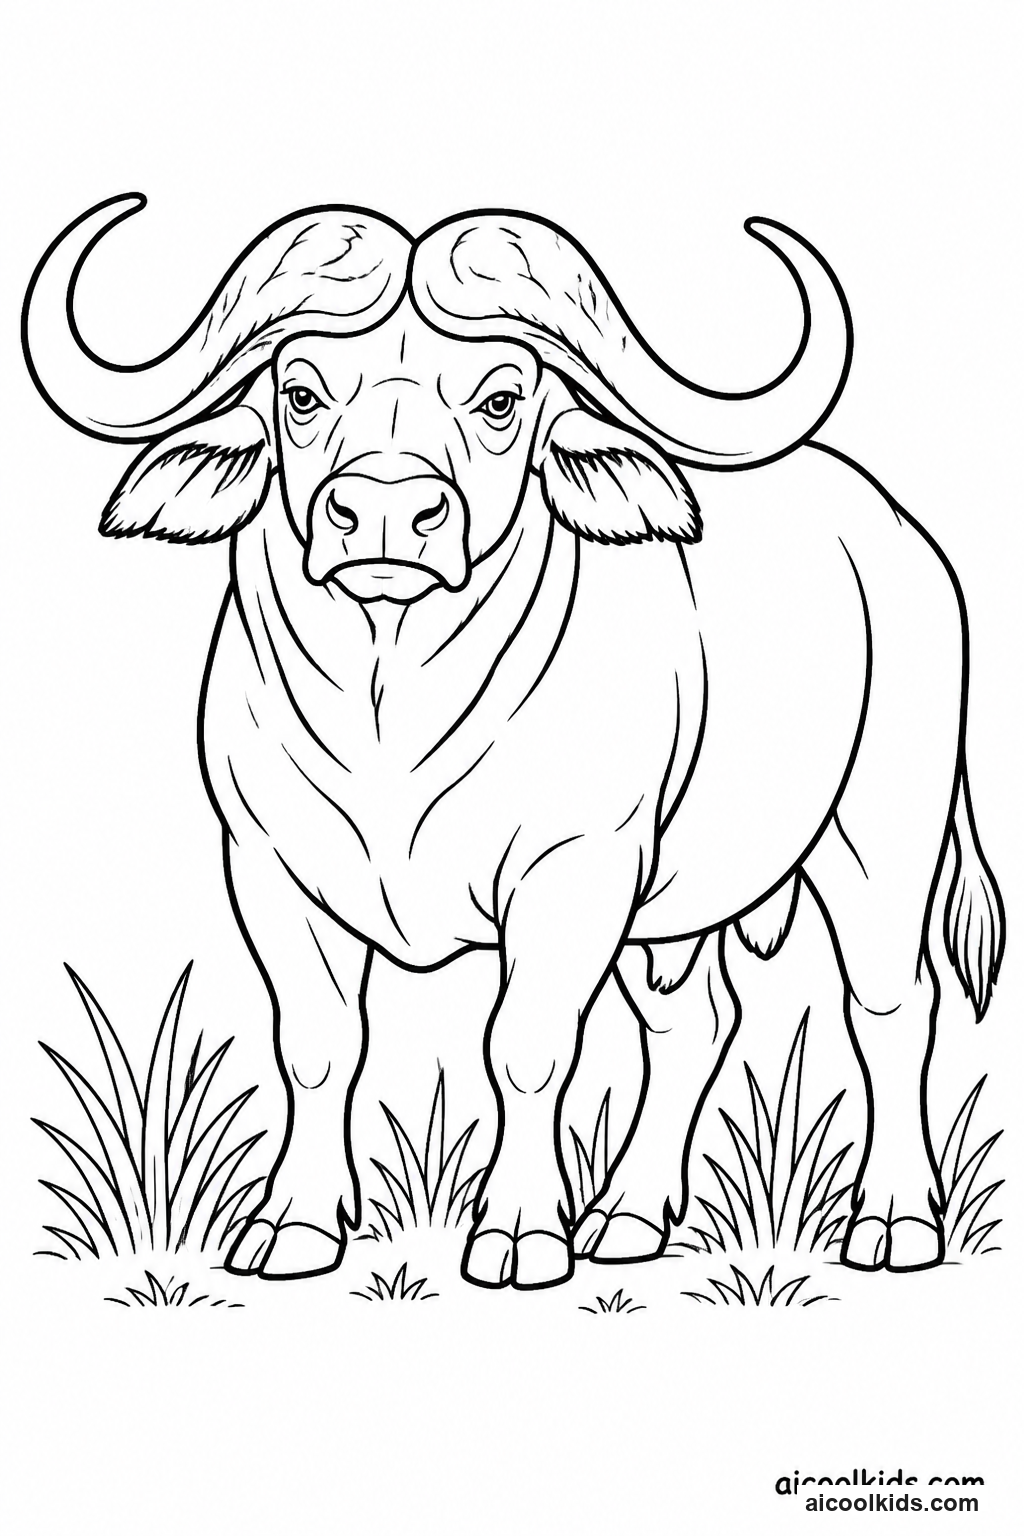
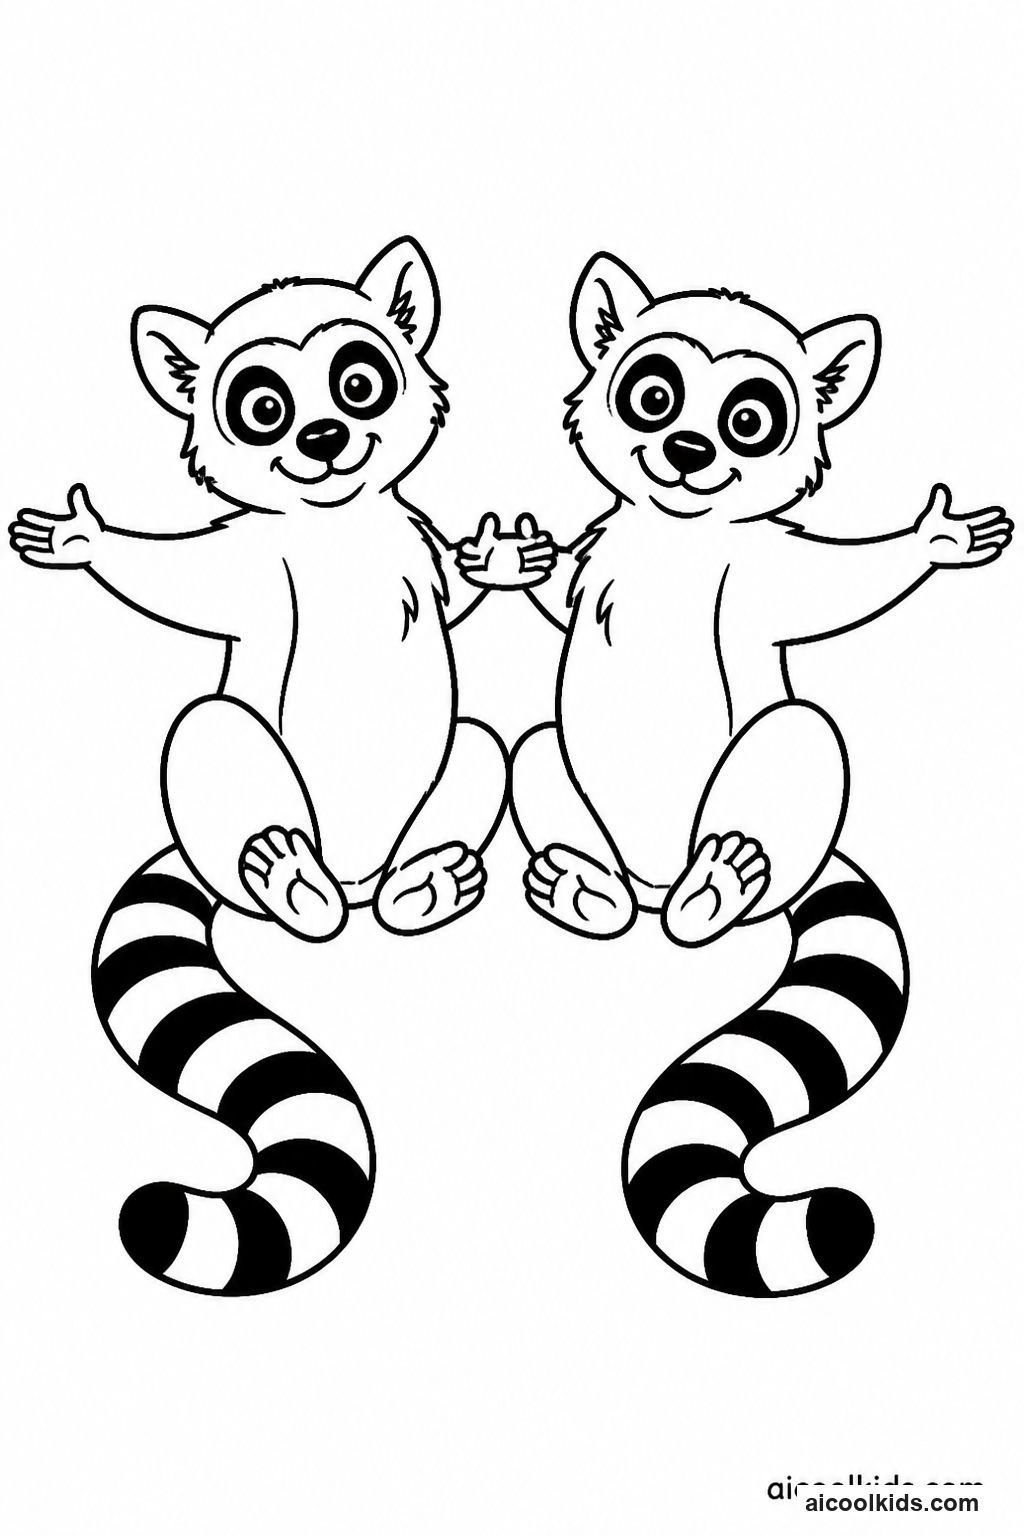
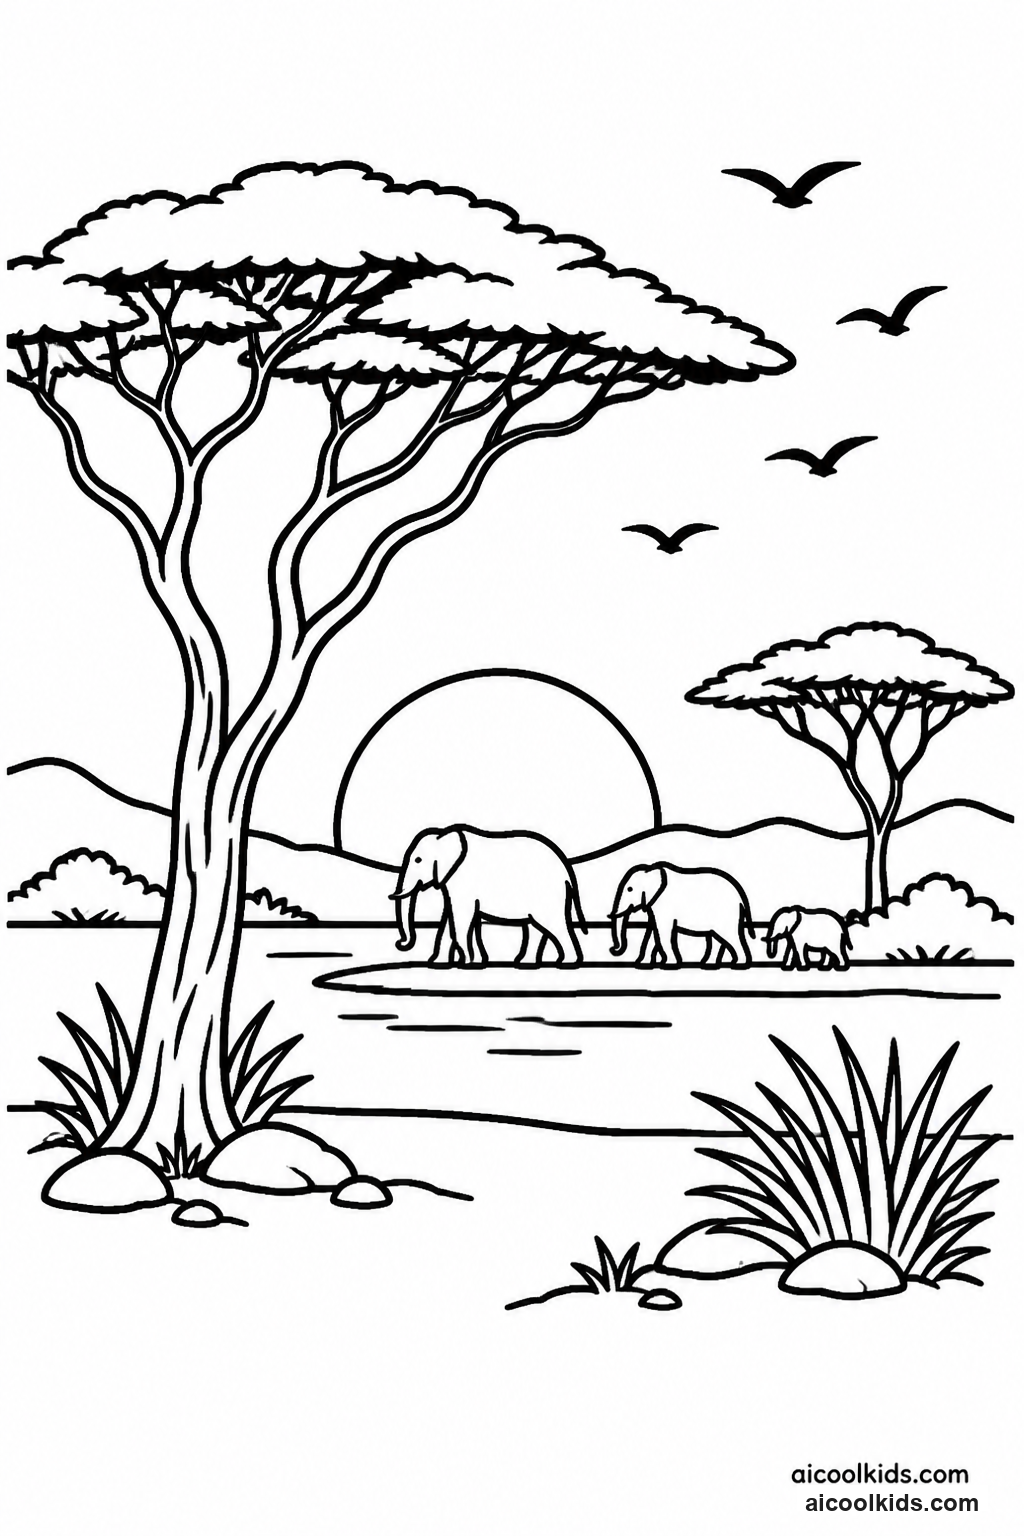
Once the pages are colored, you can turn them into simple projects for home or the classroom. Here are 6 easy craft ideas using supplies you probably already have, like scissors, glue sticks, and construction paper.
1
Layered Savannah Habitat Diorama
Materials Needed:
Colored safari animal pageCereal box or small cardboard boxConstruction paper in tan, green, and blueChild-safe scissorsGlue stickCrayons or colored pencilsCotton ballsSmall paper scraps
Step by Step Guide:
- Color one animal page, then cut out the animal carefully around its outer outline. Leave a narrow paper border around small parts such as ears, tails, or legs so the picture stays sturdy. If the page is printed on thin paper, glue it to a scrap of cardstock first and let it dry before cutting.
- Place the cardboard box on its side so the open face becomes the front of the habitat. Cover the inside back wall with blue paper for sky and the floor with tan paper for dry ground. Glue green paper strips along the lower edge to make grass, leaving some tan patches visible as open savannah.
- Make two or three background layers by cutting simple trees, shrubs, or distant hills from paper scraps. Glue the tallest shapes to the back wall and shorter shapes closer to the front. Add a paper sun, a shallow waterhole, or a patch of shade, keeping the scene uncluttered enough for the animal to remain easy to see.
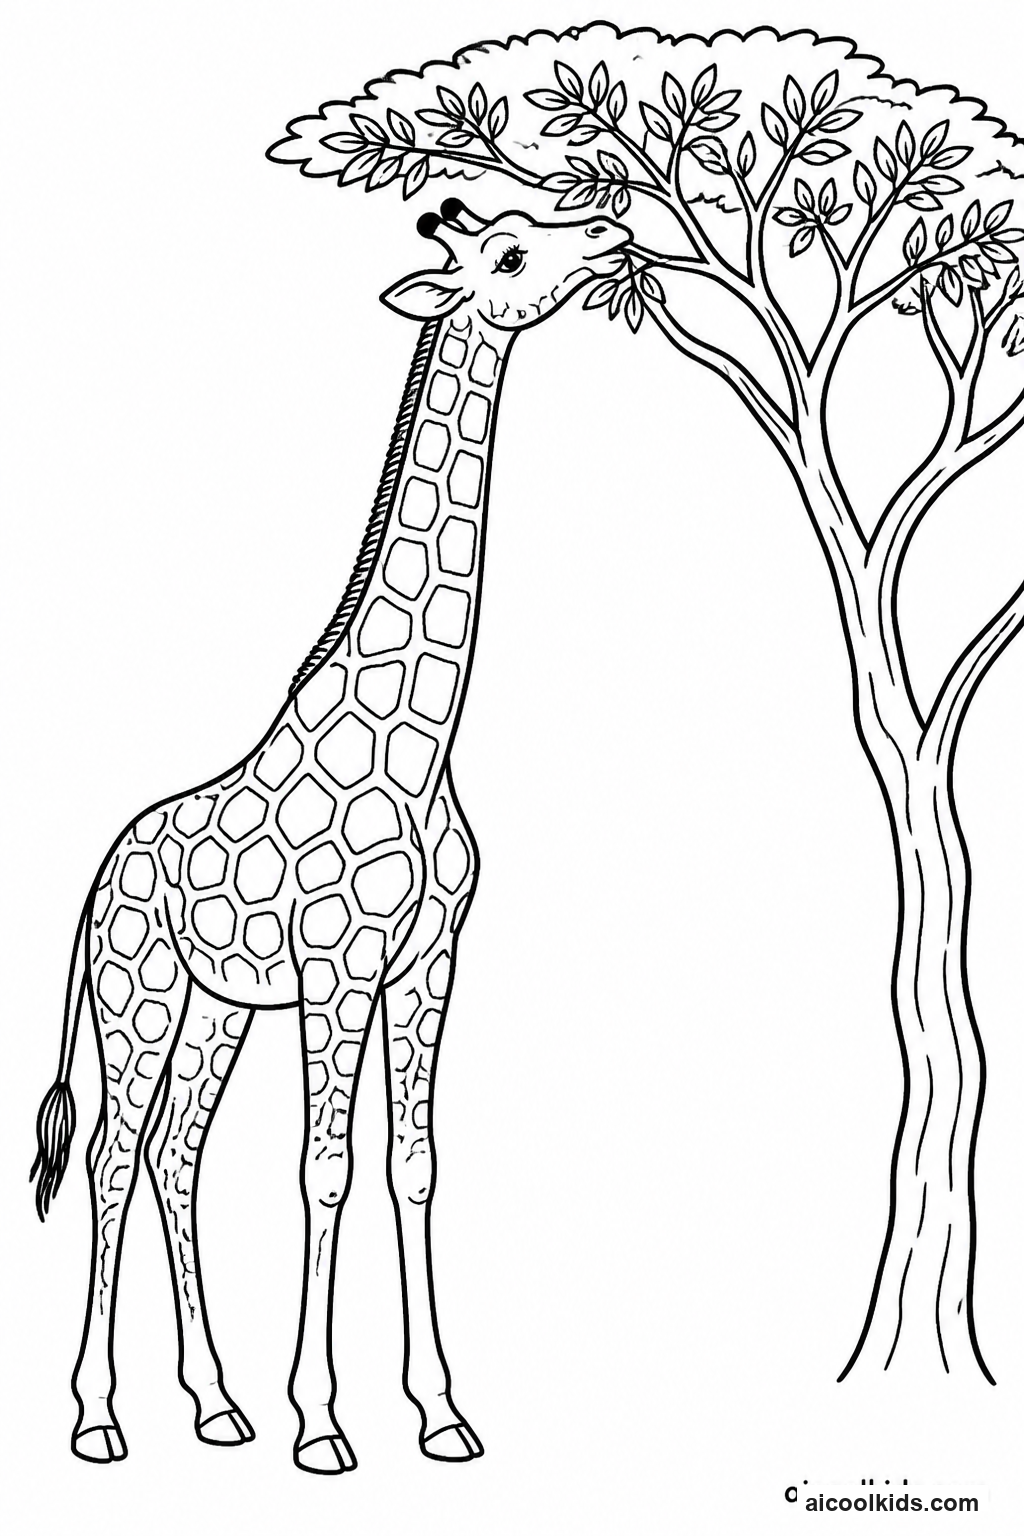
- Fold a small paper tab at the bottom of the animal cutout and glue the tab to the box floor. For a standing figure, fold a second tab behind the animal for support. Position the animal near a feature that makes sense, such as a giraffe beside a tree or a meerkat near its burrow.
- Add finishing details with crayons or colored pencils, including tracks, grass tufts, clouds, and a label naming the habitat. Ask the child to explain why the animal is placed there and what it might be doing. Keep the diorama on a flat surface until all glued pieces are dry.
2
Safari Animal Fact Fan
Materials Needed:
Three or four safari coloring pagesCardstock or index cardsColored pencils or crayonsChild-safe scissorsGlue stickSingle-hole punchPaper fastenerPencil
Step by Step Guide:
- Choose three or four different animals from the printable pack. Color each animal clearly, then cut a portrait panel around it. Keep the panels a similar size, such as about the size of an index card, and leave enough space at the bottom of each one for a name or a short fact.
- Glue each portrait panel onto cardstock or an index card to make it firm enough for repeated handling. Trim the edges if needed. On the back of each card, write the animal's name and one accurate fact, such as what it eats, where it rests, or a body feature that helps it survive.
- Check each fact using an age-appropriate wildlife book, trusted educational resource, or information supplied by a teacher or caregiver. Ask the child to explain the fact in a complete sentence rather than copying a long passage. Add a small picture cue, such as a leaf for a plant eater or a burrow for a meerkat.
- Stack the cards neatly and make a pencil mark near one corner where every card overlaps. An adult can help punch a hole through the marked corner if the cardstock is thick. Keep fingers away from the punch, and use a paper fastener through the aligned holes to join the cards loosely.
- Fan the cards open and check that each portrait can be seen without tearing or sticking. Practice presenting the fan by naming each animal and sharing its fact. Children can quiz a partner by hiding the backs, showing one portrait, and asking the partner to recall a detail.
3
Savannah Sunset Color Study
Materials Needed:
Safari animal coloring pageDrawing paperColored pencilsCrayonsBlunt colored pencil sharpenerScrap paper for testing colorsOptional cotton swab
Step by Step Guide:
- Choose a page with an animal that has a clear outline and some open background space. Before coloring the main picture, select three or four sunset colors, such as yellow, orange, coral, and violet. Test each color on scrap paper to see how light or dark it looks and whether it covers the paper smoothly.
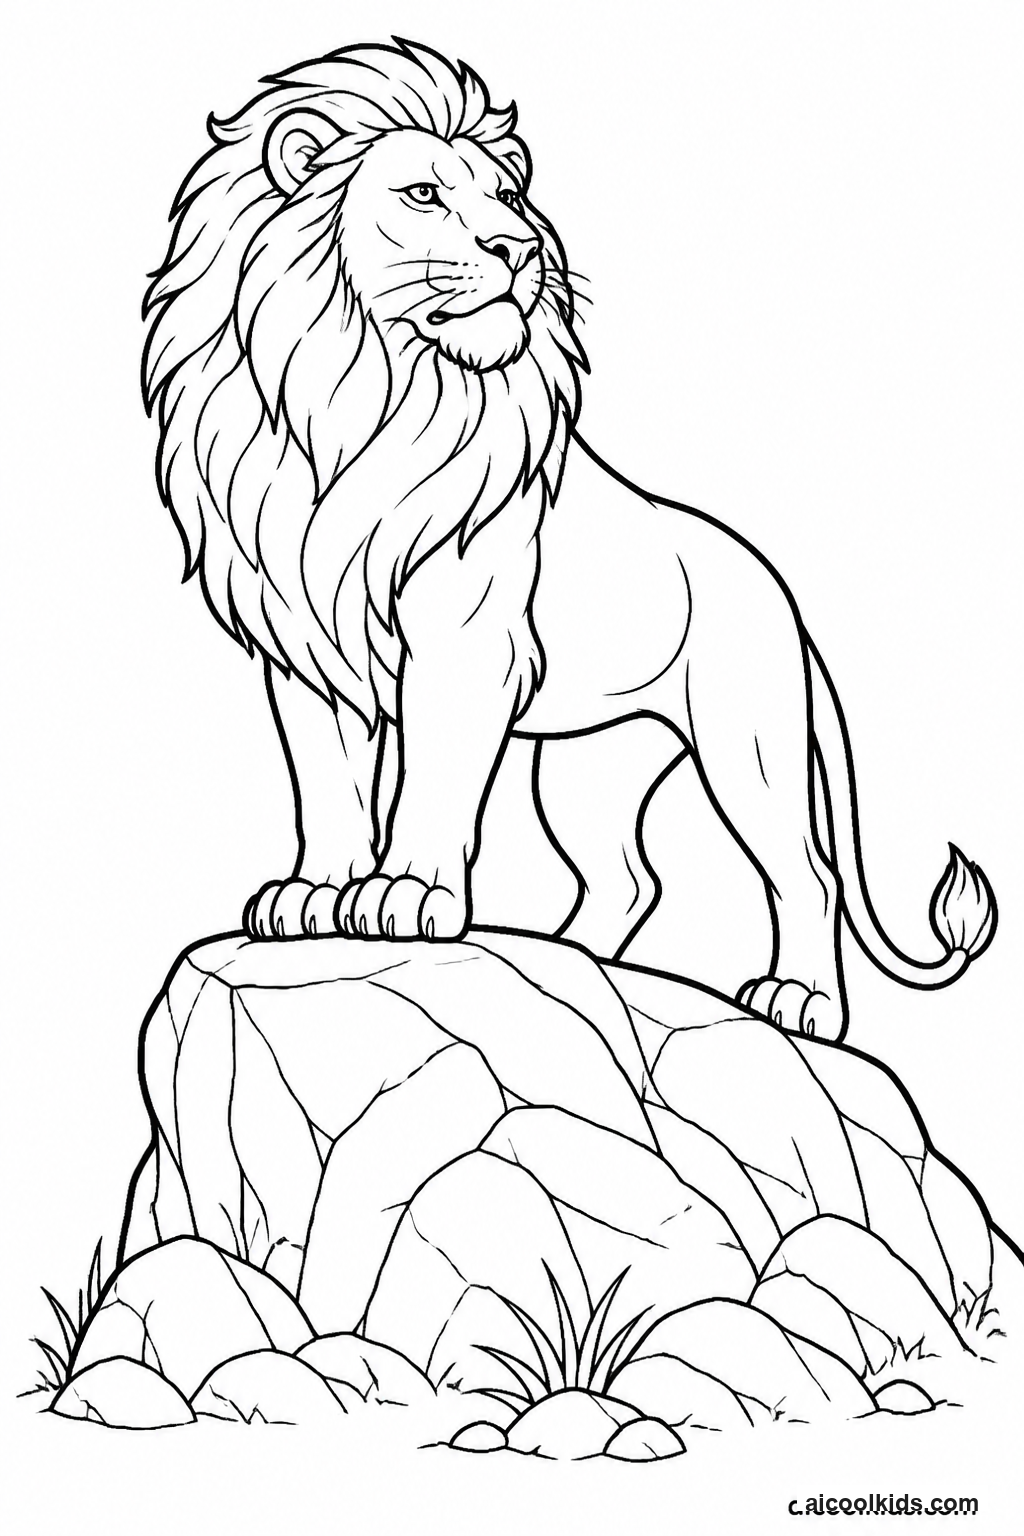
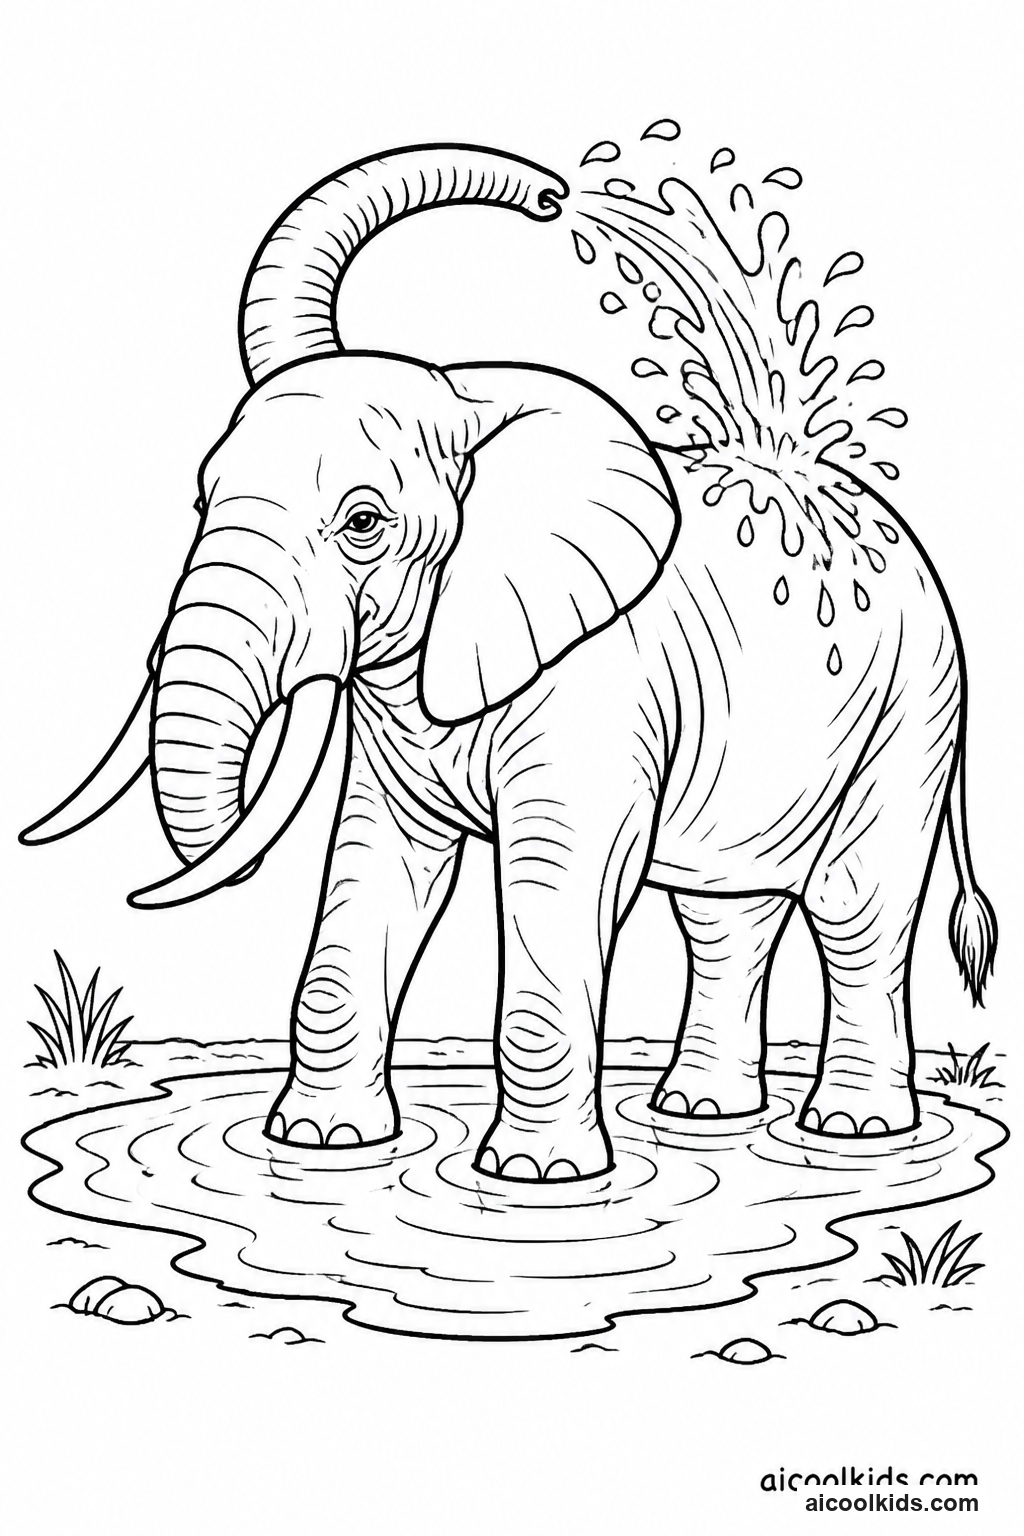
- Color the animal first, using light pressure for the first layer. Build darker areas gradually around the mane, legs, ears, or folds rather than pressing hard right away. For a lion, try several warm tones in the mane; for an elephant, use gray with a touch of blue or violet in shaded areas.
- Plan the background in broad horizontal bands. Place yellow near the horizon, orange above it, and a deeper shade higher in the sky. Leave a narrow strip of pale paper between colors at first. Blend the neighboring edges with small overlapping strokes, using a clean colored pencil or crayon rather than rubbing hard.
- Add a simple horizon line and a few distant shapes, such as flat-topped trees, grass, or low hills. Keep faraway shapes smaller and lighter than the animal in front. If the printed page is crowded, add the extra background shapes on a separate sheet and mount the colored animal over it.
- Look at the finished page from arm's length and decide whether the animal stands out against the sunset. Add a few careful dark accents to the animal's outline or feet if needed. Invite the child to describe which colors feel warm, which areas seem closest, and what time of day the scene suggests.
4
Meerkat Burrow Pop-Up Card
Materials Needed:
Meerkat coloring pageBlank cardstockColored paperChild-safe scissorsGlue stickPencilRulerCrayons or colored pencils
Step by Step Guide:
- Color a meerkat page and cut out one standing meerkat, leaving a small paper margin around the body. If there is no standing pose, cut out a head and upper body, then glue it to a narrow strip of cardstock. Reinforce the back with another small paper piece if the cutout bends easily.
- Fold a blank sheet of cardstock in half to make the card. Open it and draw two short parallel lines across the fold, about two centimeters apart. An adult can cut along both lines. Push the strip between the cuts toward the inside of the card, then fold it in the opposite direction to form a pop-up step.
- Close the card gently, press the folded strip flat, and open it again to check that the tab moves forward. Glue the meerkat cutout to the front of the tab. Keep glue on the tab only, not on the card background, so the animal can rise when the card opens.
- Cut a rounded burrow entrance from brown paper and glue it below the pop-up tab. Add a few small paper stones and grass blades around the entrance. Draw a simple savannah background above it, leaving enough empty space so the meerkat remains the main feature.
- Write a short greeting or animal fact inside the card. Test the movement by opening and closing the card slowly several times, smoothing any paper that catches. If the meerkat leans, add a small cardstock brace behind the pop-up tab and allow the glue to dry before closing the card.
5
Wildlife Tracks and Coloring Trail
Materials Needed:
Safari animal coloring pageConstruction paperWashable stamp pad or washable paintCotton swabsSmall sponge piecesCrayonsChild-safe scissorsScrap paper
Step by Step Guide:
- Select and color an animal page, then place it at one end of a large sheet of construction paper. Decide where the animal is going, such as toward water or a shady tree. Draw a light pencil path that leaves enough room for several sets of footprints without covering the animal picture.
- Make a simple footprint stamp from a small sponge or folded paper. For a broad print, press a sponge lightly into washable paint and stamp once on scrap paper first. For smaller tracks, use a cotton swab to add separate dots or toe marks. Keep the designs simple and avoid claiming that an invented print is an exact scientific match.
- Stamp a trail from the animal toward the chosen destination. Change the spacing to suggest different movement: close marks for small steps, wider gaps for a longer stride, or a curved path for a turn. Let one trail stop at a waterhole or burrow so children can explain what might have happened there.
- Use crayons to add grass, pebbles, a waterhole, and a few background plants. Add labels such as 'animal', 'tracks', and 'water' if the child is practicing writing. For a comparison, create two trails with different sizes and ask which one might belong to a larger animal and what clues support that idea.
- Leave the sheet flat until all paint is dry. Then invite the child to tell a short story about the trail using observations from the page. Ask questions such as where the animal may be going and what evidence appears in the scene. Clean washable paint from hands and the work surface promptly.
6
Safari Story Wheel
Materials Needed:
Safari animal coloring pageTwo sheets of cardstockColored pencils or crayonsChild-safe scissorsPencilRulerPaper fastenerAdult help for making a center hole
Step by Step Guide:
- Color one animal from the printable page and cut out a portrait or a small scene panel. Glue it to cardstock and trim it into a circle or square that will fit on a second sheet. Draw a large circle on the second sheet, then divide it into six sections with pencil lines that meet near the center.
- In the sections, draw or write simple story choices, such as 'finds shade', 'hears a sound', 'meets a friend', 'looks for water', 'spots a bird', or 'returns to the group'. Children may draw a picture instead of writing. Keep each choice short enough to understand at a glance.
- Make a second wheel from cardstock that is slightly smaller than the first. Cut one wedge-shaped window from it, leaving a wide outer rim so the wheel stays strong. An adult can help make a small center hole in both circles. Use scissors carefully and keep the cutting area clear.
- Place the window wheel over the choice wheel and align the holes. Join them with a paper fastener that is snug enough to hold the pieces together but loose enough for the top wheel to turn. Glue the animal portrait to a separate cardstock arrow or place it beside the wheel as the story's main character.
- Turn the wheel to select three choices and use them to tell a beginning, middle, and ending. For example, the animal can start near a tree, hear a sound, and return safely to its group. Children can draw a final scene on the back of the coloring page or write a few sentences to save the story.