Parent & Teacher Craft Guide
6 Creative Learning & Craft Ideas for Shark Coloring Pages
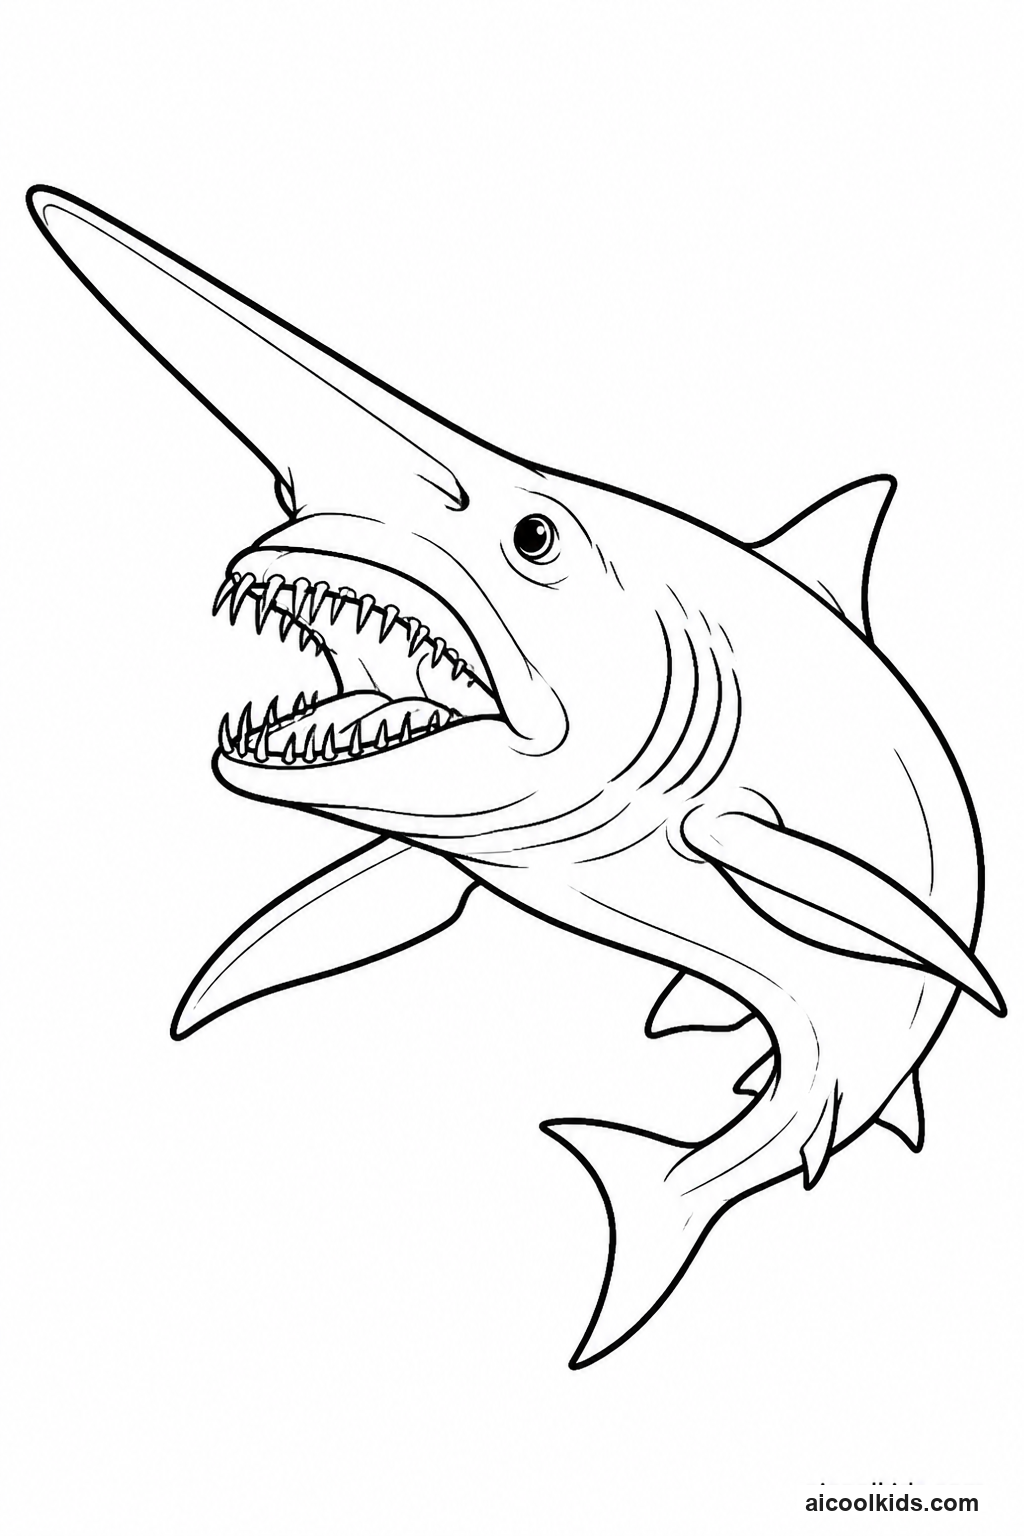
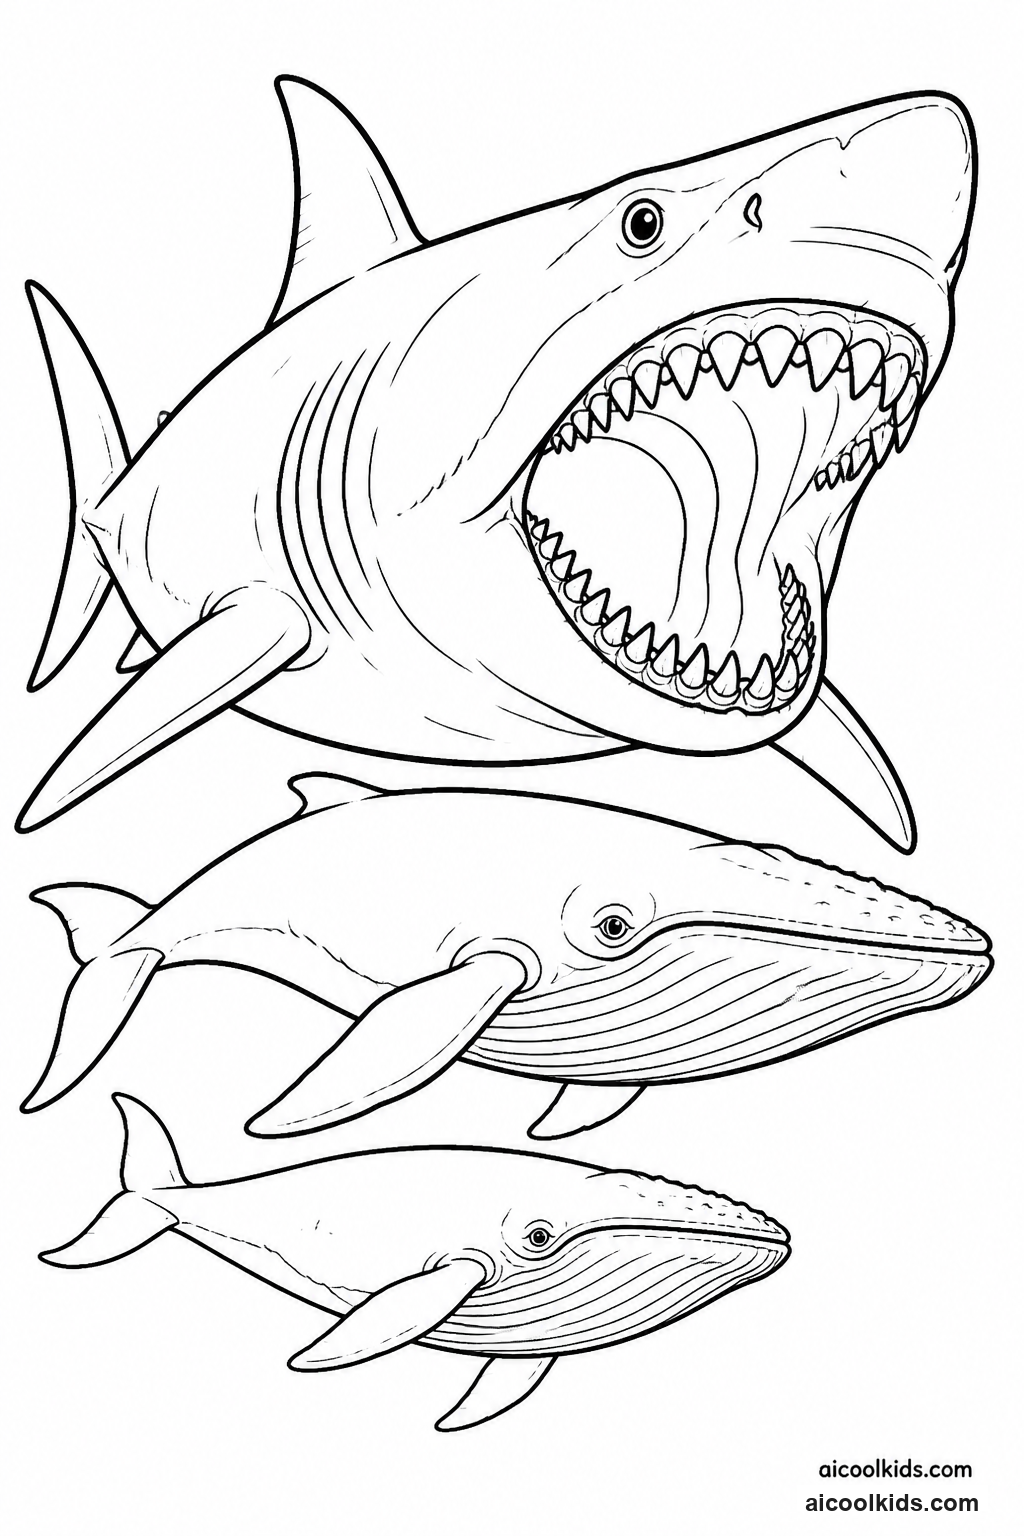
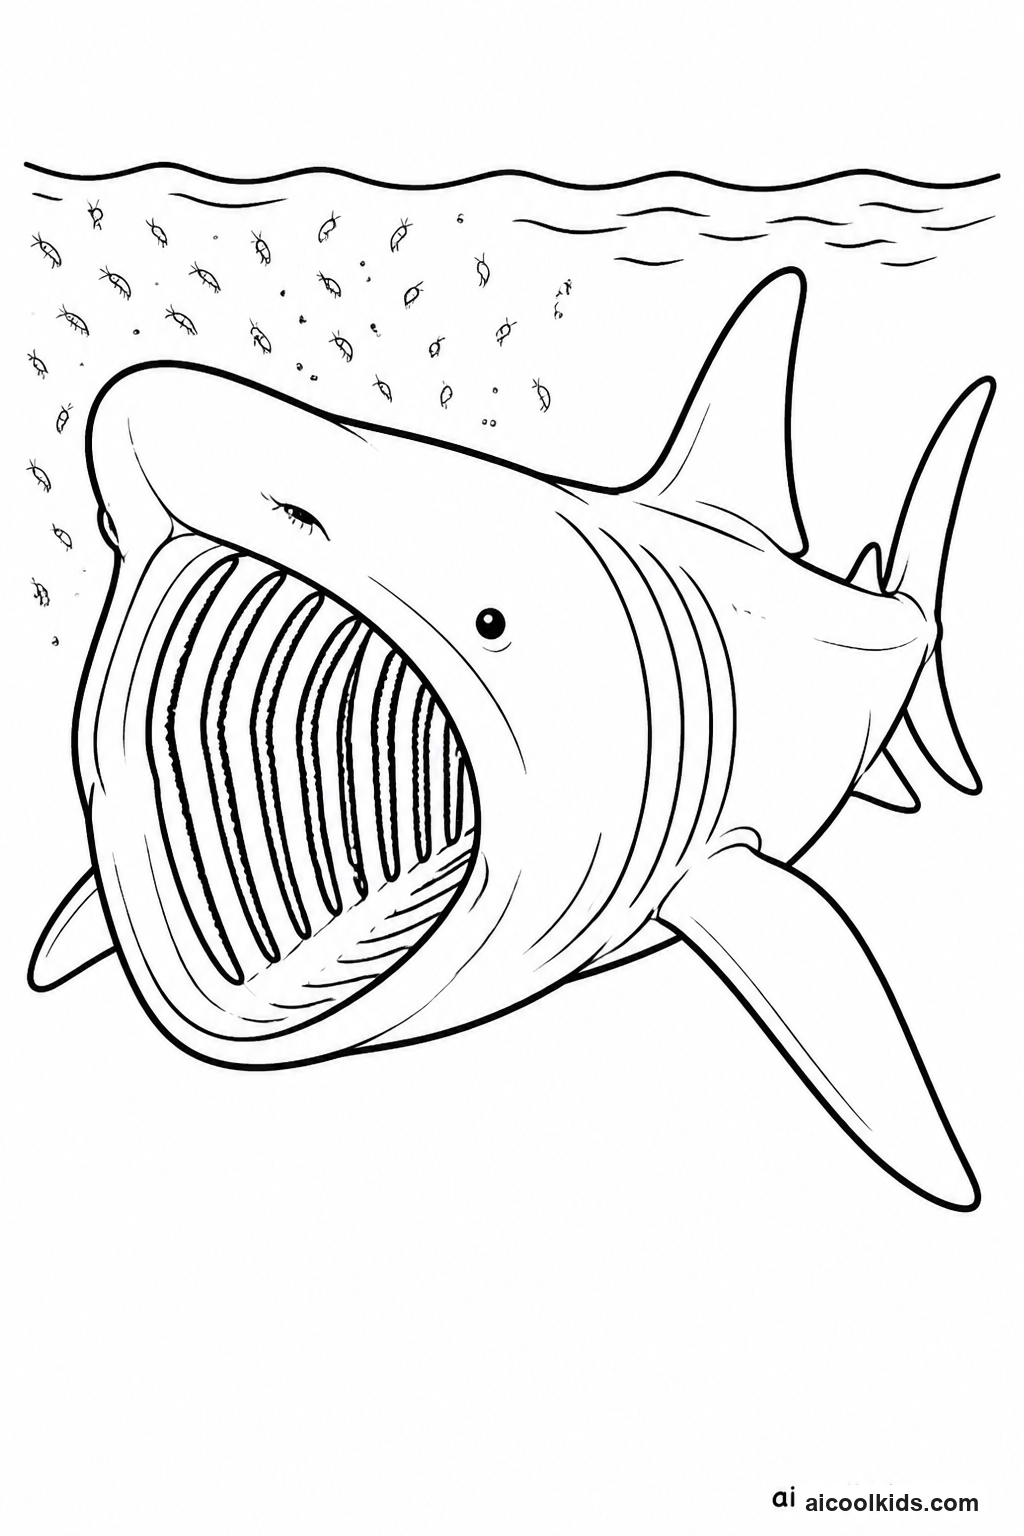
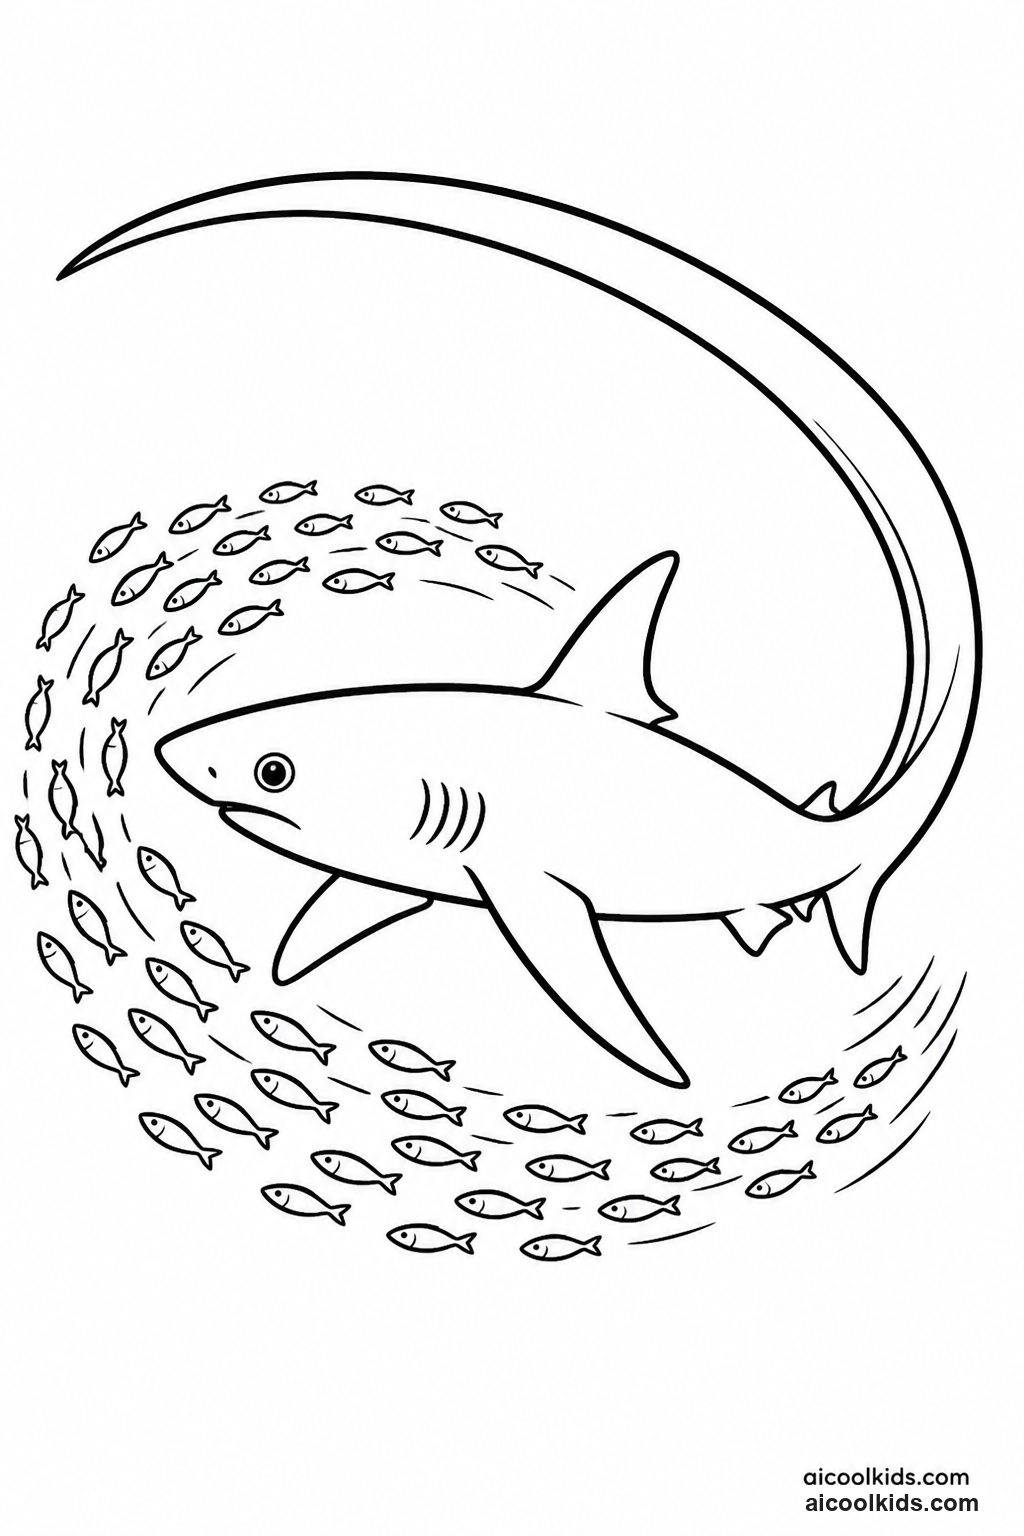
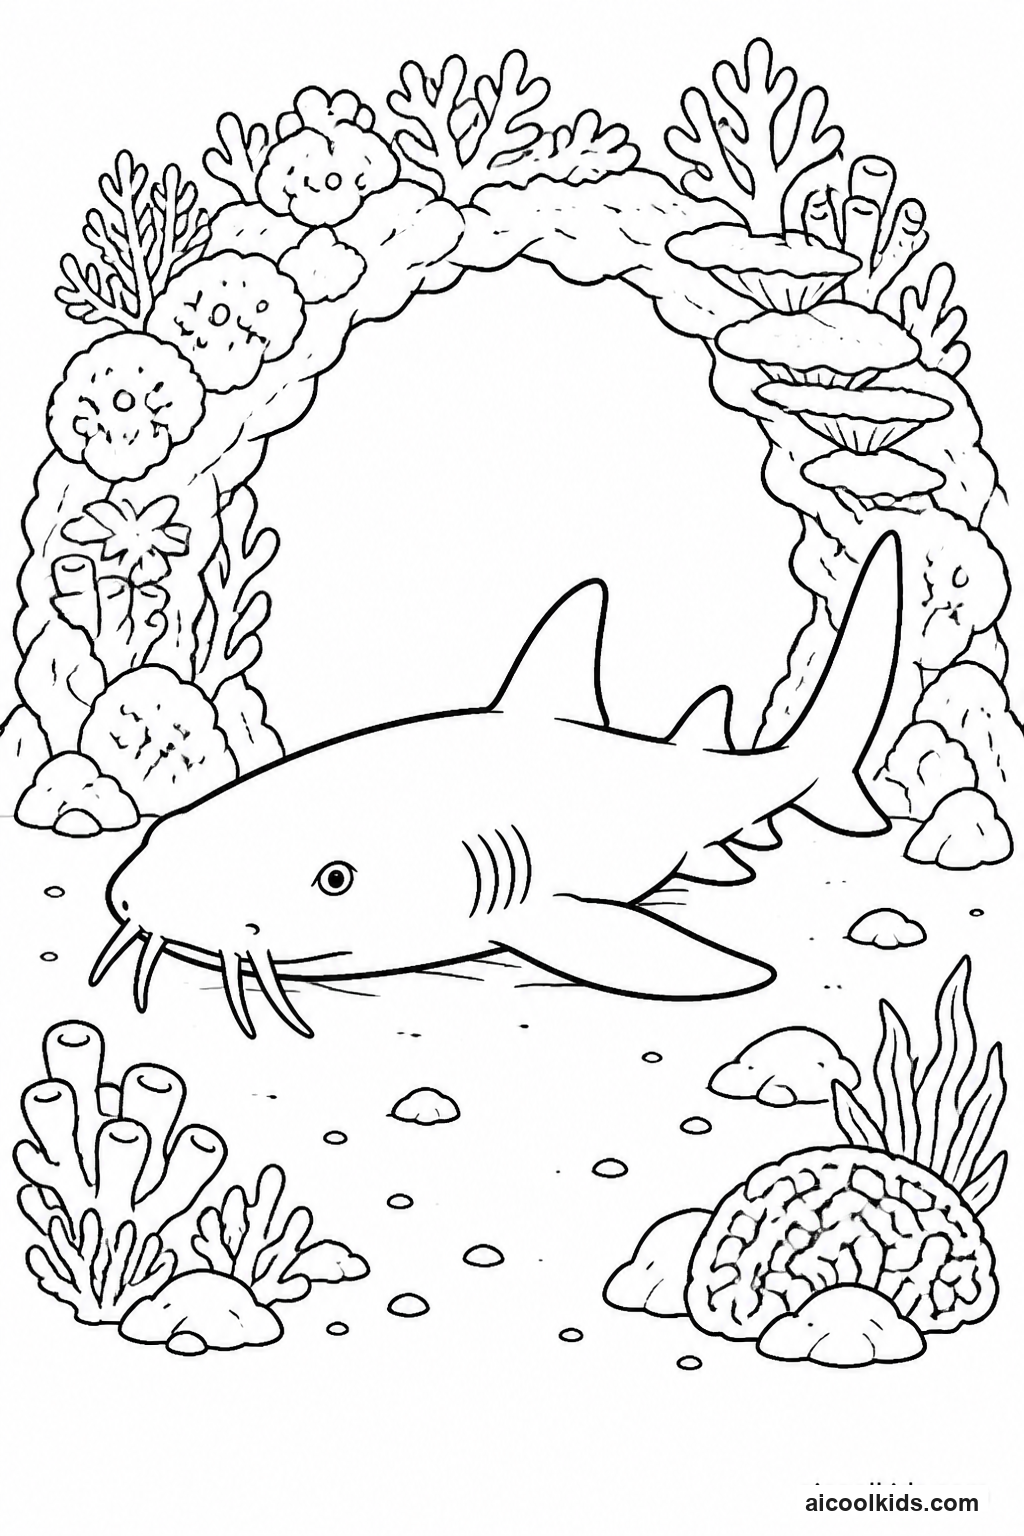
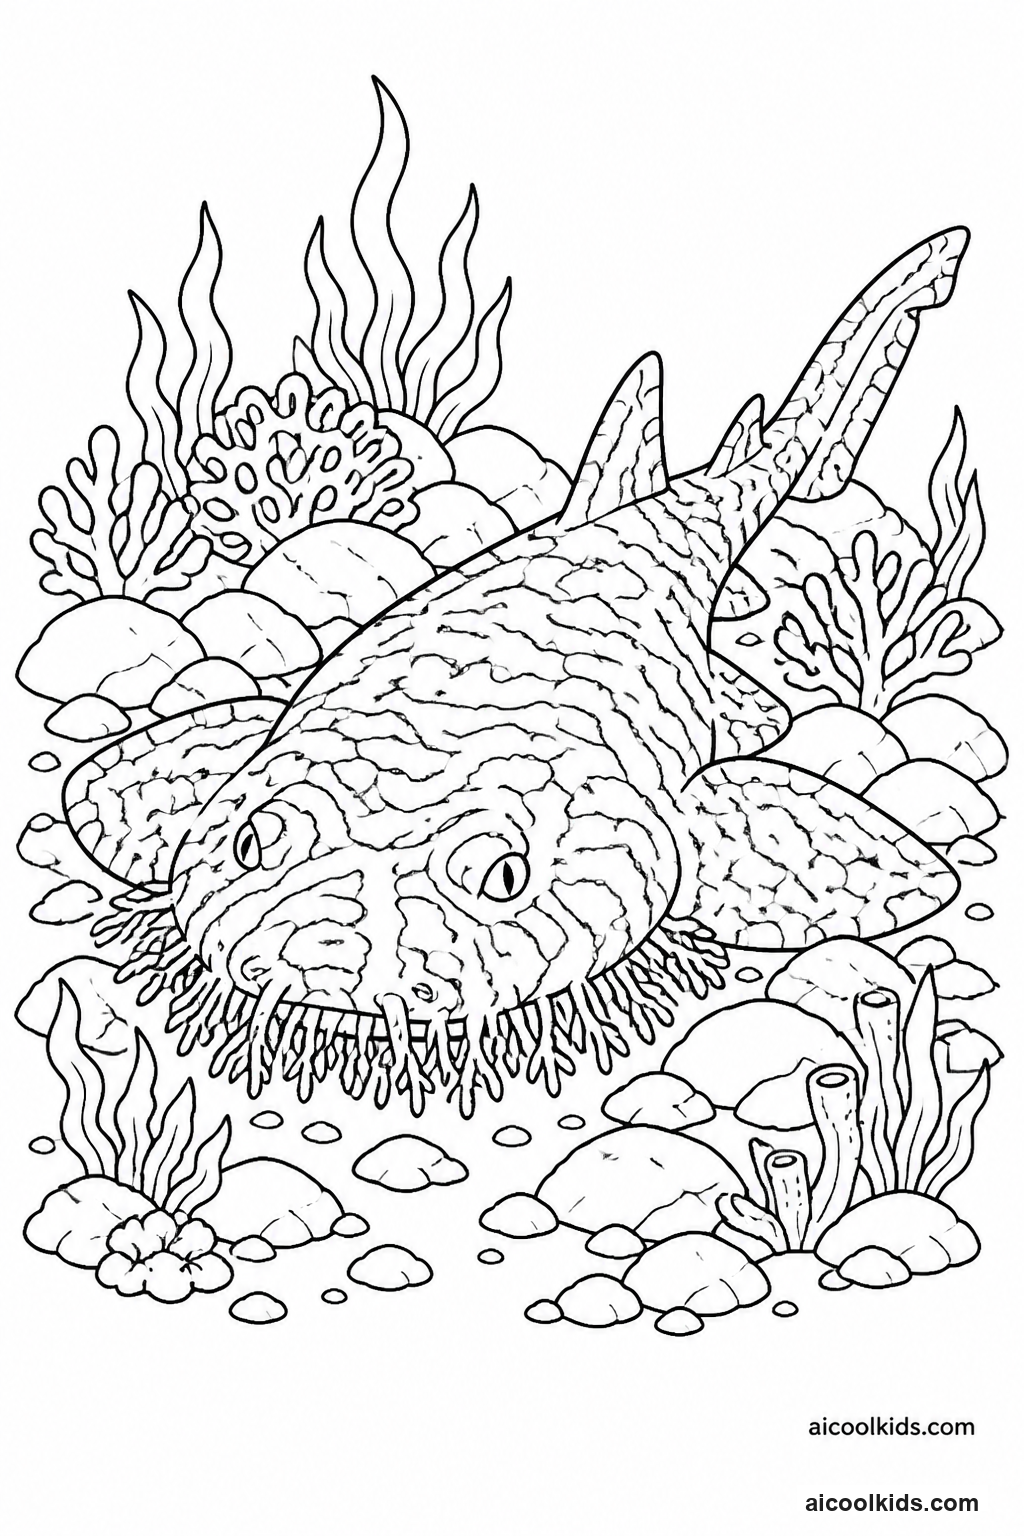
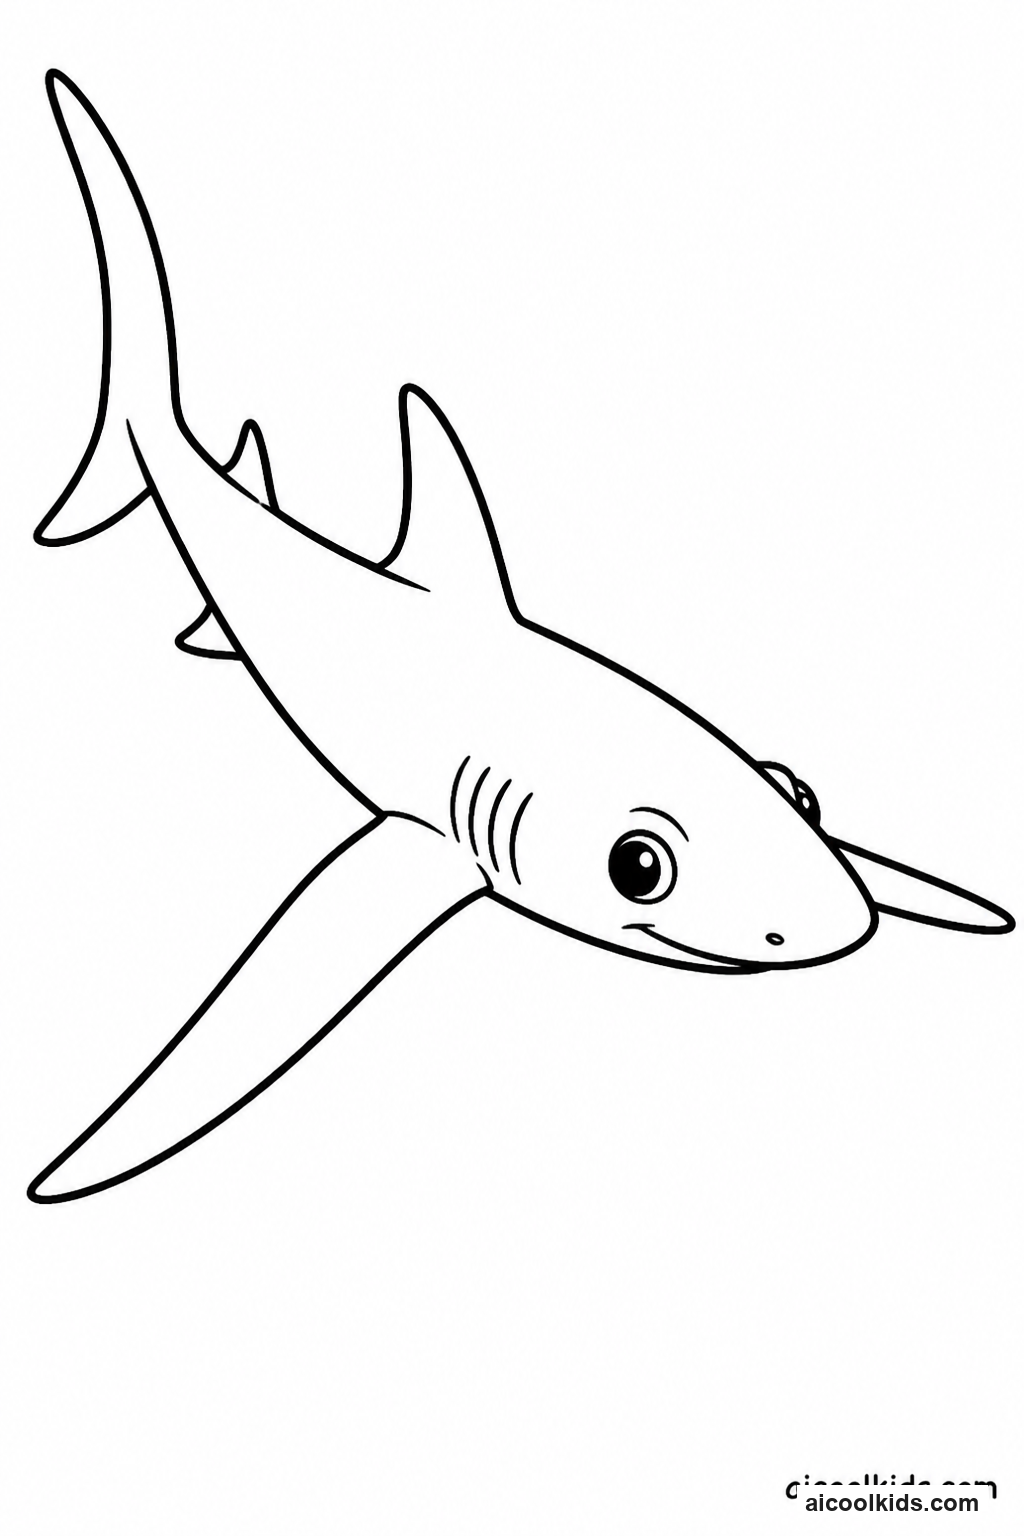
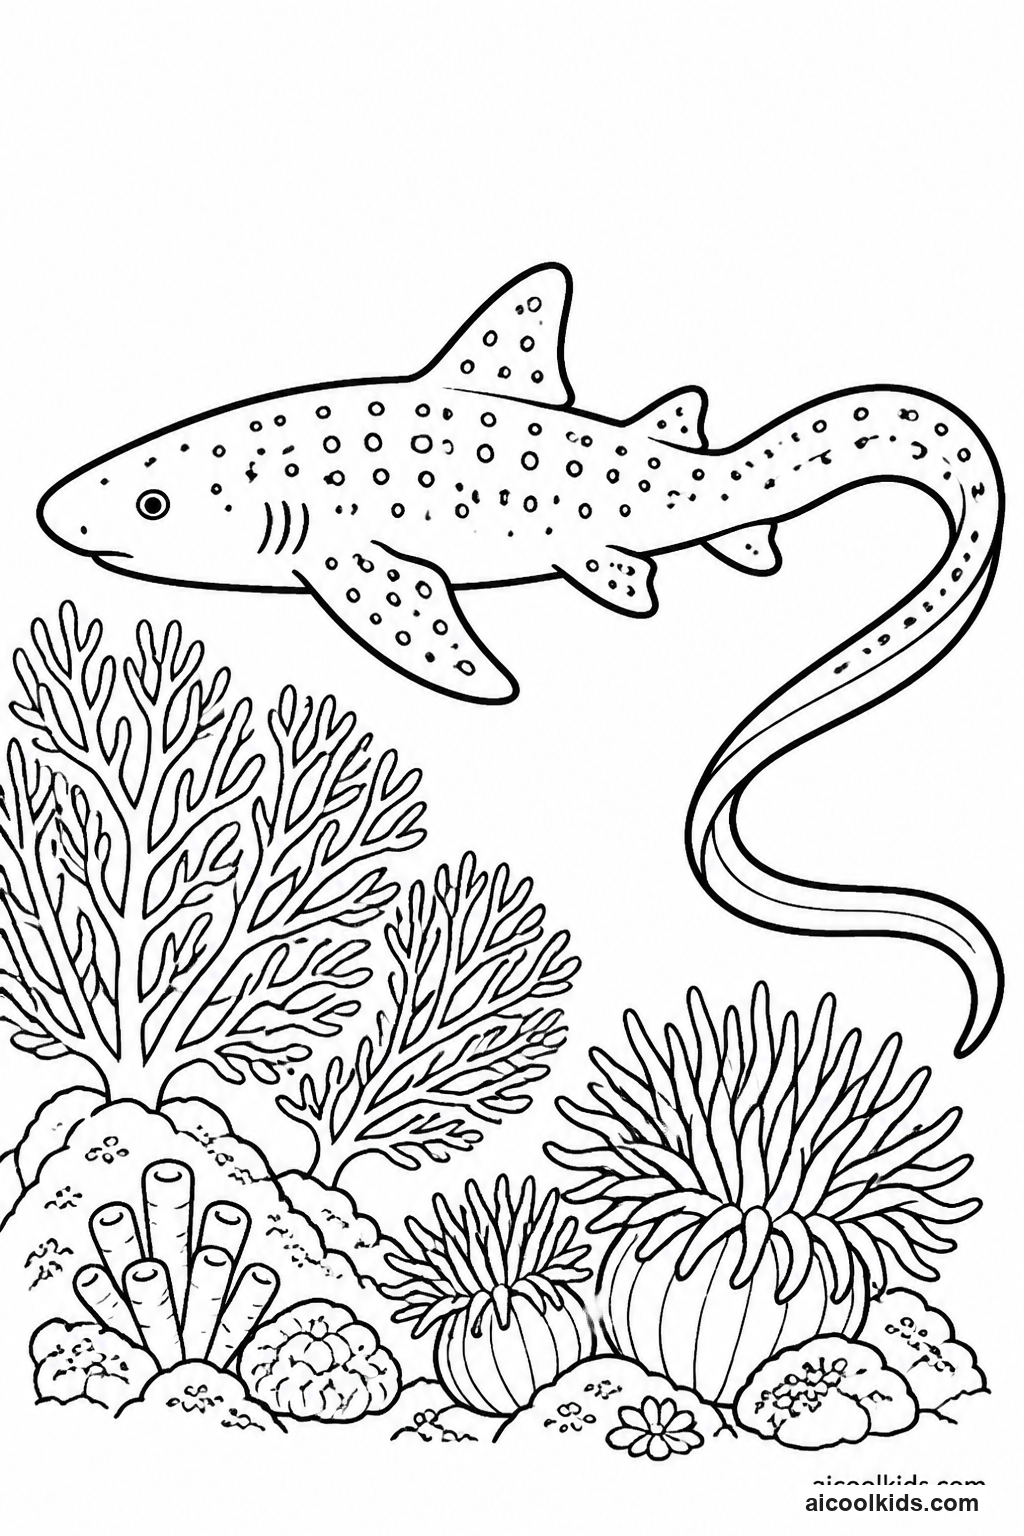
Once the pages are colored, you can turn them into simple projects for home or the classroom. Here are 6 easy craft ideas using supplies you probably already have, like scissors, glue sticks, and construction paper.
1
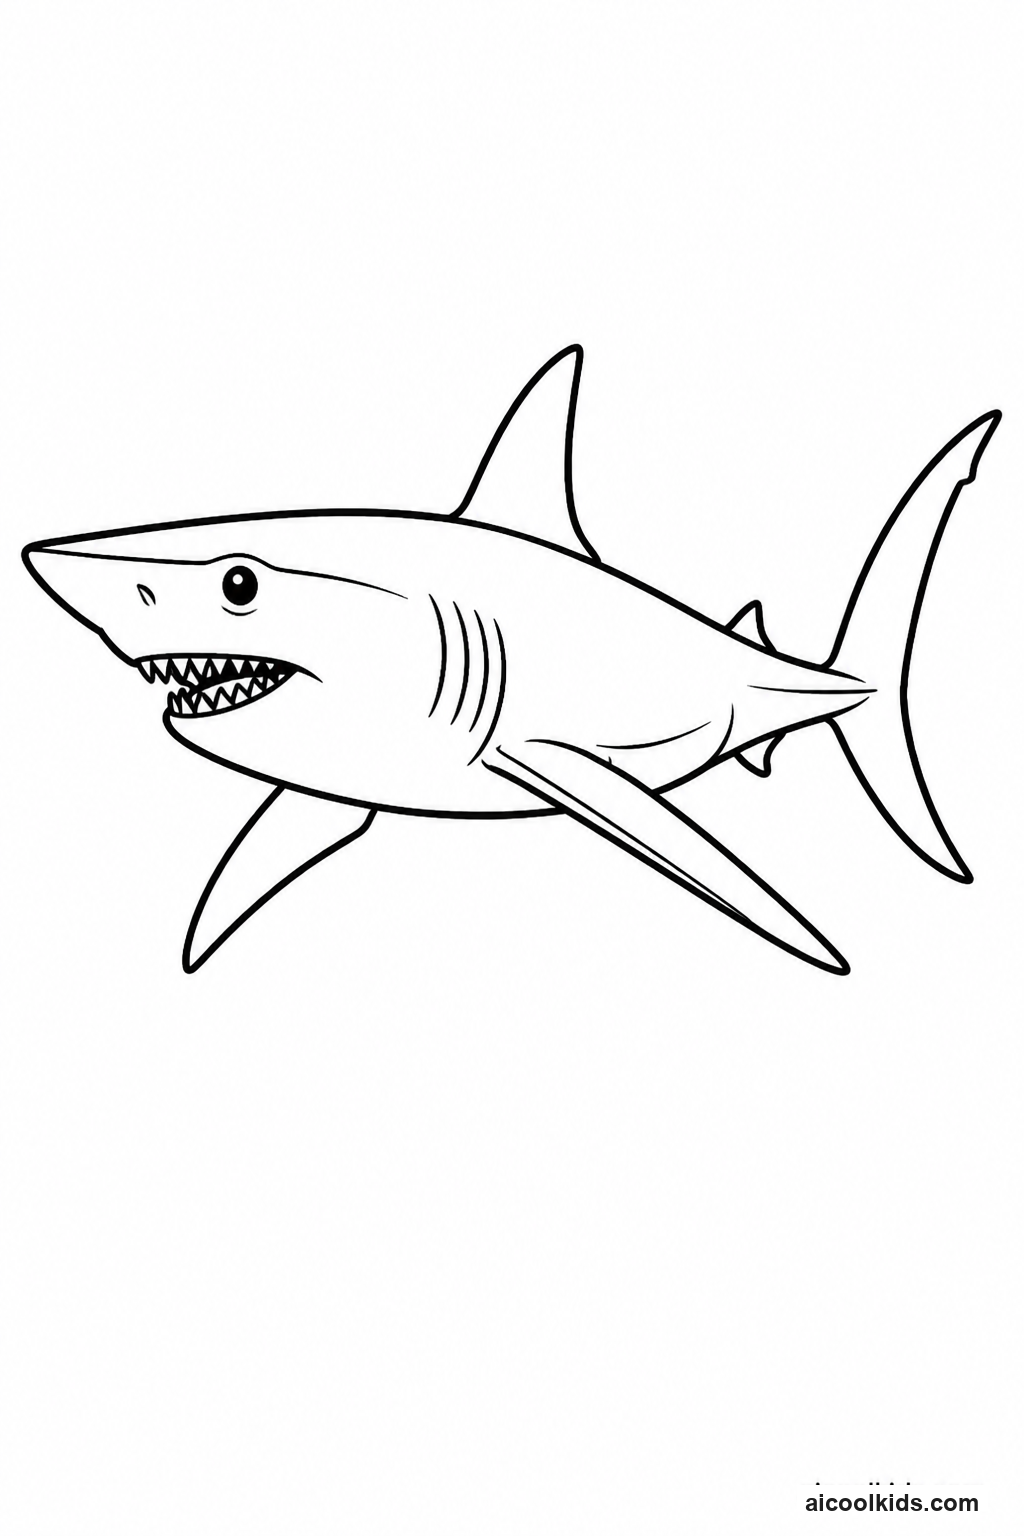
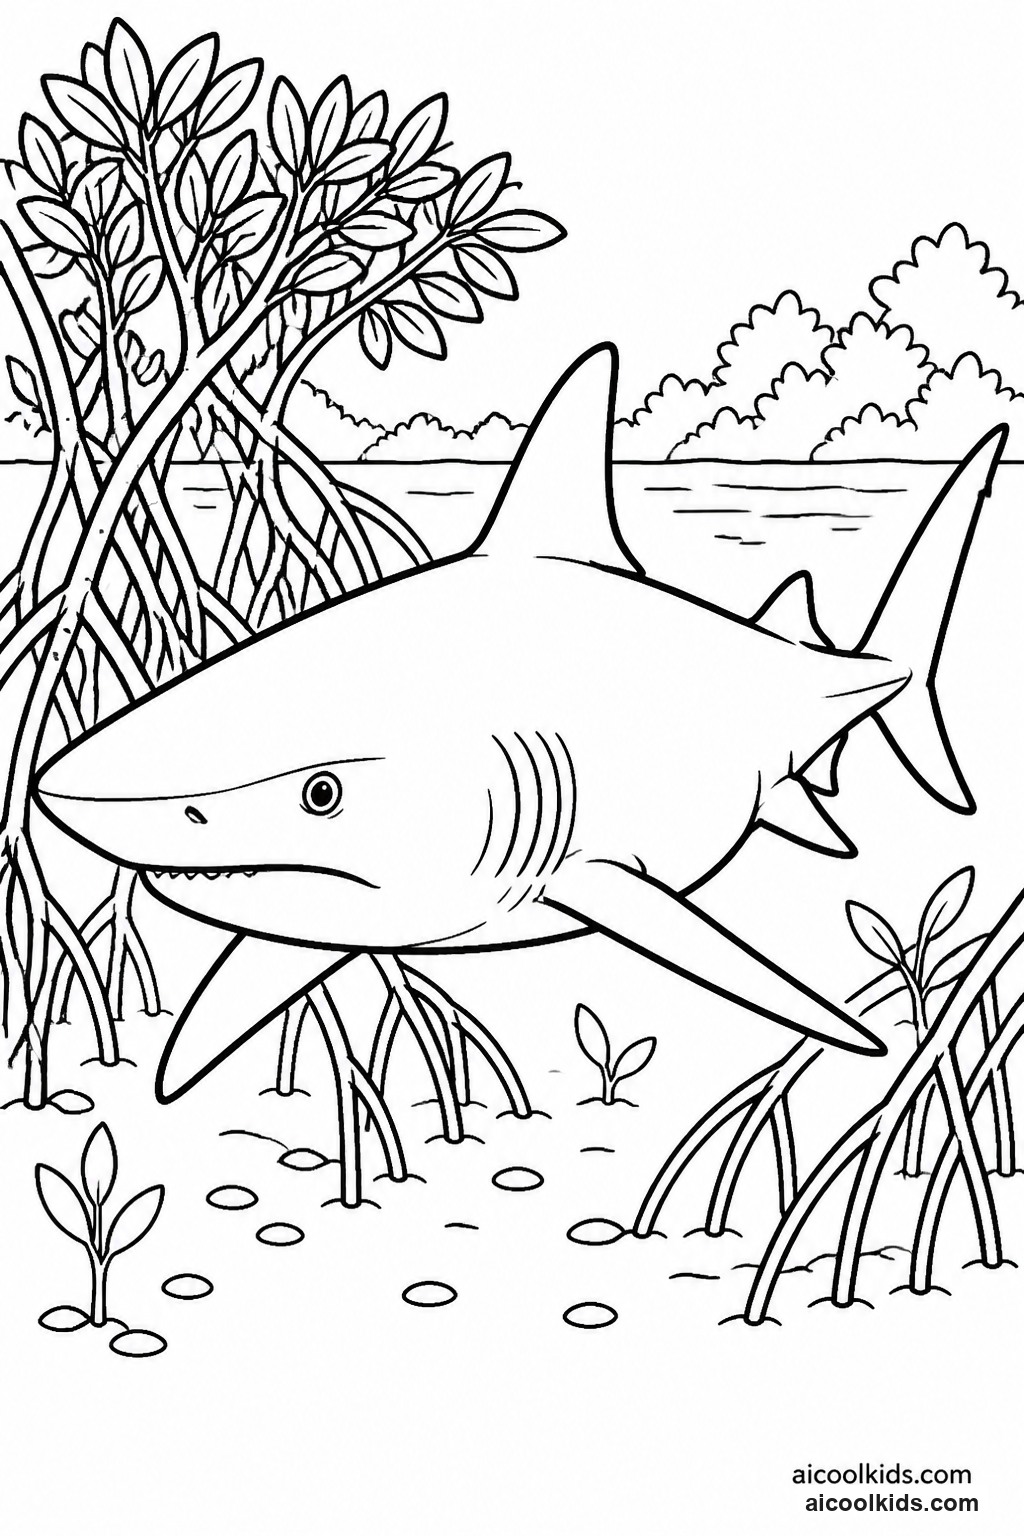
Great White Ocean Depths Diorama
Materials Needed:
Great white shark coloring pageWhite cardstock for printingBlue construction paper in two or three shadesCrayons or colored pencilsChild-safe scissorsGlue stickSmall scrap of white paperOptional recycled cereal box cardboard
Step by Step Guide:
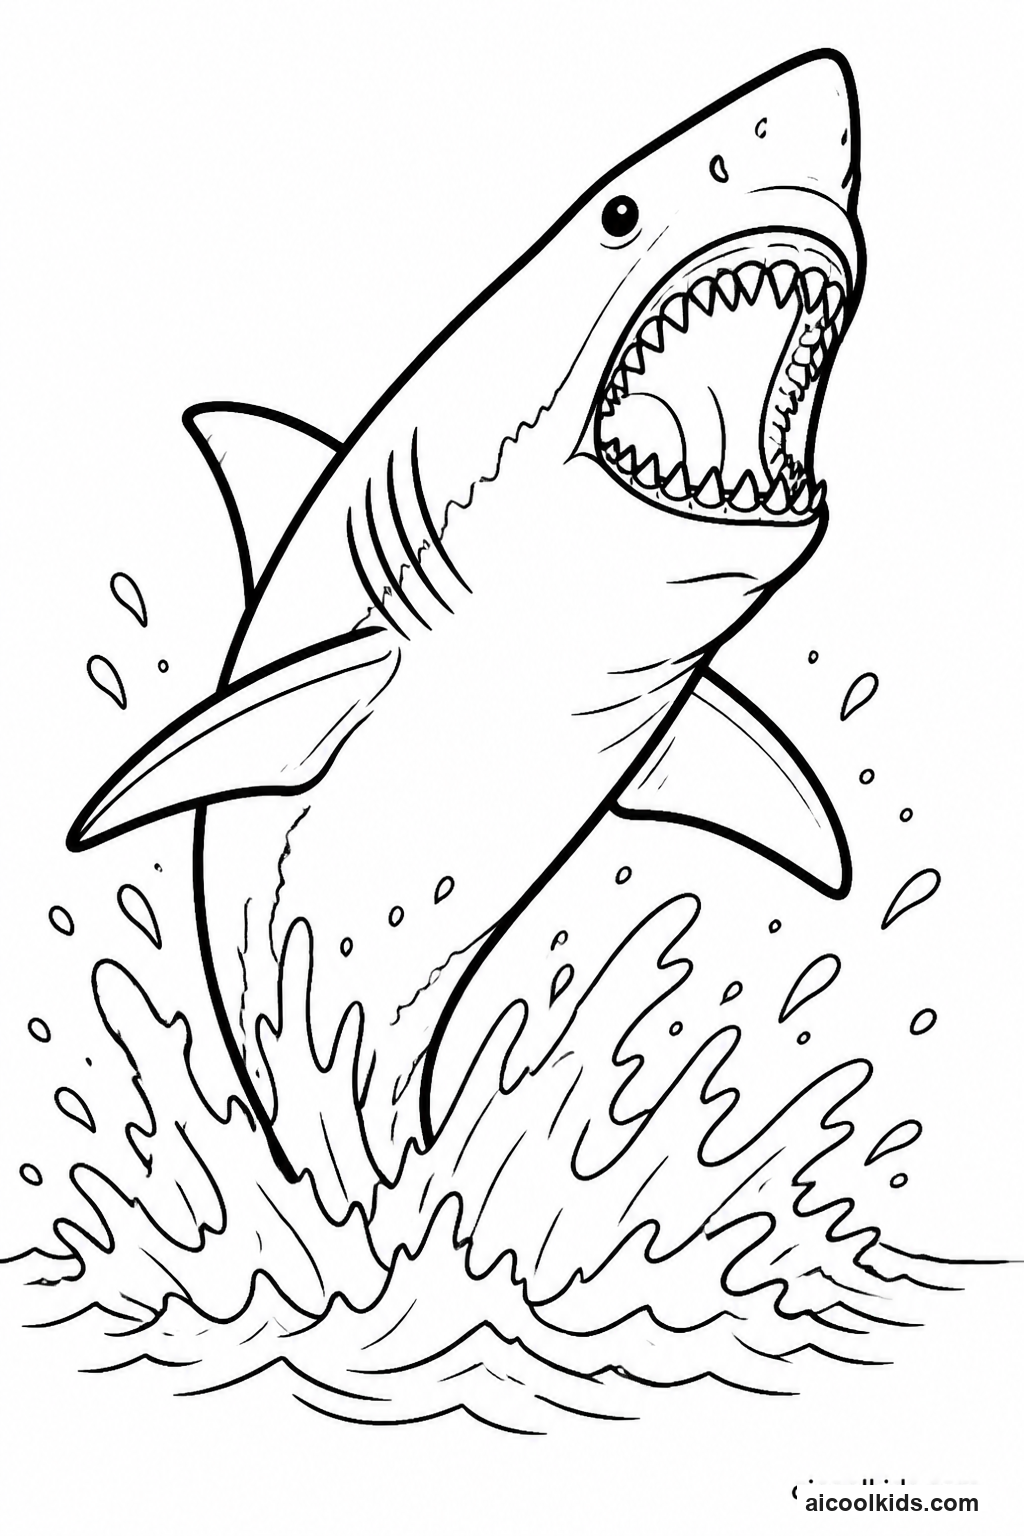
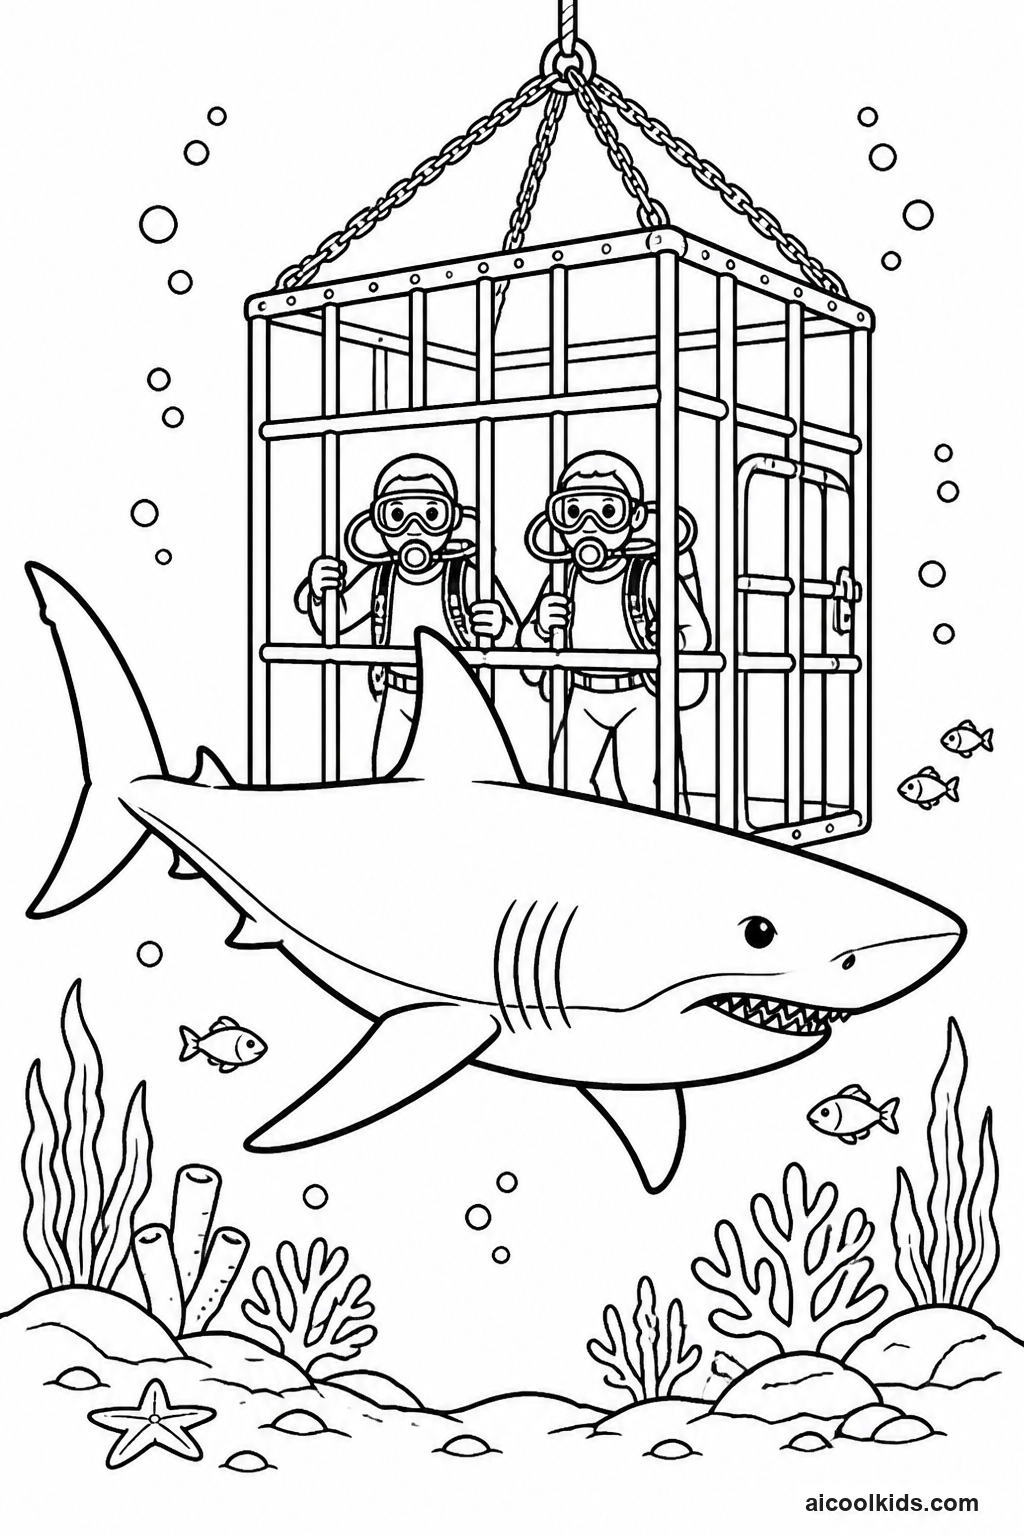
- Print the great white page on cardstock if available. Color the shark first, using gray or blue gray along its back, a lighter shade on its sides, and a pale belly. Add small details such as the eye and gill lines carefully. Ask the child to leave a narrow white edge around the shark before cutting it out.
- Cut a rectangle of blue paper to fit inside a shallow box lid or onto a piece of recycled cardboard. If no box lid is available, use the cardboard as a flat display base. Place the darkest blue paper near the bottom of the scene and lighter blue paper near the top to suggest changing water depth.
- Tear or cut long, uneven strips from the other blue papers. Arrange them across the background as overlapping water layers, leaving enough open space for the shark. Let the child move the strips around before gluing so they can plan where the shark and any extra ocean details will fit.
- Cut out the colored shark with adult supervision. Glue a small folded tab of scrap paper to its back, then glue the other side of the tab to the background so the shark stands slightly forward. For a flat version, glue the shark directly onto the layered scene and press the edges down.
- Add a few simple details, such as small fish, bubbles, or a patch of pale water near the surface. Keep the additions small so the shark stays the focus. Write a short habitat caption on the base, then allow the glue to dry before standing or displaying the diorama.
2
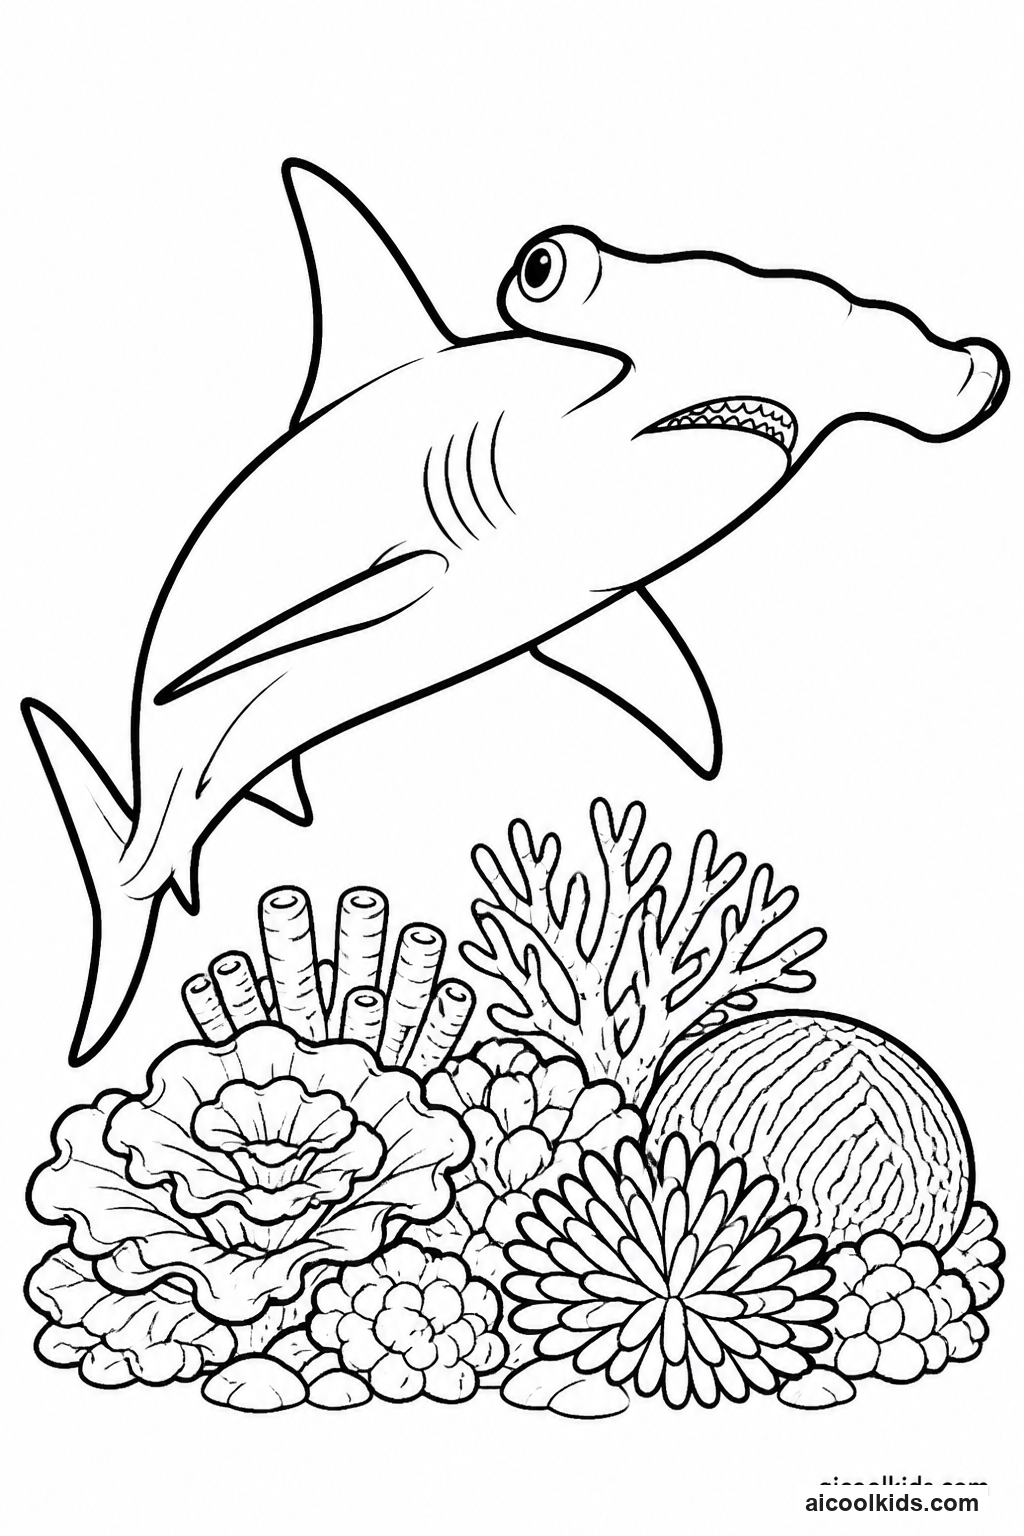
Hammerhead Symmetry and Pattern Poster
Materials Needed:
Hammerhead shark coloring pageDrawing paper or lightweight cardstockColored pencils or washable markersRulerPencilCrayons in blue, green, and purpleChild-safe scissorsGlue stickOptional dot stickers
Step by Step Guide:
- Study the hammerhead outline before coloring. Point out the wide, flattened head, fins, tail, and gill marks. Invite the child to trace the head shape in the air with a finger, then identify the center line running from the nose toward the tail. This short observation helps guide the poster design.
- Color the shark using one main body color and a second color for shadows or fin edges. Children may choose realistic gray and tan shades or imaginative colors. Encourage them to work slowly around the eye and gills, and to keep the two sides of the head similar if they want a balanced, symmetrical look.
- Draw a light pencil line down the center of the poster paper. On each side, add a repeated pattern such as bubbles, small fish, wave marks, or circles. Children can make the patterns match across the line or deliberately change them, then erase the guide line when the marks are complete.
- Cut out the shark with child-safe scissors, turning the paper rather than twisting the wrist to follow the broad head and fins. Younger children can leave a narrow white border instead of cutting directly on the outline. Glue the shark over the center line so it becomes the main subject of the poster.
- Finish with a title and a short observation, such as a note about the hammerhead's unusual head shape. Add a border using repeated colors or shapes. If using markers, let the poster dry flat before handling it. Display finished posters together to compare color choices and pattern ideas.
3
Whale Shark Spot and Pattern Mural
Materials Needed:
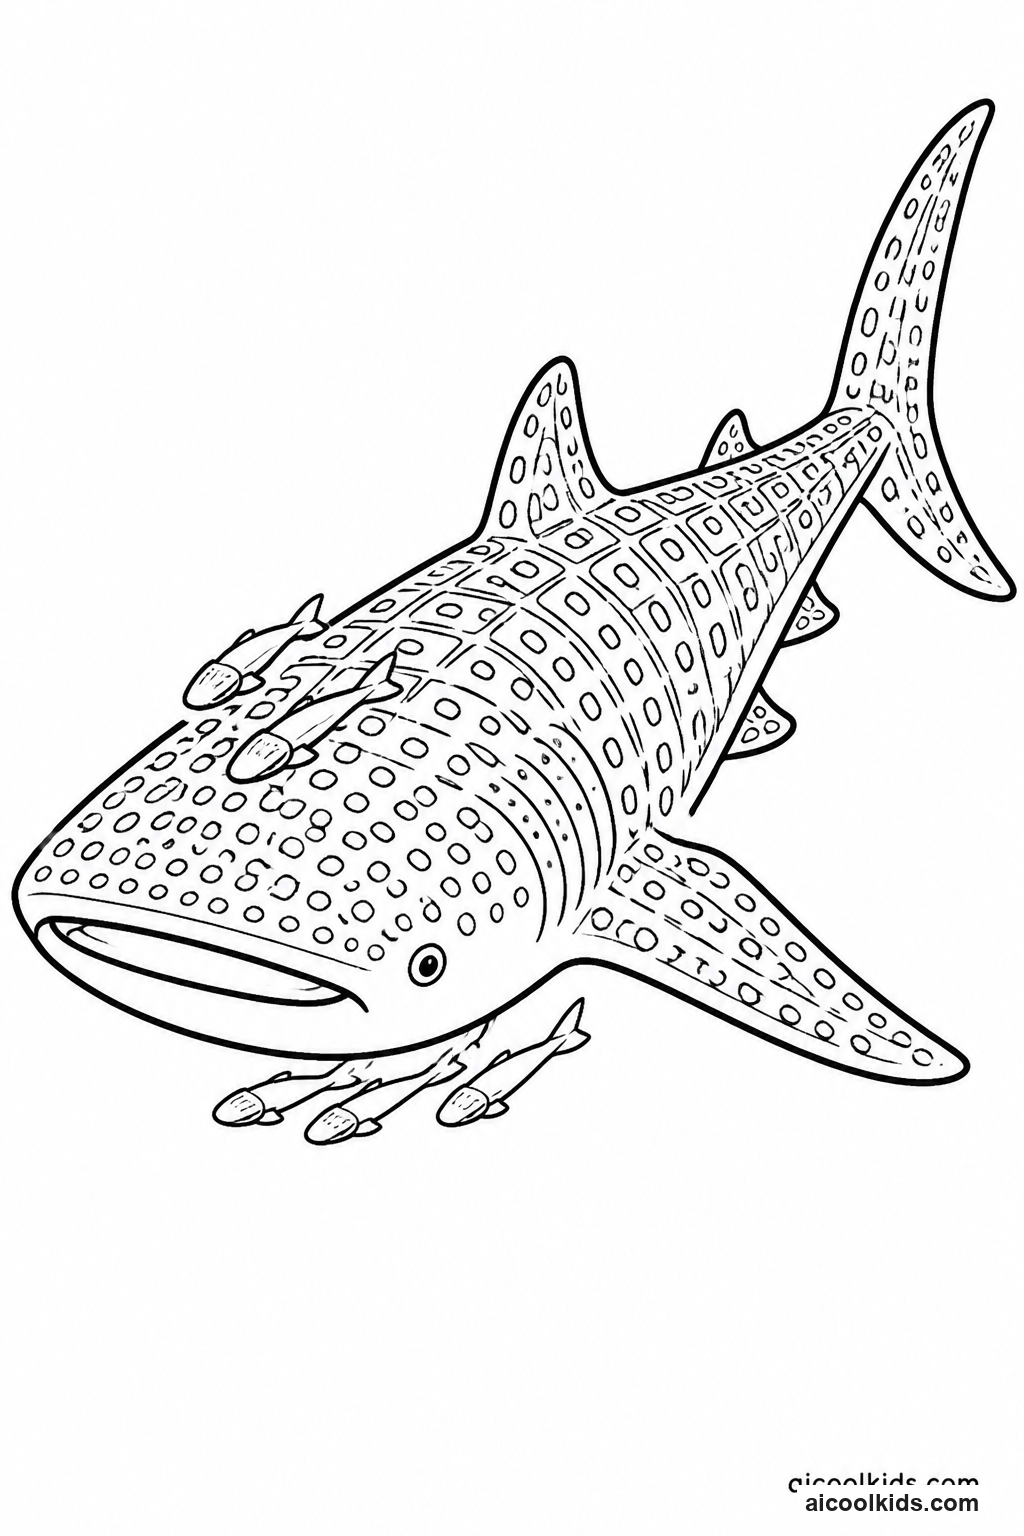
Whale shark coloring pagesLarge sheet of bulletin board paper or joined drawing paperColored pencils, crayons, or washable markersBlue and green paper scrapsChild-safe scissorsGlue sticksPencilOptional removable tape
Step by Step Guide:
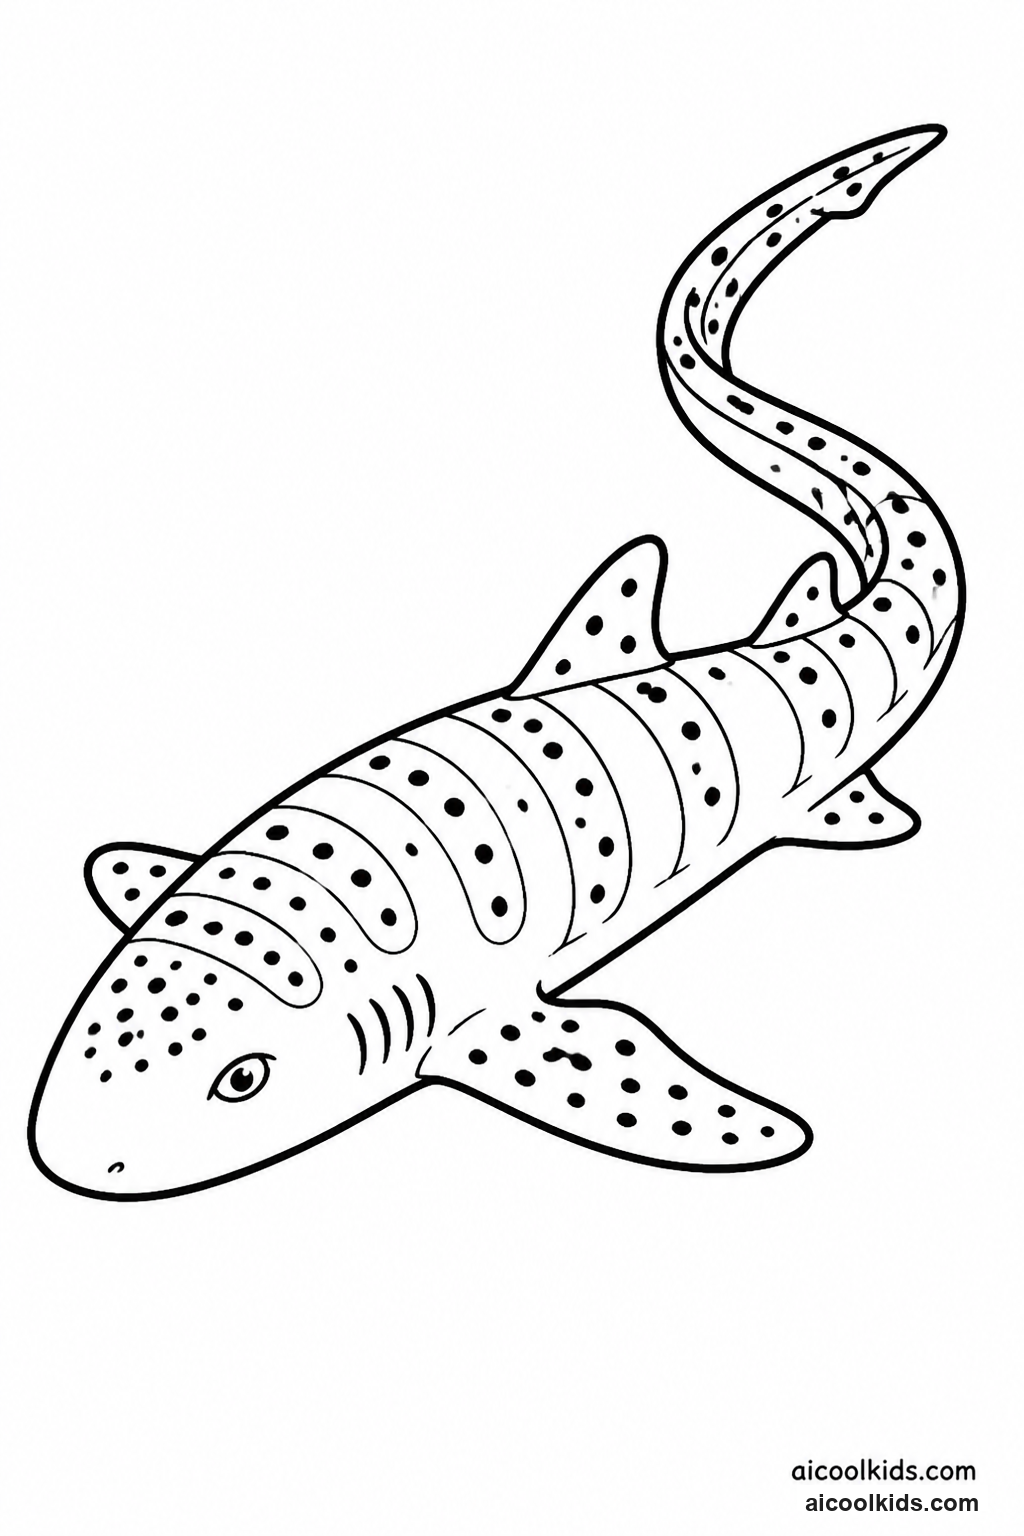
- Choose whether each child will make an individual whale shark or whether the group will color one large printed outline. Before coloring, look at the spots and lines on the page. Invite children to notice how repeated marks create a pattern, then choose a limited palette so the finished mural feels connected.
- Color the whale shark's body with a light base shade, such as blue gray, and add darker color around the outline or fins. Use a pencil or crayon to fill in the spots one at a time. Encourage a steady hand and comfortable pressure. Children who prefer a fantasy design can choose bright colors while keeping the spot pattern visible.
- Lay the large mural paper on a table or clean floor. Arrange the colored sharks before gluing them down. Leave open areas for water, sea plants, and small fish. If several pages are being joined, overlap their edges slightly and attach them from behind with removable tape before adding artwork.
- Cut simple ocean shapes from paper scraps, including sea grass, bubbles, and small fish. Children can draw these shapes first or cut them freehand with supervision. Add a few paper details near the sharks, taking care not to cover the spots or face. Use glue sticks sparingly to prevent the mural paper from buckling.
- Add a group heading and, if desired, one short fact or question beside each shark. Ask children to describe the pattern they created and explain one color choice. Let the mural dry flat, then hang it at child height so learners can inspect the details and share observations with families or classmates.
4
Megalodon Fossil and Ocean Timeline
Materials Needed:
Megalodon coloring pageLong strip of drawing paper or poster boardColored pencils or crayonsPencilRulerChild-safe scissorsGlue stickScrap paper for labelsOptional books or teacher-approved reference material
Step by Step Guide:
- Start with a short, age-appropriate conversation about the word prehistoric and the meaning of extinct. Explain that megalodon no longer lives in the ocean. If children want to include dates or size comparisons, check a suitable book or classroom resource together rather than guessing from a picture.
- Color the megalodon page using a clear main color and darker shading along the back, fins, and tail. Children can choose realistic ocean colors or an imaginative palette. Remind them that a coloring page is an illustration, so its exact colors and proportions are artistic choices rather than proof of the animal's appearance.
- Cut out the colored shark with adult supervision and leave a small white border if the outline has narrow points. On the long paper strip, draw a straight line with a ruler. Mark a place for prehistoric life and another for the present day, using labels that children can read and understand.
- Draw a large tooth shape on scrap paper, cut it out, and decorate it with gray, cream, or sandy colors. Glue the megalodon near the prehistoric label and place the tooth nearby as a fossil-style display element. Keep the tooth clearly labeled as a craft illustration, not an actual fossil.
- Add one or two checked facts to the timeline, using short sentences in the child's own words. Leave space between the prehistoric and present-day labels to show that they are not the same time period. Read the labels together, then display the timeline where others can ask questions and discuss what fossils can tell us.
5
Shark Habitat Flip-Open Fact Card
Materials Needed:
Shark coloring page of the child's choiceHeavy drawing paper or cardstockCrayons, colored pencils, or washable markersPencilRulerChild-safe scissorsGlue stickOptional stickers
Step by Step Guide:
- Fold a sheet of cardstock in half to create a card that opens like a book. Press the fold with the side of a ruler or a fingertip. On the front, write the shark's name and sketch a simple ocean border. Keep the cover uncluttered so the colored shark will remain easy to see.
- Color the chosen shark page and select a section that fits the card front. Younger children can use the whole small illustration if it fits. Older children may cut out the shark with a narrow border. Glue the illustration to the front, then let the adhesive set before closing the card.
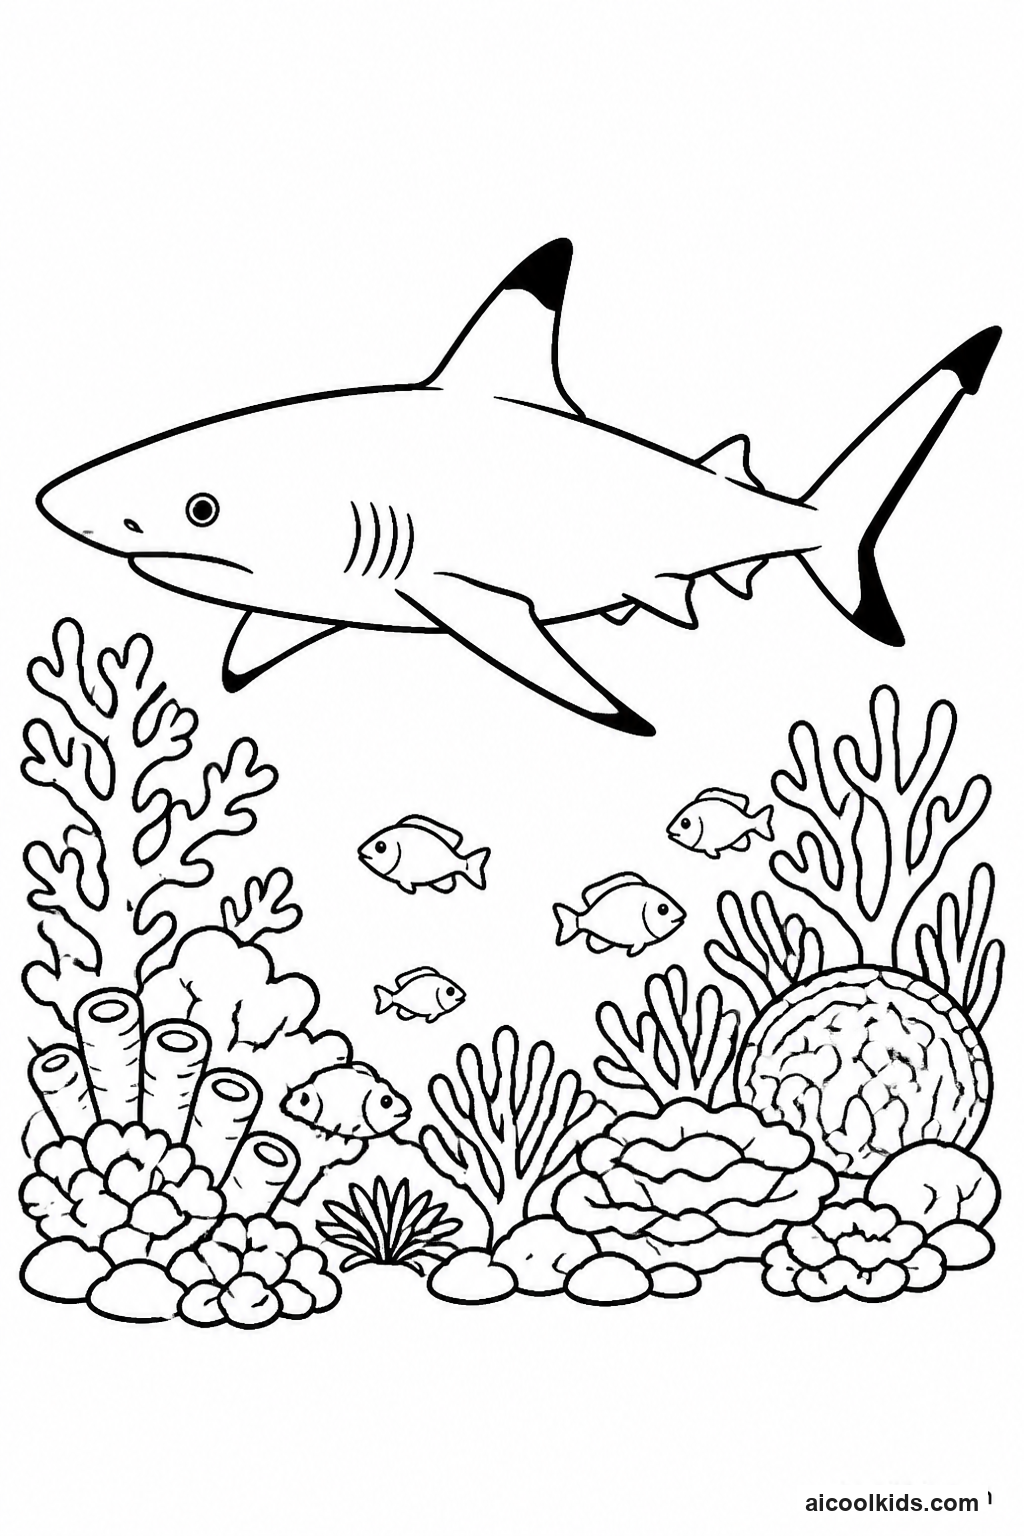
- Inside the card, draw a habitat using broad shapes such as water, open ocean, or a reef if appropriate to the selected shark. Add a few details, such as smaller fish, water plants, or bubbles. Encourage the child to use a reference book or adult guidance when adding specific habitat information.
- Write two or three short facts inside the card. A useful structure is one sentence about the shark's appearance, one about where it lives, and one question the child still has. Help early writers dictate a sentence or copy a short note, while older children can write their own concise explanations.
- Close the card and check that no decorations prevent it from lying flat. Add a small label on the back with the child's name or a source for any facts. Share the card with a family member, classmate, or homeschool group and invite the child to explain one drawing choice and one fact.
6
Color-and-Compare Shark Gallery
Materials Needed:
Two or more shark coloring pagesDrawing paper or lightweight cardstockCrayons, colored pencils, or washable markersPencilChild-safe scissorsGlue stickScrap paper for labelsOptional ruler and removable wall-safe tape
Step by Step Guide:
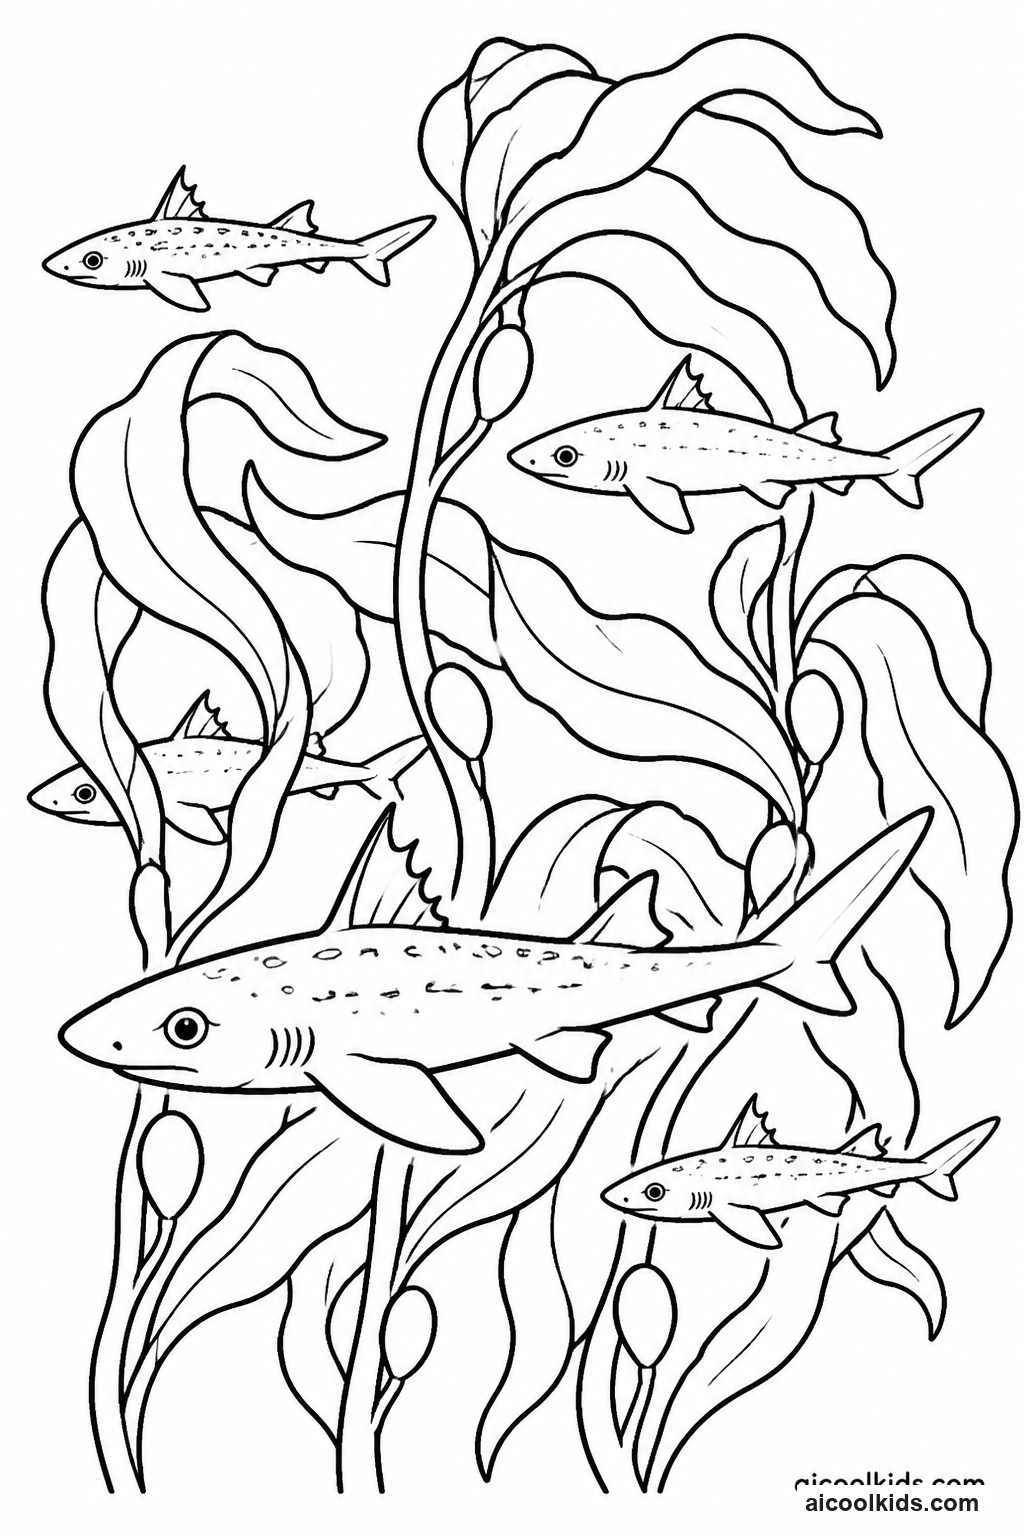
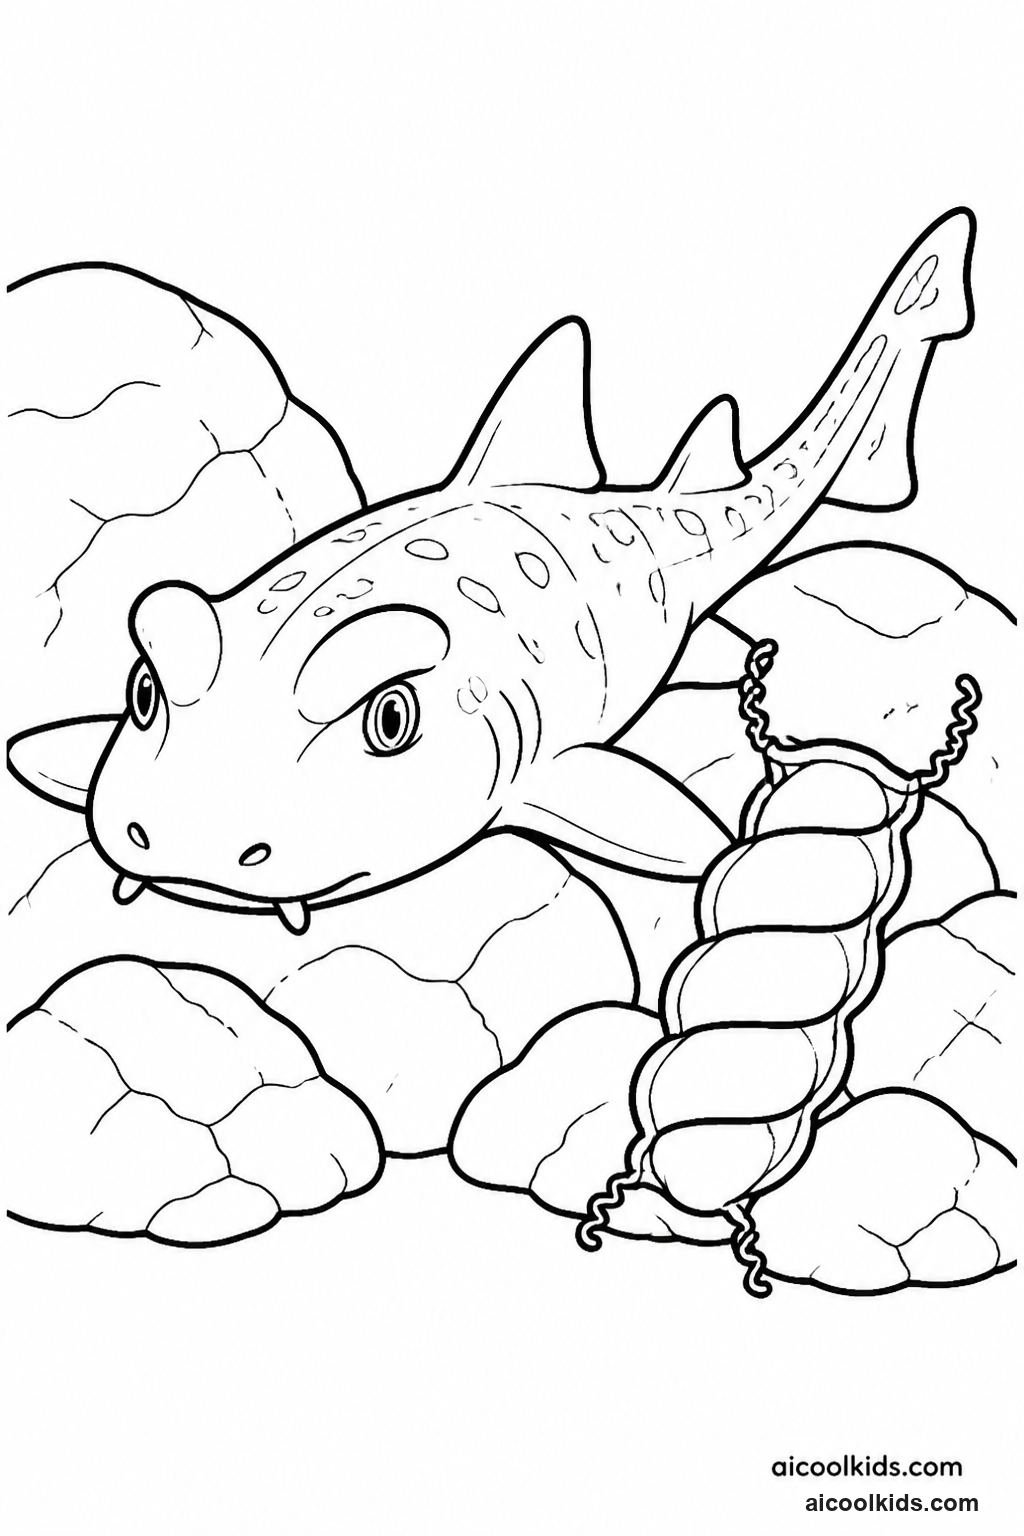
- Choose two or three pages with noticeably different forms, such as a great white, hammerhead, and whale shark. Place them together and ask the child to name one visible difference before coloring. Look at head shape, body markings, fins, or size in the illustration without assuming that every page uses scientific scale.
- Color each shark with a distinct palette so viewers can tell the pages apart. Children may use natural-looking grays and blues or creative colors, but ask them to keep important outline details visible. Encourage careful coloring around fins, tails, eyes, and repeated spots, taking breaks if small areas become tiring.
- Cut around each picture or trim the page into a neat rectangle. For a gallery effect, mount each picture on a larger sheet of colored paper, leaving a similar border around every page. Adults can help younger children with cutting, while older learners can measure and trim their borders with a ruler.
- Make one label for each picture. Include the shark's name and a short observation, such as 'wide head' or 'spotted body.' If adding a fact, check it with a trusted reference. Glue the labels beneath the pictures and leave enough space so the words do not overlap the shark artwork.
- Arrange the finished gallery in a row or grid on a table or wall. Invite children to point out similarities and differences, then choose a favorite page and explain why. For a group display, let each learner present one picture. Remove the gallery carefully after the activity if using wall-safe tape.