Parent & Teacher Craft Guide
6 Creative Learning & Craft Ideas for Free Horse PDF for Kids Ages 6-12 Coloring Pages
Once the pages are colored, you can turn them into simple projects for home or the classroom. Here are 6 easy craft ideas using supplies you probably already have, like scissors, glue sticks, and construction paper.
1
Build Fine Motor Skills with a Layered Mustang Landscape
Materials Needed:
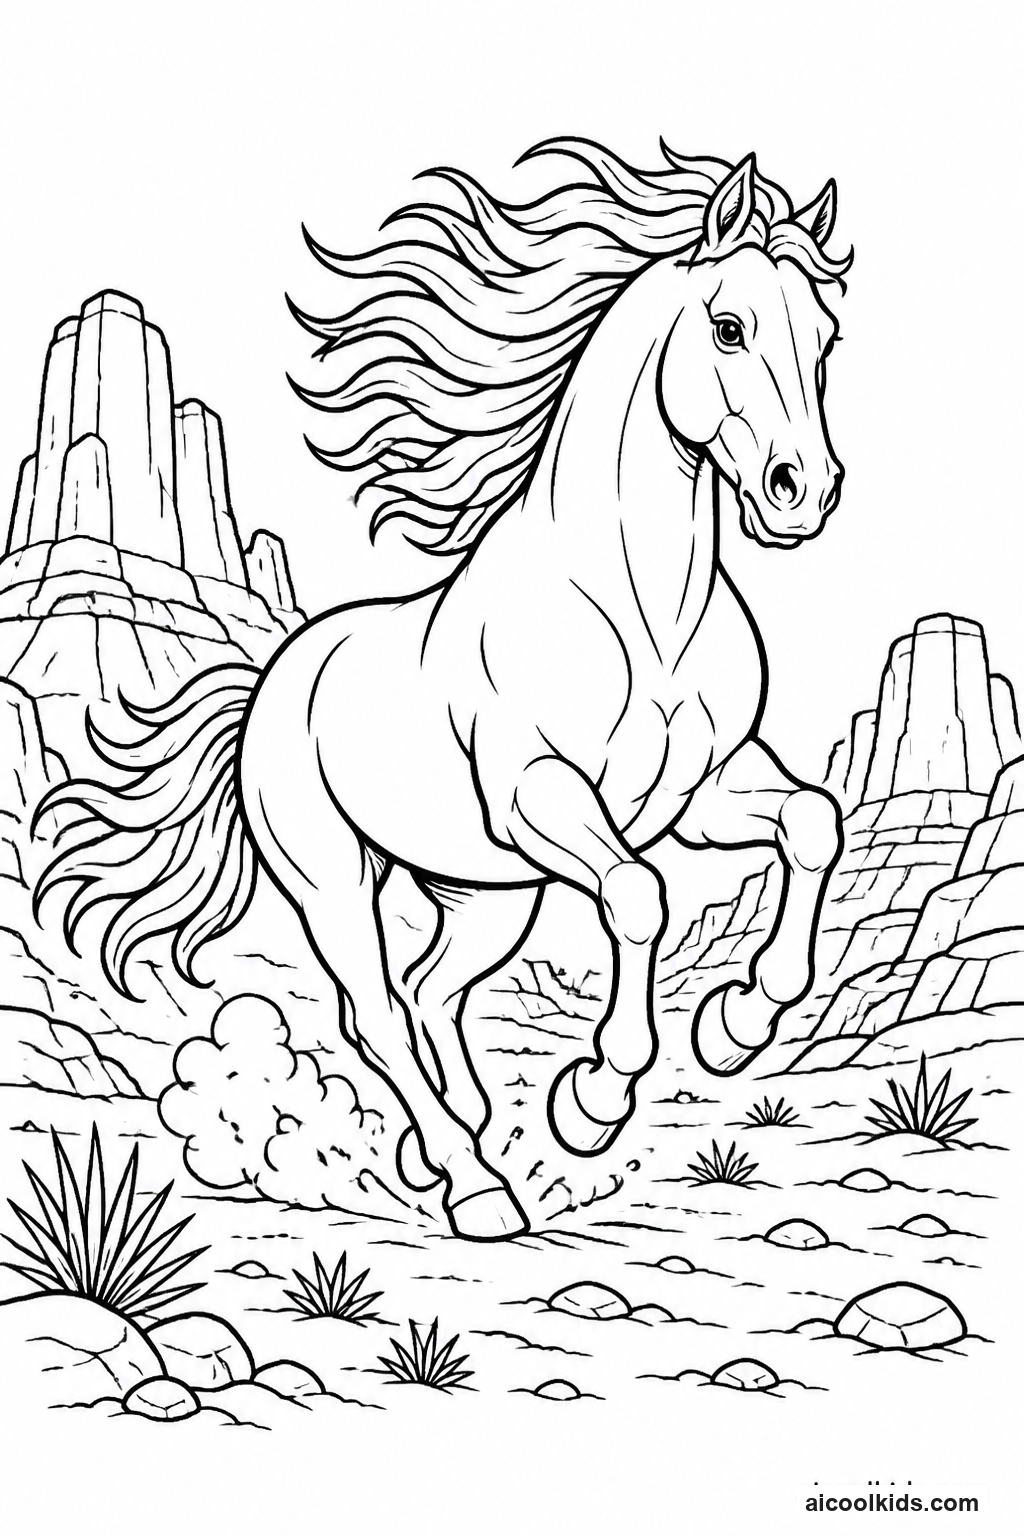
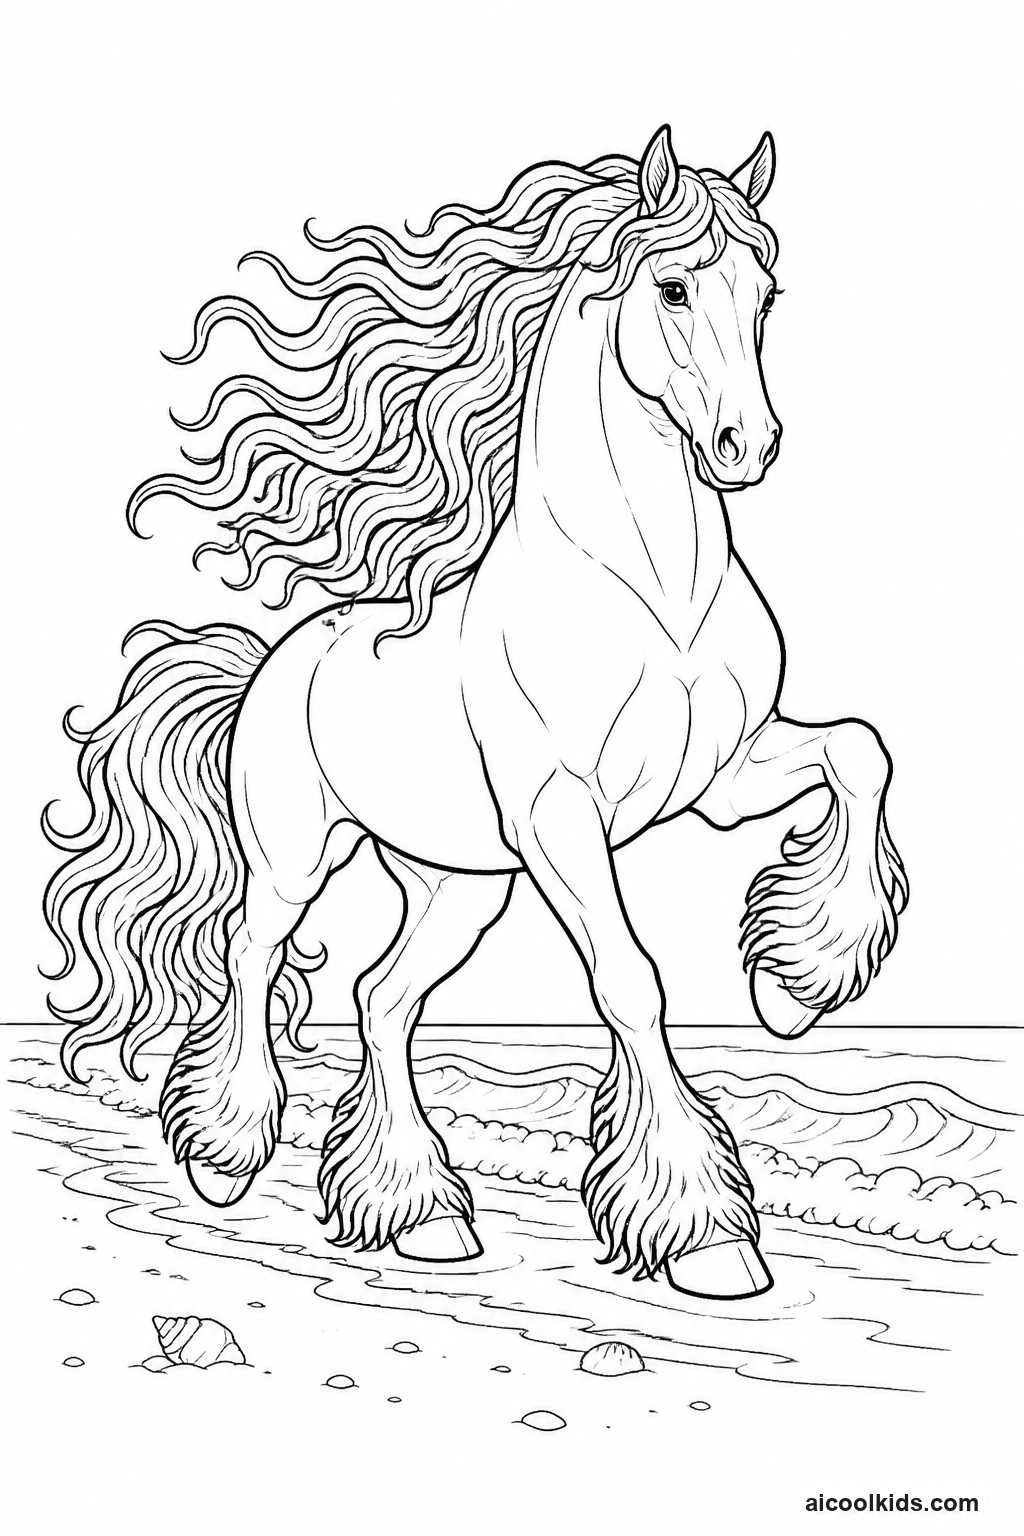
Printed wild mustang coloring pageCardstockCrayons or colored pencilsBlue and green construction paperChild-safe scissorsGlue stickCotton ballsBlack marker
Step by Step Guide:
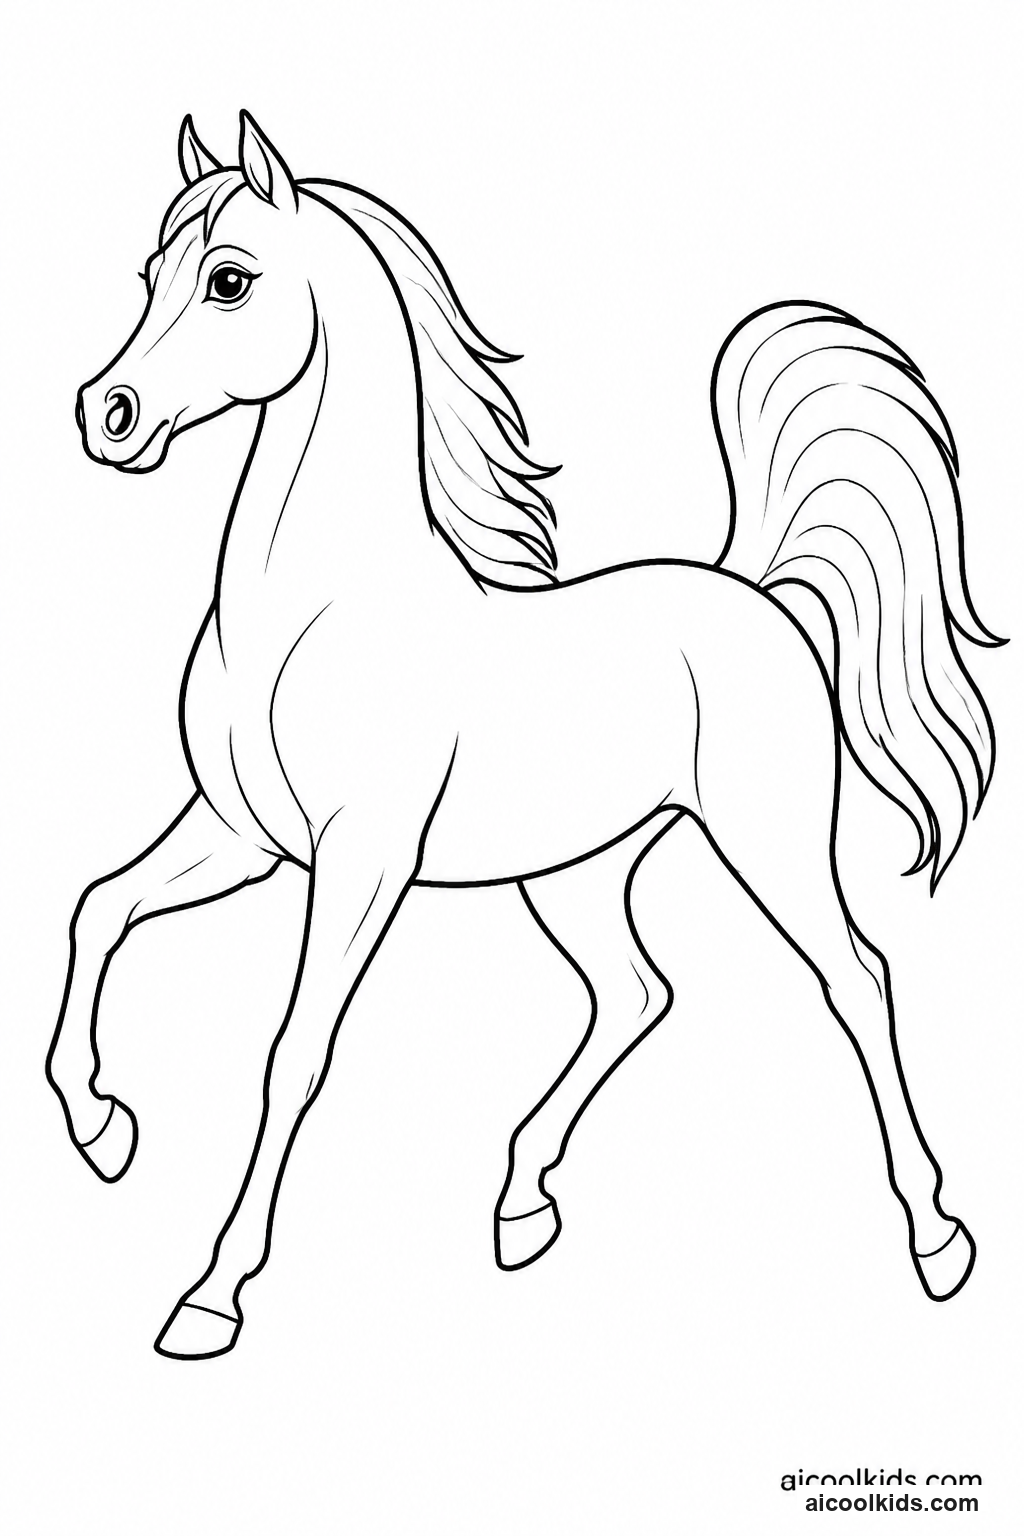
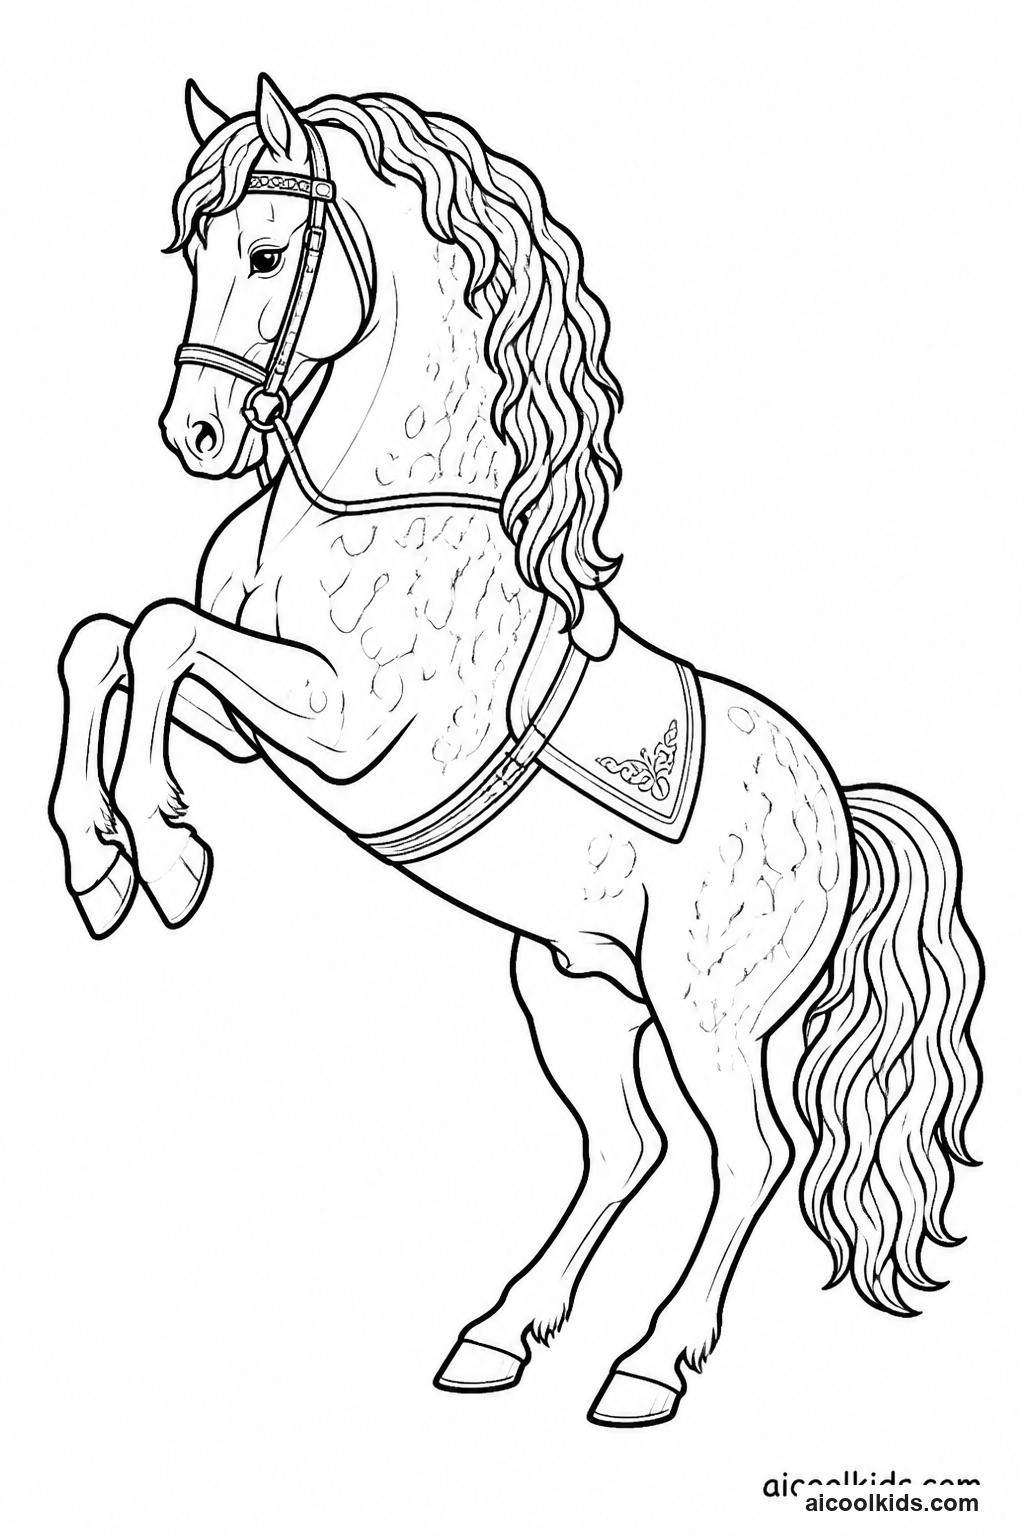
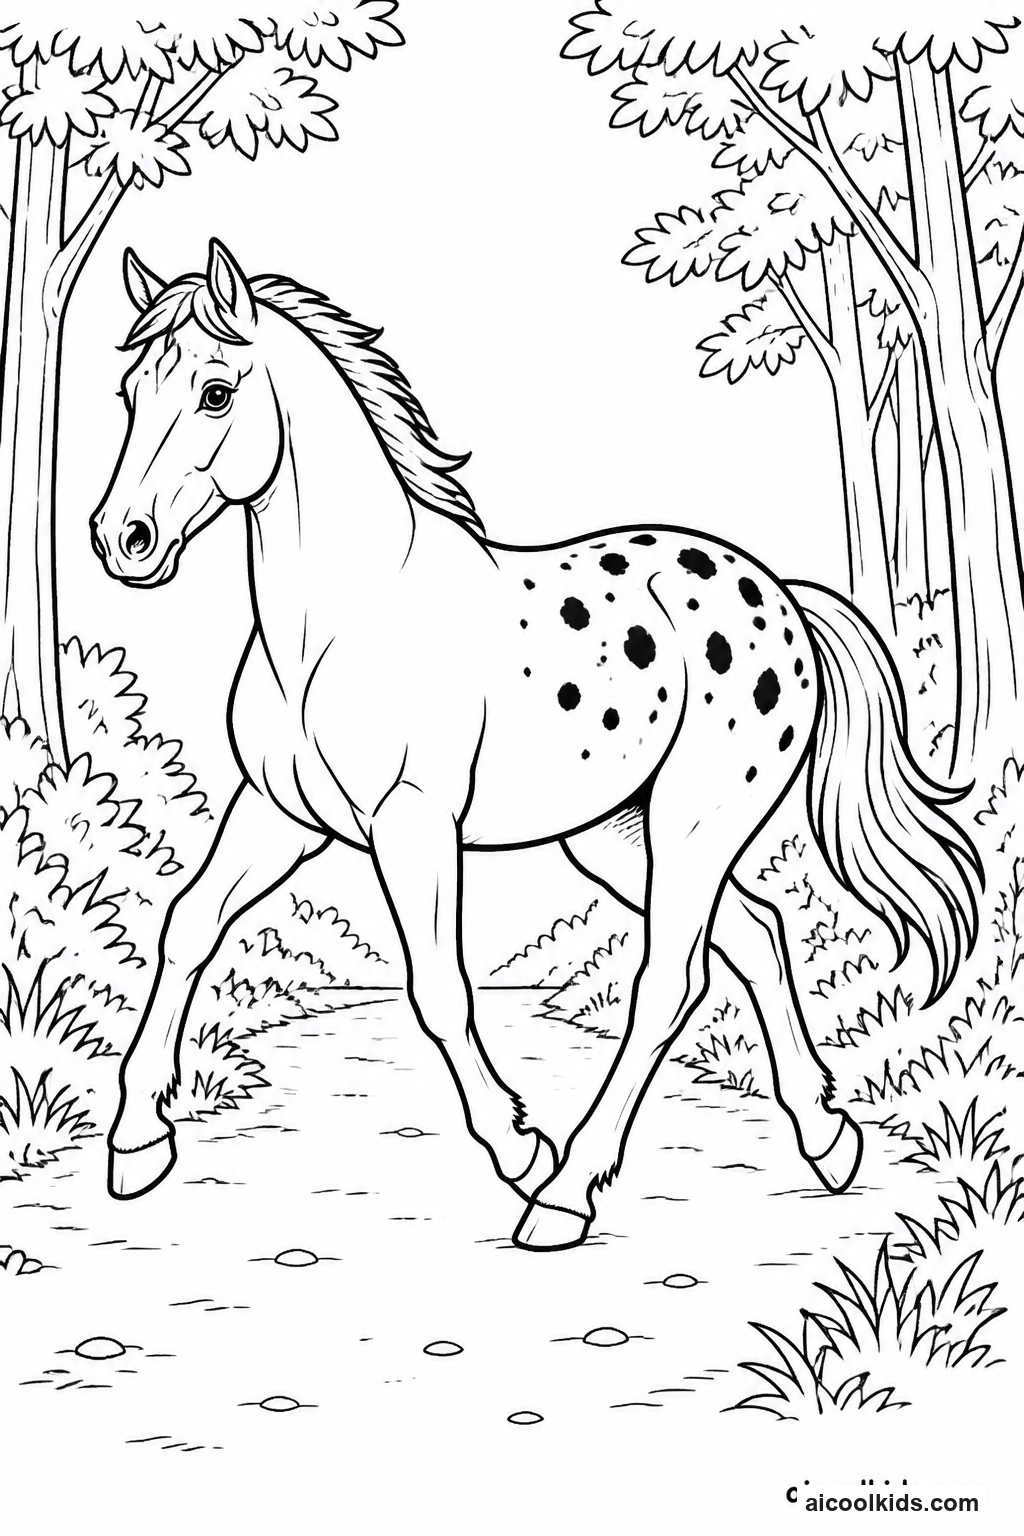
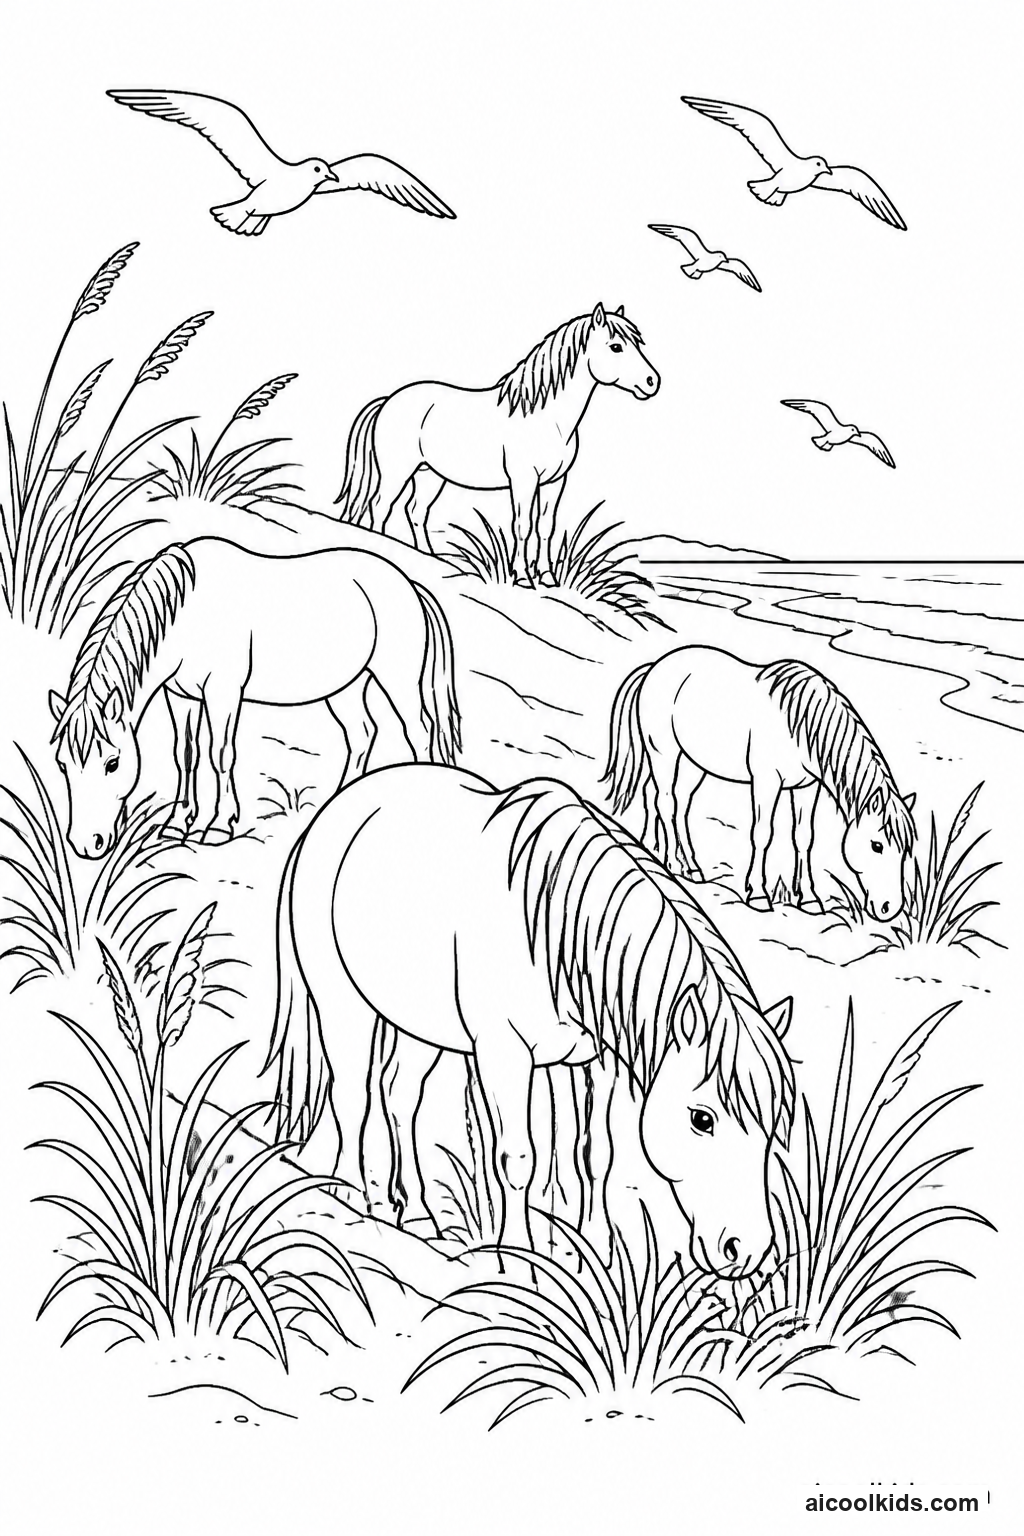
- Print the mustang page on cardstock if available. Ask the child to look closely at the horse's outline, mane, tail, and legs before coloring. Color the horse with short, controlled strokes, changing pressure to make areas such as the mane darker. Leave a narrow white border around the printed outline so the horse remains easy to cut out.
- Color the horse's details, including its eyes, nostrils, hooves, and any markings. Invite the child to choose one or two colors for the coat and a contrasting color for the mane. For a realistic look, use a lighter pencil to add a highlight along the neck or shoulder. Keep small details neat by rotating the paper rather than twisting the wrist.
- Cut out the horse along its outside edge. If the page has thin legs or a detailed tail, cut slowly and leave a small white margin instead of trying to follow every tiny curve. Prepare a background by tearing or cutting green paper into rolling hills and blue paper into a sky. Arrange the pieces on a fresh sheet of cardstock before gluing.
- Glue the hills and sky in place, starting with the farthest layer and placing nearer hills over the lower part of the sky. Add the mustang on top so it looks as if it is standing in the landscape. Use a glue stick in a thin layer on the back of the cutout, especially near the legs, mane, and tail, to help those parts stay flat.
- Pull cotton balls into smaller wisps and glue a few into the sky as clouds. Use a black marker to draw distant grass, a trail, or tiny birds, and let the glue dry before moving the picture. Ask the child to give the mustang a name and describe where it is going. Display the finished scene or write a one-sentence caption along the bottom.
2
Practice Color Blending with a Shiny Horse Portrait
Materials Needed:
Printed horse portrait coloring pageSmooth white drawing paperColored pencilsPencil sharpenerCotton swabScrap paperEraserBlack fineliner
Step by Step Guide:
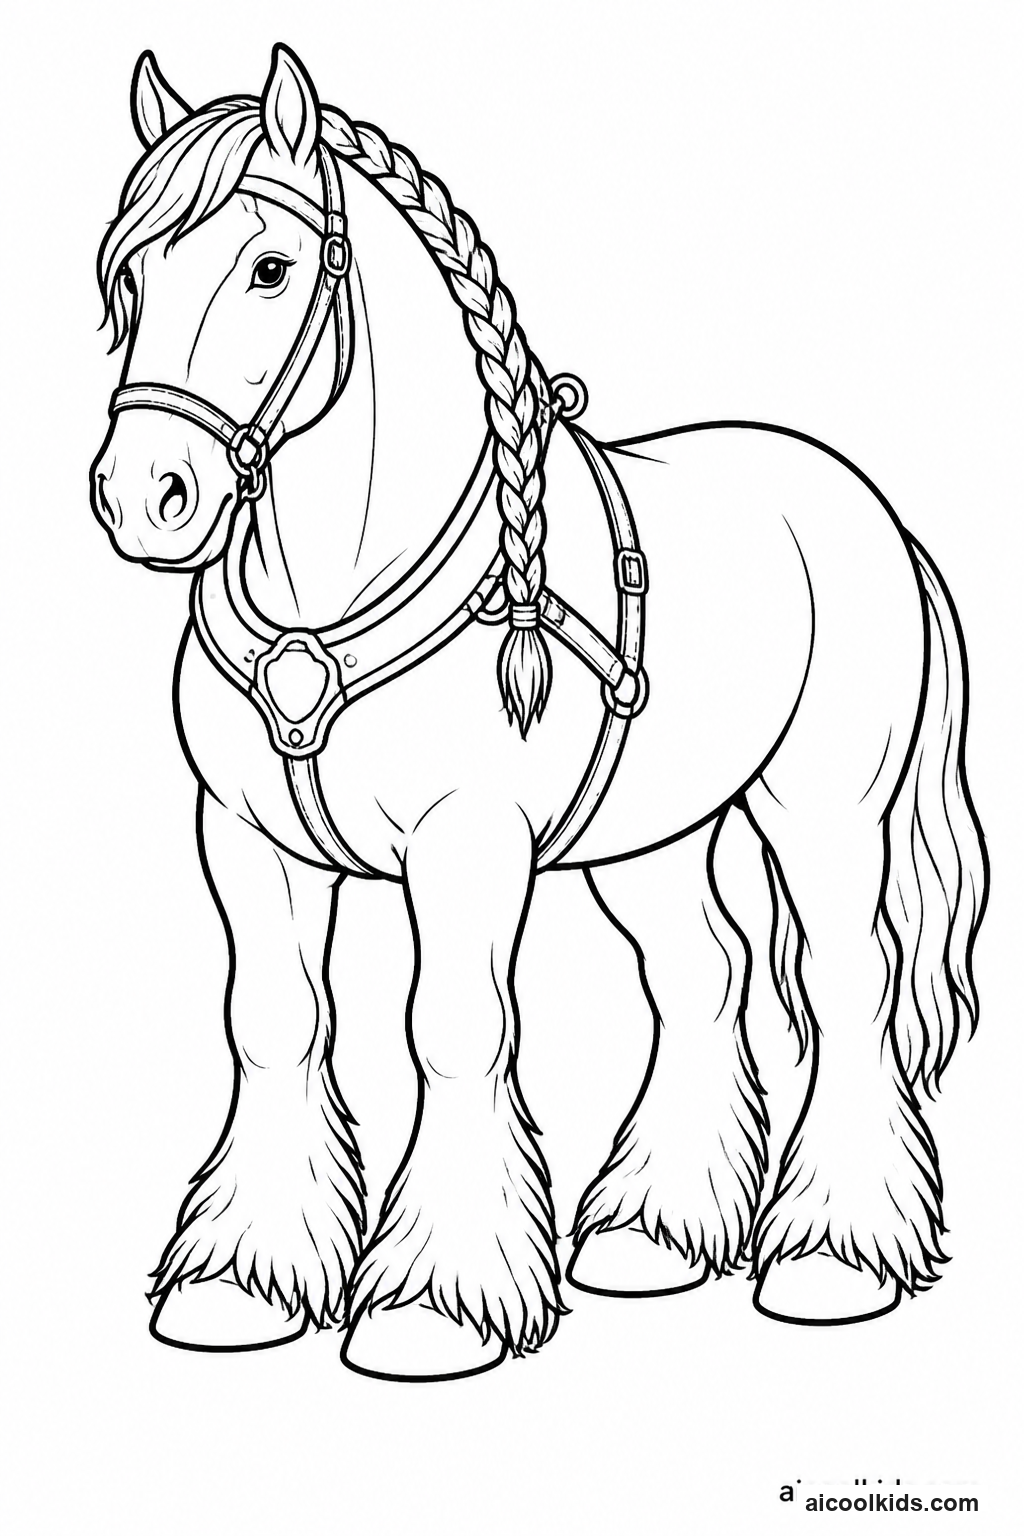
- Place the printed portrait on a clean work surface and cover the table with scrap paper. Identify the large coat areas, mane, muzzle, and any white markings. Choose three related pencil colors for the coat, such as light brown, medium brown, and dark brown. Test short strokes on scrap paper to see how the colors look together before beginning the portrait.
- Color the coat with the lightest shade using gentle, even pressure. Leave a few small areas near the forehead, cheek, or shoulder lighter to suggest reflected light. Follow the direction of the horse's hair with your strokes, using strokes that curve around the face and neck. Keep the pencil sharp enough to reach narrow spaces without pressing hard.
- Add the medium shade to the areas that would naturally appear darker, such as beneath the forelock, along the lower jaw, and near the edge of the neck. Overlap the new strokes slightly with the light color. Add the darkest shade sparingly under the mane, around the nostril, and near the outline. Invite the child to compare the portrait with a reference photo if one is available.
- Blend the pencil layers by adding another light layer of the base color over the meeting points. A clean cotton swab can gently soften a small area, but avoid rubbing hard because that can damage the paper. If the page is printed on thin paper, use light pressure and skip the swab. Color the mane with separate directional strokes so its texture differs from the smooth coat.
- Finish the eye, muzzle, and background with careful details. Reinforce only a few outline sections with a black fineliner if the original lines have become faint, and test the pen on scrap paper first. Write the three coat colors used on the back of the sheet. Ask the child to point out where the portrait looks brightest and explain which color layers created that effect.
3
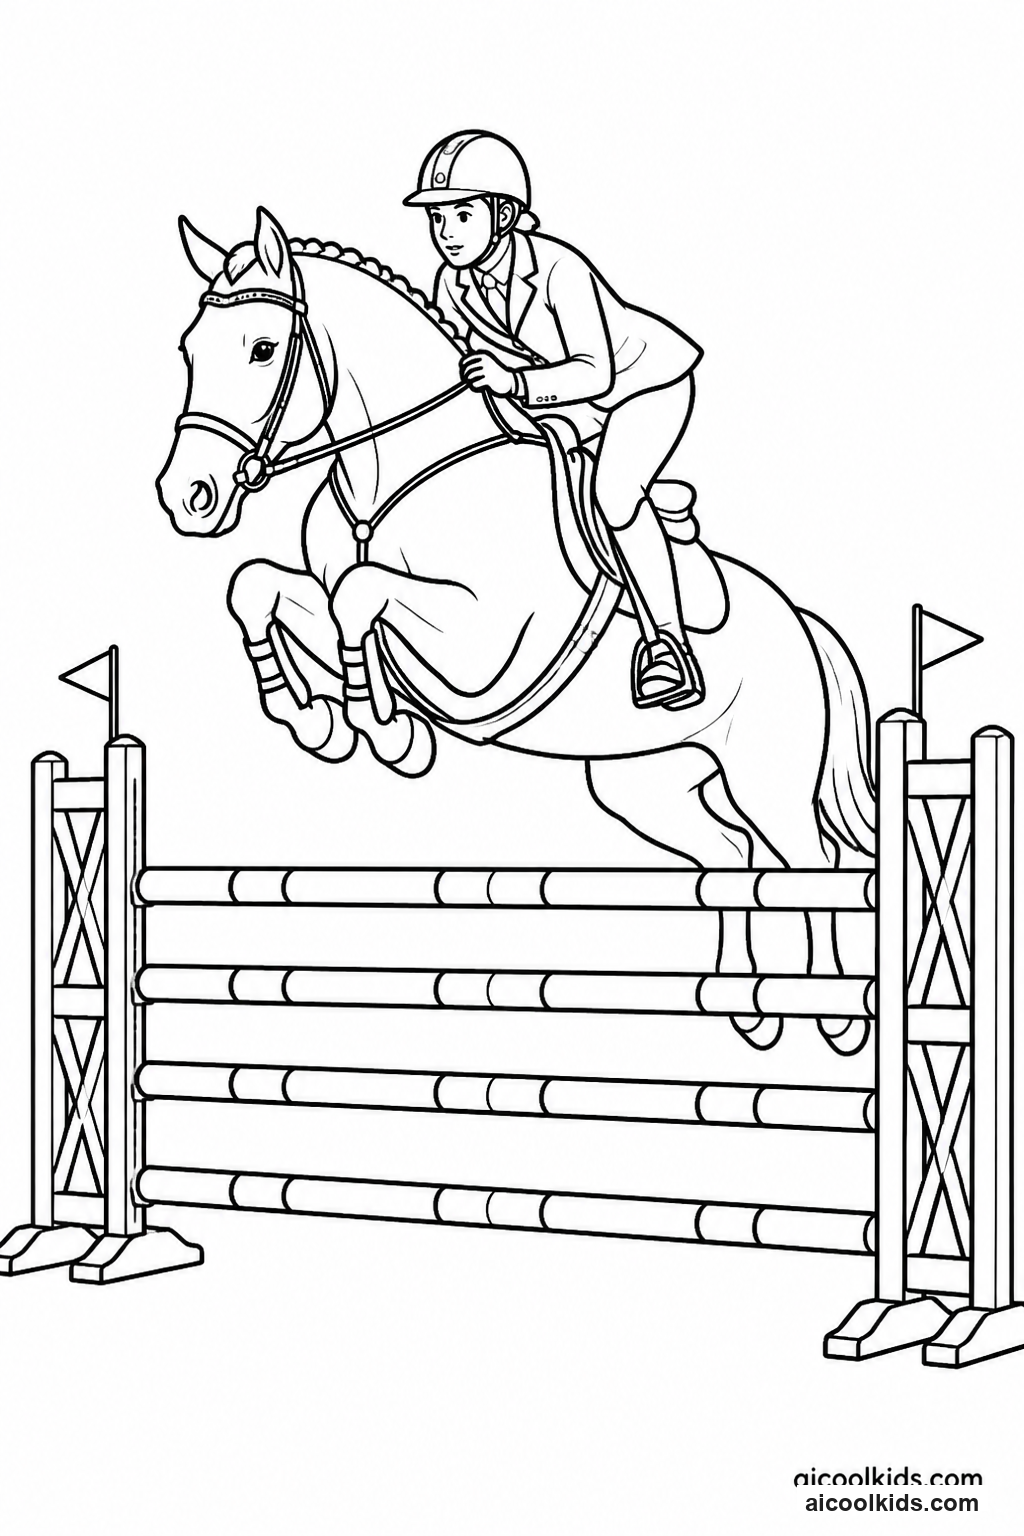
Design a Show Jumping Course and Tell a Sports Story
Materials Needed:
Printed show jumping horse coloring pageCardstockColored pencils or crayonsRulerConstruction paperChild-safe scissorsGlue stickMarkers
Step by Step Guide:
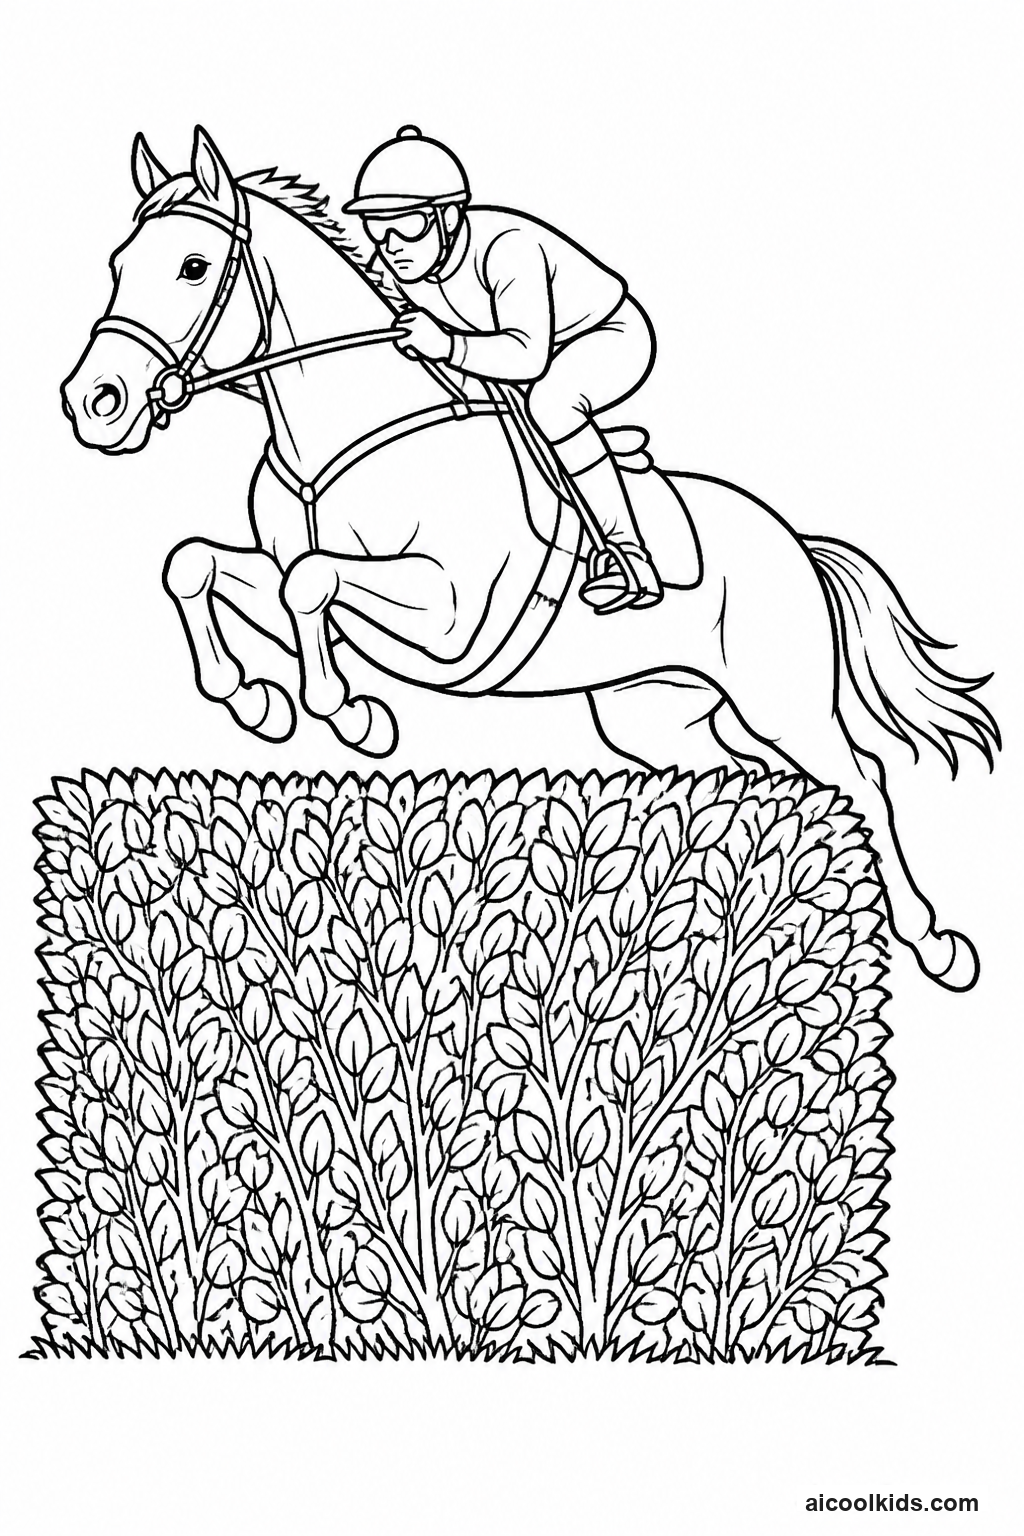
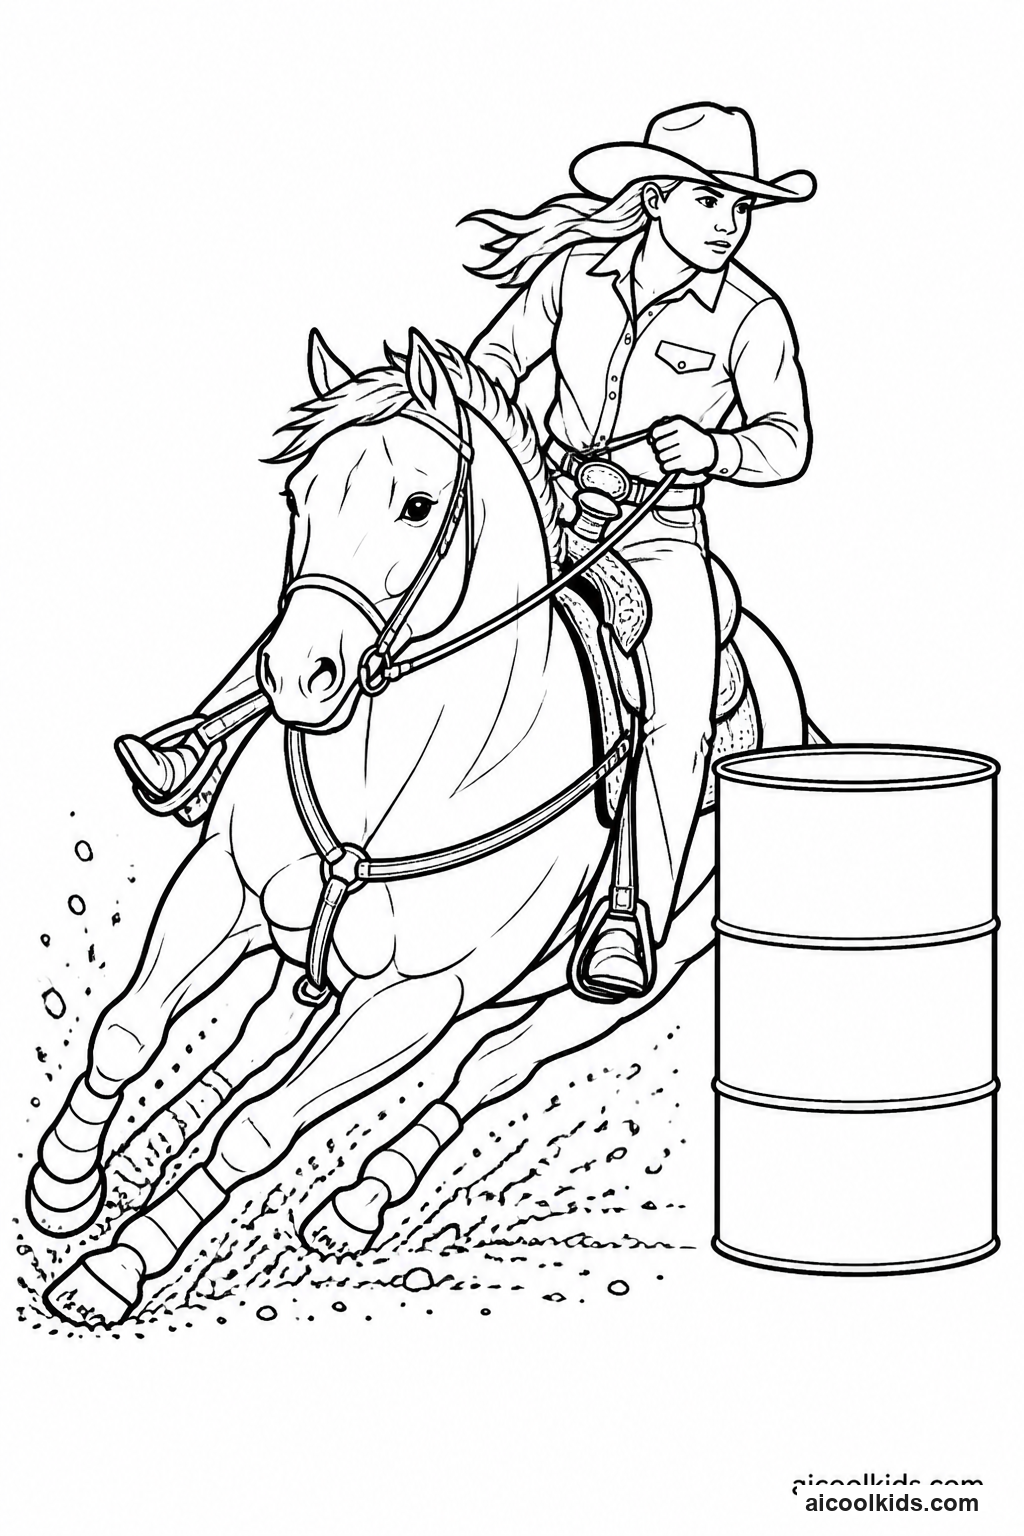
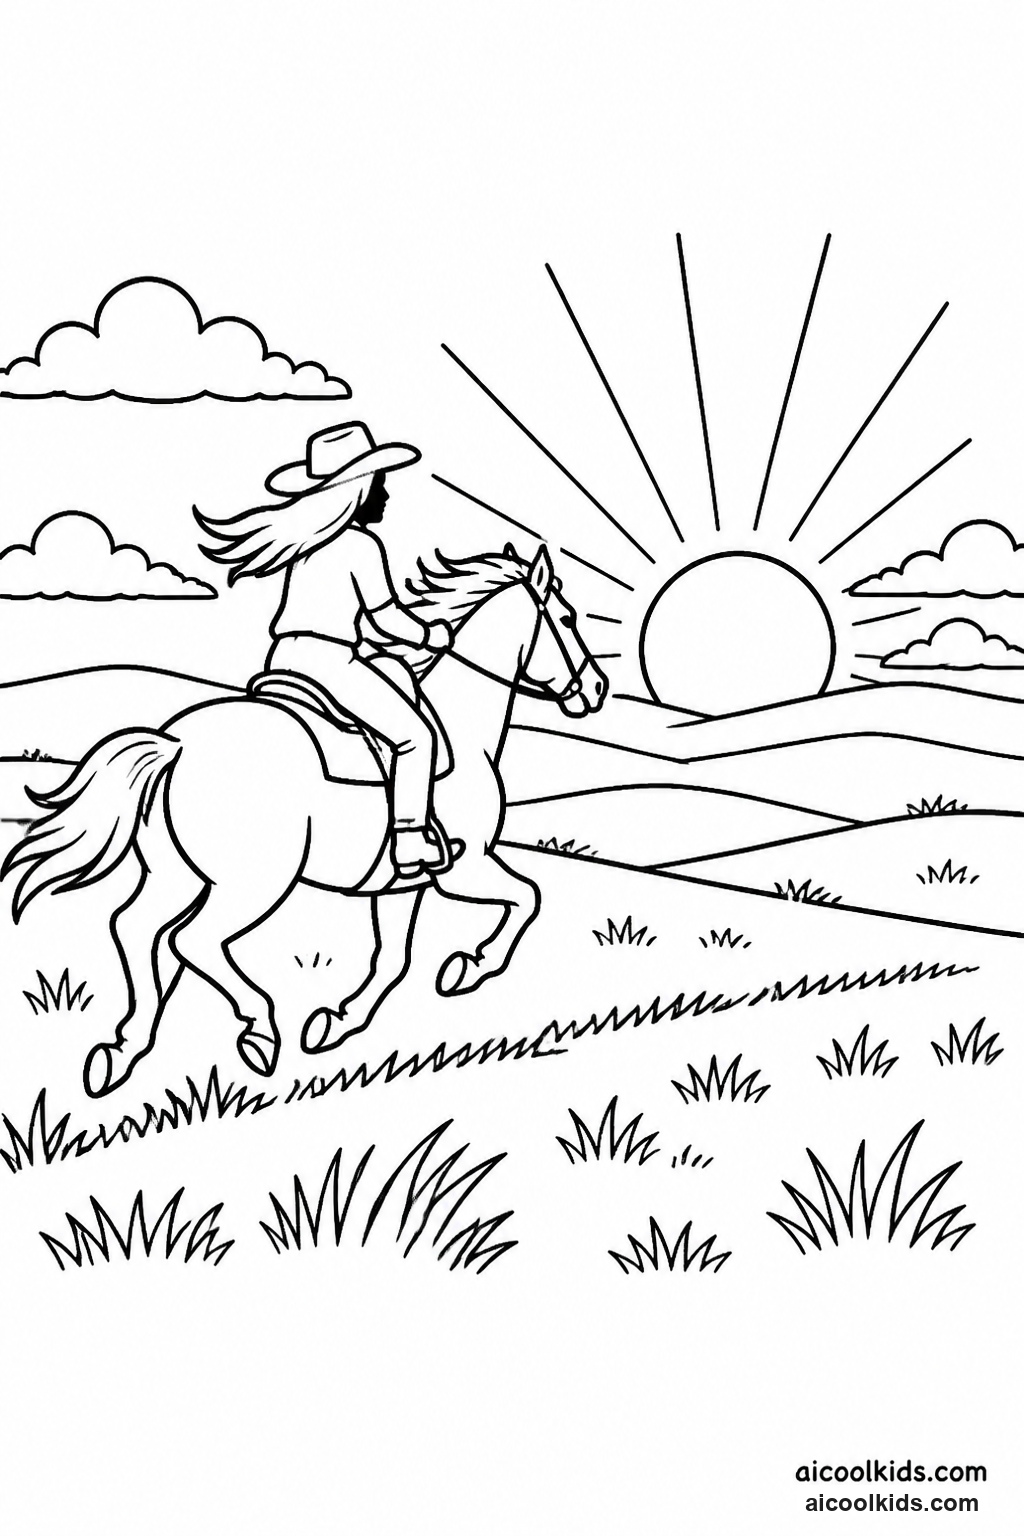
- Look over the show jumping coloring page and find the horse, rider, and any printed fence. Talk about how a horse and rider need to approach an obstacle together. Color the horse, saddle, rider's clothing, and helmet. Choose colors that make the horse and rider easy to distinguish, and leave the printed course details visible.
- On a separate piece of paper, sketch a simple course with three jumps. Use a ruler to draw each jump as two short supports and one or two horizontal rails. Label the jumps with numbers one, two, and three to show the order. Keep the path between them open, and avoid drawing a line across the horse or rider on the coloring page.
- Cut small rectangles from construction paper to make colored rails, or color the drawn rails with markers. Glue the pieces onto the separate course sheet, using only a small amount of glue. Choose a repeated color pattern for the rails, such as red and white or blue and yellow. Add a start point and a finish point so the route is easy to follow.
- Place the course sheet beside or below the coloring page and attach both to cardstock. Draw a dotted route with a marker to show the horse's direction from the start, around each jump, and toward the finish. If the printed horse is already jumping, place the route so it leads naturally to that obstacle. Check that the numbered sequence is clear.
- Give the horse and rider names and write a short sports caption, such as a sentence about the final jump or the team's careful turn. Older children can add a small score box or describe one rule they would use to keep the course safe. Have the child retell the route in order, pointing to each jump. Share the finished course with a partner and invite them to trace the route.
4
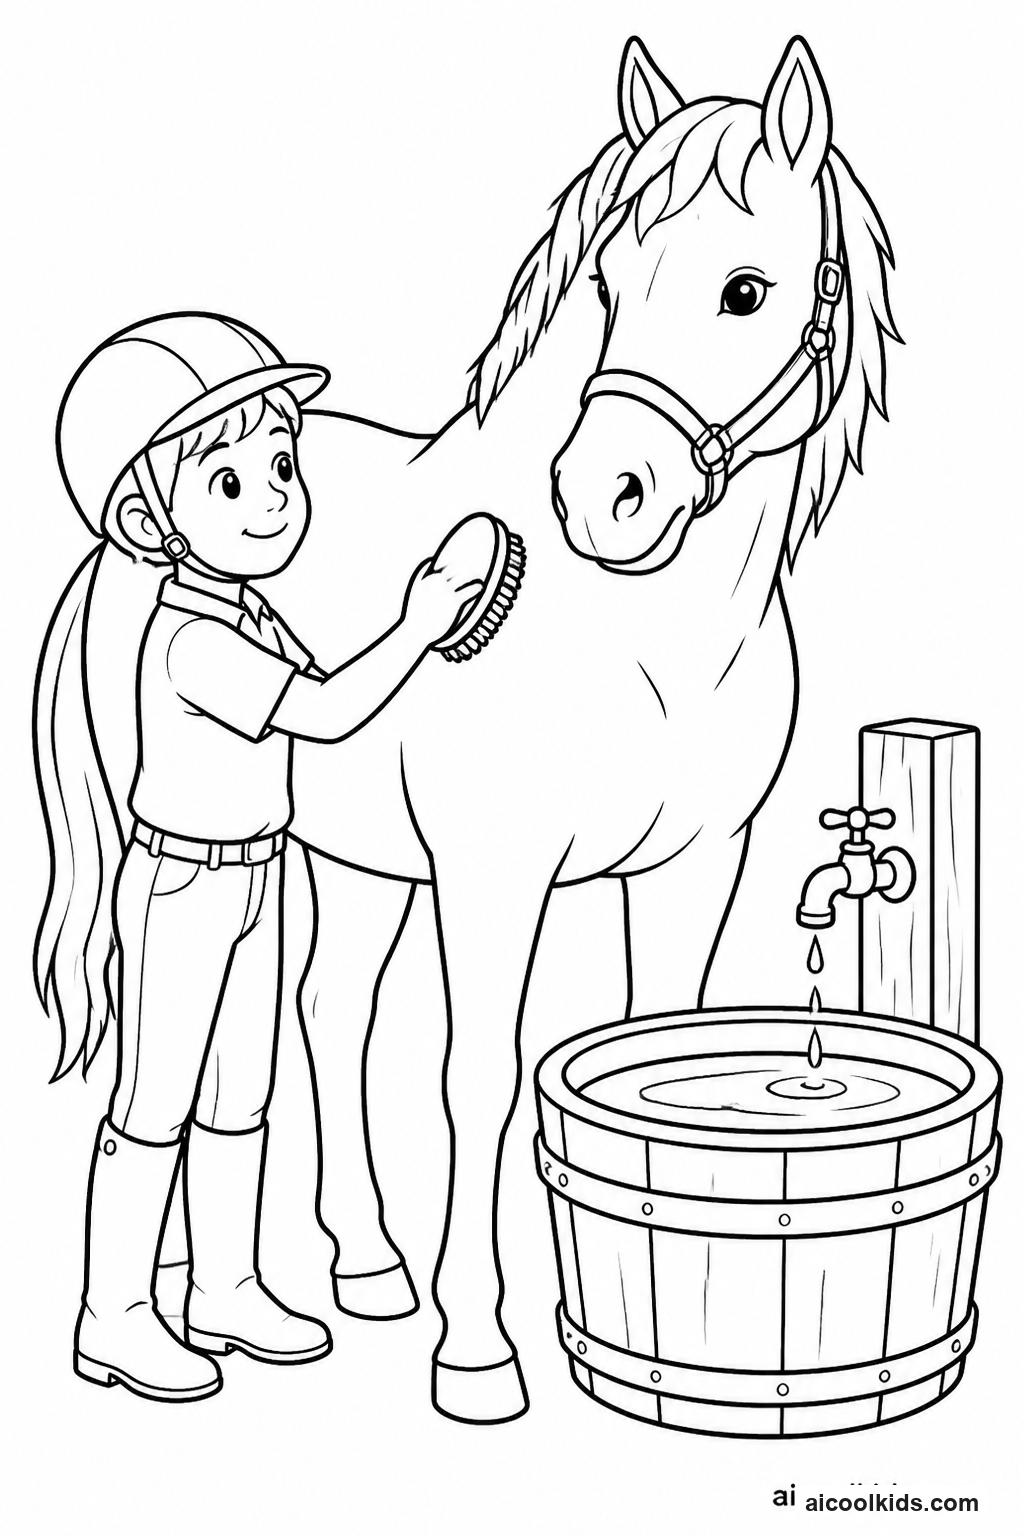
Create a Farm Stable Diorama from a Horse Coloring Page
Materials Needed:
Printed farm stable horse coloring pageSmall empty cereal boxCardstockCrayons or markersChild-safe scissorsGlue stickRulerScraps of brown and green paper
Step by Step Guide:
- Flatten the cereal box carefully and choose one large panel for the stable backdrop. Draw a wide rectangle on the panel, leaving a border around the edges so the scene has a sturdy frame. Ask an adult to cut the box if a window or doorway is needed. Fold the panel into a shallow three-sided shape, using two side flaps to help it stand.
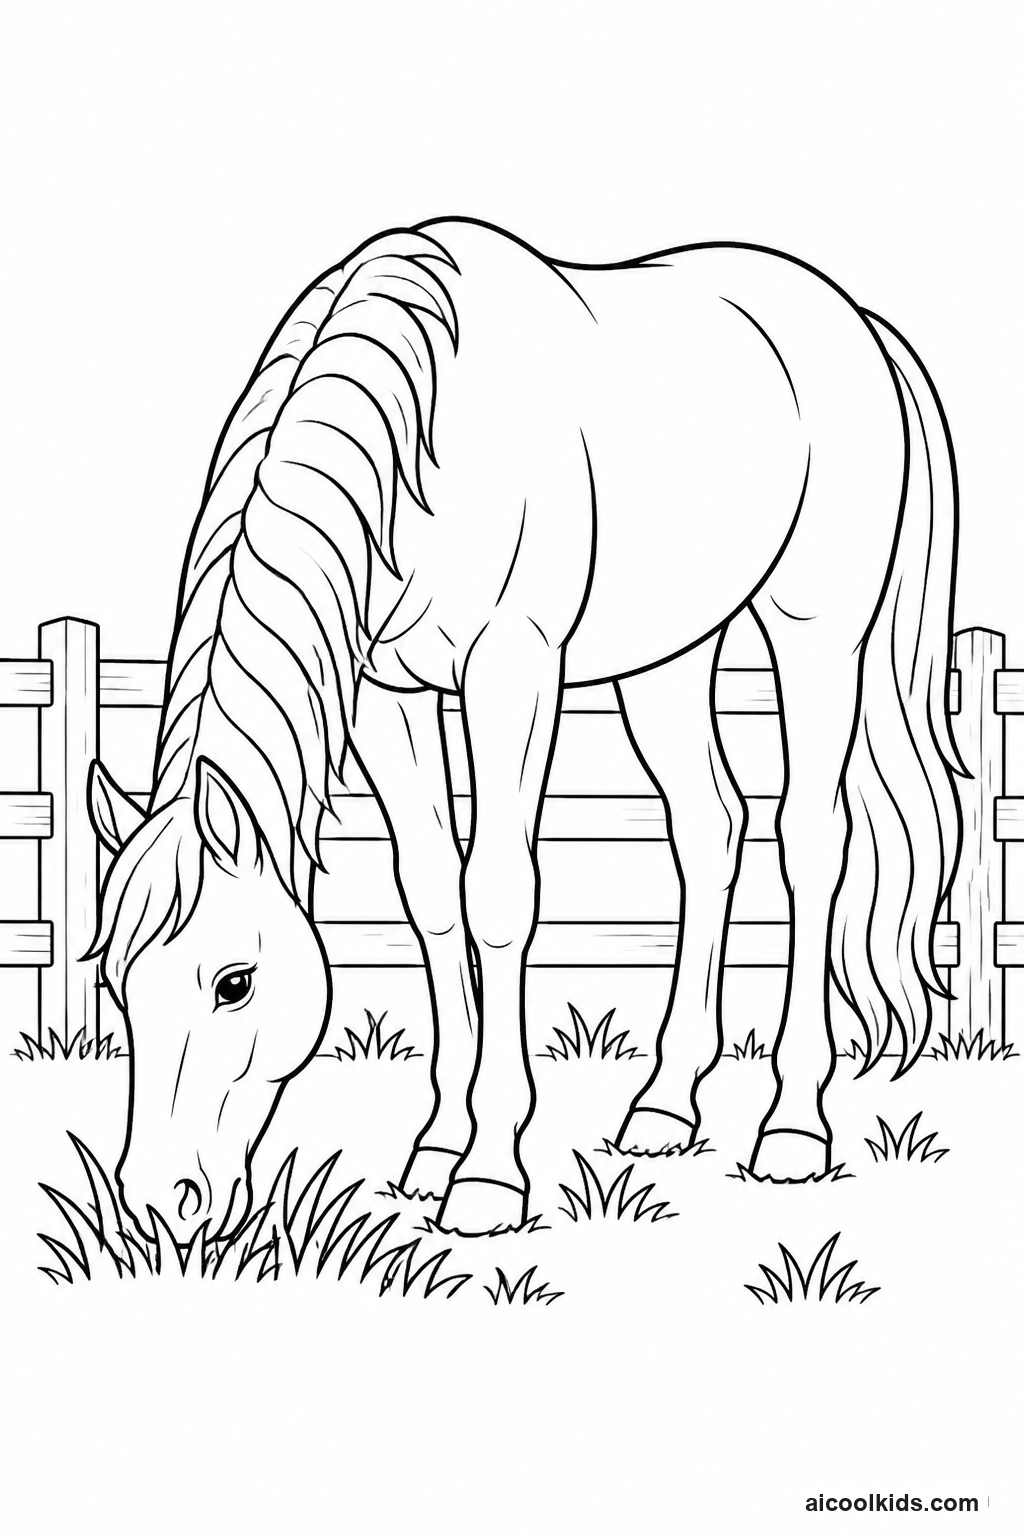
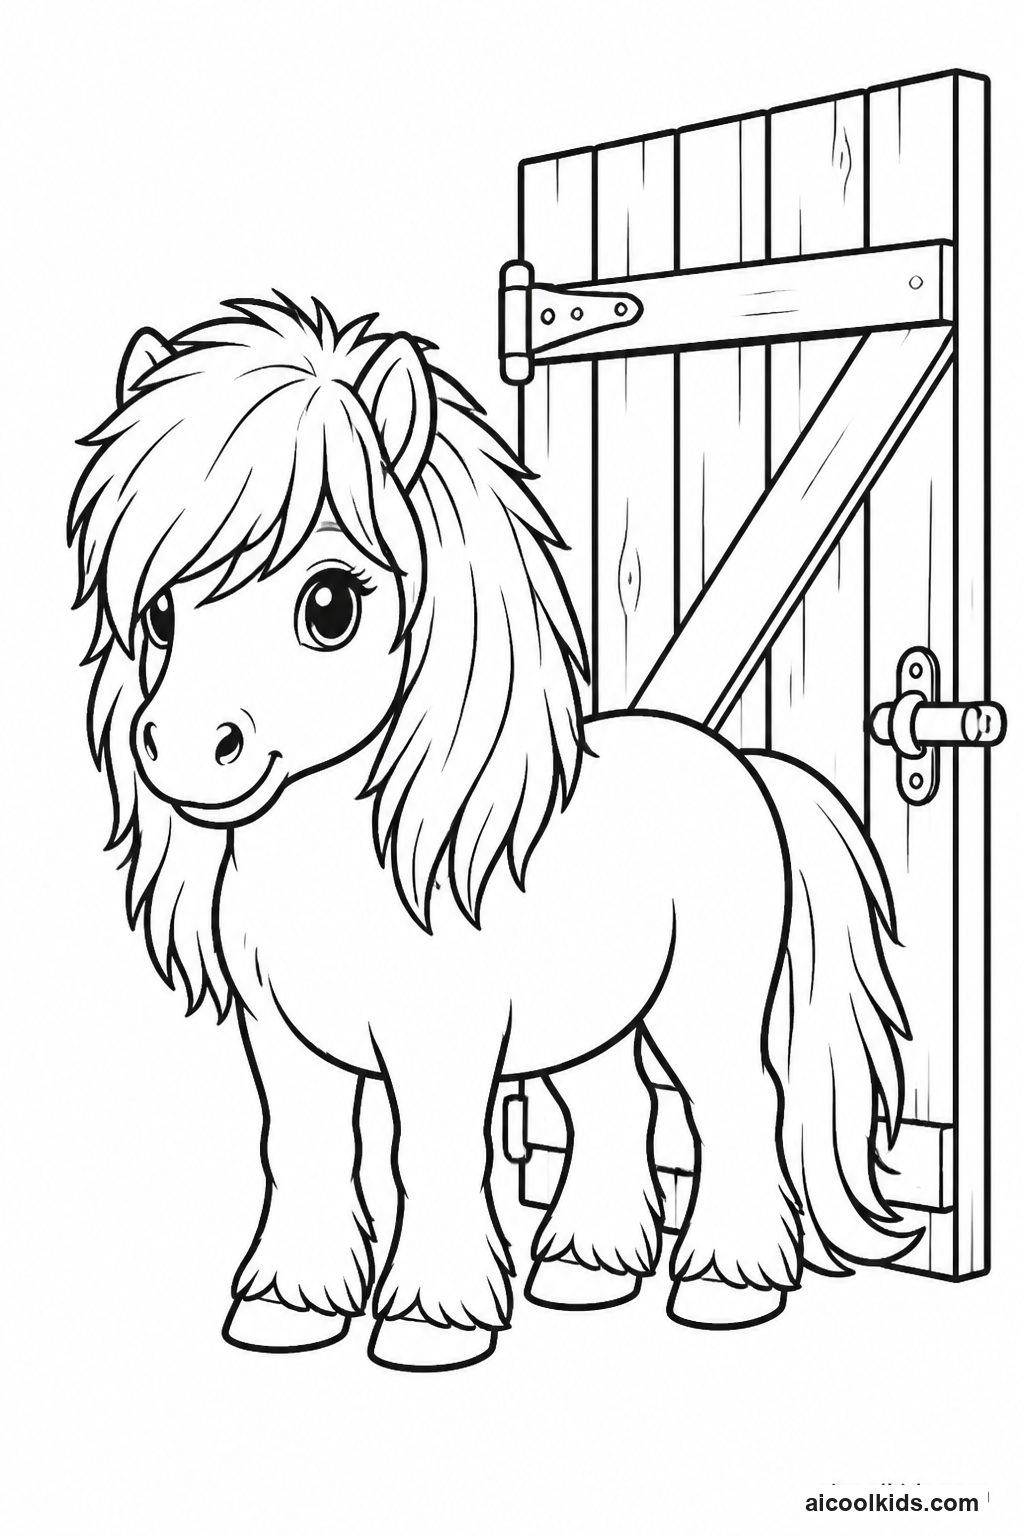
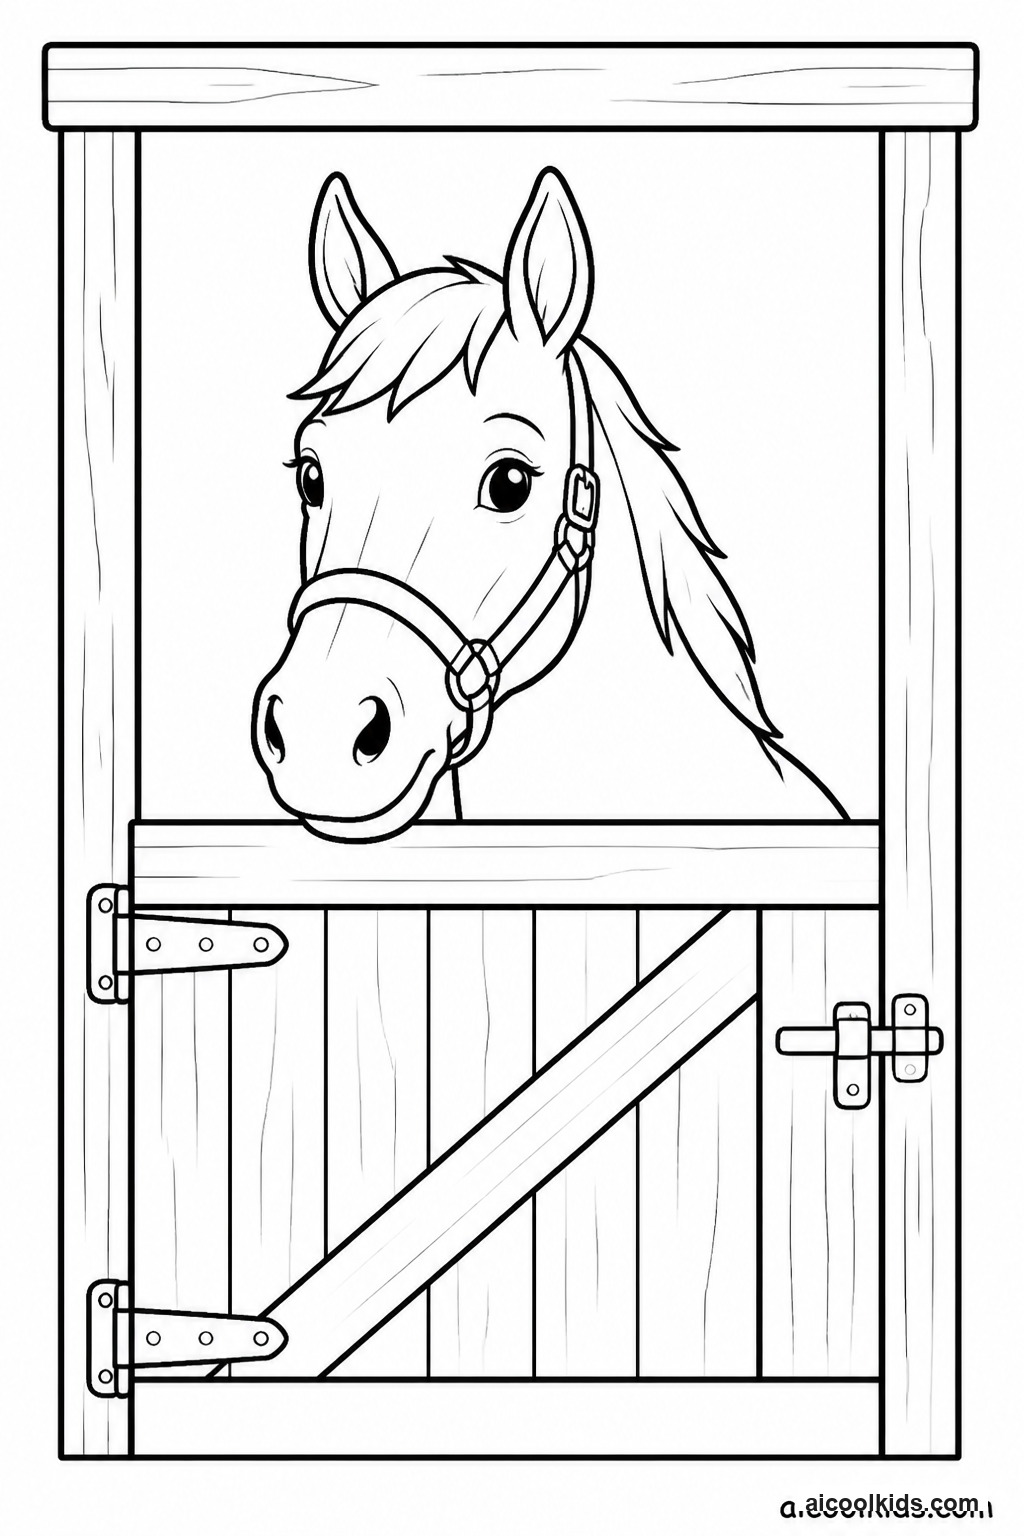
- Color the printable horse with crayons or markers, then cut it out with a small border around the outline. If the page shows the horse in a stall, include its mane, tail, and legs carefully. Fold a small paper tab at the bottom of the cutout and glue the tab to a strip of cardstock. This support helps the horse stand upright in the scene.
- Cover the inside of the box panel with paper or color it to look like stable walls. Draw a stall divider, a feed bucket, and a window. Use brown paper strips for wooden boards and green paper for a view of a paddock outside. Glue each detail flat, leaving enough open space for the horse cutout to stand in front.
- Make a small hay pile by cutting short, narrow strips from yellow or tan paper. Gather the strips loosely and glue them in one corner, away from the horse's feet. Draw a water trough and a simple door on another piece of cardstock. Add only details that fit the scene, and make sure the horse remains the main focus.
- Stand the backdrop on a table and position the horse in front of the stall. Adjust the paper support if the horse tips, then add a name card for the stable. Ask the child to describe what the horse can eat, drink, and use for shelter in this scene. Older learners can label the window, stall, hay, and water trough, then explain which parts are needed for horse care.
5
Make a Breed Comparison Book for Curious Horse Fans
Materials Needed:
Two or three printed horse breed coloring pagesPrinter paper or cardstockColored pencilsHole punchYarn or binder ringsMarkersRulerReference books or adult-approved websites
Step by Step Guide:
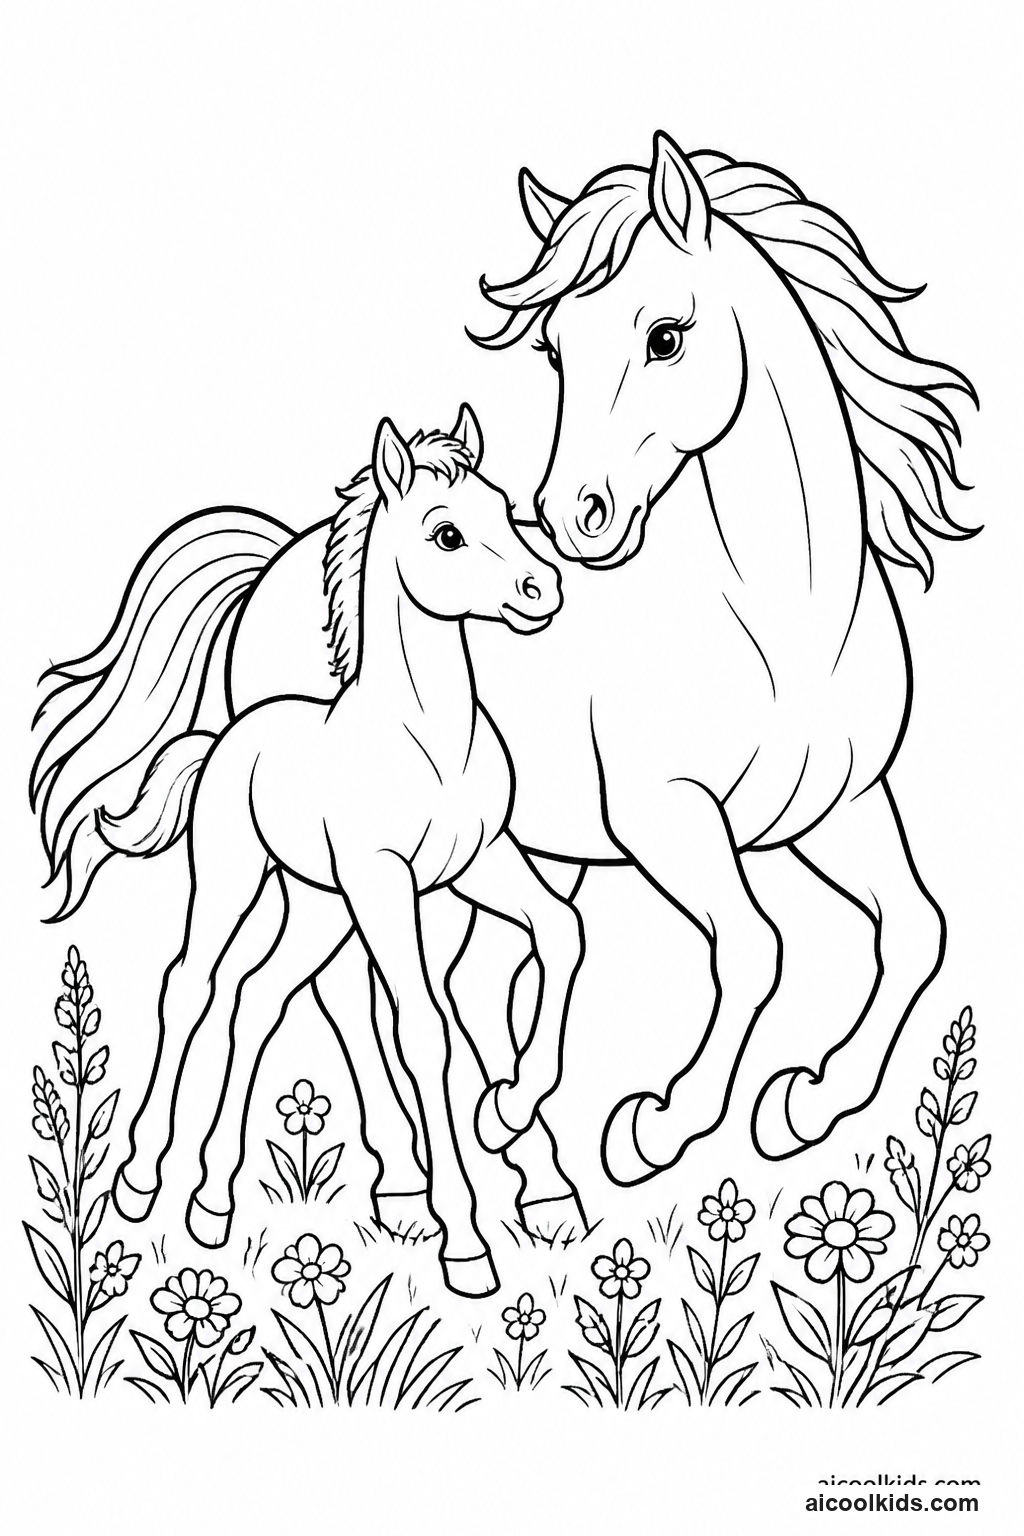
- Choose two or three printable horse pages that show different breeds or body types. Print them on paper or cardstock and decide how many pages the booklet will include. On each page, write the horse's breed name at the top if it is known. If the breed is not identified, use a heading such as Horse A and record that the breed is unknown.
- Color each horse using a coat color that suits the child's chosen reference, or use imaginative colors and label them as artistic choices. Notice features such as the horse's height, body shape, mane, tail, and legs. Encourage the child to look closely rather than guess from one feature alone. Leave space around each image for labels and notes.
- Use a book or adult-approved website to find one or two age-appropriate facts about each selected breed. Record short notes in the child's own words, such as a common use or a physical feature. Avoid copying long passages. If research is not available, write observation statements instead, such as 'This horse has a broad body and a long mane.'
- Stack the pages in order and add a cardstock cover. Use a hole punch to make two holes along the left edge, keeping them far enough from the paper edge that pages will not tear. Tie the pages with yarn or connect them with binder rings. Check that the pages turn easily before tightening the yarn or rings.
- Add a comparison chart to the final page with headings such as coat, mane, body shape, and interesting detail. Invite the child to choose one similarity and one difference among the horses. Share the booklet with a family member, classroom partner, or homeschool group. Ask the listener to name a detail they noticed, then let the child explain how coloring and research shaped the page.
6
Turn a Horse Page into a Reusable Color and Story Board
Materials Needed:
Printed horse coloring pageCardstockCrayons or colored pencilsClear self-adhesive laminating sheetsDry-erase markersSoft clothConstruction paperGlue stick
Step by Step Guide:
- Select a horse page with clear outlines and a scene the child can describe, such as a stable, pasture, or jumping arena. Color the horse and background fully with crayons or colored pencils. Avoid markers that may smear if they have not dried. Add a small title at the top, such as 'My Horse's Adventure,' and leave a blank strip below the picture.
- Mount the finished page on cardstock with a thin layer of glue, smoothing from the center toward the edges. Let the glue dry so the page does not shift under the protective film. An adult should apply clear self-adhesive laminating sheets according to the package directions. Press out air bubbles gently, and trim the edges while leaving a sealed border.
- Write three reusable prompts on a separate strip of cardstock, such as 'Name the horse,' 'Where is it going?' and 'What does it need today?' Attach the prompt strip to the lower part of the board before laminating, or laminate it separately and place it beside the picture. Keep the prompts short and readable for the child.
- Test a dry-erase marker on one corner of the protected board. Write a name or one short answer, wait briefly, then wipe it away with a soft cloth. If it does not erase easily, use a different marker or keep writing on a separate laminated prompt card. Do not let children use permanent markers on the board.
- Use the board for a short story session. The child writes a horse's name, chooses a setting, and answers one prompt with a dry-erase marker or orally. Wipe the writing clean after the activity and store the board flat with the cloth. For a group, let each child add one sentence to a shared horse adventure, then clean the board before the next turn.