Parent & Teacher Craft Guide
6 Creative Learning & Craft Ideas for Fire Truck Coloring Pages
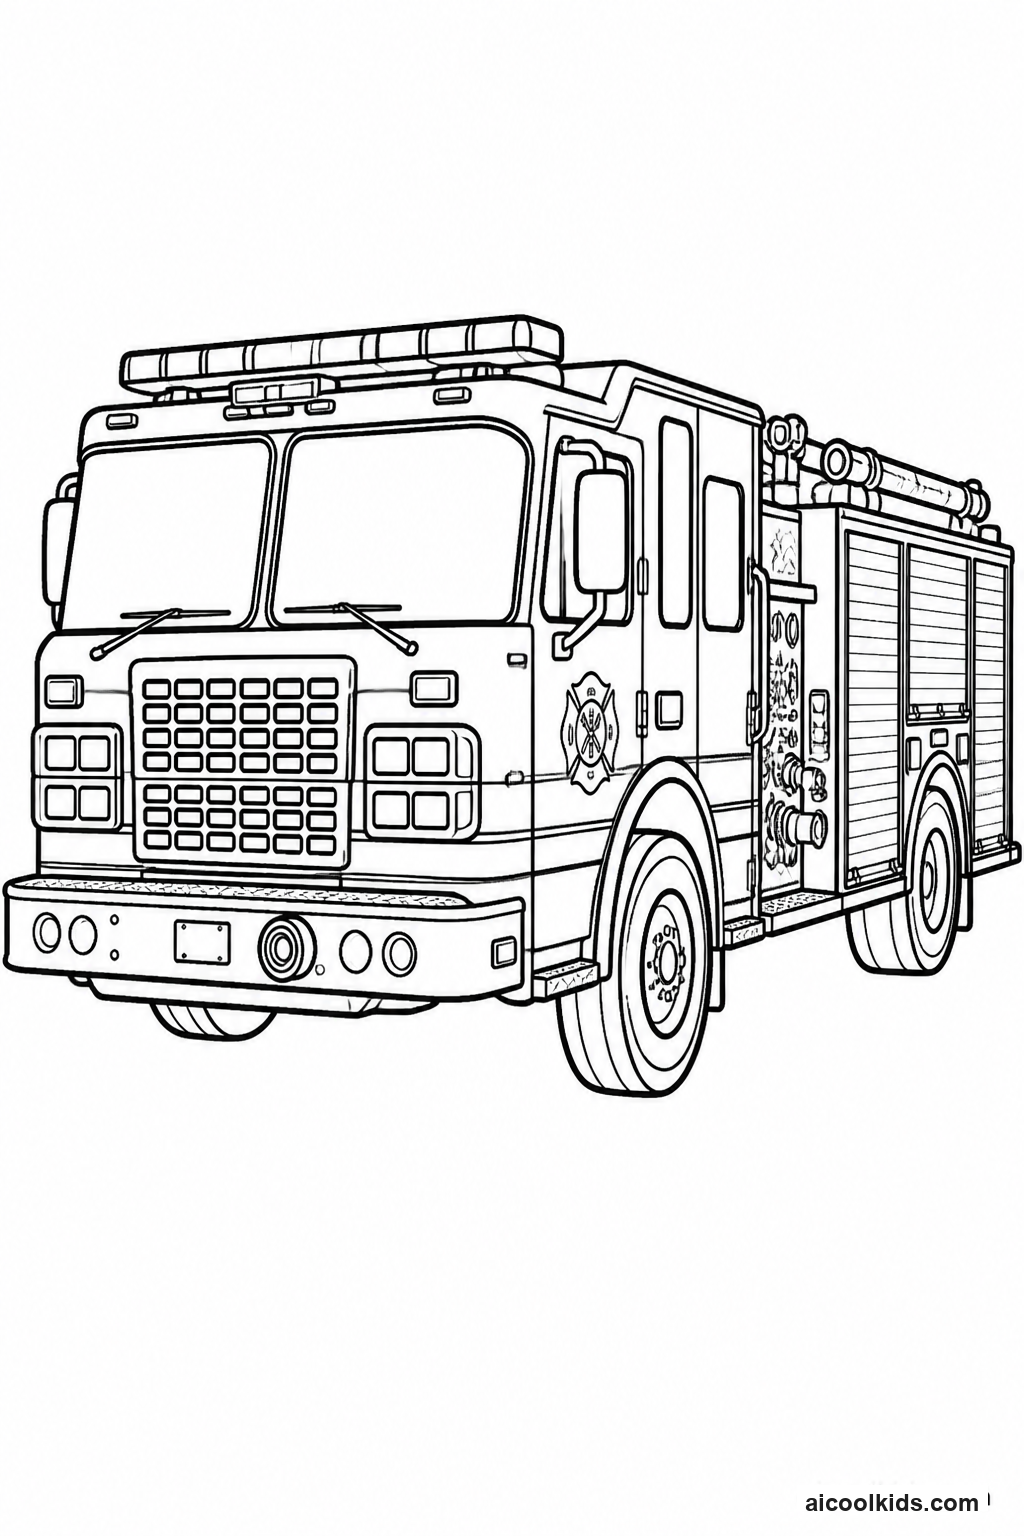
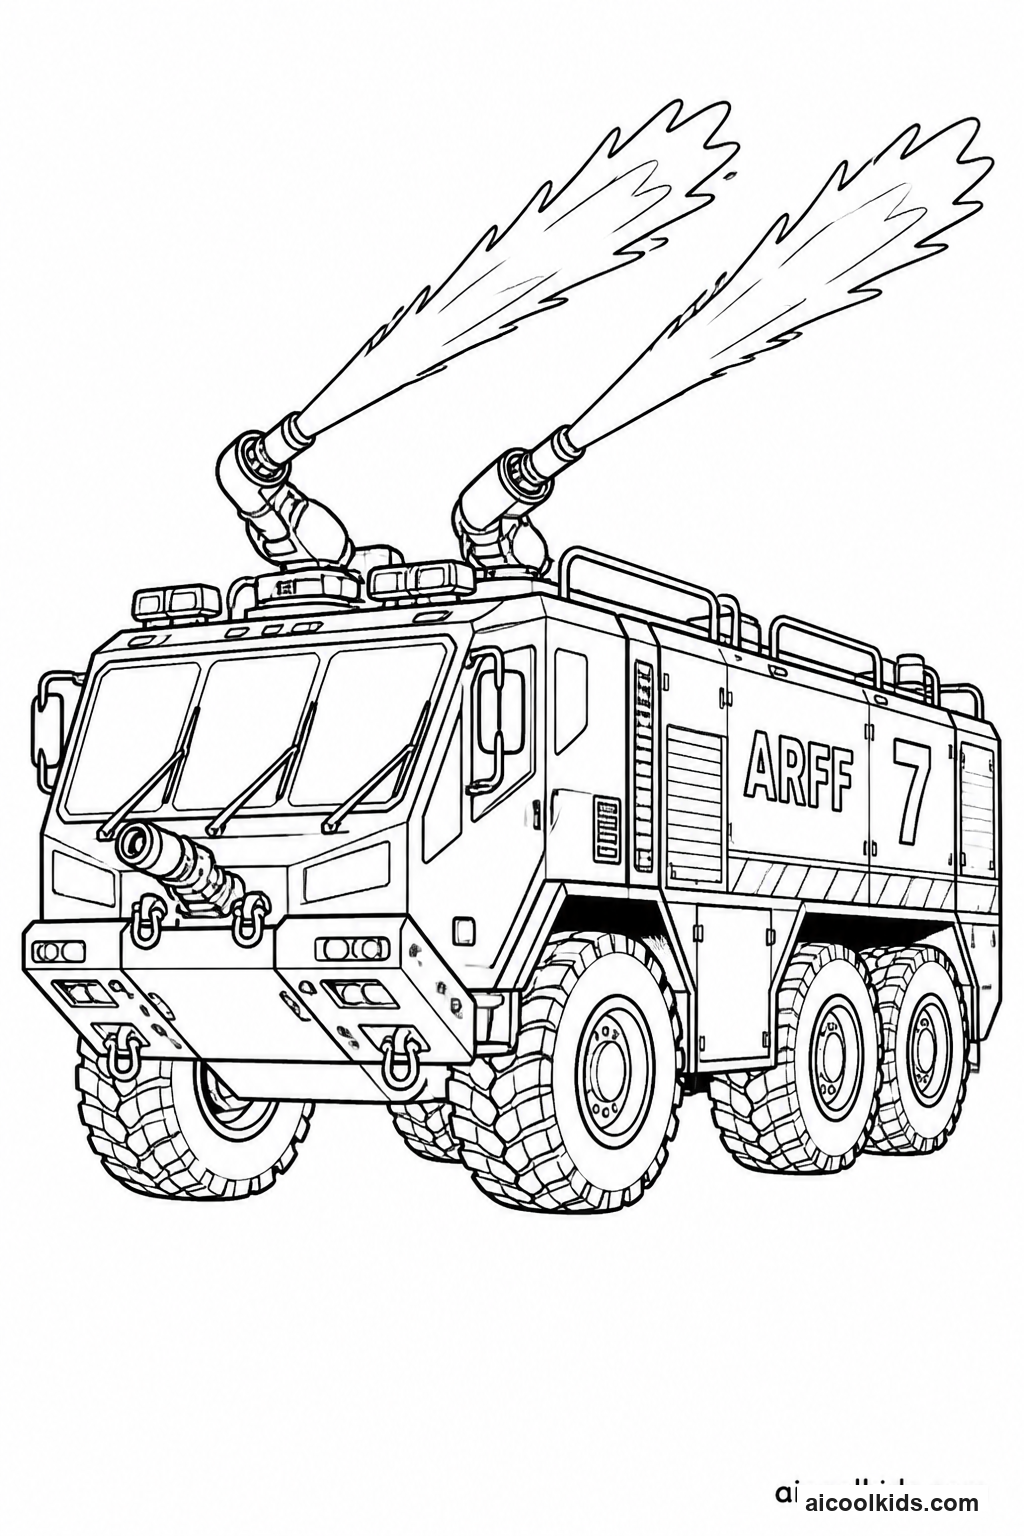
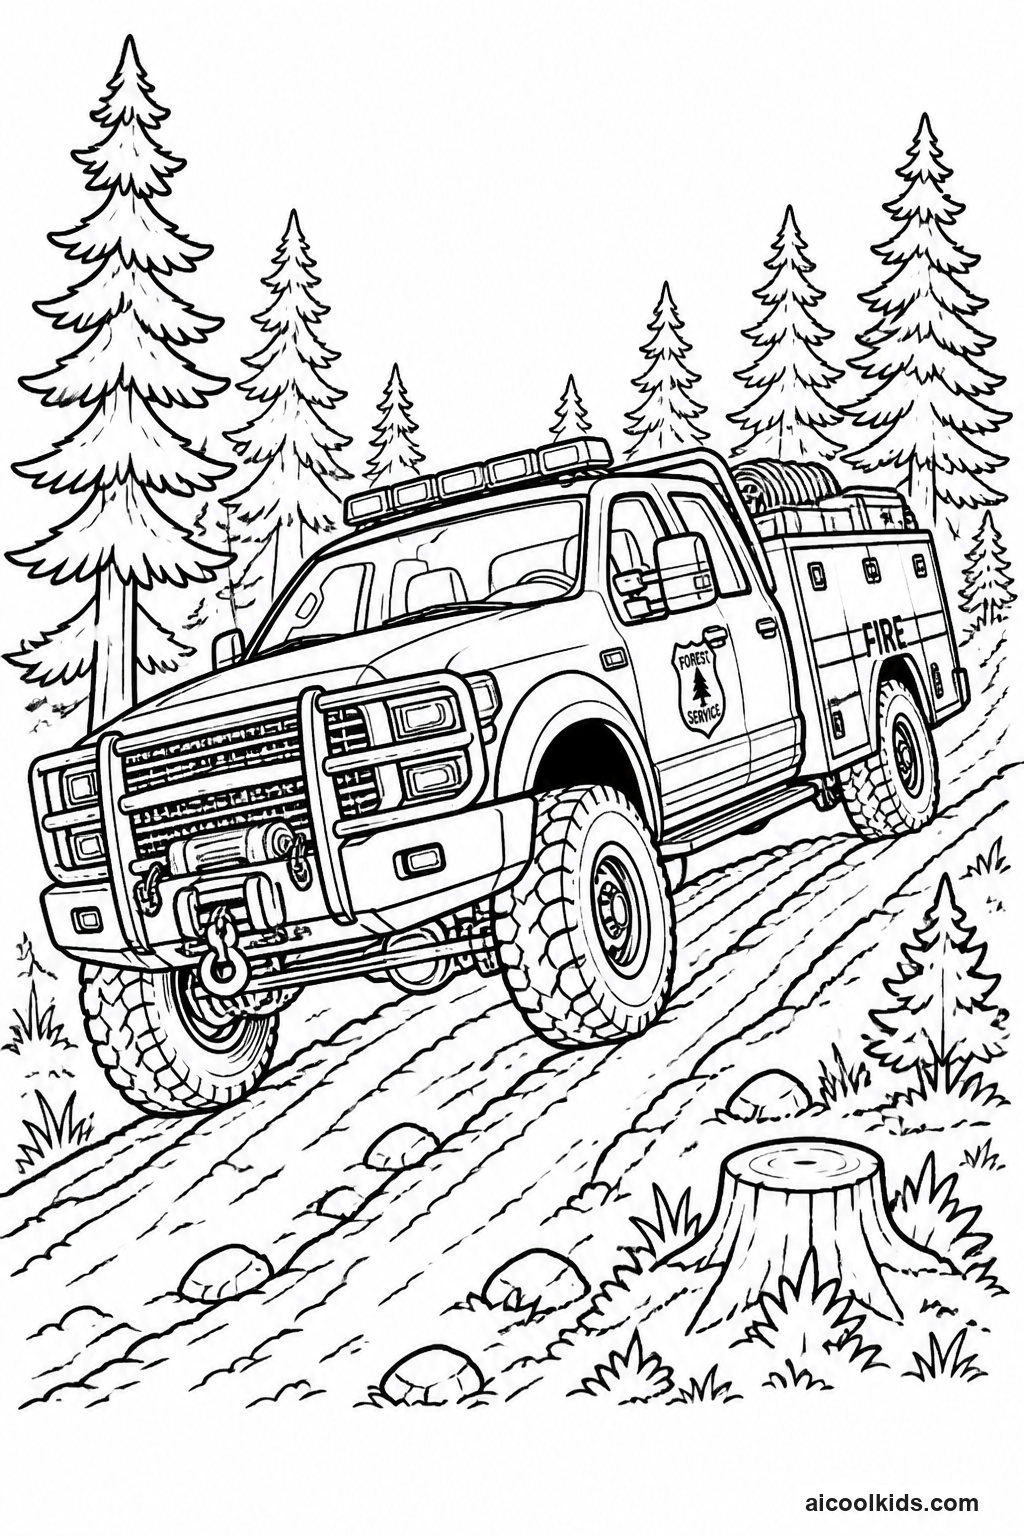
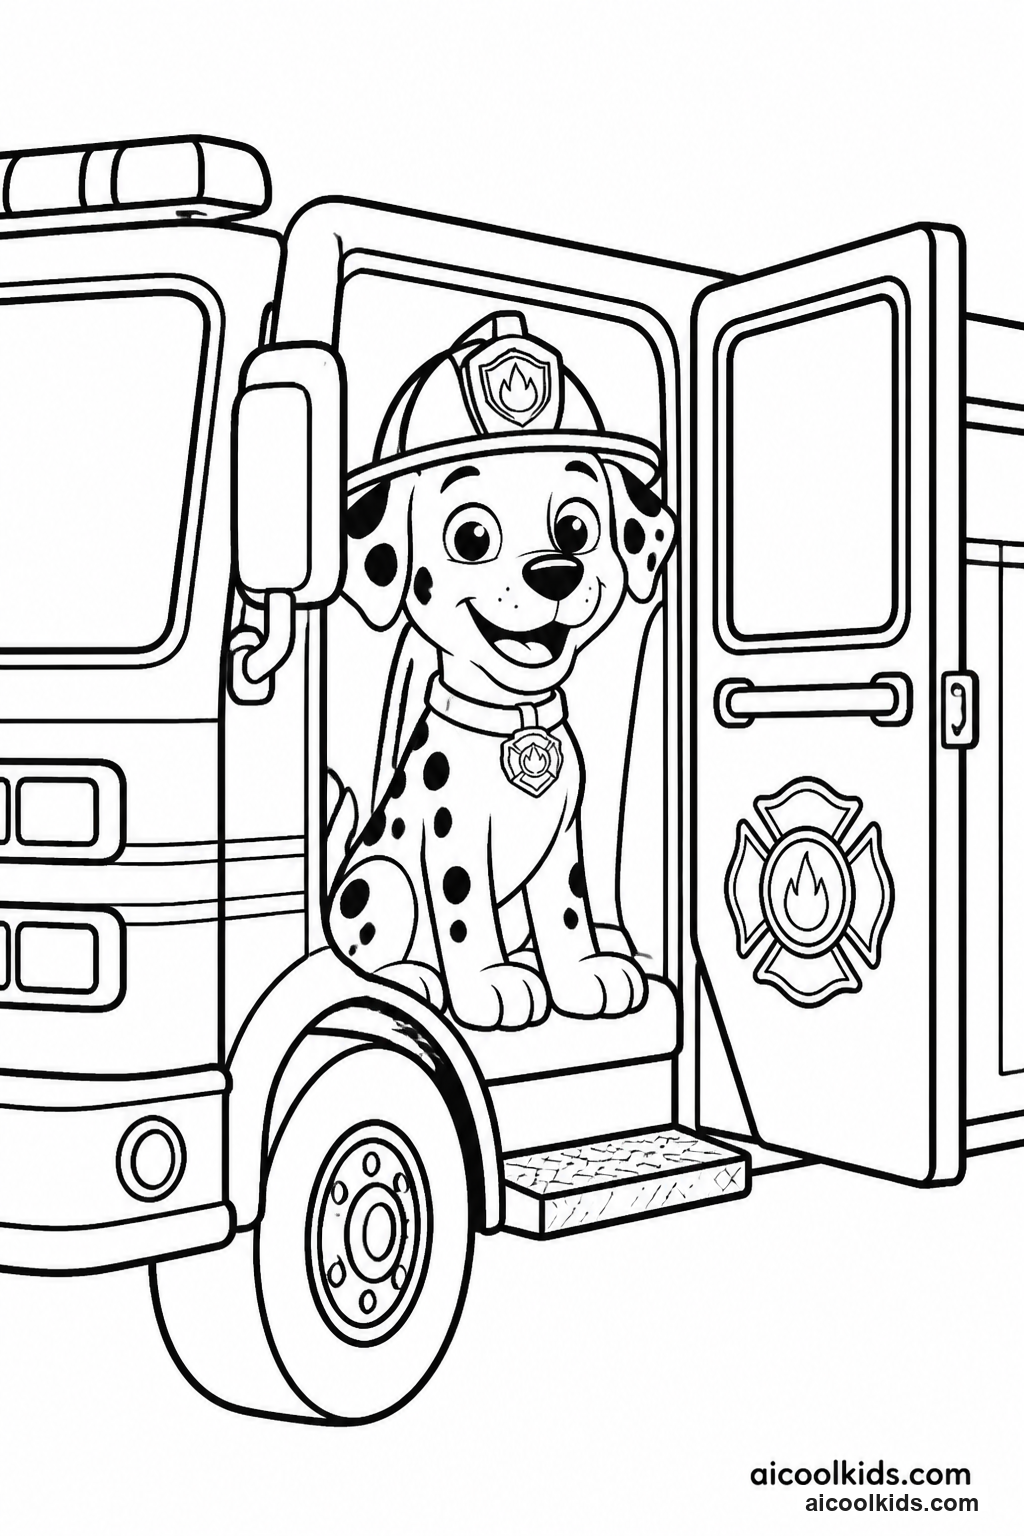
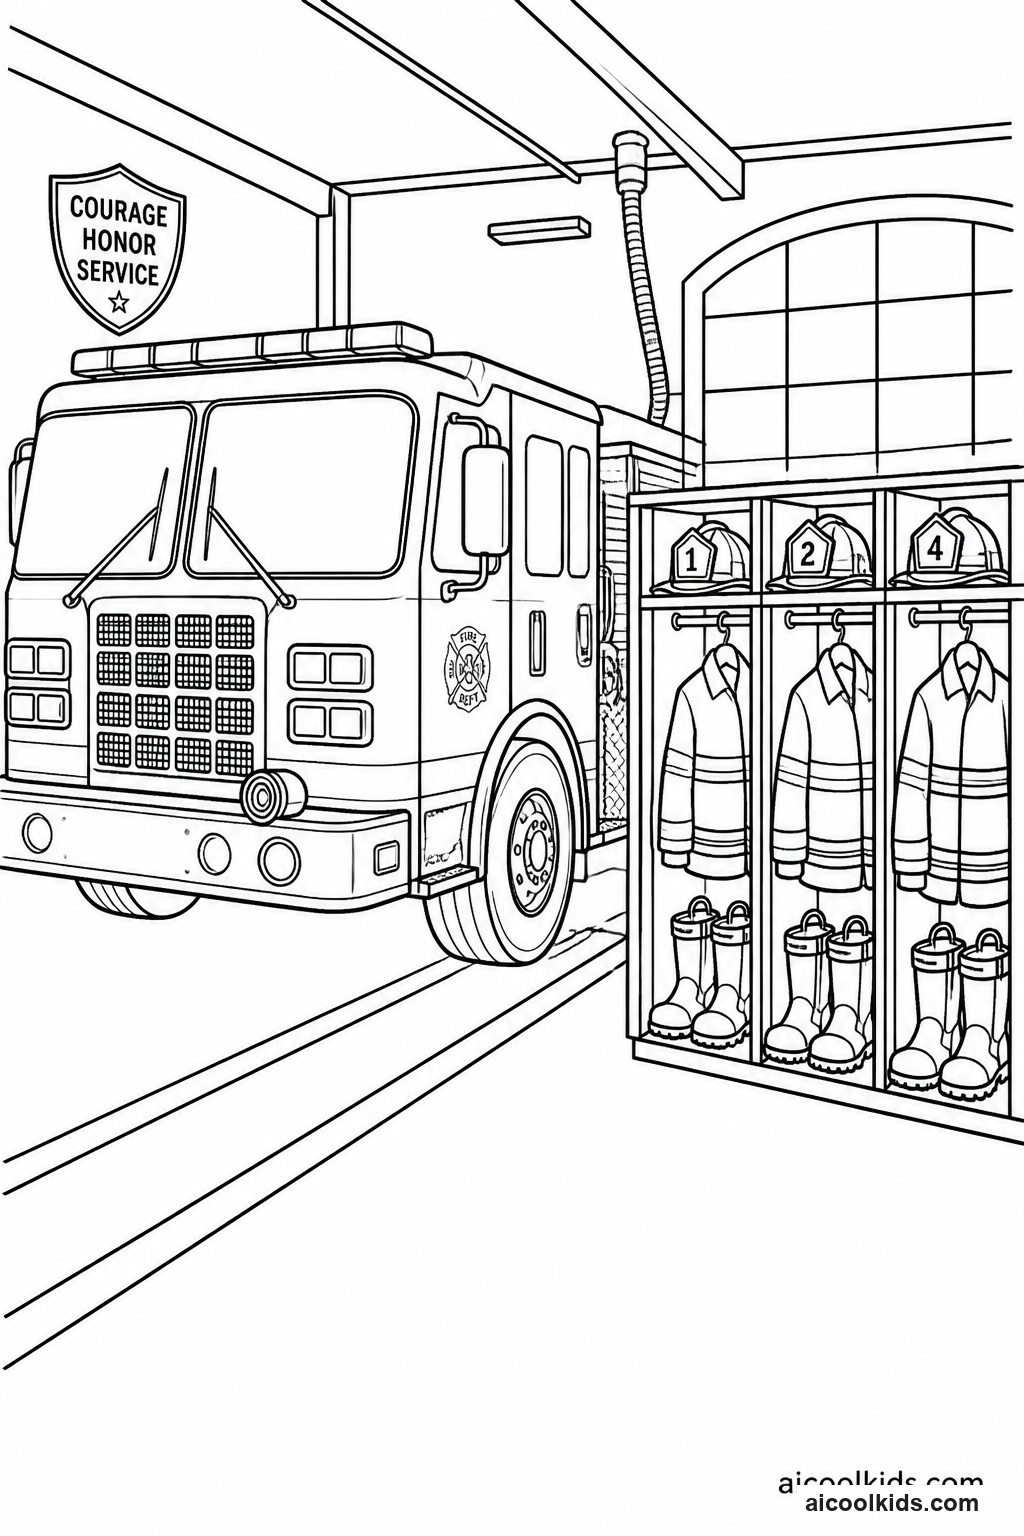
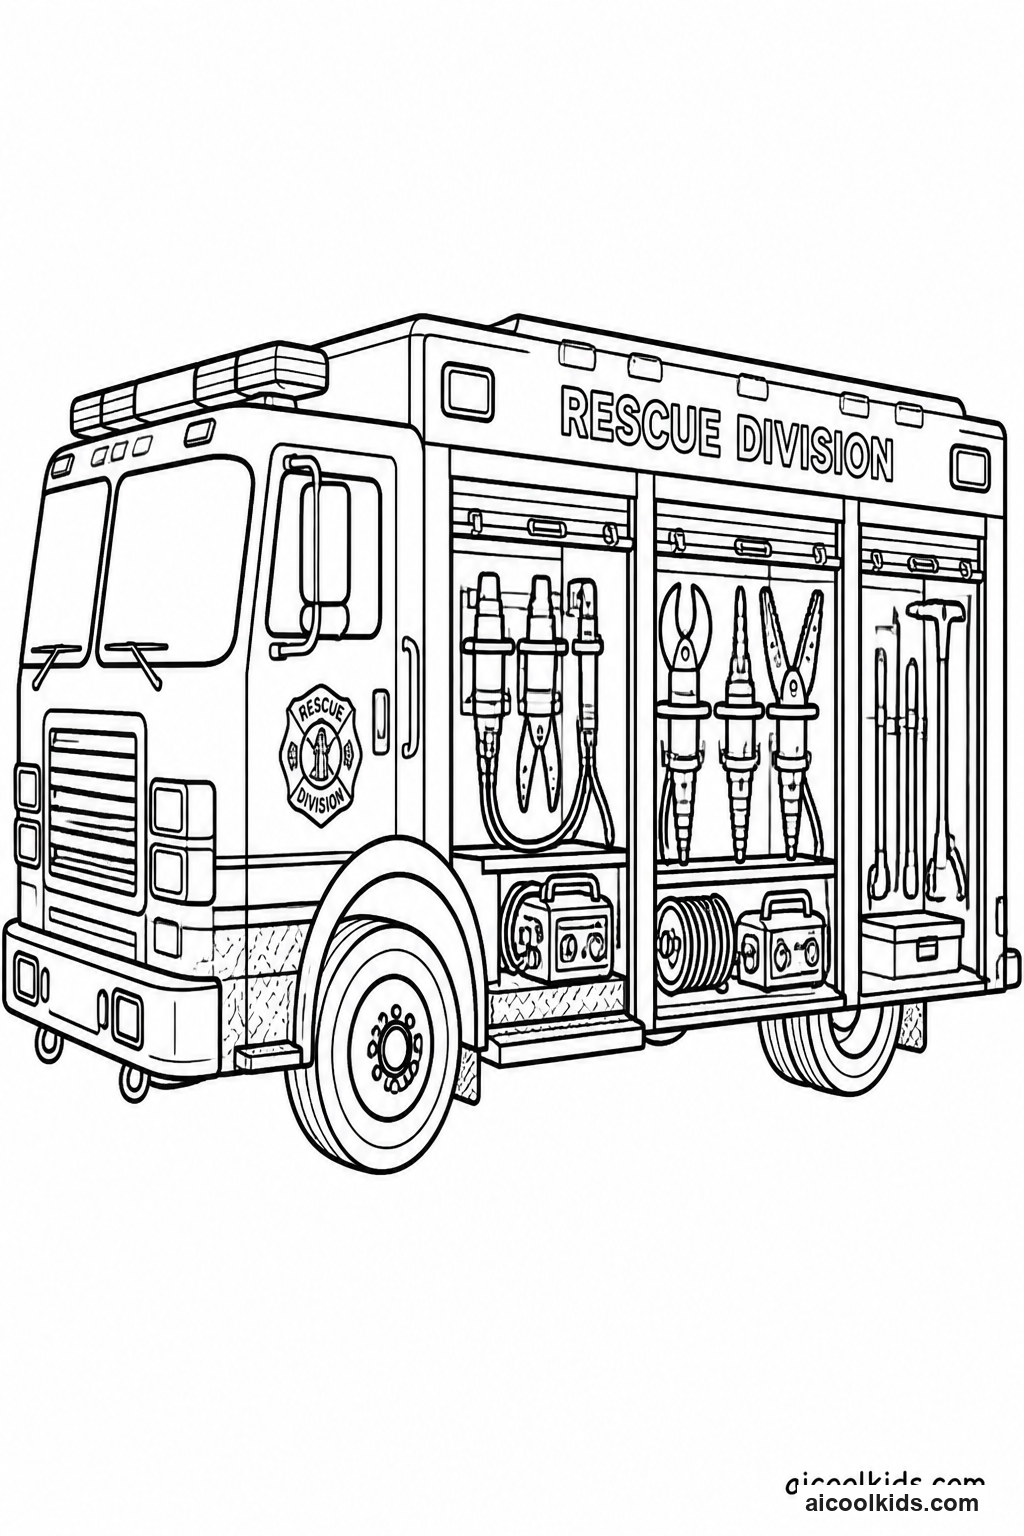
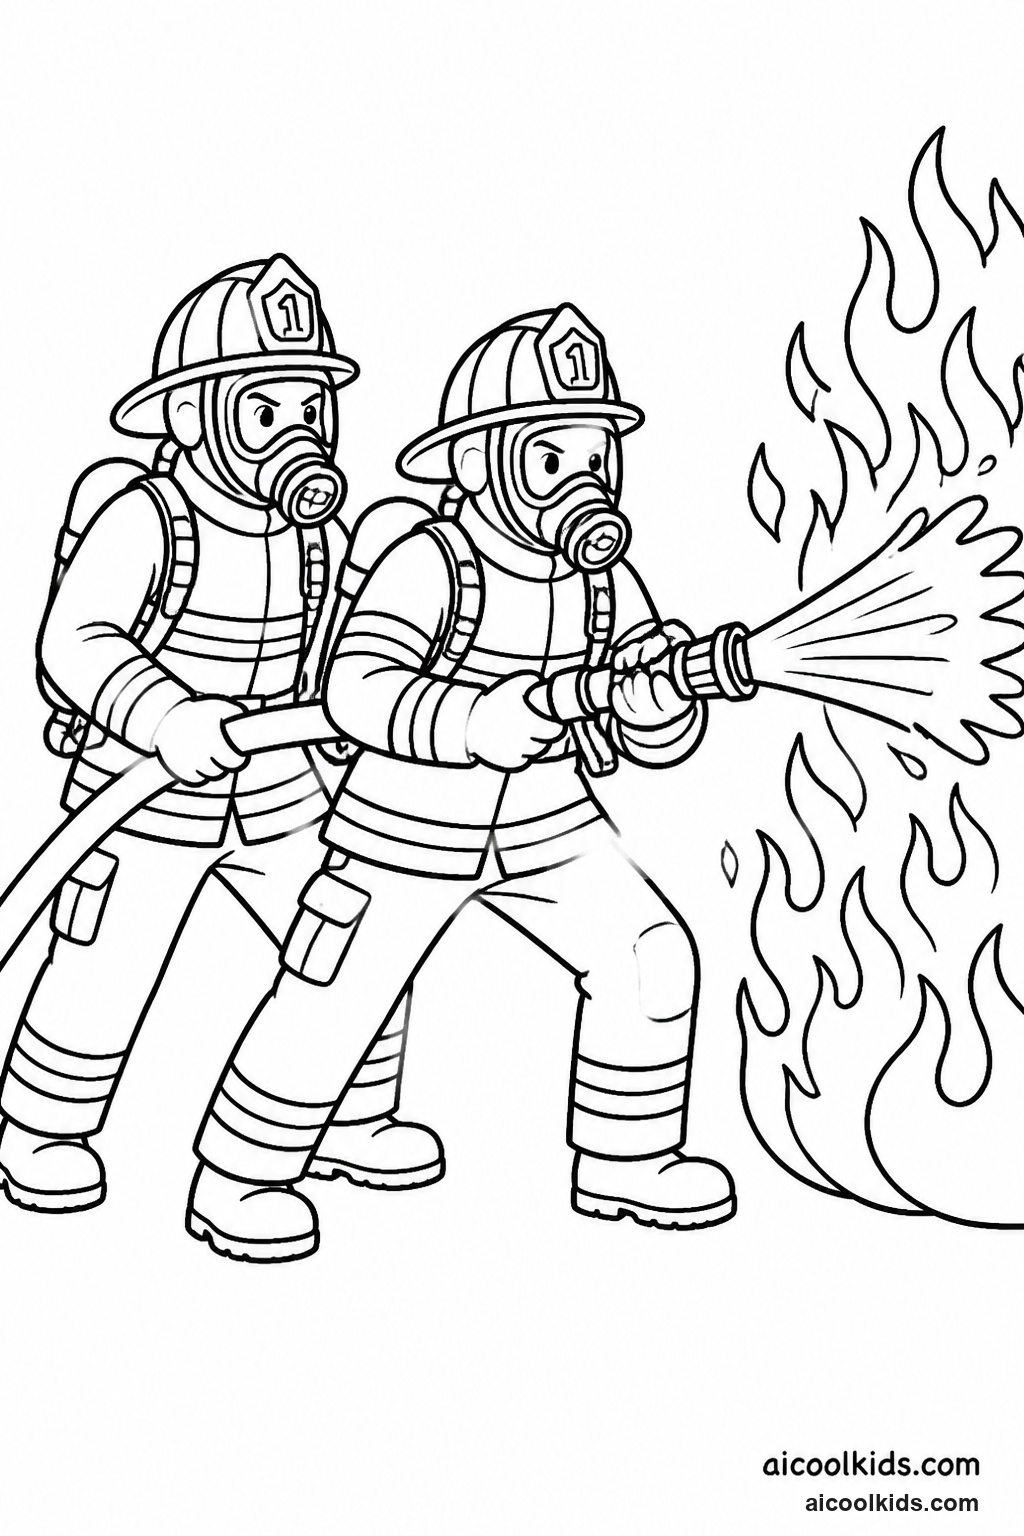
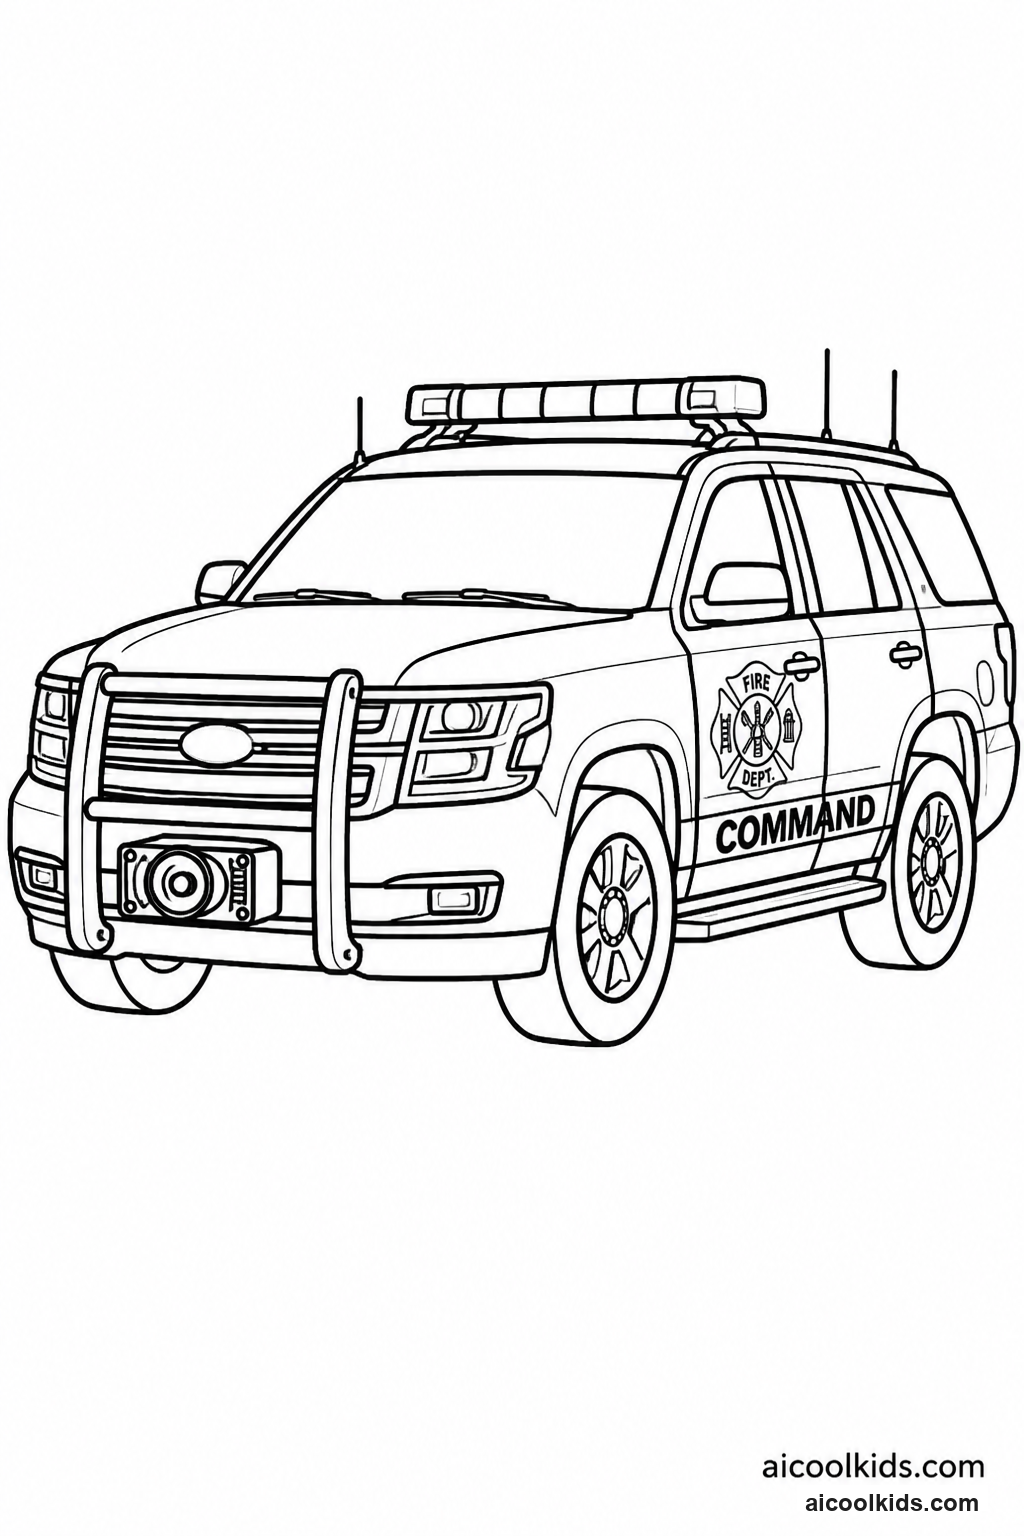
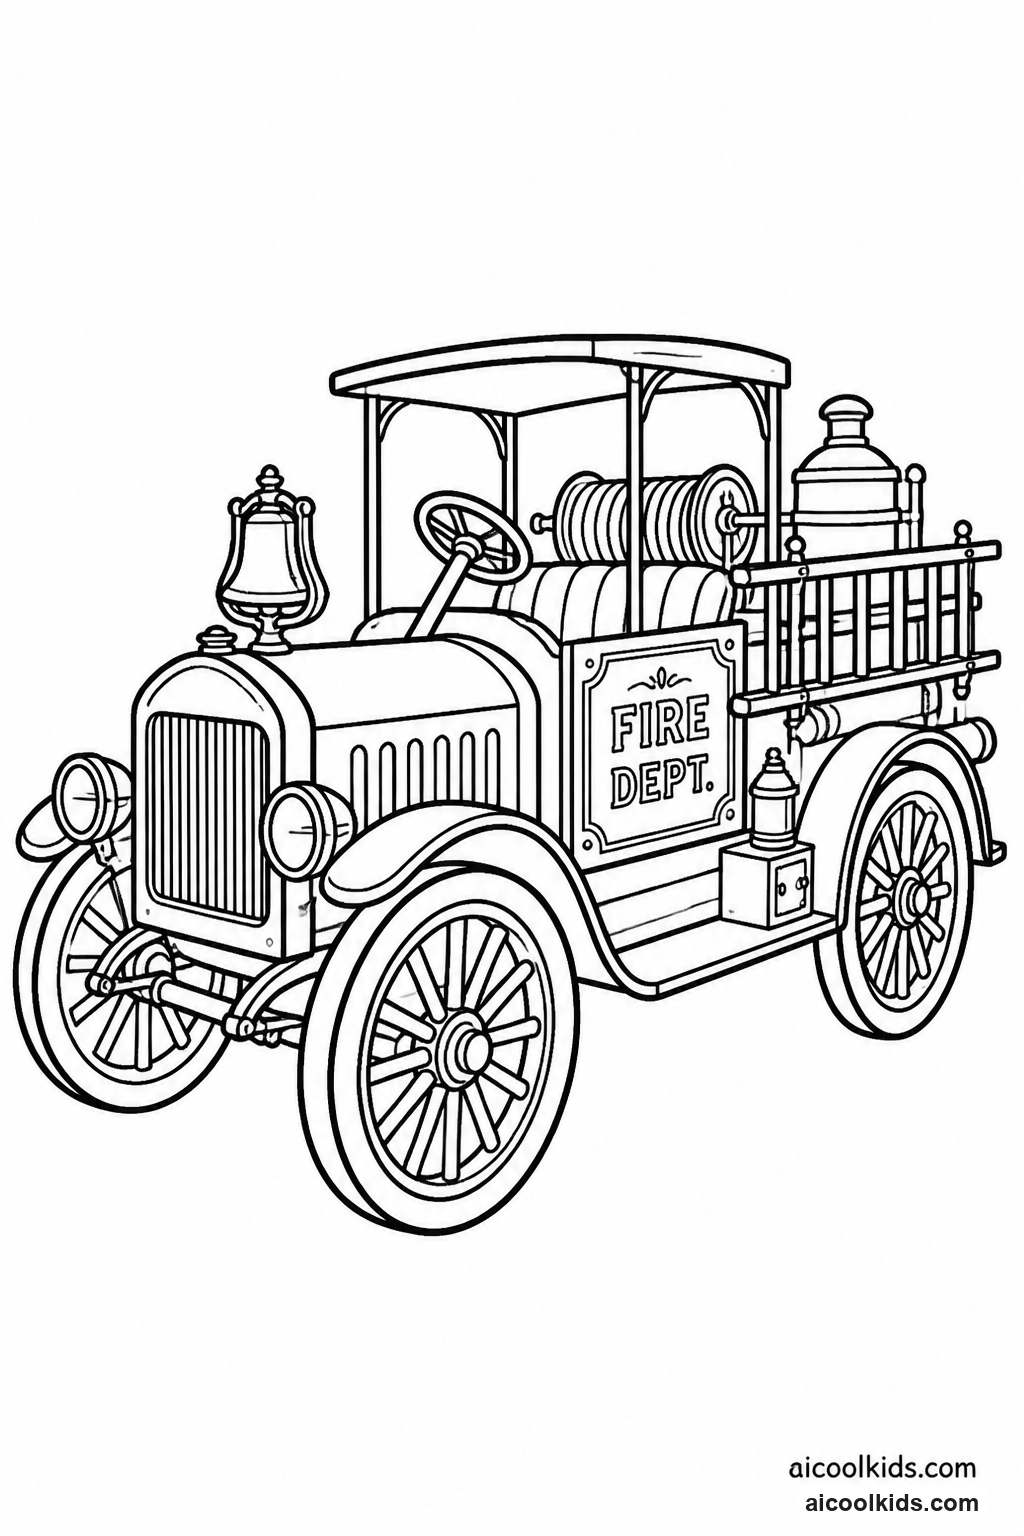
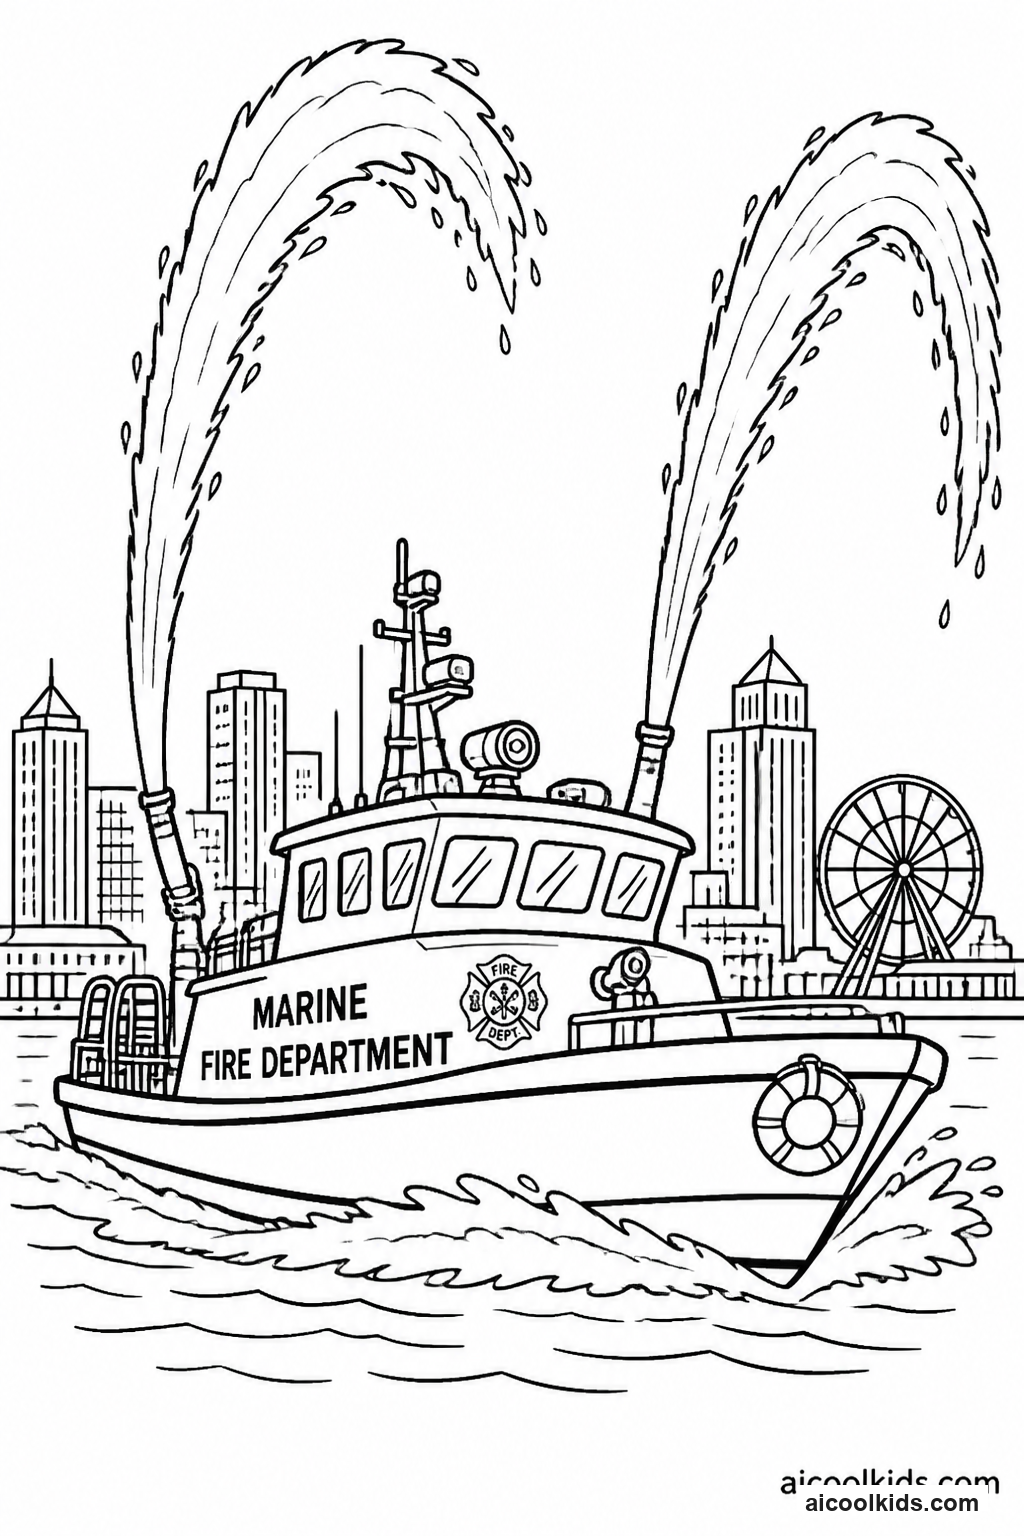
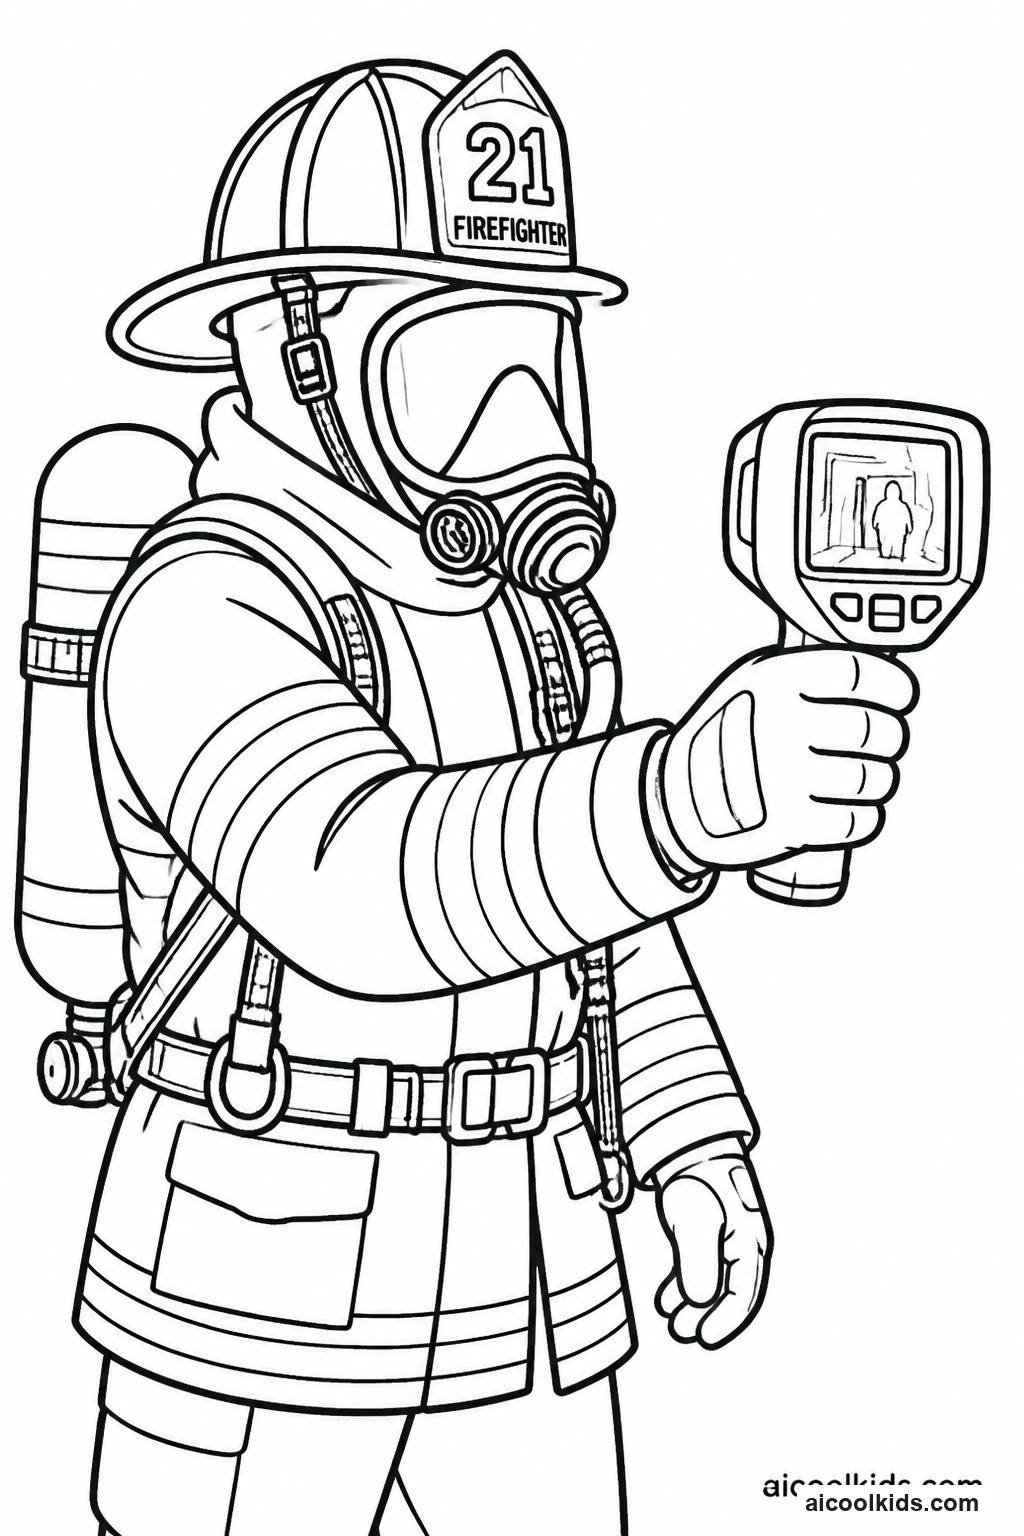
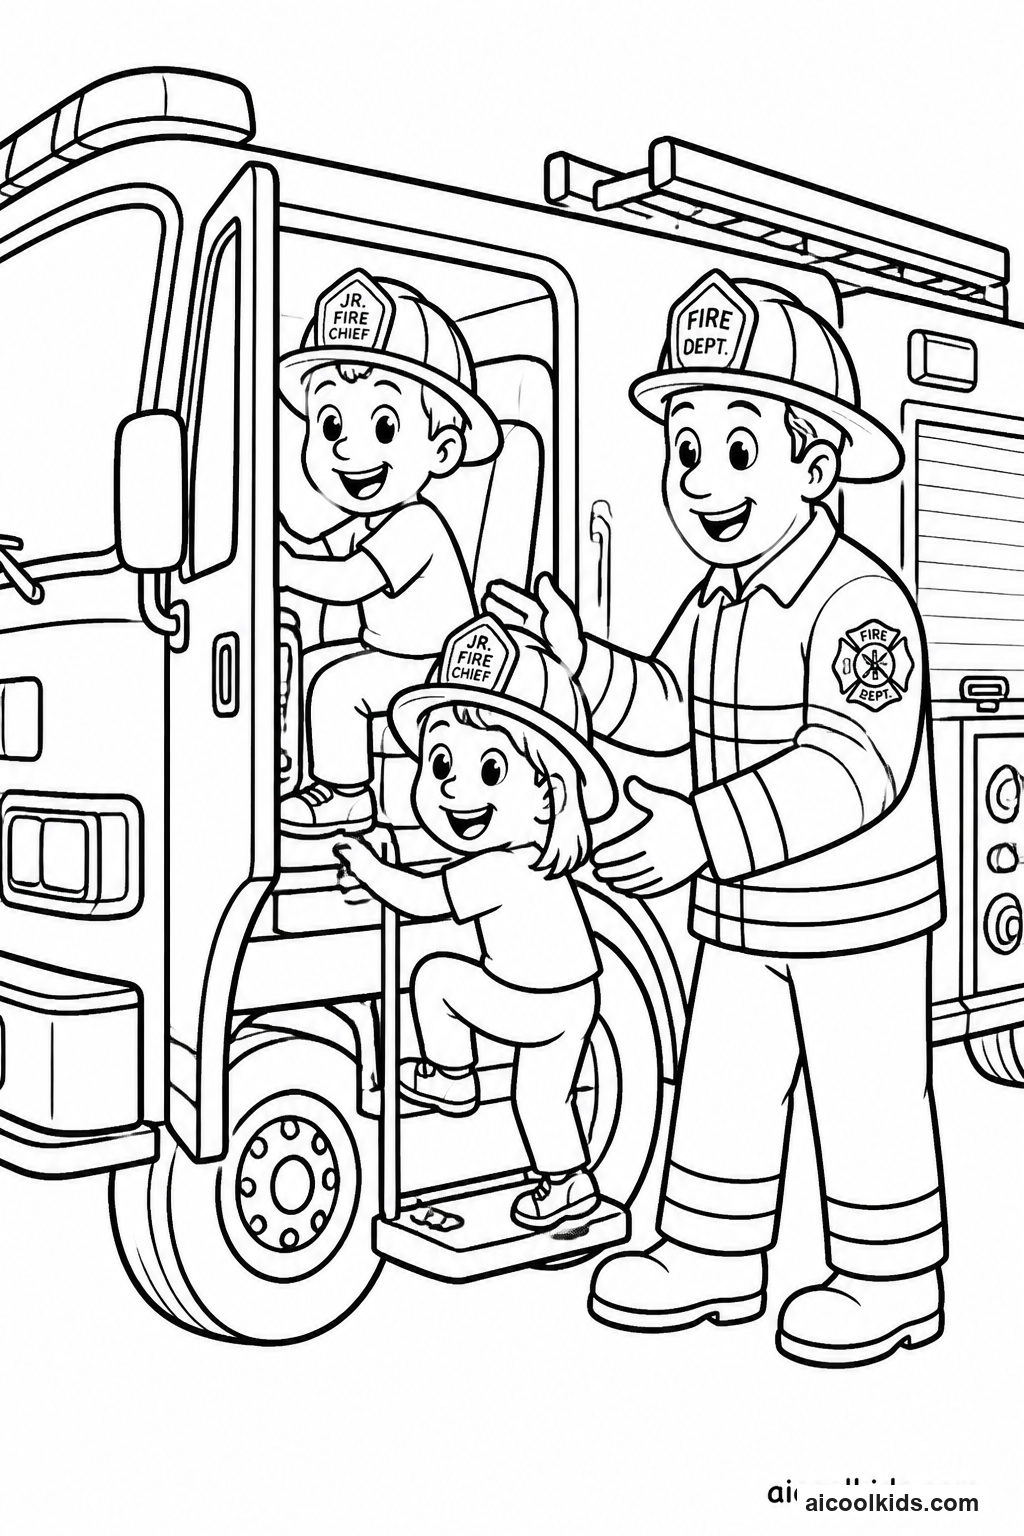
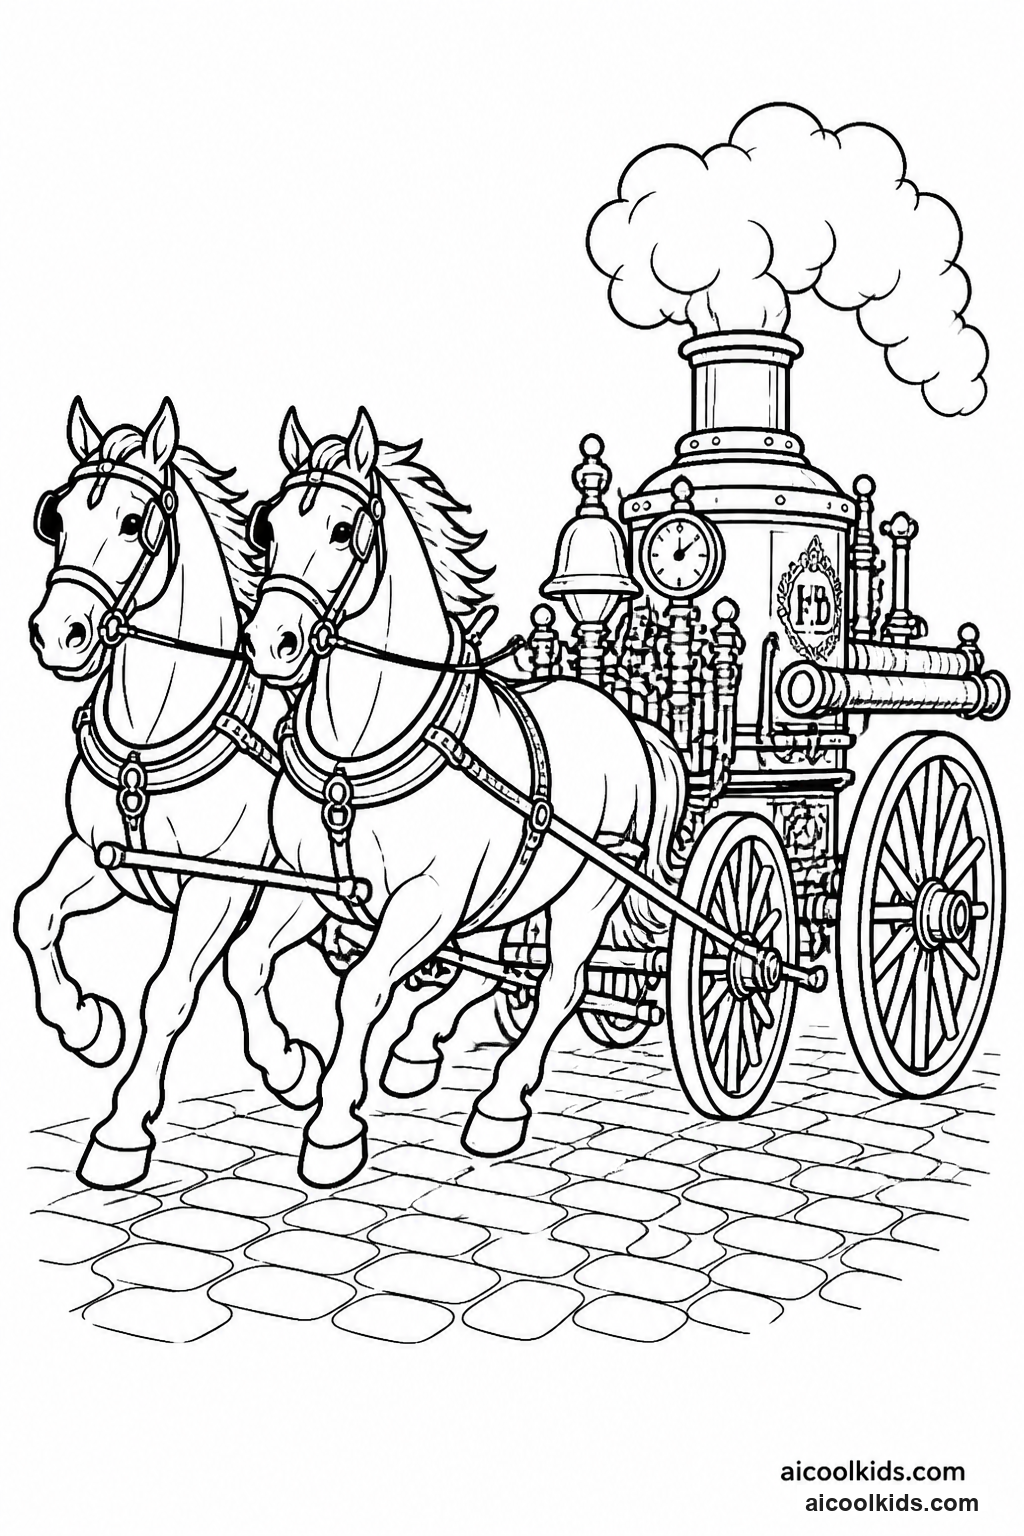
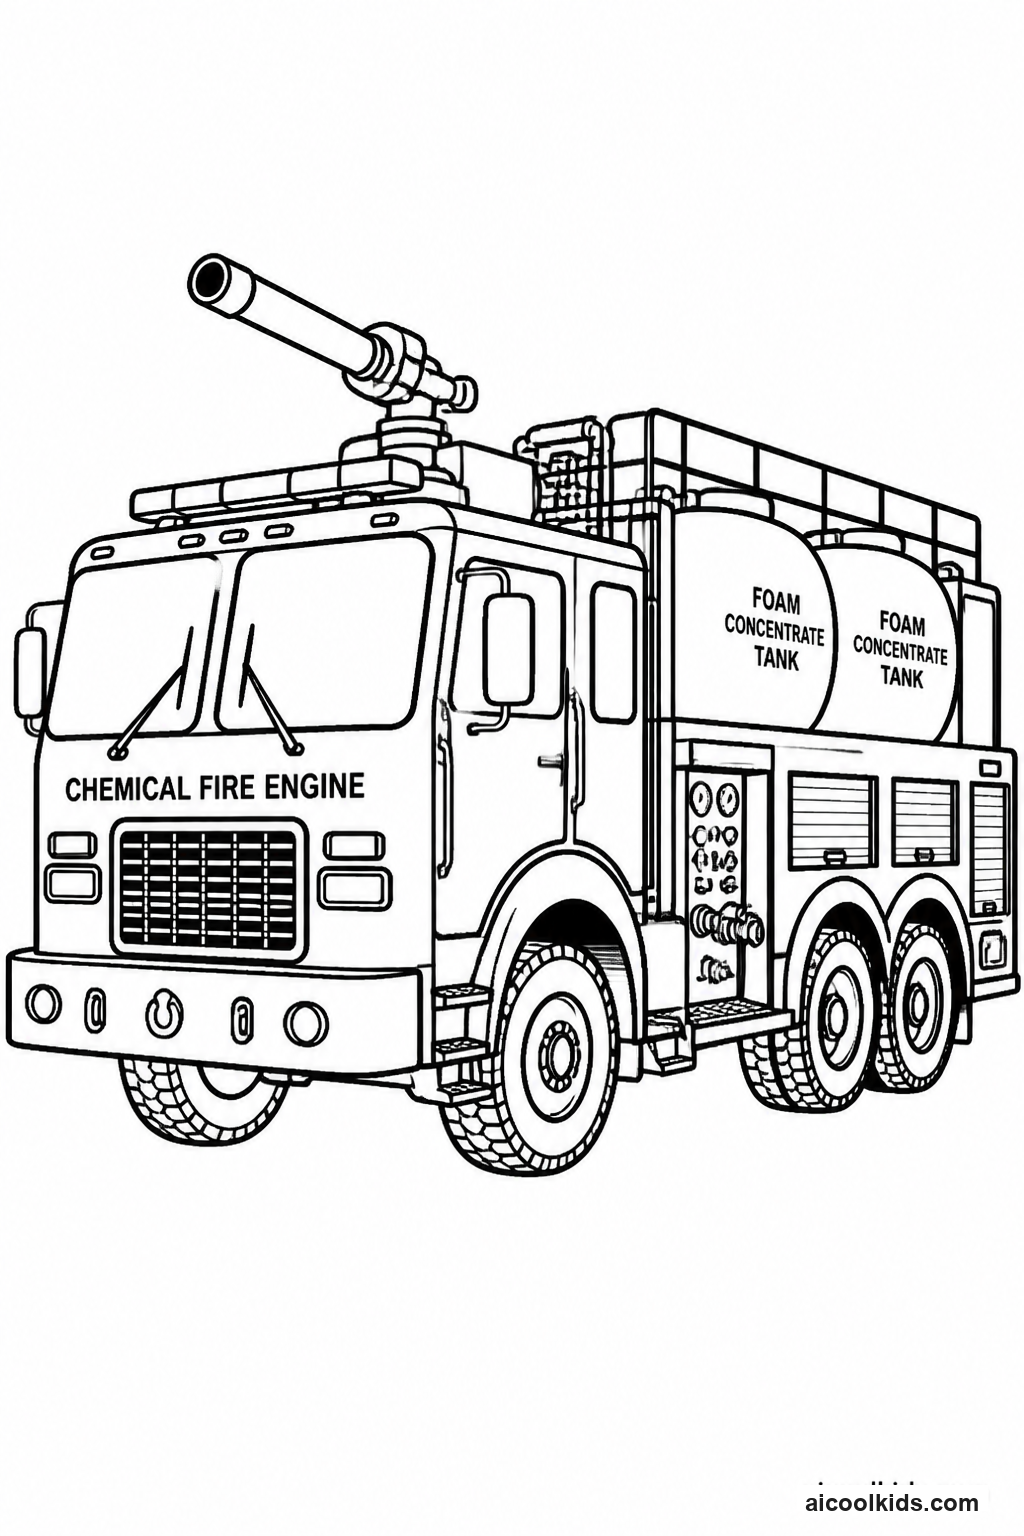
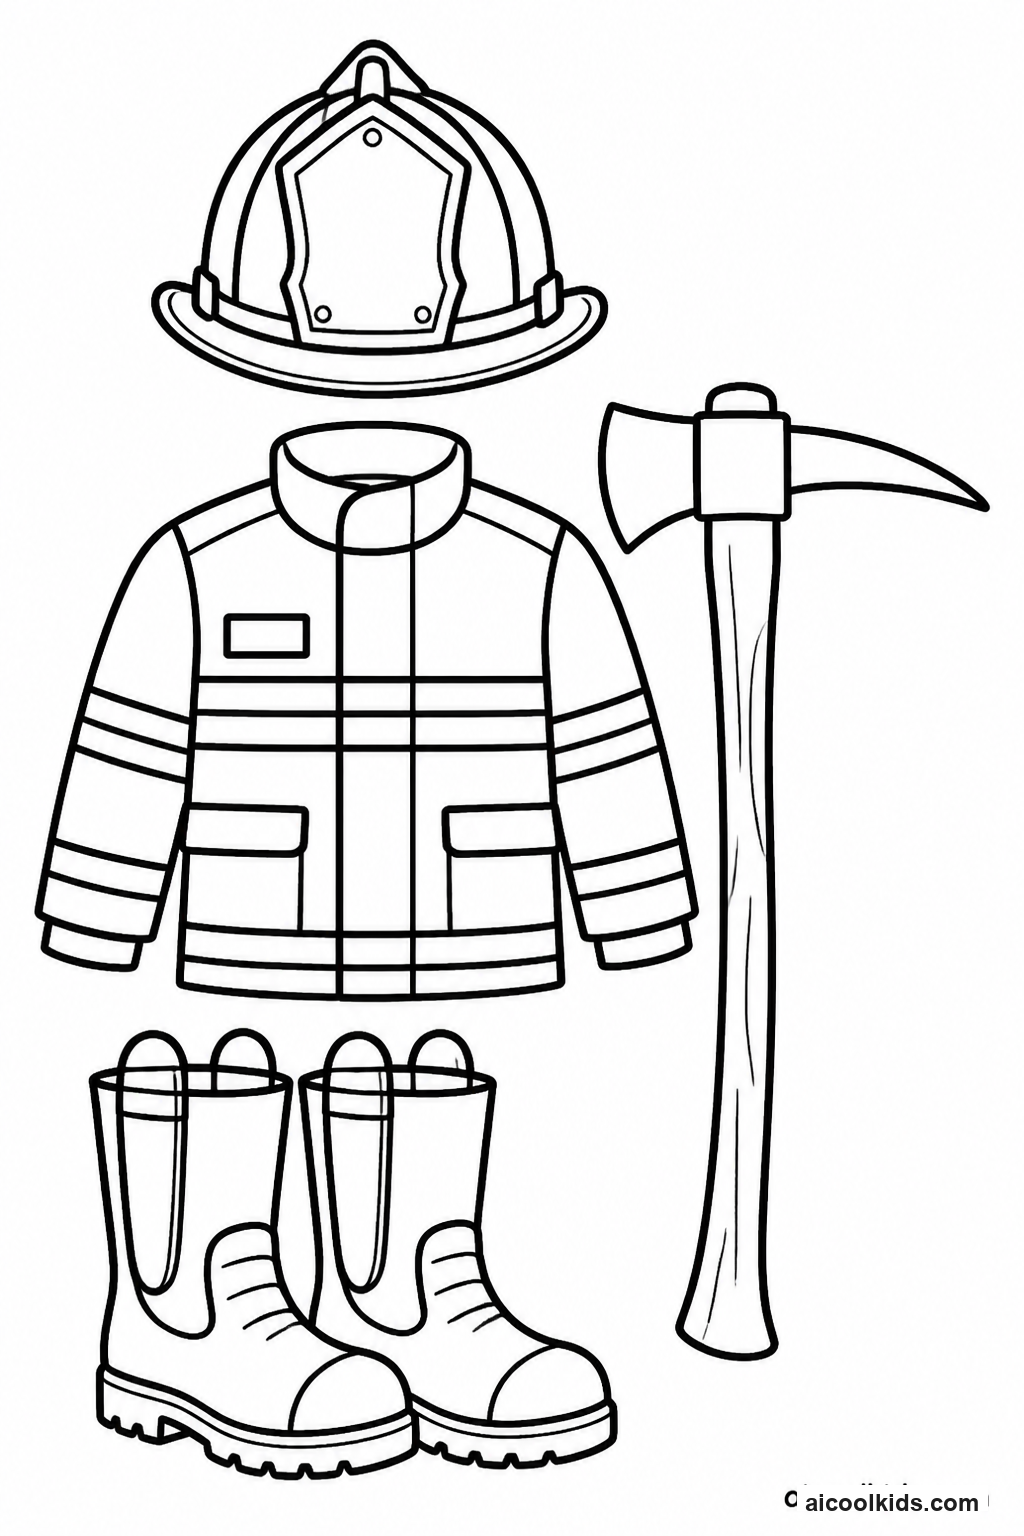
Once the pages are colored, you can turn them into simple projects for home or the classroom. Here are 6 easy craft ideas using supplies you probably already have, like scissors, glue sticks, and construction paper.
1
Build a Layered Fire Truck Rescue Scene
Materials Needed:
Printed fire truck coloring pageCardstock or construction paperCrayons or colored pencilsChild-safe scissorsGlue stickMarkers
Step by Step Guide:
- Choose a fire engine page and color the truck, wheels, windows, lights, and any firefighters shown. Add details with colored pencils or markers, then let marker ink dry before handling the page.
- Cut a wide strip of gray or brown paper for the road and glue it along the bottom of a sheet of cardstock. Add short white or yellow road marks with a crayon or marker.
- Draw or cut out a fire station shape from colored paper. Add large doors, a sign, and a roof, then glue the station behind the road so part of it appears in the background.
- Carefully cut around the colored truck if the printed design is large enough to cut safely. Keep a narrow white border around the outline, then glue the truck over the road and station shapes.
- Add paper trees, clouds, or a hydrant to fill open areas. Write a short caption describing where the crew is going, then display the finished scene.
2
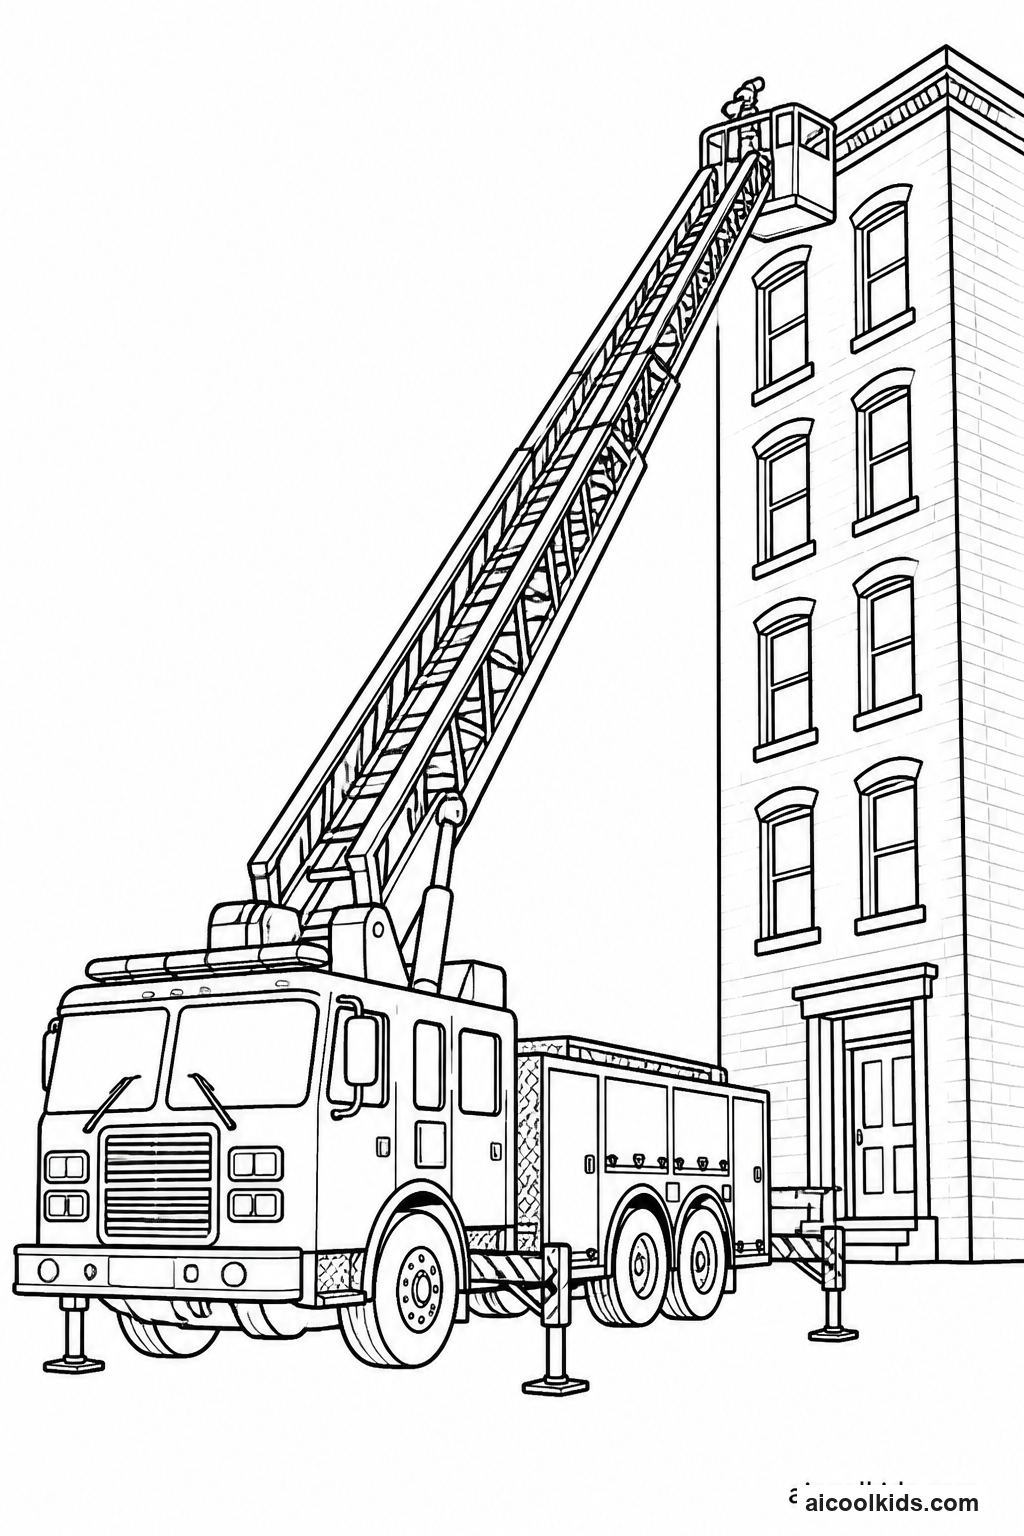
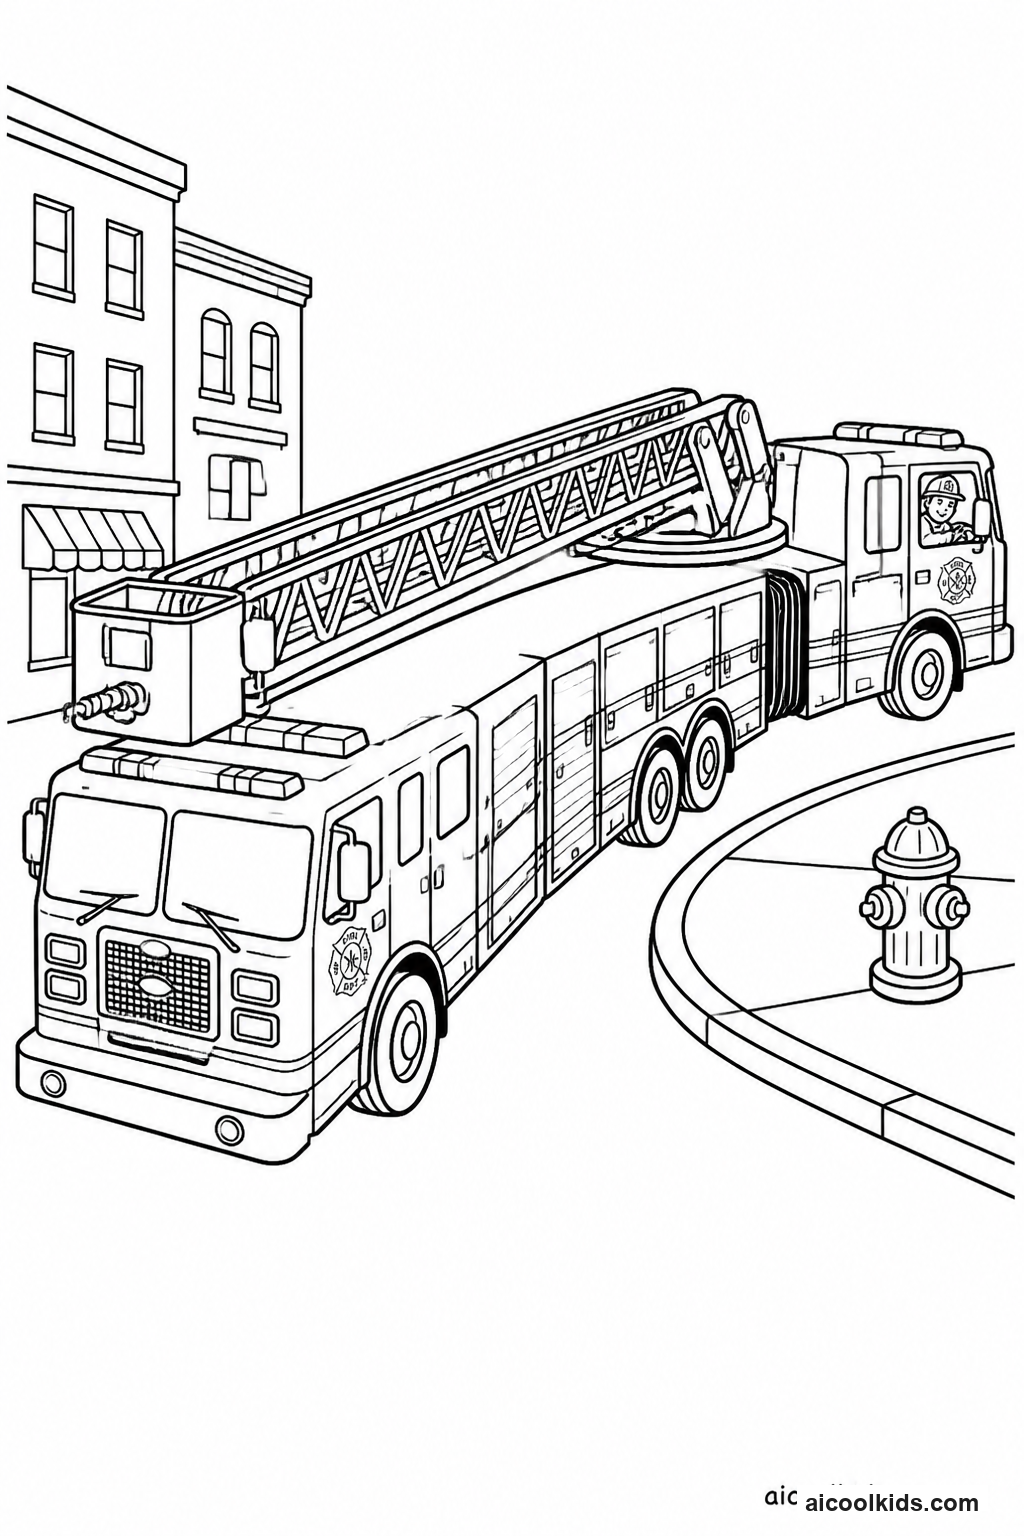
Design a Color-Coded Aerial Ladder Truck
Materials Needed:
Printed aerial ladder fire truck pageWhite paperColored pencils or crayonsRulerPencilFine-tip markers
Step by Step Guide:
- Look over the printed truck and point to the cab, body, wheels, ladder, lights, and any bucket or hose details. Lightly label unfamiliar parts on a separate sheet.
- Draw a small color key on white paper. Write each part name beside a colored square, choosing colors that will be easy to recognize on the finished truck.
- Color the largest truck sections first, using even strokes and leaving small outlines visible. Turn the page as needed so the hand can move comfortably along narrow ladder rails.
- Add a second shade to selected panels, wheel hubs, or ladder sections. Keep the darker color near one edge of a shape to suggest a shadow without covering the main color.
- Use the ruler to draw a neat border around the color key. Place the key beside the finished page and explain how the truck might use its ladder during a rescue.
3
Make a Fire Station Flip-Open Door Display
Materials Needed:
Printed fire truck or fire station coloring pageCardstockConstruction paperColored pencils or crayonsRulerGlue stickChild-safe scissors
Step by Step Guide:
- Color the fire truck or station image, adding clear details to the vehicle and building. If using a truck page, leave room around it for a station frame.
- Fold a piece of cardstock in half. On the front, draw a wide doorway and cut along the top, bottom, and center lines, leaving the outer edges attached as two opening doors.
- Decorate the doors with station numbers, small windows, or handles. Fold each door outward along its attached edge so it can open and close without tearing.
- Glue the colored truck image inside the folded cardstock, placing it where it appears parked behind the doors. Add paper shelves or equipment beside the truck if there is room.
- Open the doors and add a short call-response sentence inside, such as a crew preparing to leave. Close the doors for display, then open them to share the scene with a partner.
4
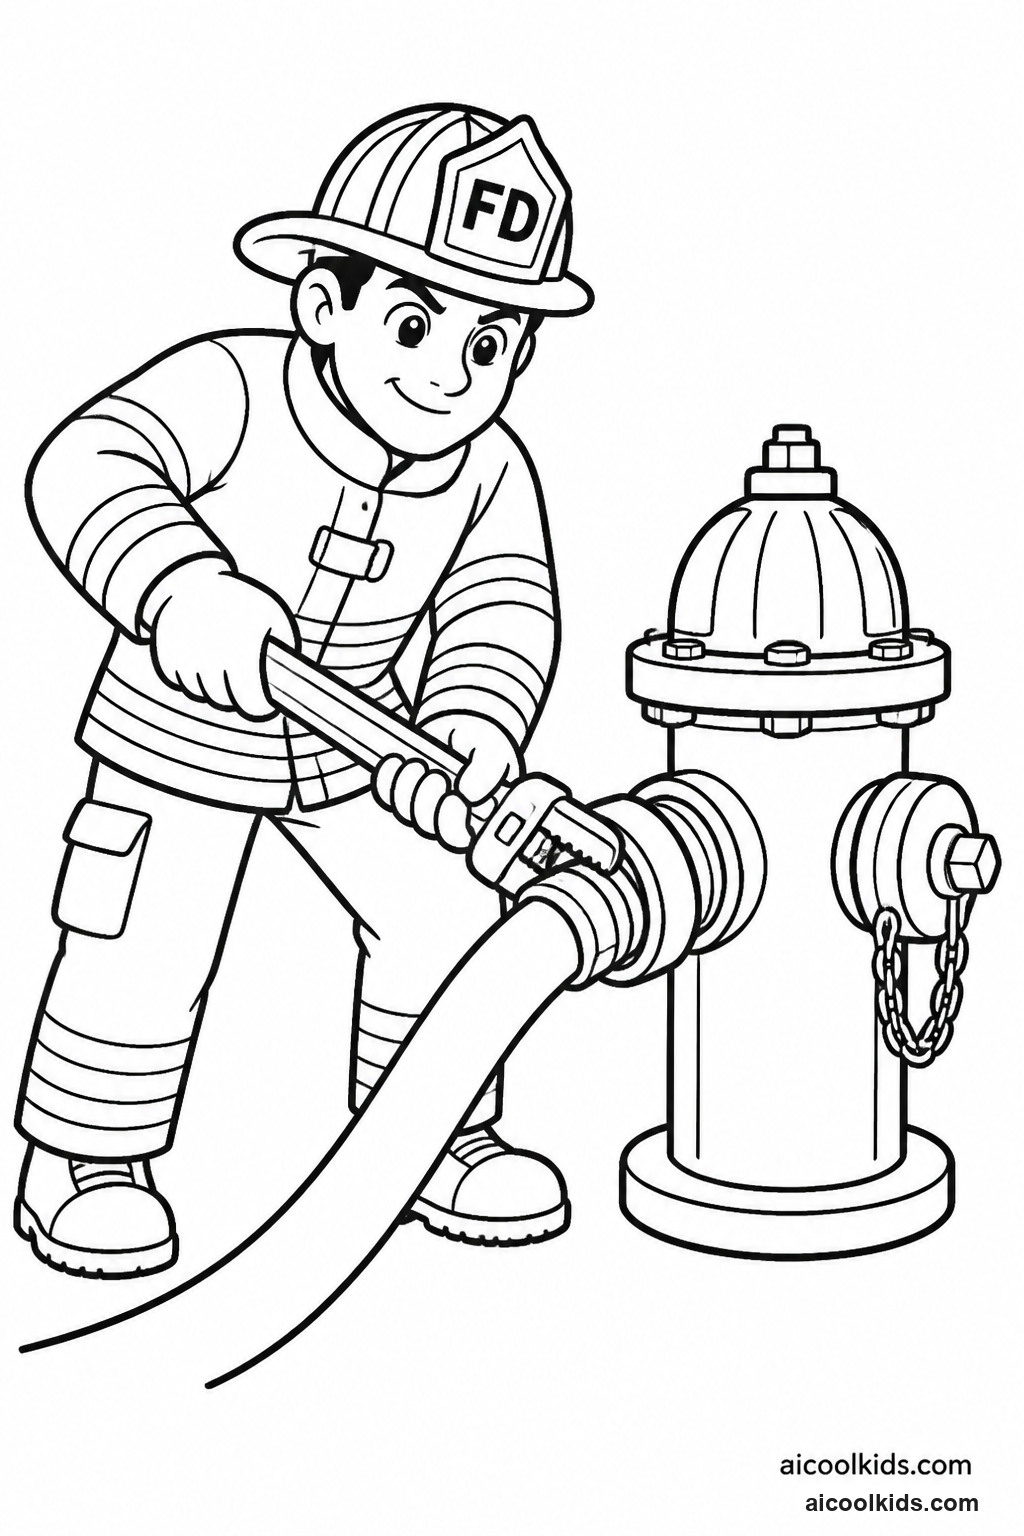
Create a Firefighter Rescue Storyboard
Materials Needed:
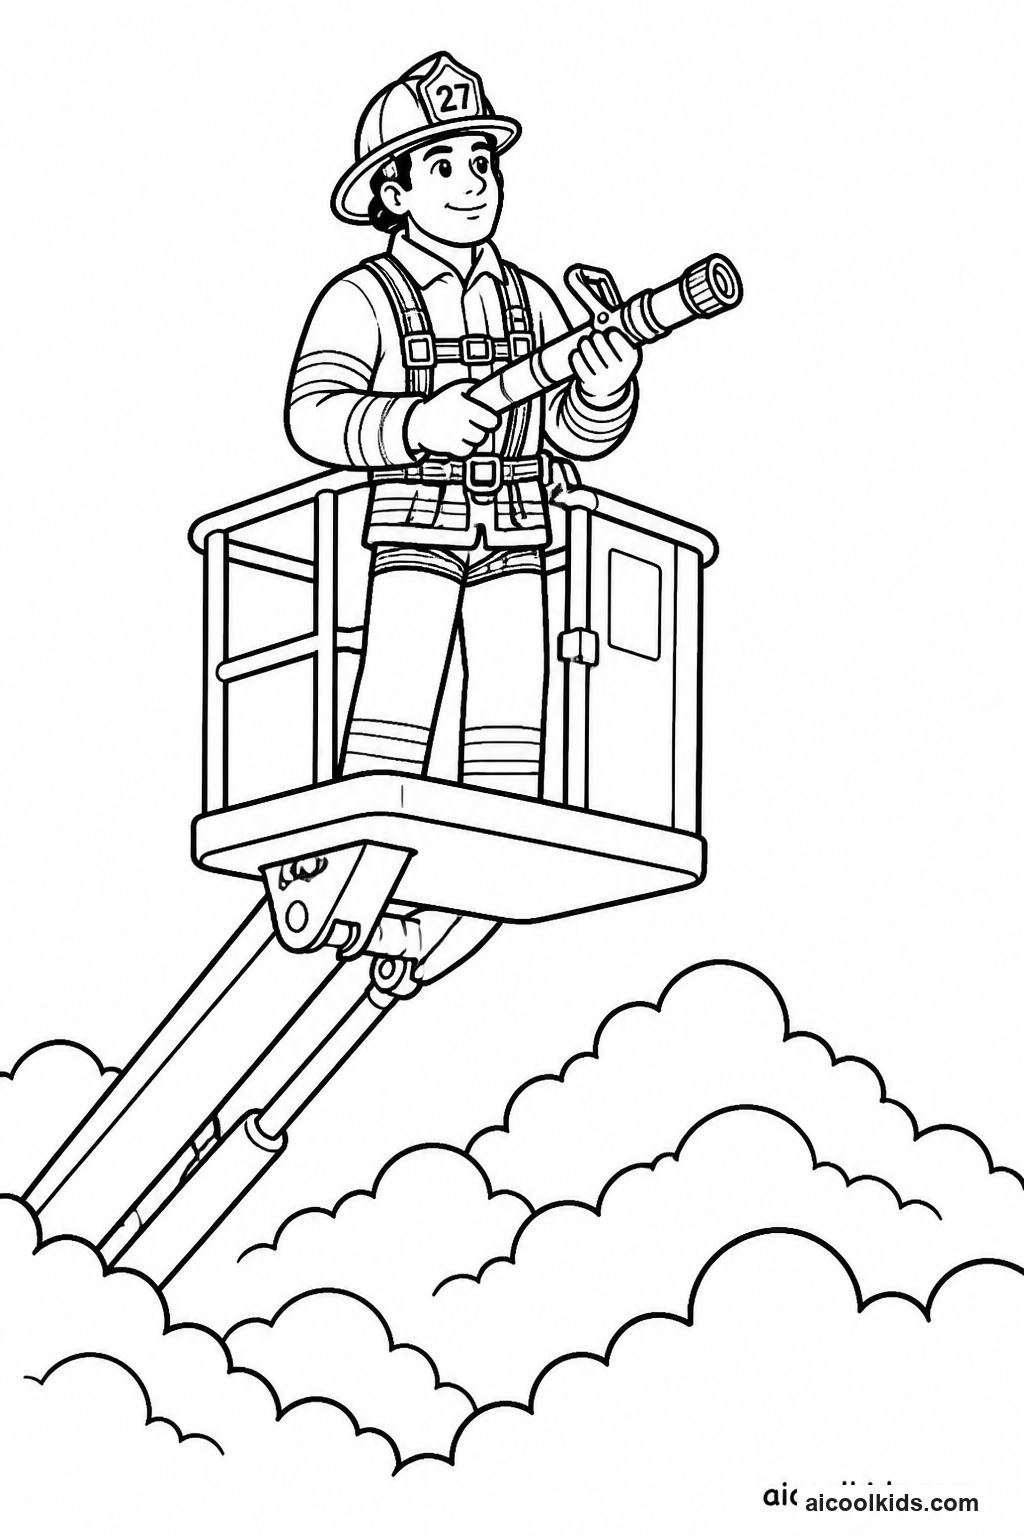
Three printed fire truck or firefighter pagesDrawing paperCrayons or colored pencilsPencilEraserRulerMarkers
Step by Step Guide:
- Choose three pages that can show a beginning, middle, and ending, or divide a large sheet into three equal frames using a ruler and pencil.
- Color each frame with a consistent palette so the same truck and crew look connected throughout the story. Add background details that help identify the station or location.
- Write one short caption below each frame. Describe what the crew is doing in clear, reassuring language, and leave room for a reader to understand the order of events.
- Draw arrows between frames and add speech bubbles if useful. Use a pencil first for words and shapes, then trace the final lines with a marker after checking spelling.
- Read the storyboard aloud to a partner or family member. Ask the listener to describe one way the crew worked together, then revise any frame that needs a clearer detail.
5
Make a Fire Truck Texture and Pattern Sampler
Materials Needed:
Printed fire truck coloring pageColored pencilsCrayonsPlain paperPencilEraserWashable markers
Step by Step Guide:
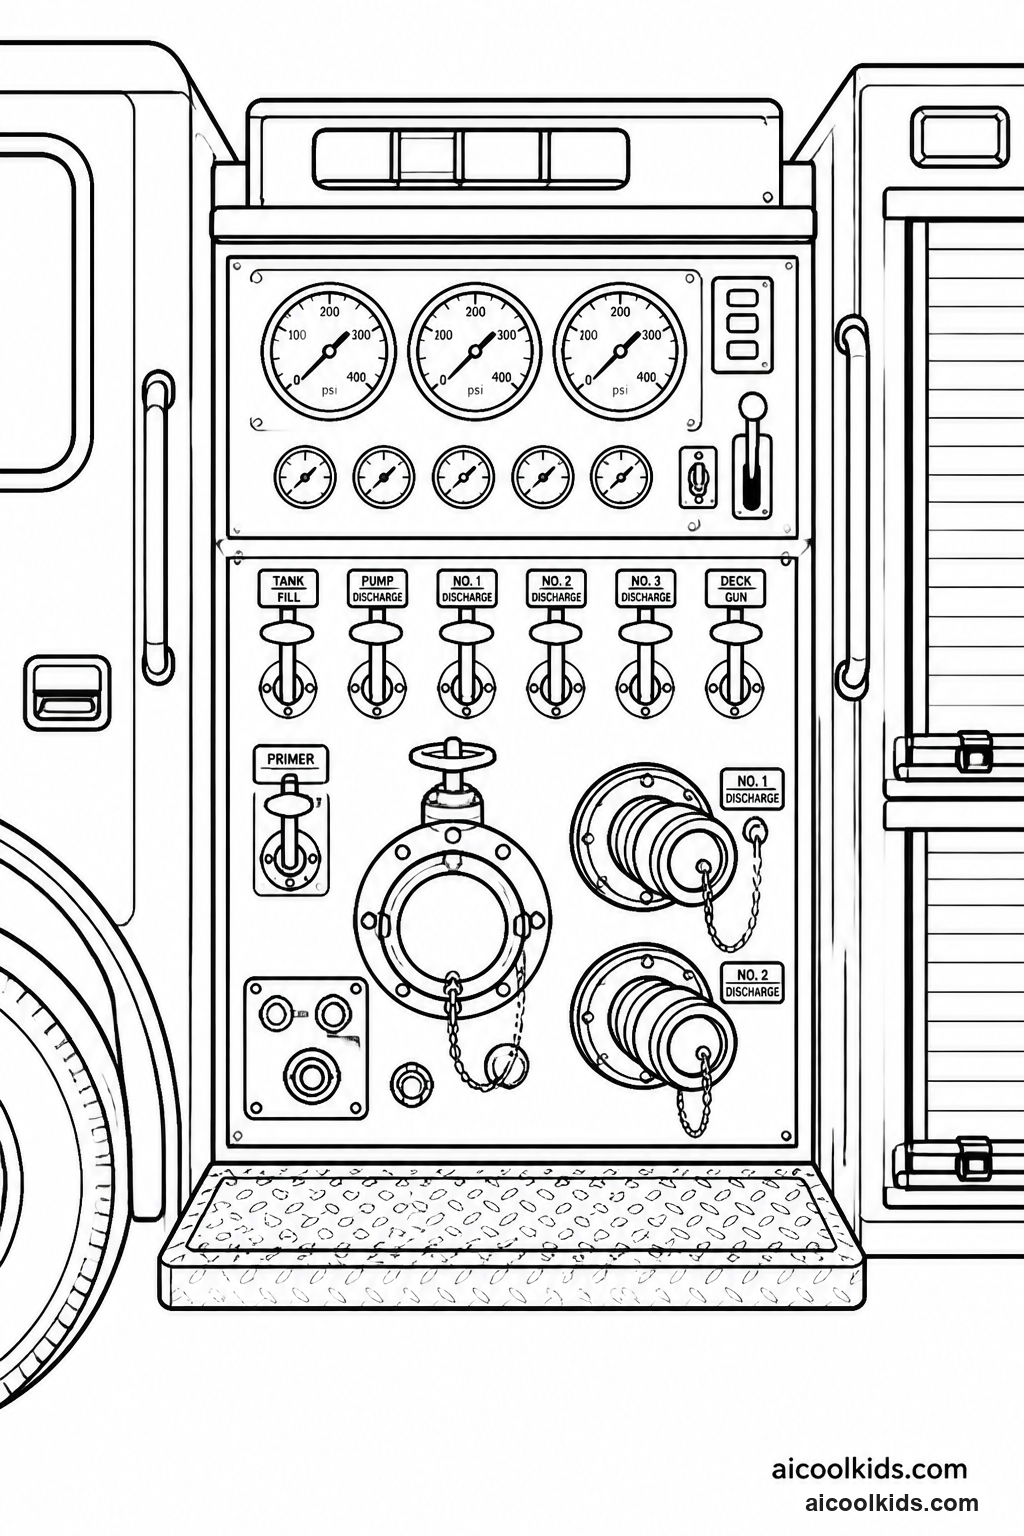
- Choose a truck page with visible sections such as tires, ladder rails, windows, and body panels. Lightly mark a small sampler area in a page corner or on separate paper.
- Test four patterns in the sampler, such as parallel lines, dots, small circles, and crosshatching. Keep each sample small and use a different color for easy comparison.
- Assign a pattern to several truck parts. Use short strokes for tire treads, repeated lines for the ladder, and dots or small blocks for reflective panels.
- Color larger areas around the patterns with a light base shade. Leave enough space between marks so small details remain visible and do not merge into a dark patch.
- Label each pattern in the sampler and point to where it appears on the truck. Share which tool gave the clearest marks and what surface each pattern suggests.
6
Build a Fire Station Community Map
Materials Needed:
Printed fire station or fire truck coloring pageLarge sheet of drawing paperCrayons or colored pencilsMarkersRulerPencilGlue stickChild-safe scissors
Step by Step Guide:
- Color the station or truck page and decide where it will sit on the map. Glue it onto one edge or draw a station symbol directly on the large sheet.
- Use a pencil and ruler to add two or three simple roads that connect the station to nearby places. Leave wide spaces for buildings, trees, and open areas.
- Draw or cut out a school, park, library, home, or other familiar community place. Color each location clearly and arrange it beside a road.
- Make a map key with a small symbol and label for each place. Add street names or a simple compass rose if the learner is ready for extra detail.
- Trace a possible route from the station to one location with a colored line. Explain that the map is an art and learning model, then describe the places shown.