Parent & Teacher Craft Guide
6 Creative Learning & Craft Ideas for Train Coloring Pages
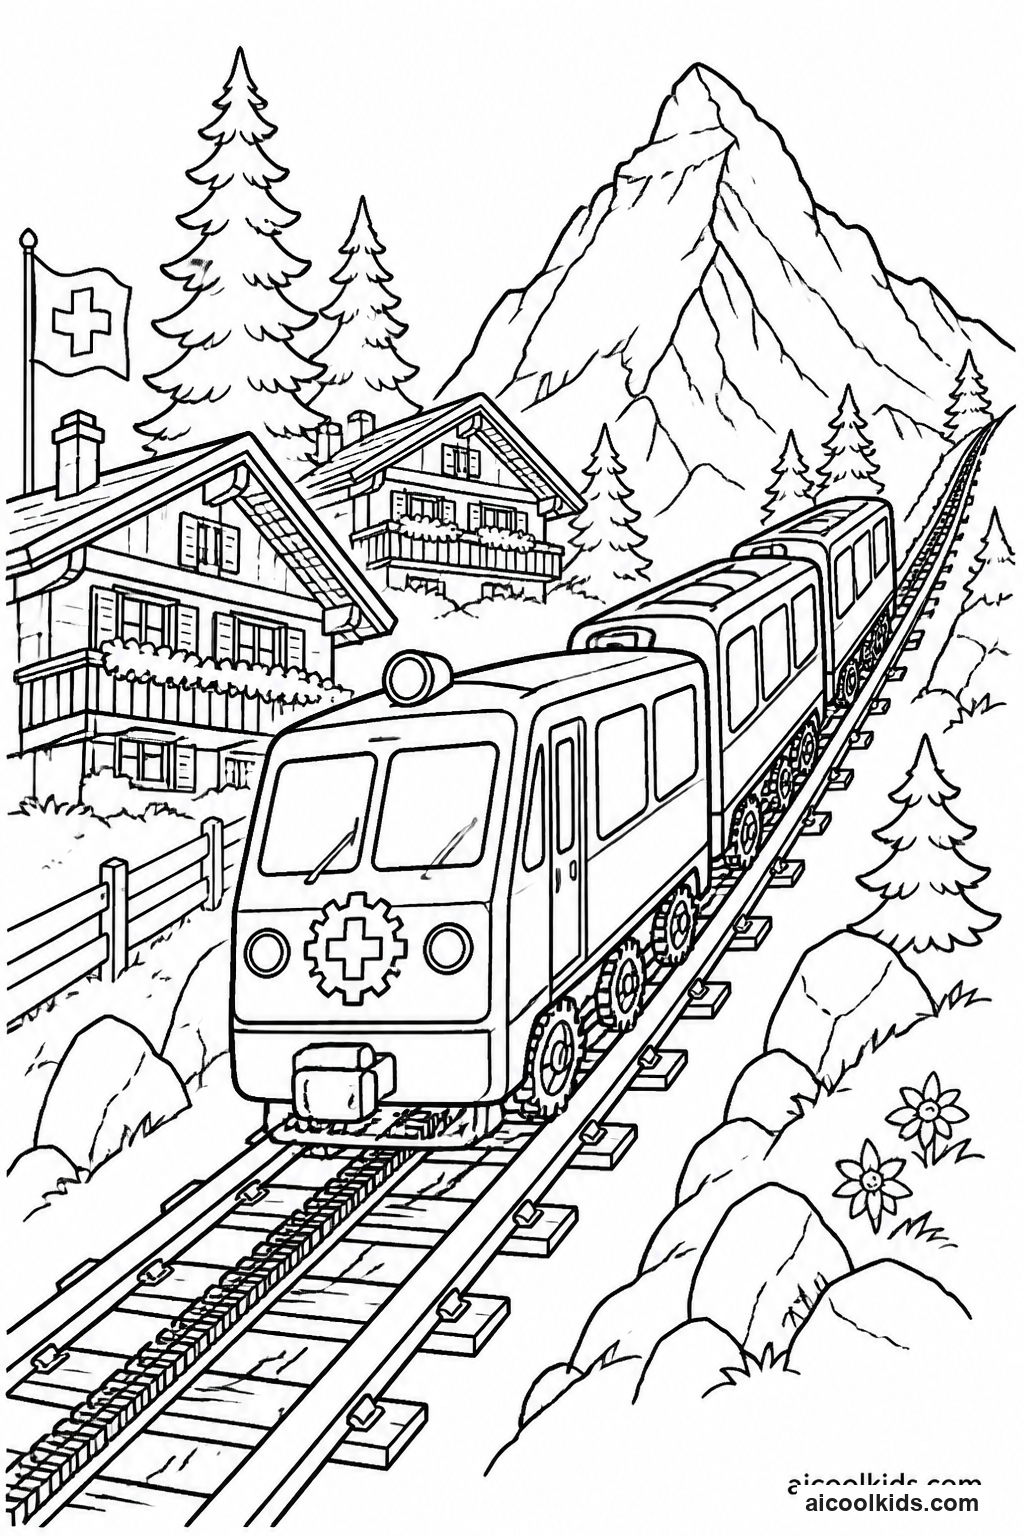
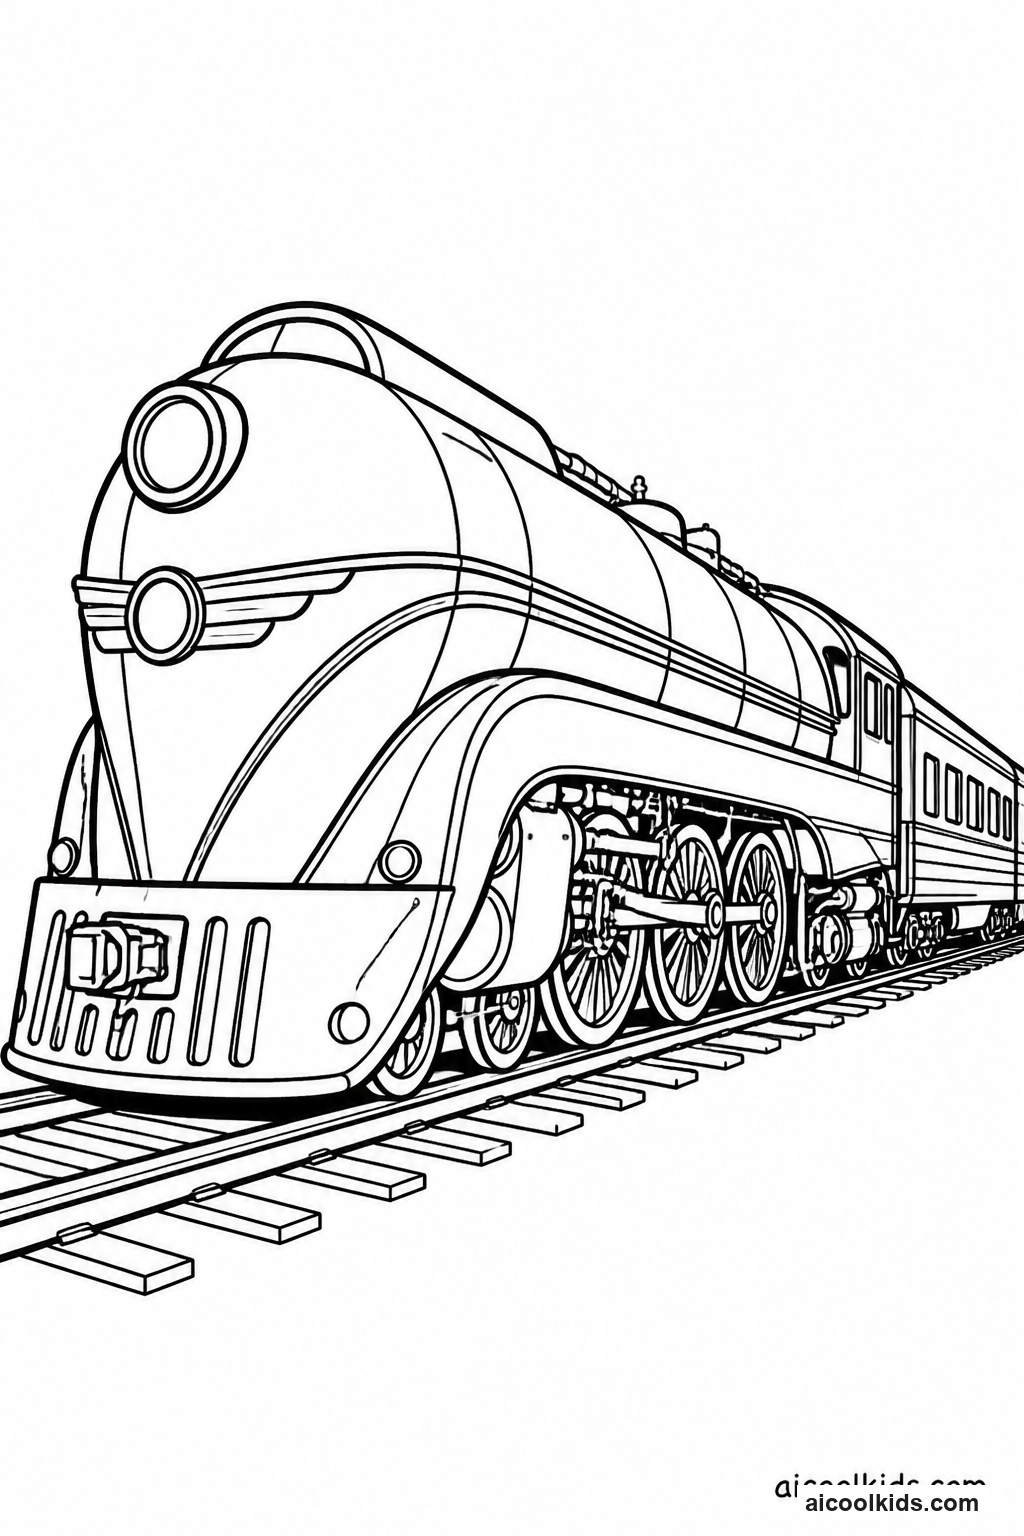
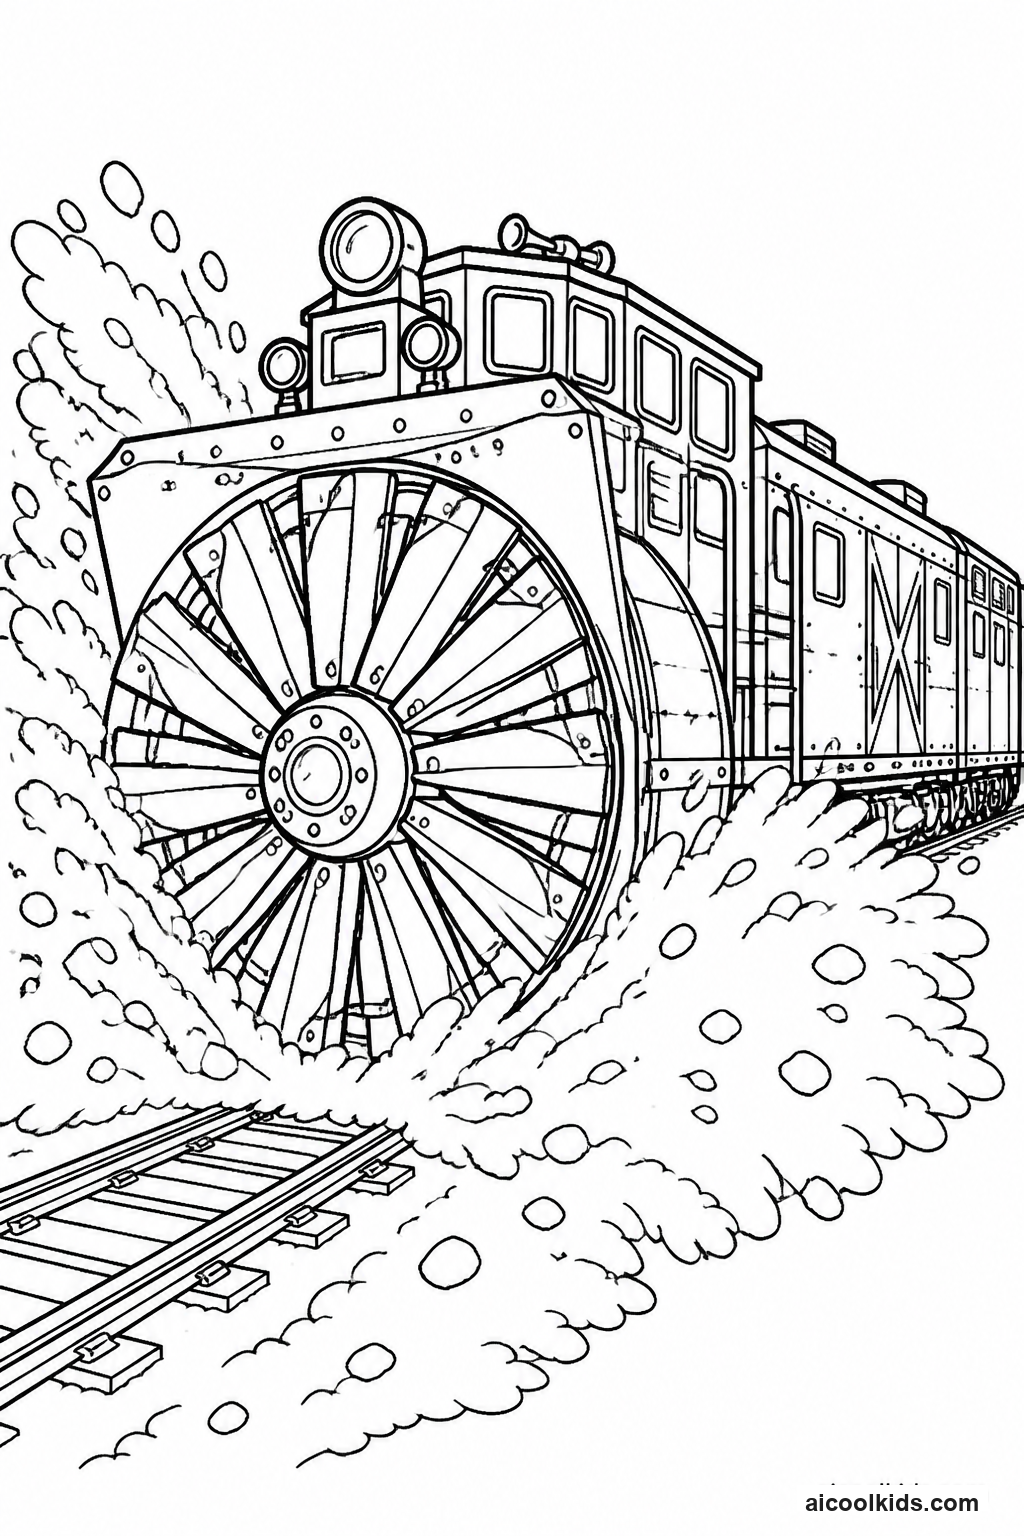
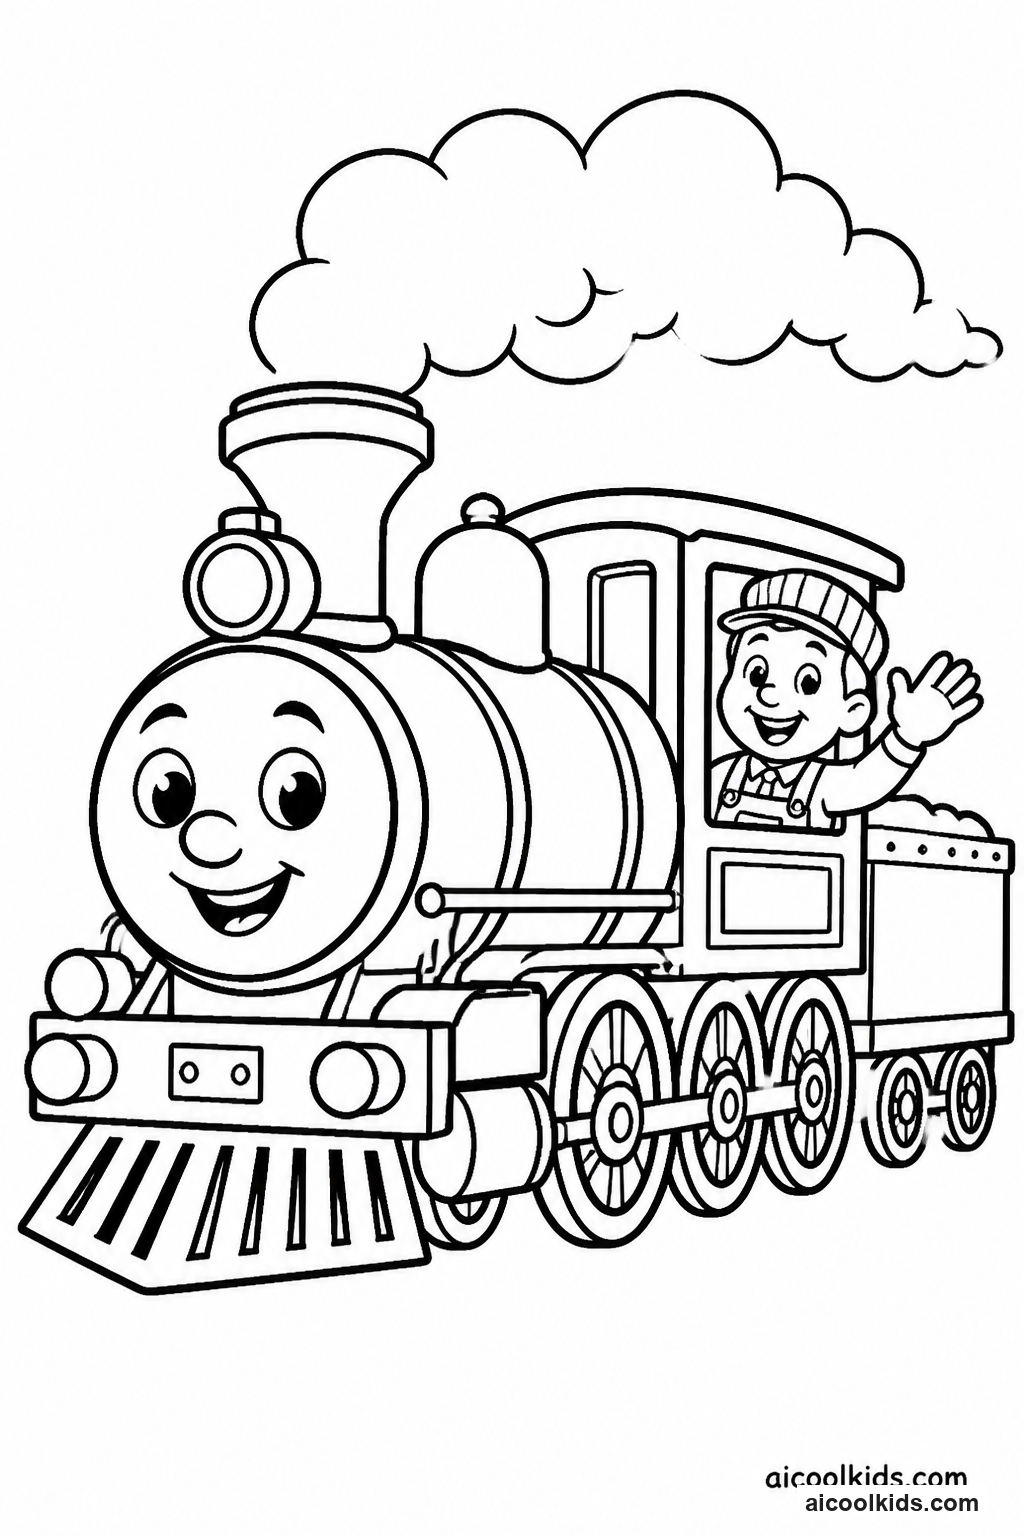
Once the pages are colored, you can turn them into simple projects for home or the classroom. Here are 6 easy craft ideas using supplies you probably already have, like scissors, glue sticks, and construction paper.
1
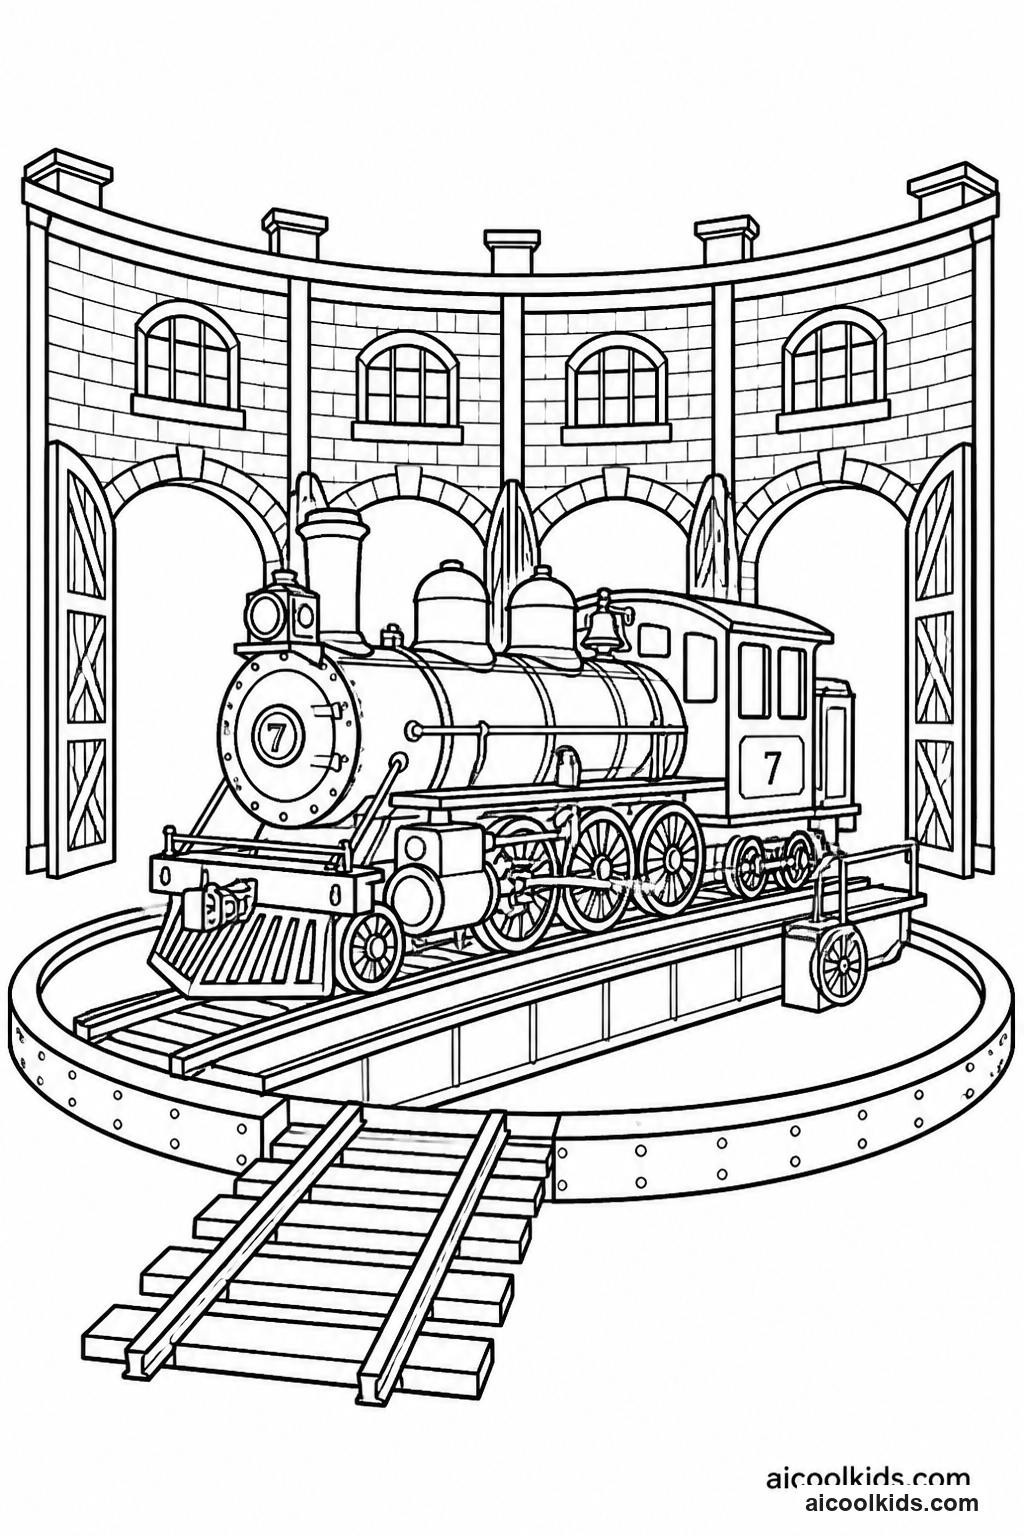
Build a Layered Steam Locomotive Scene
Materials Needed:
Printed steam locomotive coloring pageCardstock or heavyweight drawing paperColored pencils or crayonsConstruction paper in several colorsChild-safe scissorsGlue stickBlack markerCotton balls
Step by Step Guide:
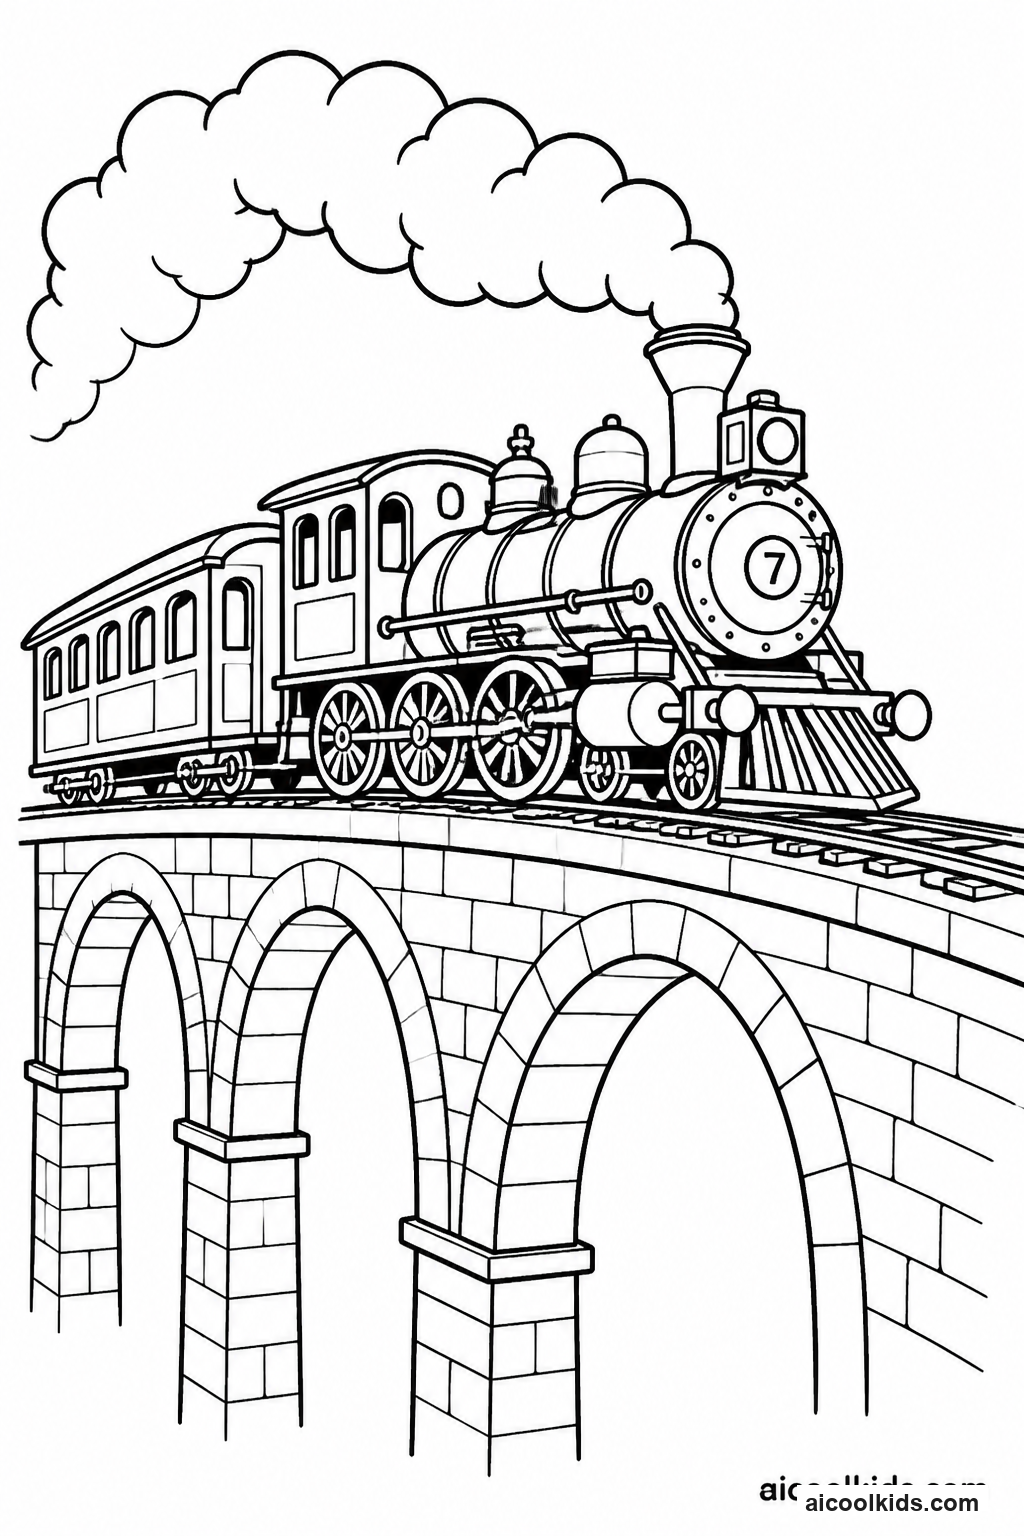
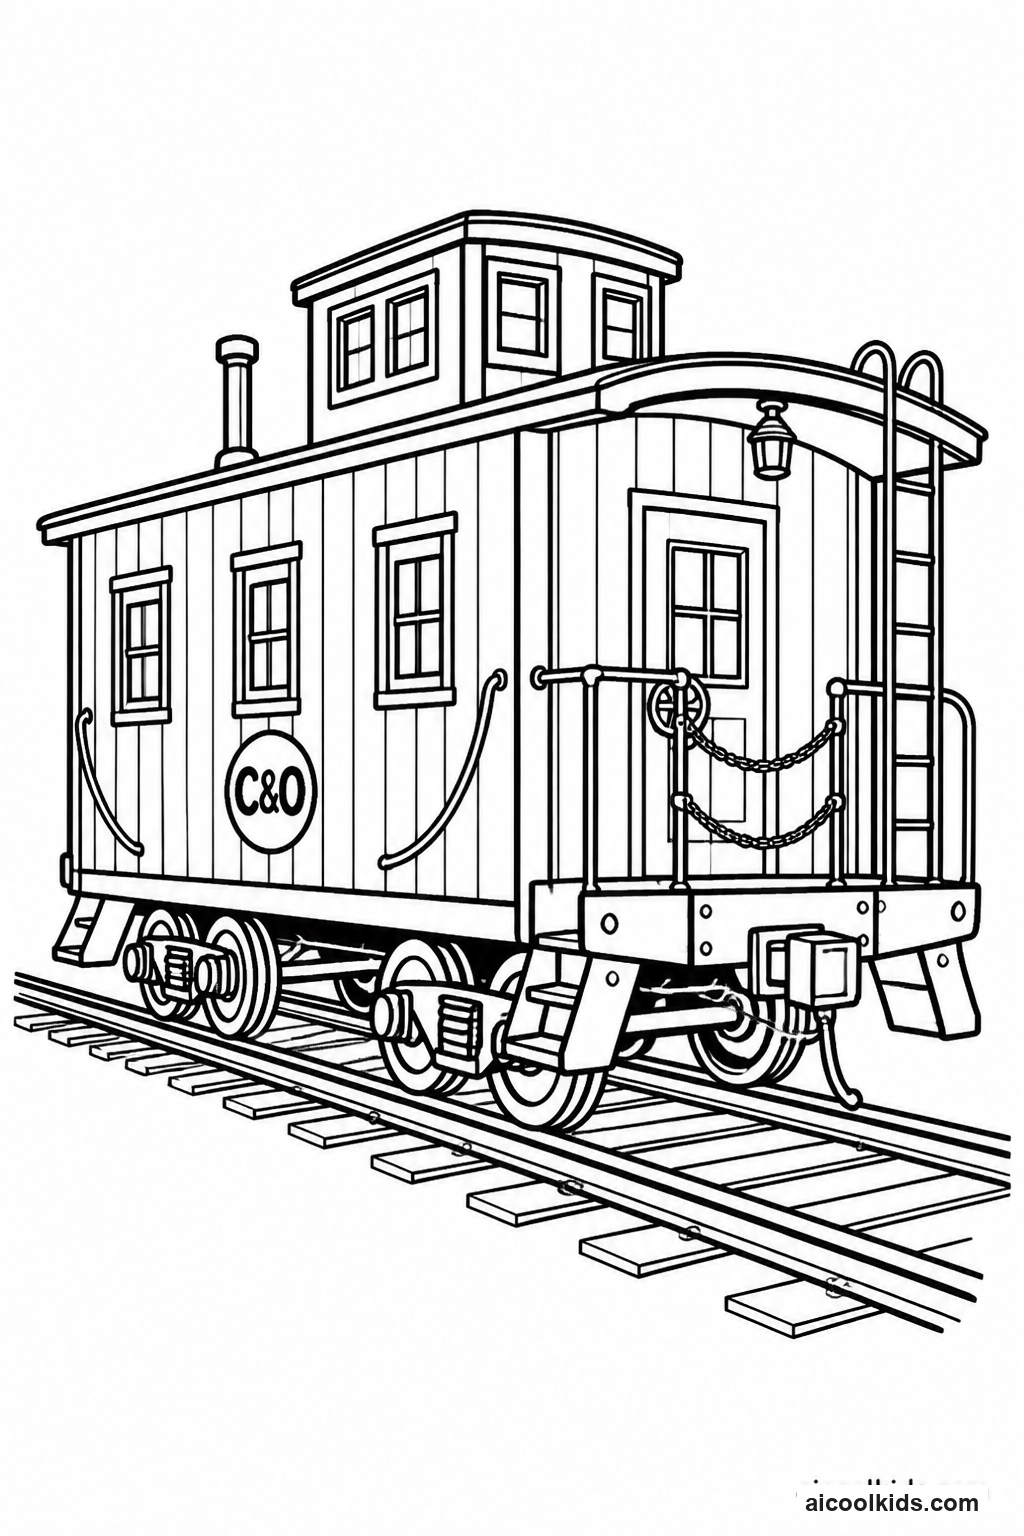
- Color the locomotive first, choosing a main body color, a contrasting color for the wheels, and small accents for the headlamp, windows, and trim. Press lightly at first, then add a second layer where you want deeper color. Cut around the engine only if the printed outline is large and easy to follow.
- Cut a wide strip of brown or gray paper for the track and two narrow strips for rails. Glue the wide strip near the bottom of the cardstock. Add the rails on top, then draw short cross ties with a black marker. Keep the rails parallel and leave enough open space for the train to sit clearly.
- Make a background by tearing or cutting green paper into low hills and blue paper into a sky shape. Glue the hills behind the track, overlapping edges slightly to create depth. Add a paper sun or small trees if there is room, but keep the locomotive as the main feature.
- Place the colored engine over the tracks before gluing it down. Ask the child to move it left or right to decide where it looks as if it is traveling. Glue the engine securely, then add a short paper rail car behind it if desired, matching the car height to the locomotive.
- Stretch small pieces of cotton ball into loose wisps and glue them above the smokestack as steam. Use only a little cotton so the picture stays flat enough to display. Finish by drawing a route sign or a station name, and invite the child to describe where the train is headed.
2
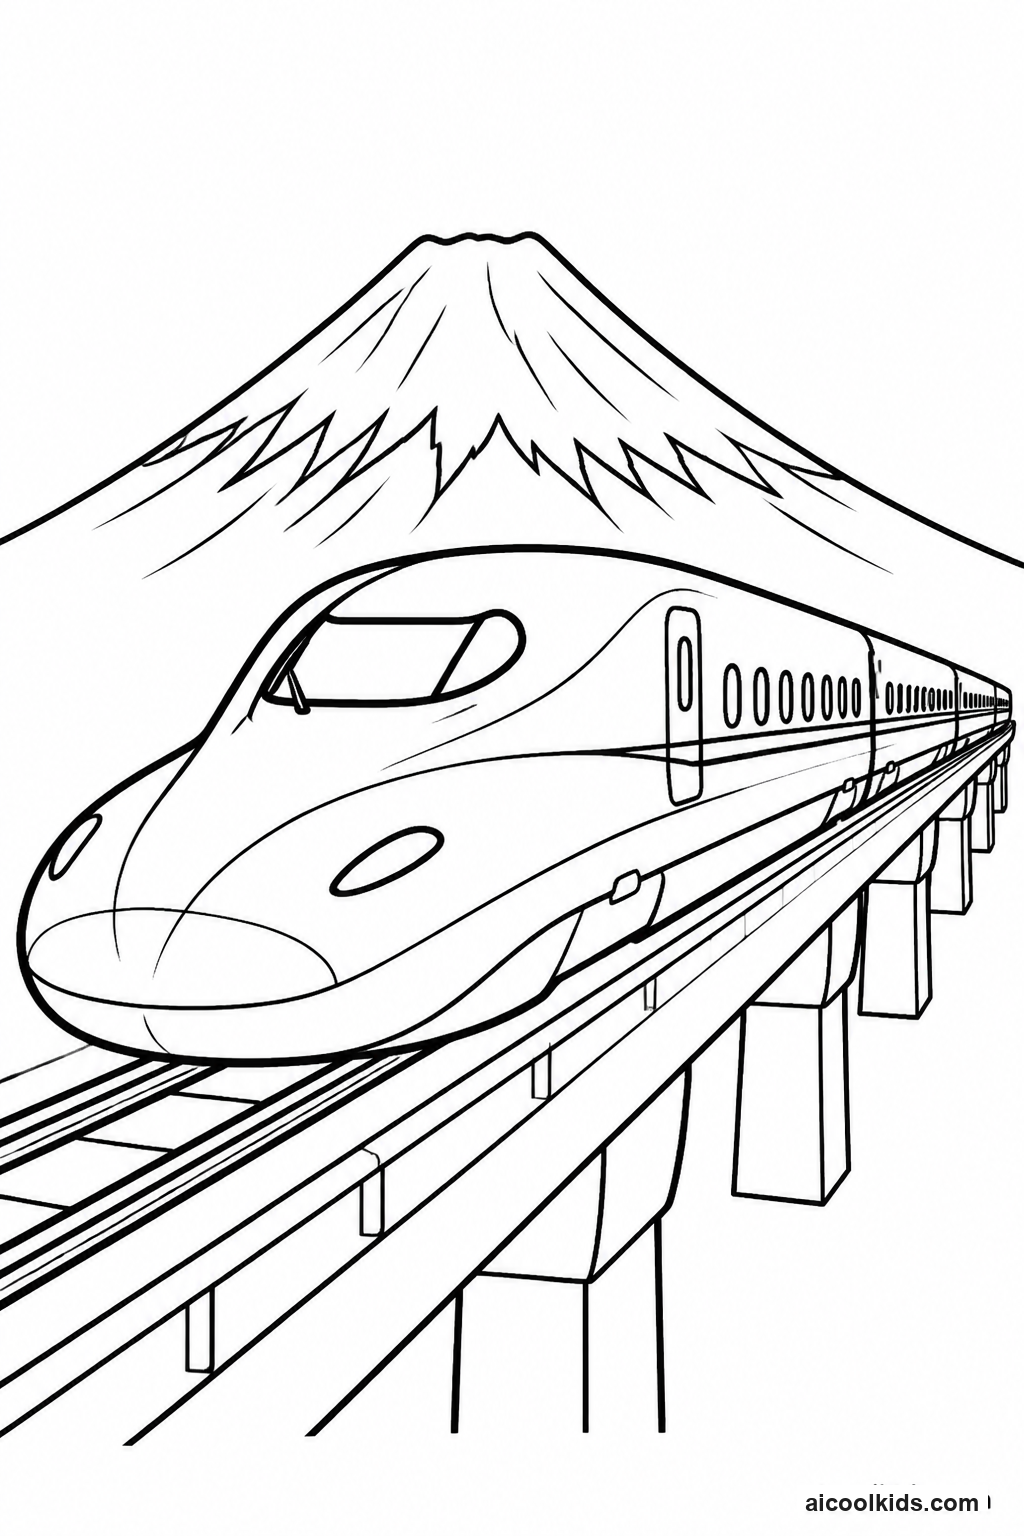
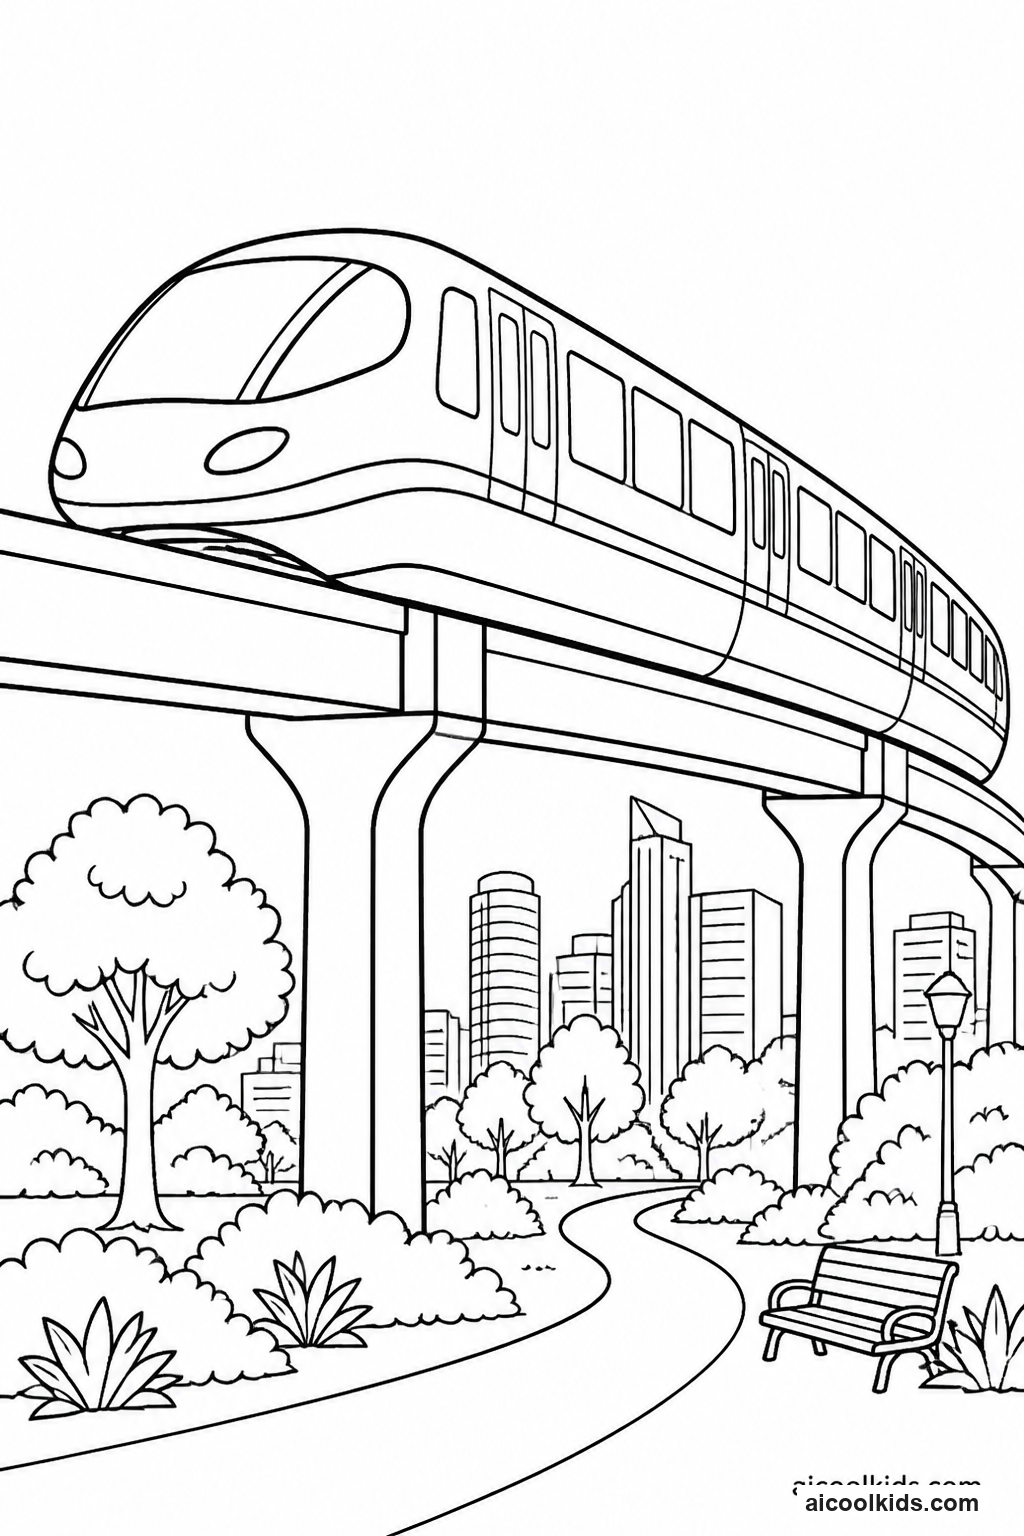
Design a Colorful Bullet Train Ticket and Destination
Materials Needed:
Printed bullet train coloring pageWhite cardstockColored pencils or washable markersRulerPencilScissorsGlue stickSmall piece of colored paper
Step by Step Guide:
- Look closely at the train outline and identify the nose, windows, doors, and cars. Choose two main colors and one accent color before starting. Color the train from the front toward the rear, repeating the same window color and accent marks across the cars to create a planned design.
- Use a ruler and pencil to draw a ticket shape on cardstock, about the length of a child’s hand. Add a border and divide the ticket into spaces for a departure station, destination, travel time, and seat number. Younger children can copy short words, while older children can invent a route and write it neatly.
- Color the ticket border to match one accent on the train. Add simple symbols such as a clock, a station sign, or a tiny rail track. Keep the writing areas clear enough to read. If markers are used, place scrap paper underneath the ticket to protect the work surface.
- Cut out the ticket with child-safe scissors, following the outside border. For a classroom or group activity, an adult can prepare ticket outlines in advance. Glue the ticket beside the train, leaving a small gap so the illustration and travel details are both easy to see.
- Add a destination scene in the empty space, such as a station roof, city buildings, or distant hills. Draw a route line with small dots leading from the train to the destination. Ask the child to explain why the train is traveling there and what a passenger might see from the windows.
3
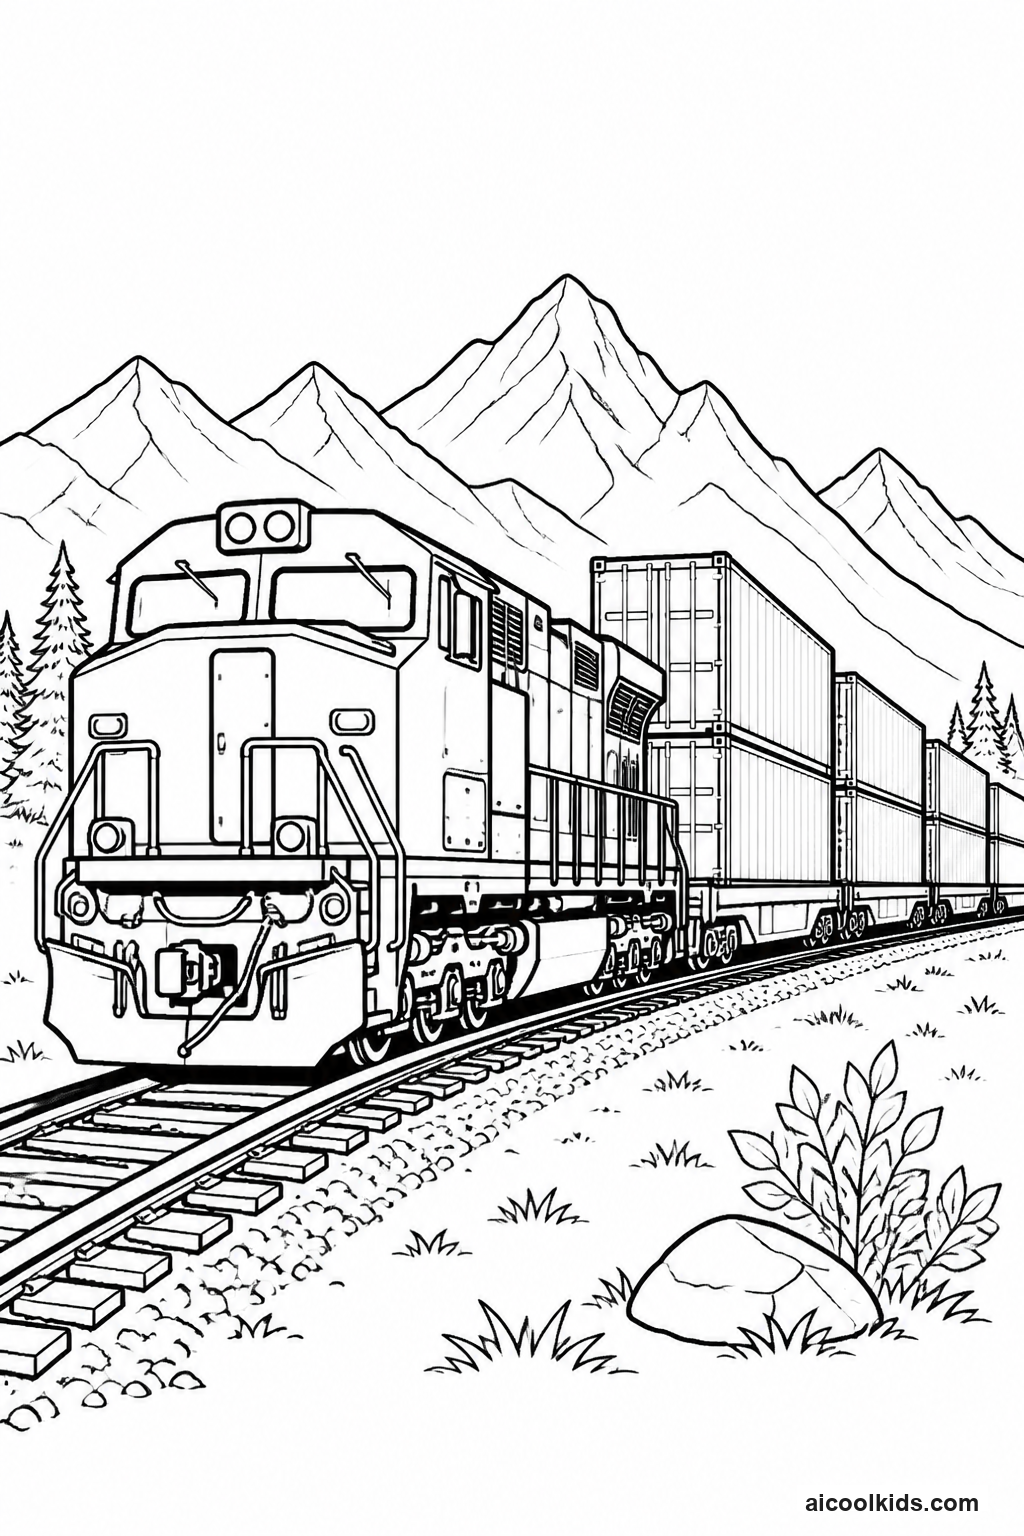
Create a Freight Train Cargo Sorting Collage
Materials Needed:
Printed freight train coloring pageDrawing paperColored pencils, crayons, or markersScrap construction paperChild-safe scissorsGlue stickPencilOptional: small paper labels
Step by Step Guide:
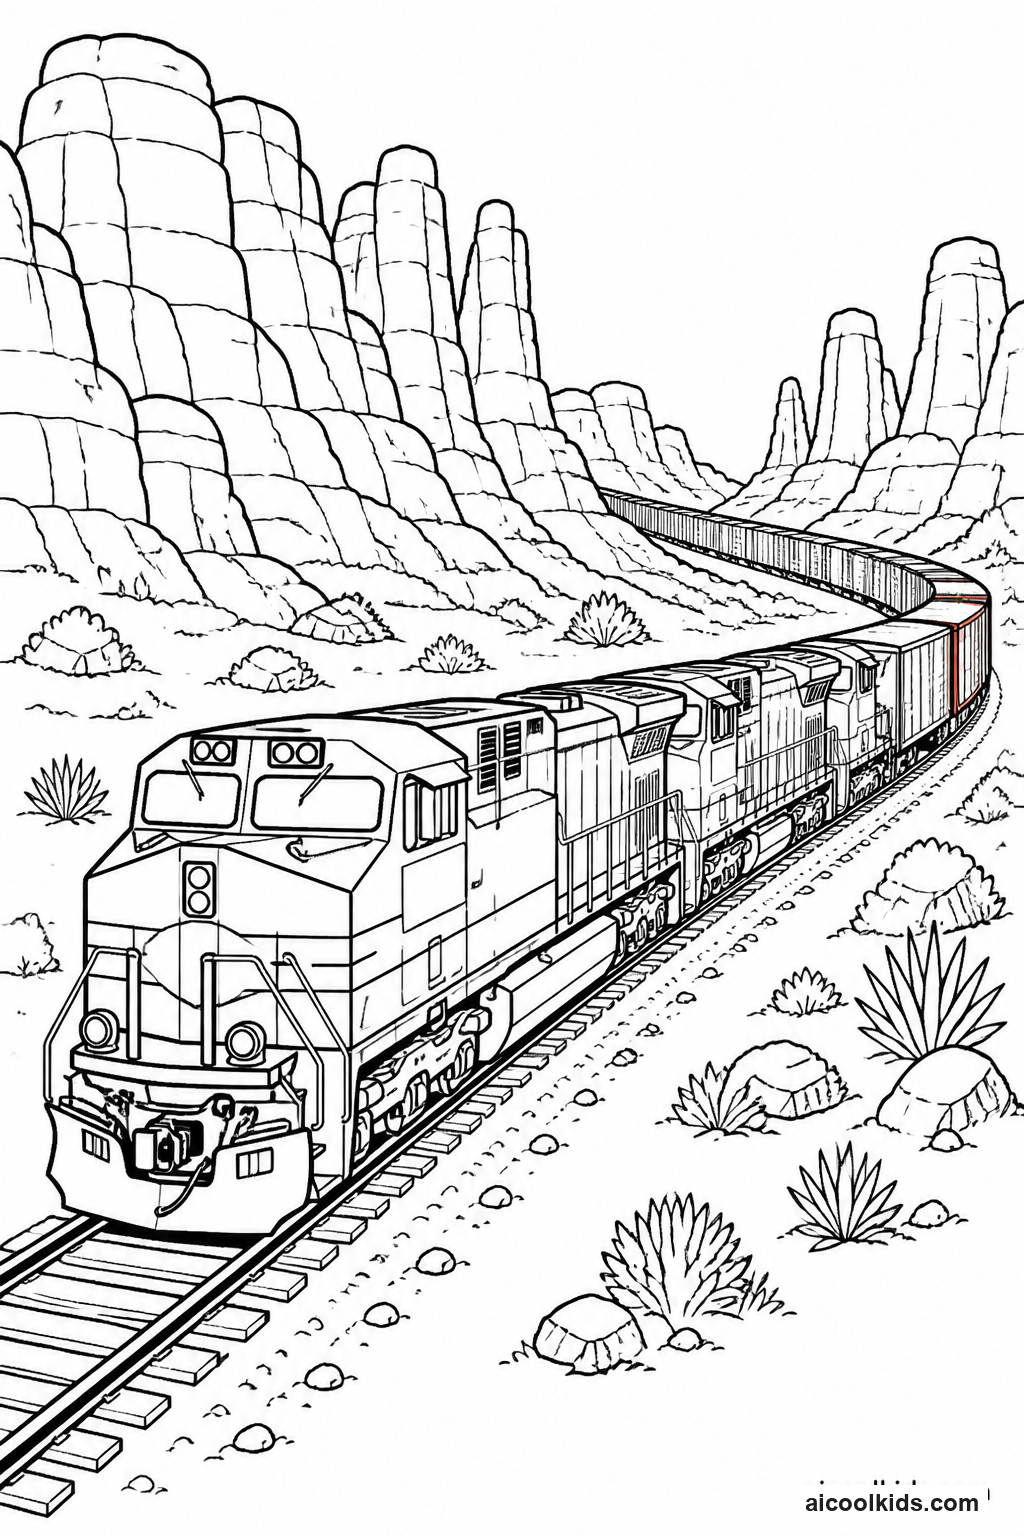
- Color the locomotive and each freight car with a clear plan. Use one repeated color for the wheels or undercarriage, then give each car a distinct body color. Leave the large sides of the cars light enough to hold cargo labels. Count the cars together and notice how their shapes differ.
- Choose a cargo idea for every car, such as boxes, wood, grain, cars, or refrigerated food. Draw a small symbol for each load on scrap paper, or cut out basic rectangles and circles to represent cargo. Keep the shapes large enough for a child to cut safely and glue neatly.
- Make a simple label for each car by writing or drawing its cargo. For younger children, use a picture and one copied word. Older children can add a destination or a quantity. Use a pencil first so spelling and spacing can be checked before the labels are traced with marker.
- Glue the cargo shapes inside or just above the matching freight cars. Keep the original train outline visible, especially the wheels and couplings. Attach each label to the side of its car, and check that the label matches the cargo symbol so the sorting choices are easy to understand.
- Give the train a route by drawing a start station and a delivery point in the background. Add small track marks or a dotted line to show the direction of travel. Invite the child to explain which cargo goes to each place and why a freight train is useful for carrying many goods.
4
Make a Passenger Railway Station Diorama
Materials Needed:
Printed passenger train coloring pageCardstock for the baseConstruction paperColored pencils or crayonsRulerPencilChild-safe scissorsGlue stickBlack marker
Step by Step Guide:
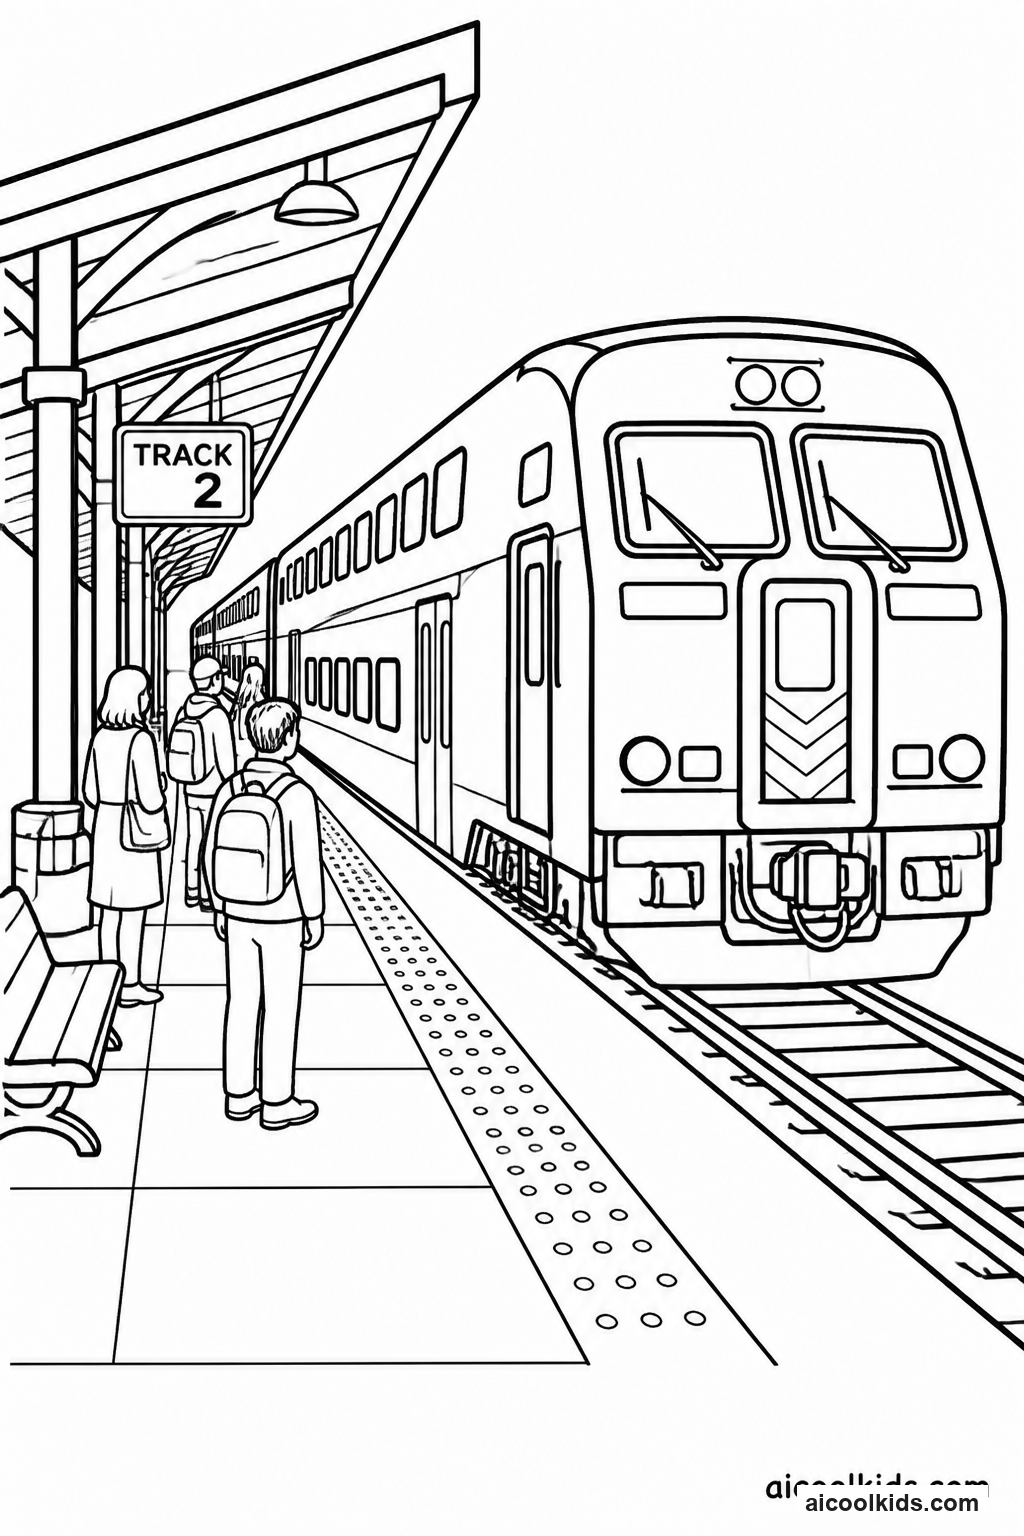
- Color the passenger train page, including windows, doors, and any visible cars. Choose a consistent color for all the cars or make each car distinct while repeating one trim color. Cut around the train only if the outline is wide and uncomplicated; otherwise, leave the page intact and use it as the back panel.
- Fold a strip of cardstock into a shallow standing platform by making two small folds at its ends. Press each fold firmly so the strip can stand when attached to the base. Glue the folded ends to the cardstock base, leaving enough room in front of it for the train image.
- Draw and cut a simple station building from construction paper. Add a roof, door, clock, and sign with marker or extra paper shapes. Keep the building broad at the bottom so it can stand securely. Fold a narrow tab along its base, then glue the tab to the diorama base.
- Add a platform edge using a narrow strip of paper, then draw safe waiting areas, benches, and a station sign. Place the colored train near the platform without covering the building. If using a full-page illustration, stand it at the back of the base with a folded paper support.
- Add two or three passengers as small paper figures or simple drawn shapes. Give each figure a clear place to stand and leave open space around the train doors. Ask the child to invent a short arrival scene, including where the passengers are going and what they might do at the station.
5
Invent a Train Color Pattern Challenge
Materials Needed:
Printed train coloring pageColored pencils or crayonsBlank paperPencilRulerBlack fine-tip markerOptional: sticky notes
Step by Step Guide:
- Select a train page with several visible cars or repeated windows. Before coloring, use a pencil to mark a small pattern key on blank paper, such as red, blue, red, blue, or green, yellow, yellow. Keep the key beside the coloring page so the child can refer to it without needing to memorize the sequence.
- Choose one part of the train for the pattern, such as each car body, window frame, wheel, or stripe. Color the first few parts according to the key, then pause and check that the sequence repeats in the intended order. If a page has an odd number of cars, decide how to finish it before coloring the final car.
- Add a second, smaller pattern to another repeated feature. For example, use alternating colors on the wheels while keeping the body pattern unchanged. Older children can make a pattern that grows, such as one stripe on the first car, two on the next, and three on the following car.
- Use a fine-tip marker to draw a neat border around the pattern key and label the sequence with color names or small color swatches. If the child changes a choice, update the key so it matches the finished design. This helps connect the plan to the visible result without making the activity feel like a test.
- Display the page beside its pattern key and invite the child to explain the rule. A partner can try to predict the next color or stripe. For a group, let each child make a different rule and compare how repeated patterns can make trains look orderly, playful, or fast.
6
Create a Fold-Out Train Journey Story
Materials Needed:
Printed train coloring pageLong strip of drawing paperColored pencils or crayonsPencilRulerChild-safe scissorsGlue stickOptional: markers
Step by Step Guide:
- Color the train page, choosing a setting that gives the story a clear mood, such as a snowy railway, a sunny countryside, or a busy city station. Add details to the engine and cars, but leave the train’s windows and outline easy to recognize. Cut out the train only if the child is comfortable cutting around its shape.
- Fold the long paper strip back and forth into four or five equal panels. Press the folds flat, then open the strip and number the panels lightly in pencil. Each panel will show one part of the journey, so leave a little room at the top or bottom for a short caption.
- Plan the route by drawing a start station in the first panel and a destination in the last. Fill the middle panels with stops or events, such as crossing a bridge, picking up passengers, passing a farm, or waiting for a signal. Use simple sketches first so the child can rearrange ideas before adding color.
- Color the story panels with a limited set of repeated colors to help the journey feel connected. Add the train in more than one panel by drawing a small version of it, or glue the cutout near the first panel and draw route arrows through the rest. Keep arrows clear and avoid covering important scenes.
- Write one sentence or a few key words under each panel, depending on the child’s writing level. Fold the strip into an accordion and place the coloring page beside it as the story cover. Invite the child to unfold the route and narrate the journey from beginning to end.