Parent & Teacher Craft Guide
6 Creative Learning & Craft Ideas for Lego Coloring Pages
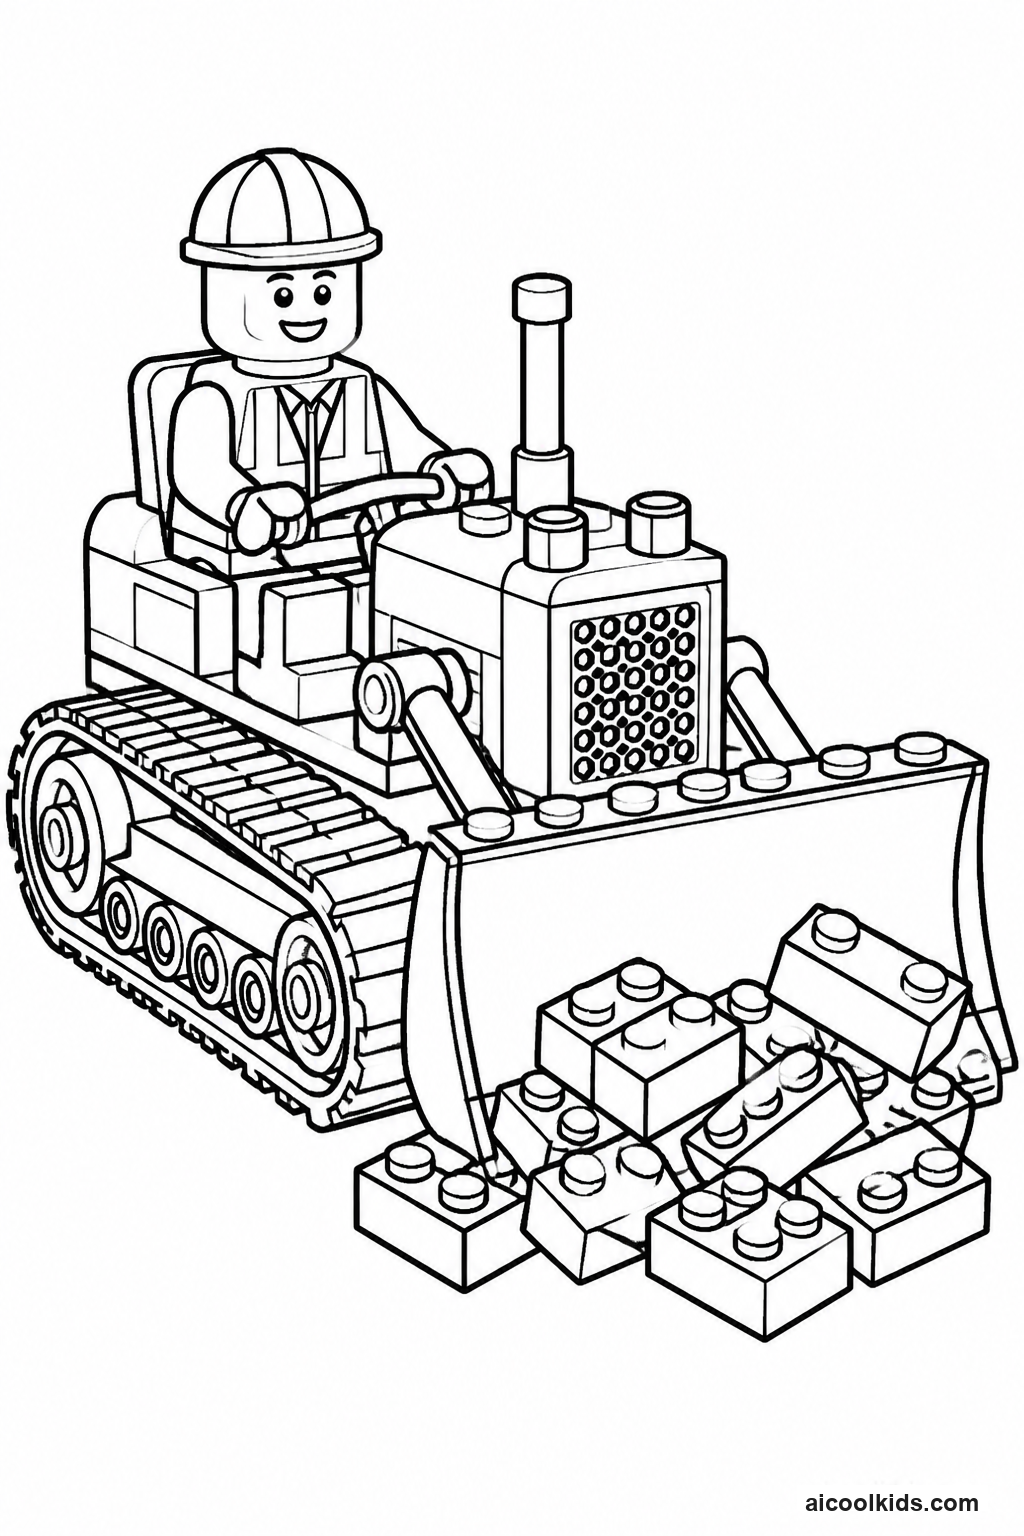
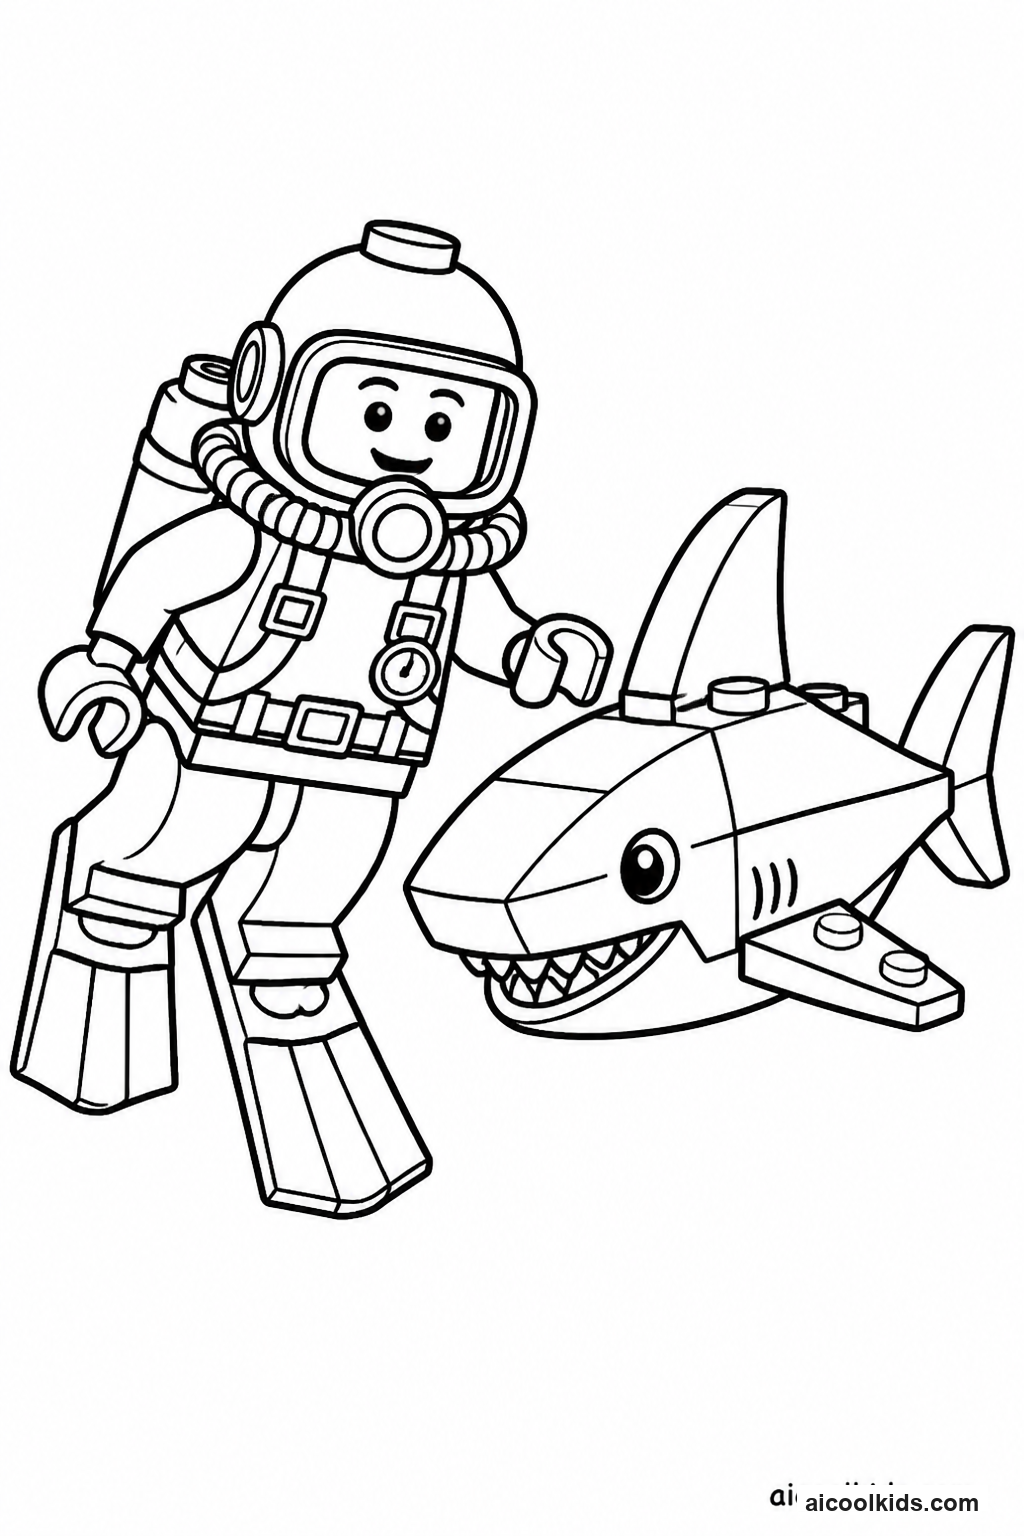
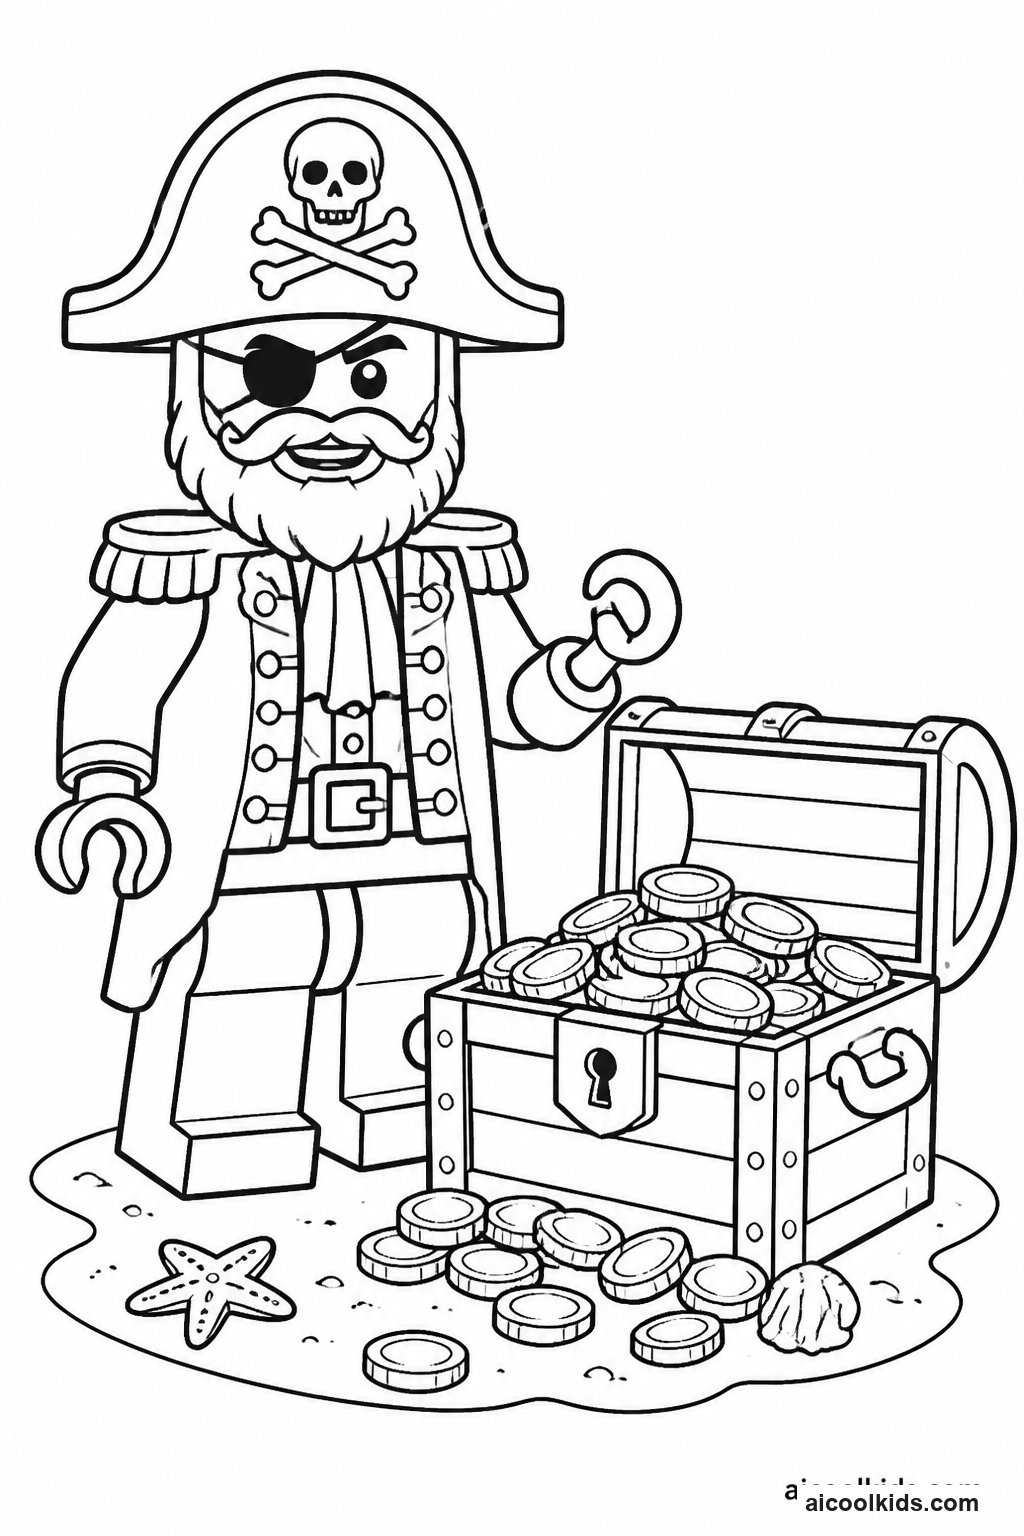
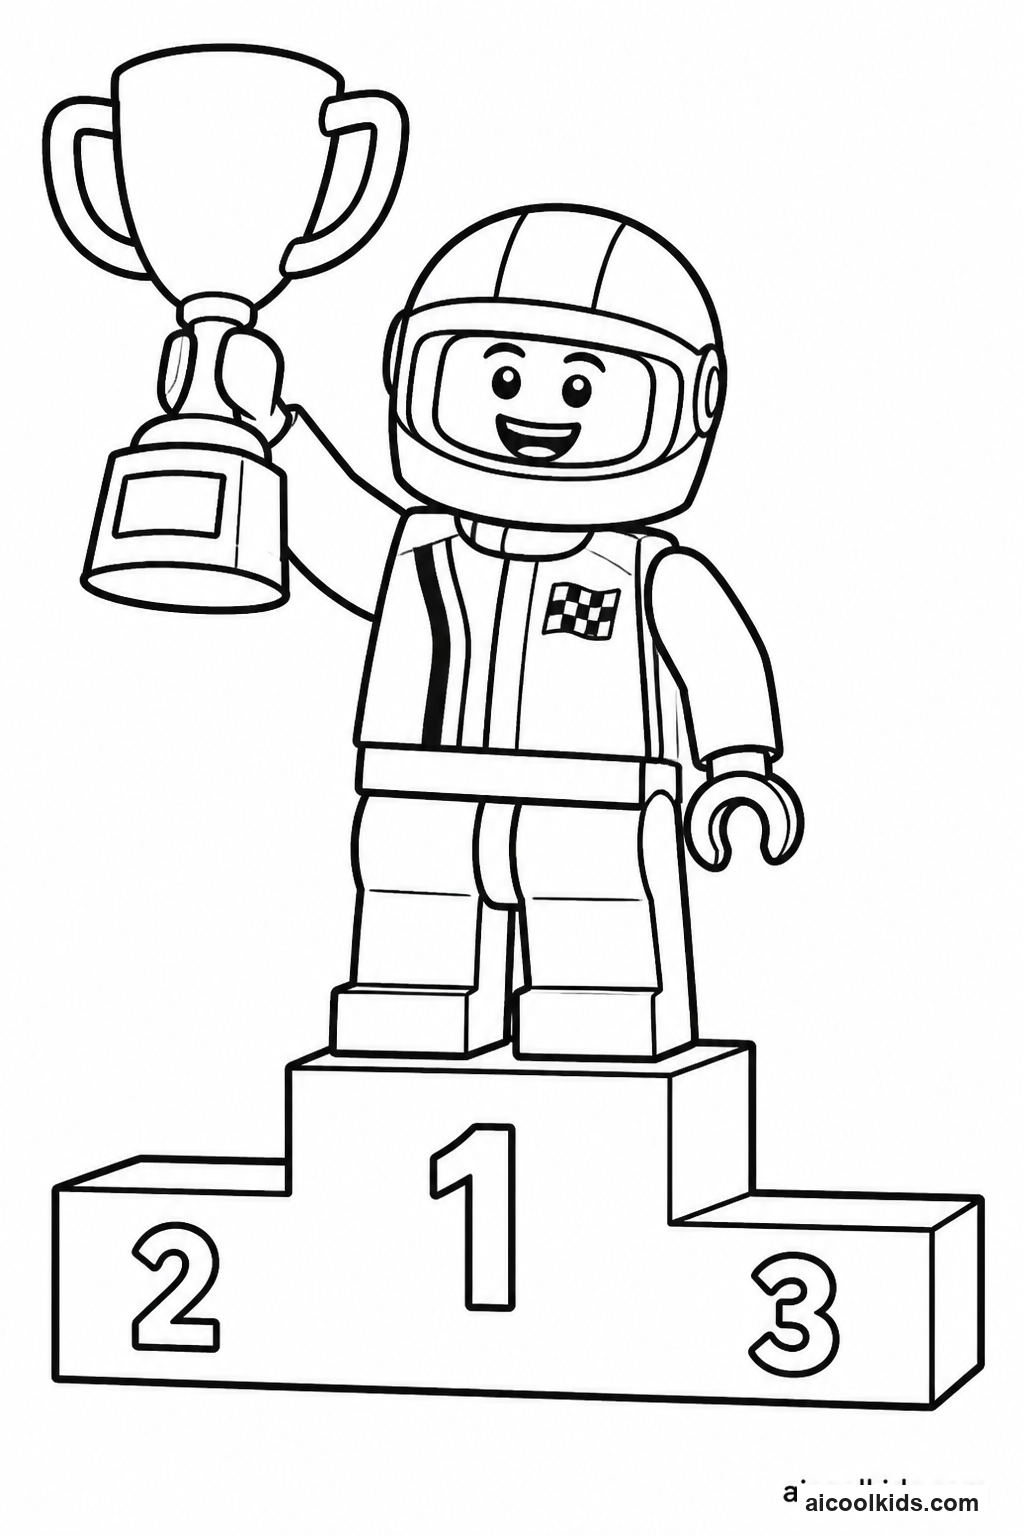
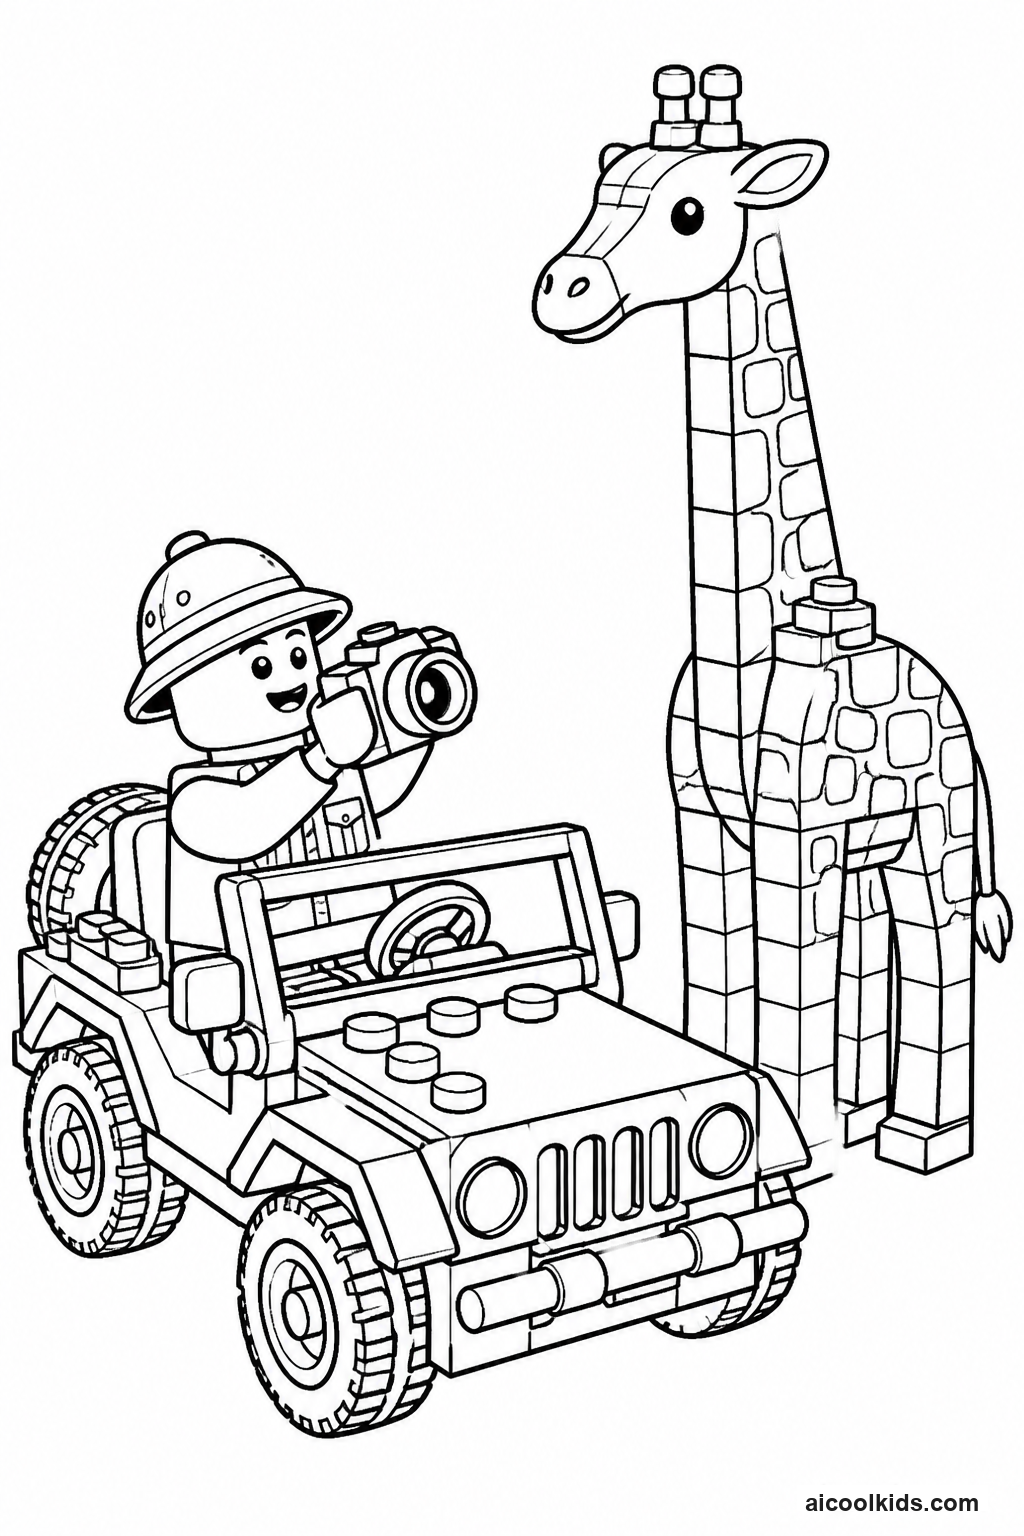
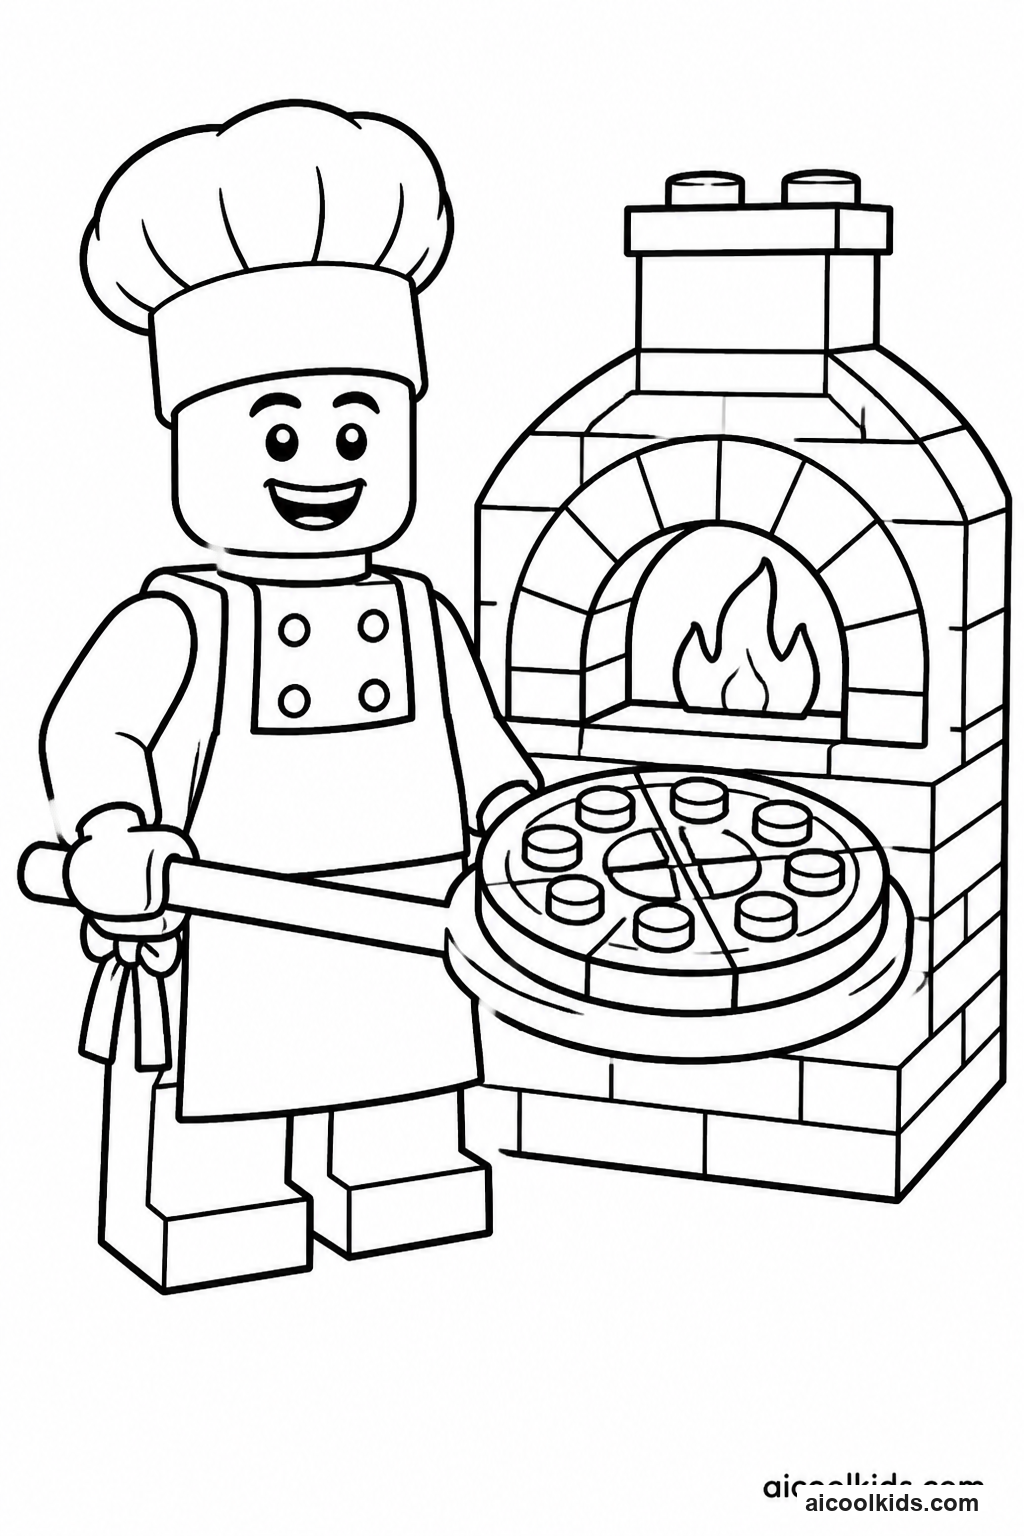
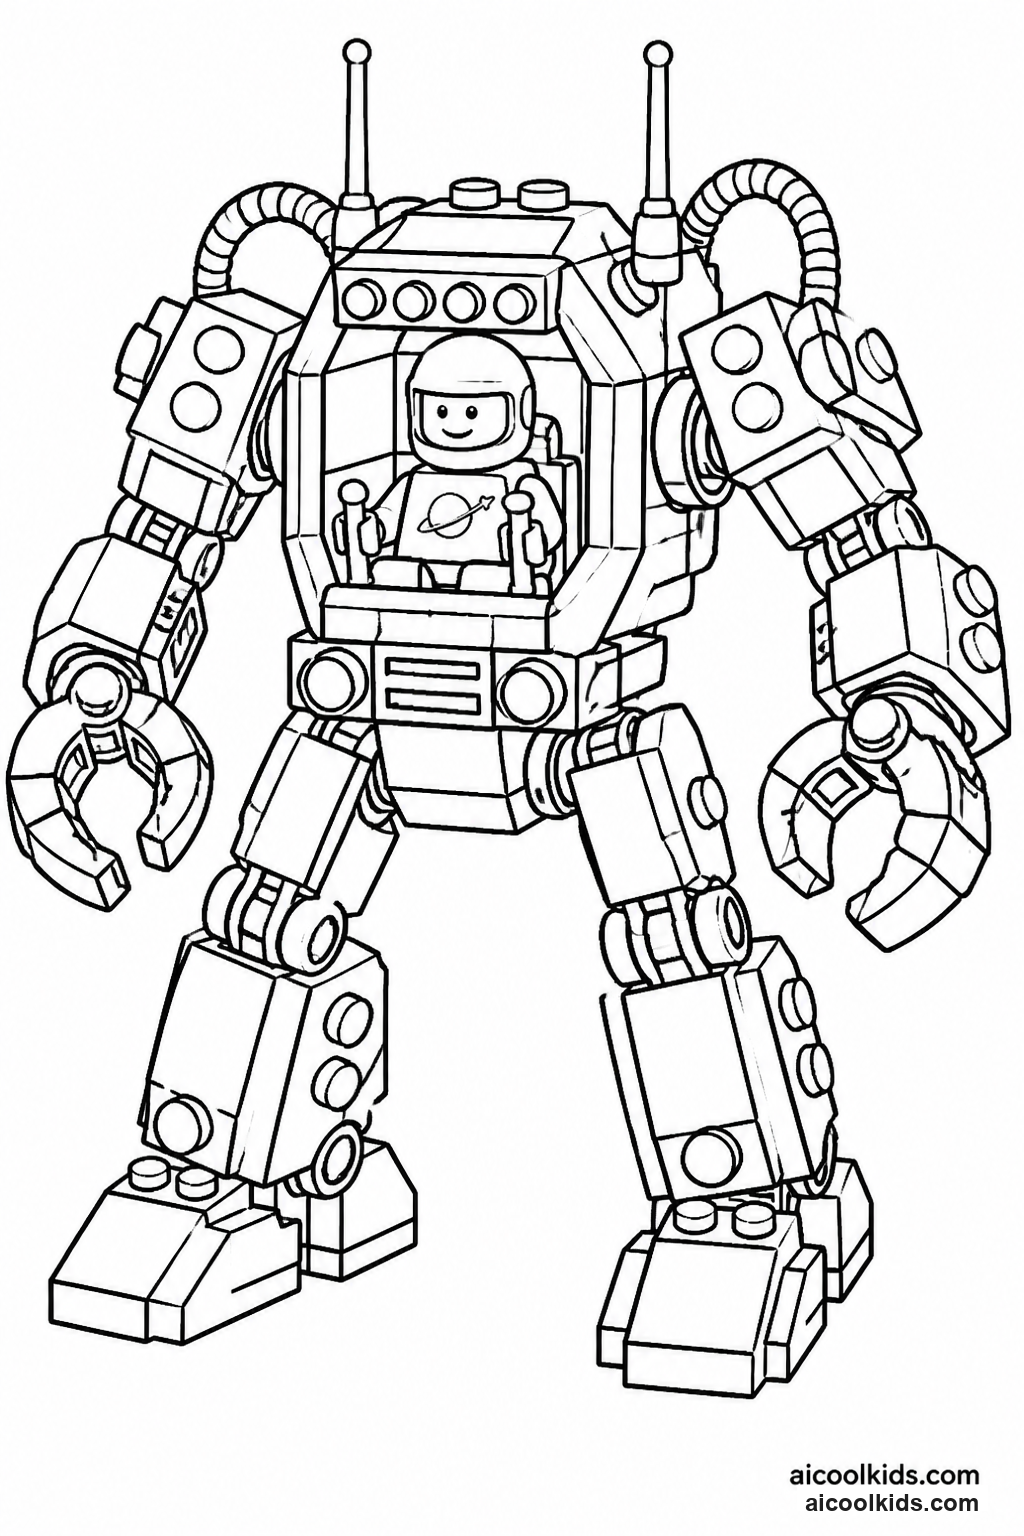
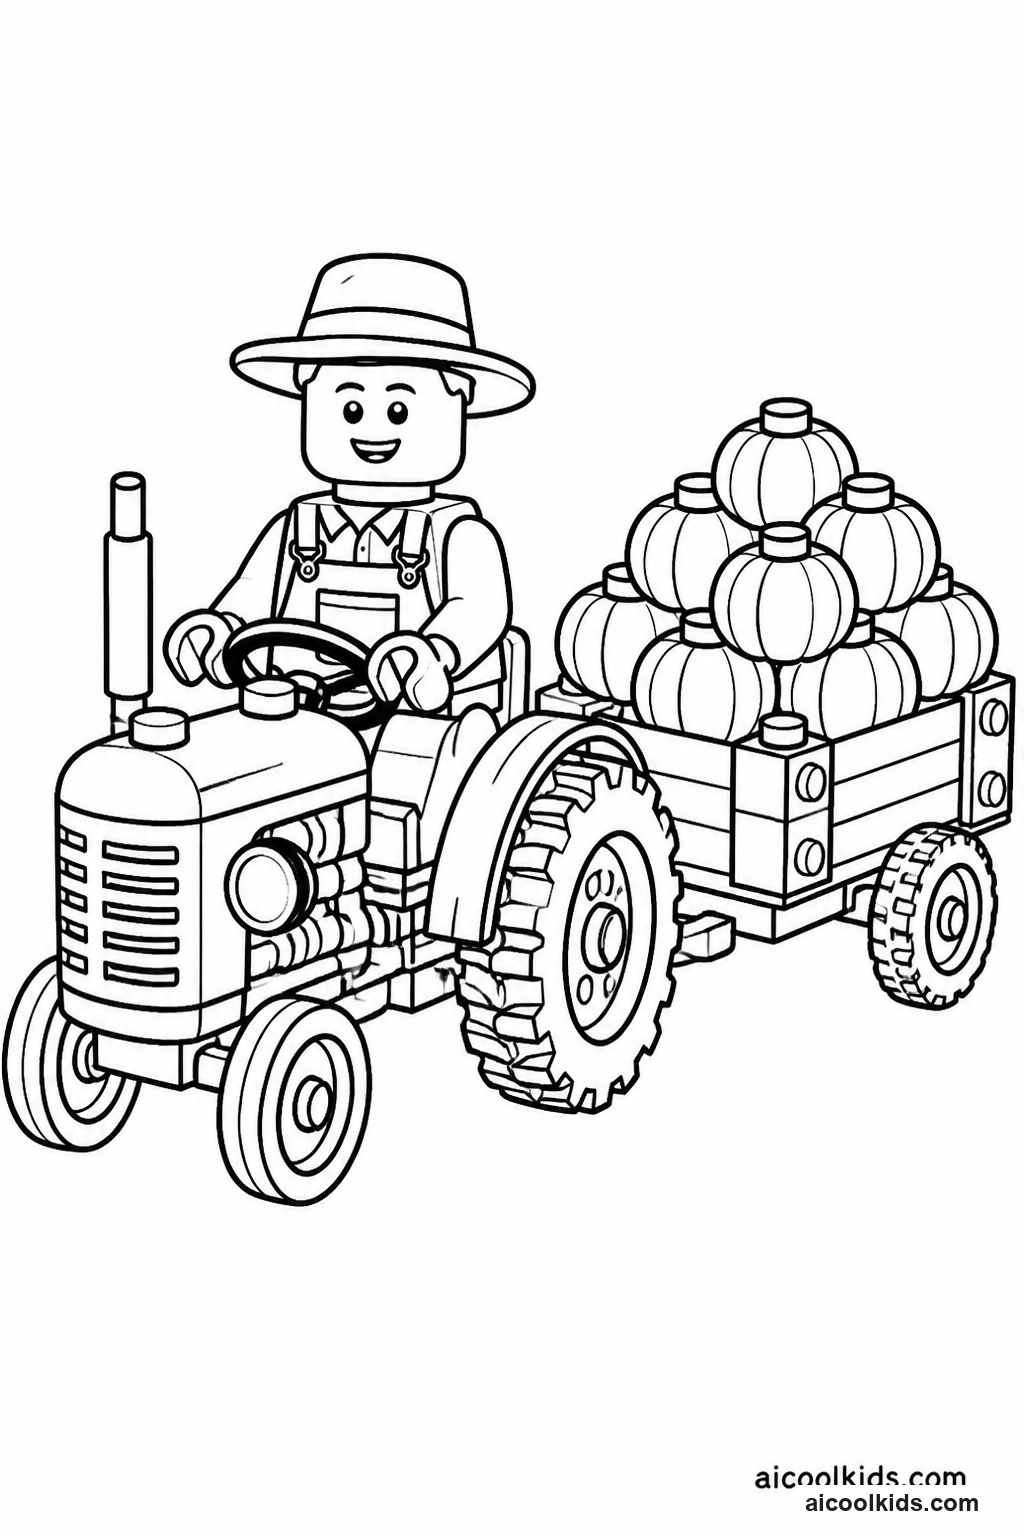
Once the pages are colored, you can turn them into simple projects for home or the classroom. Here are 6 easy craft ideas using supplies you probably already have, like scissors, glue sticks, and construction paper.
1
Build a Minifigure Story Wheel
Materials Needed:
Printed minifigure coloring pageCardstockColored pencils or crayonsChild safe scissorsGlue stickPaper fastenerPencilMarkers
Step by Step Guide:
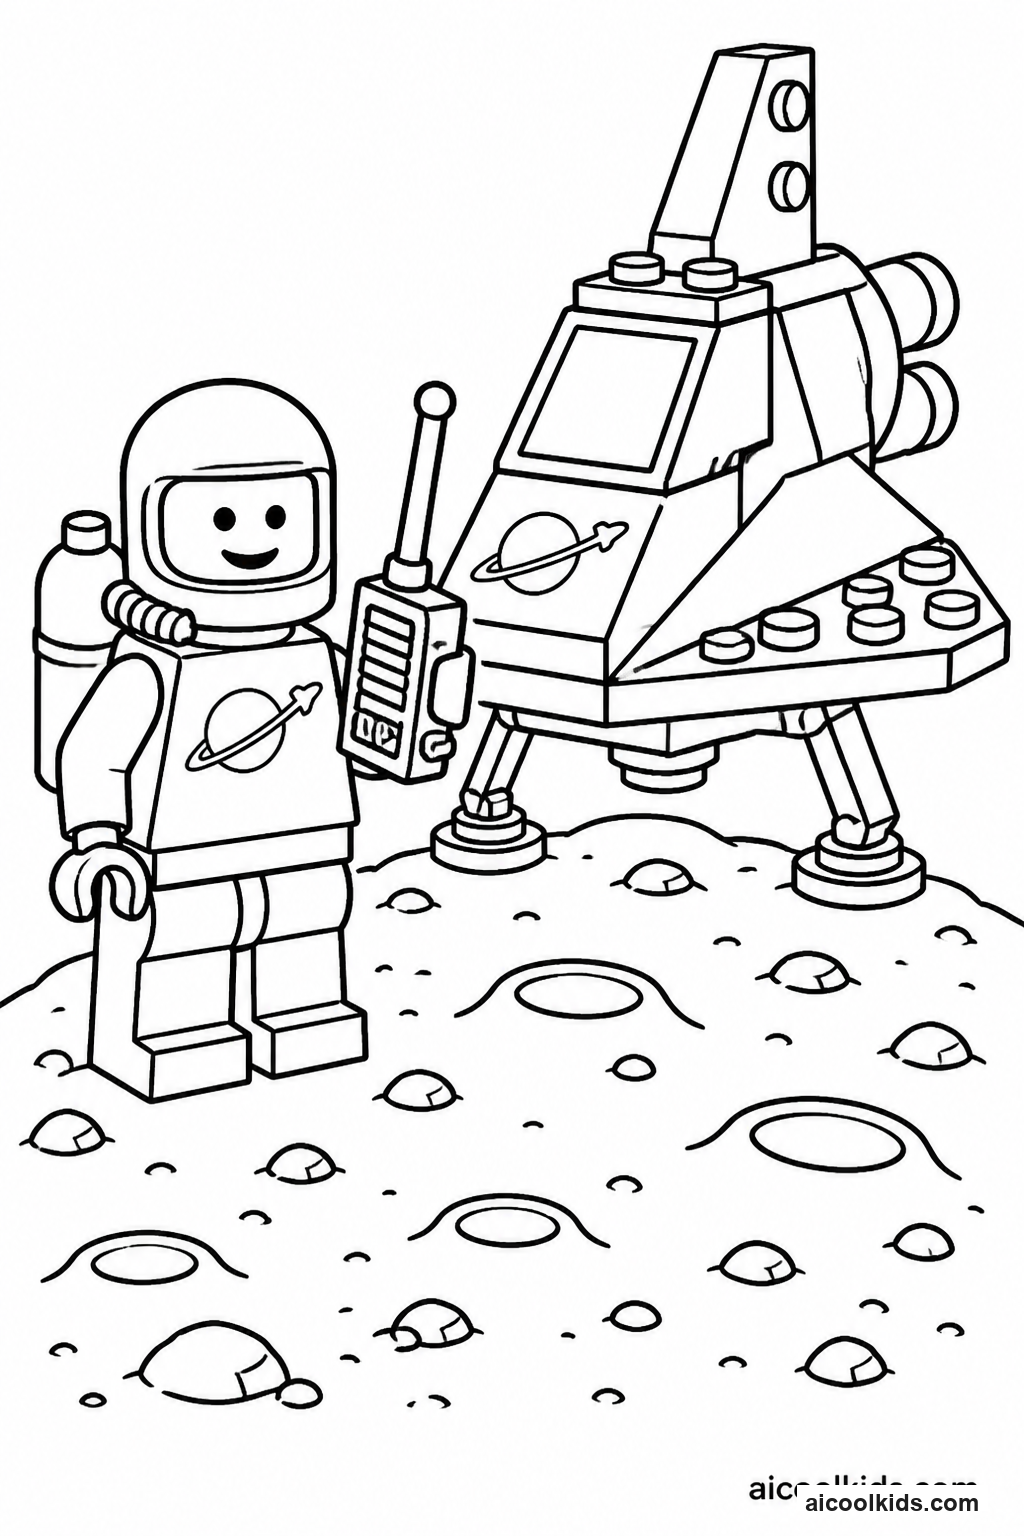
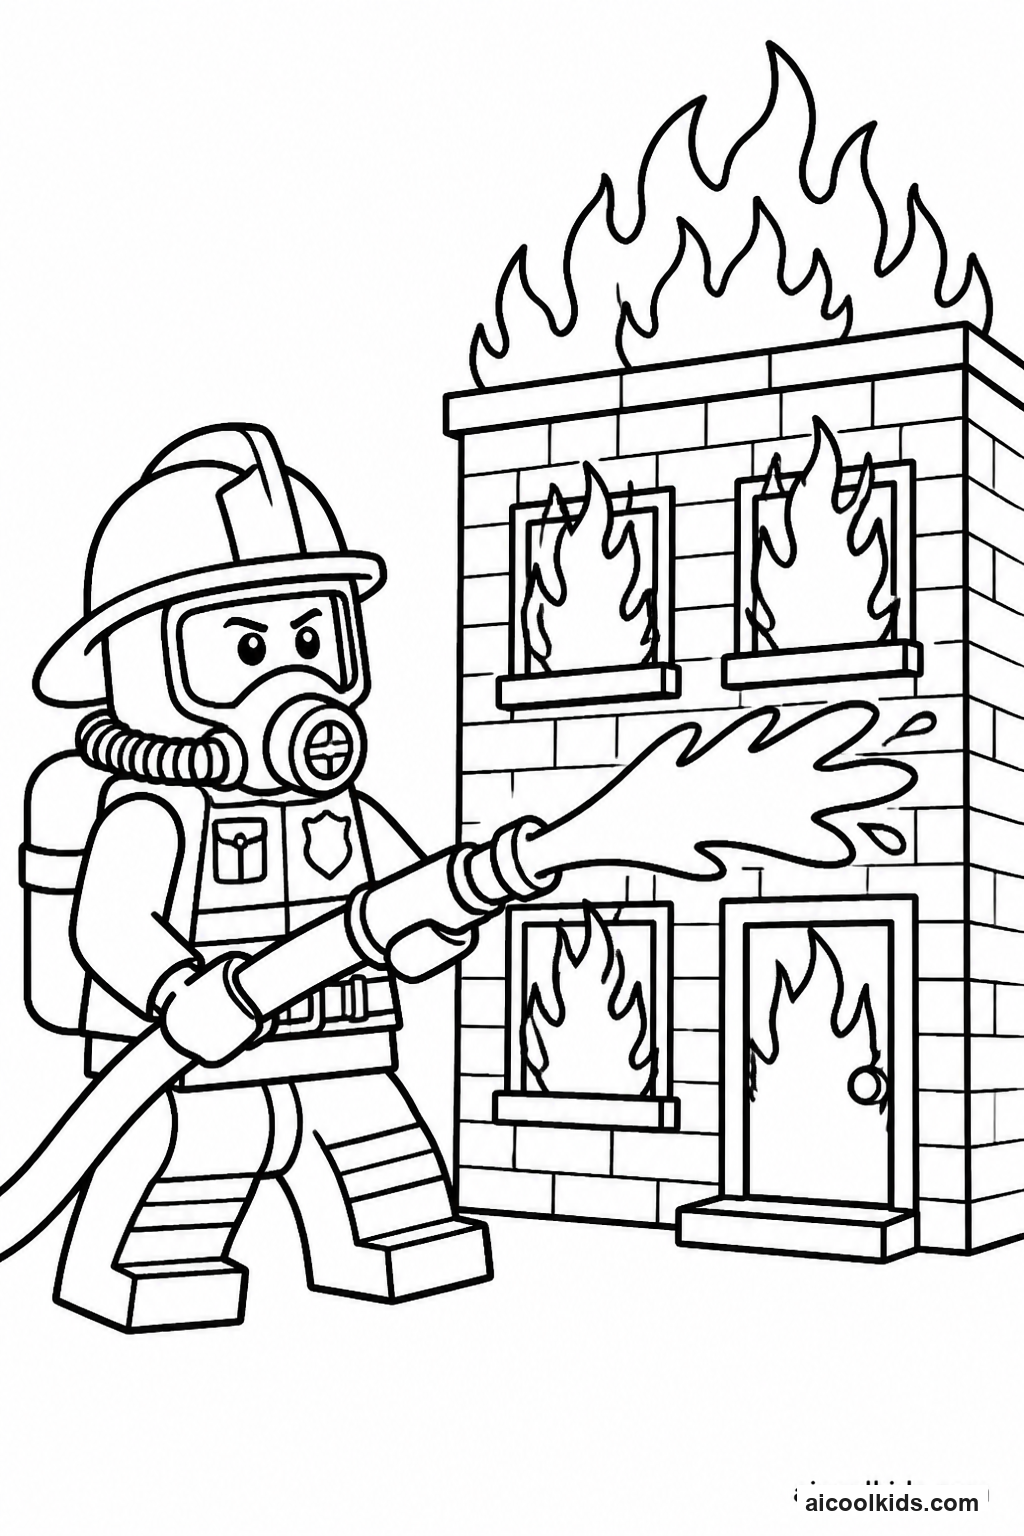
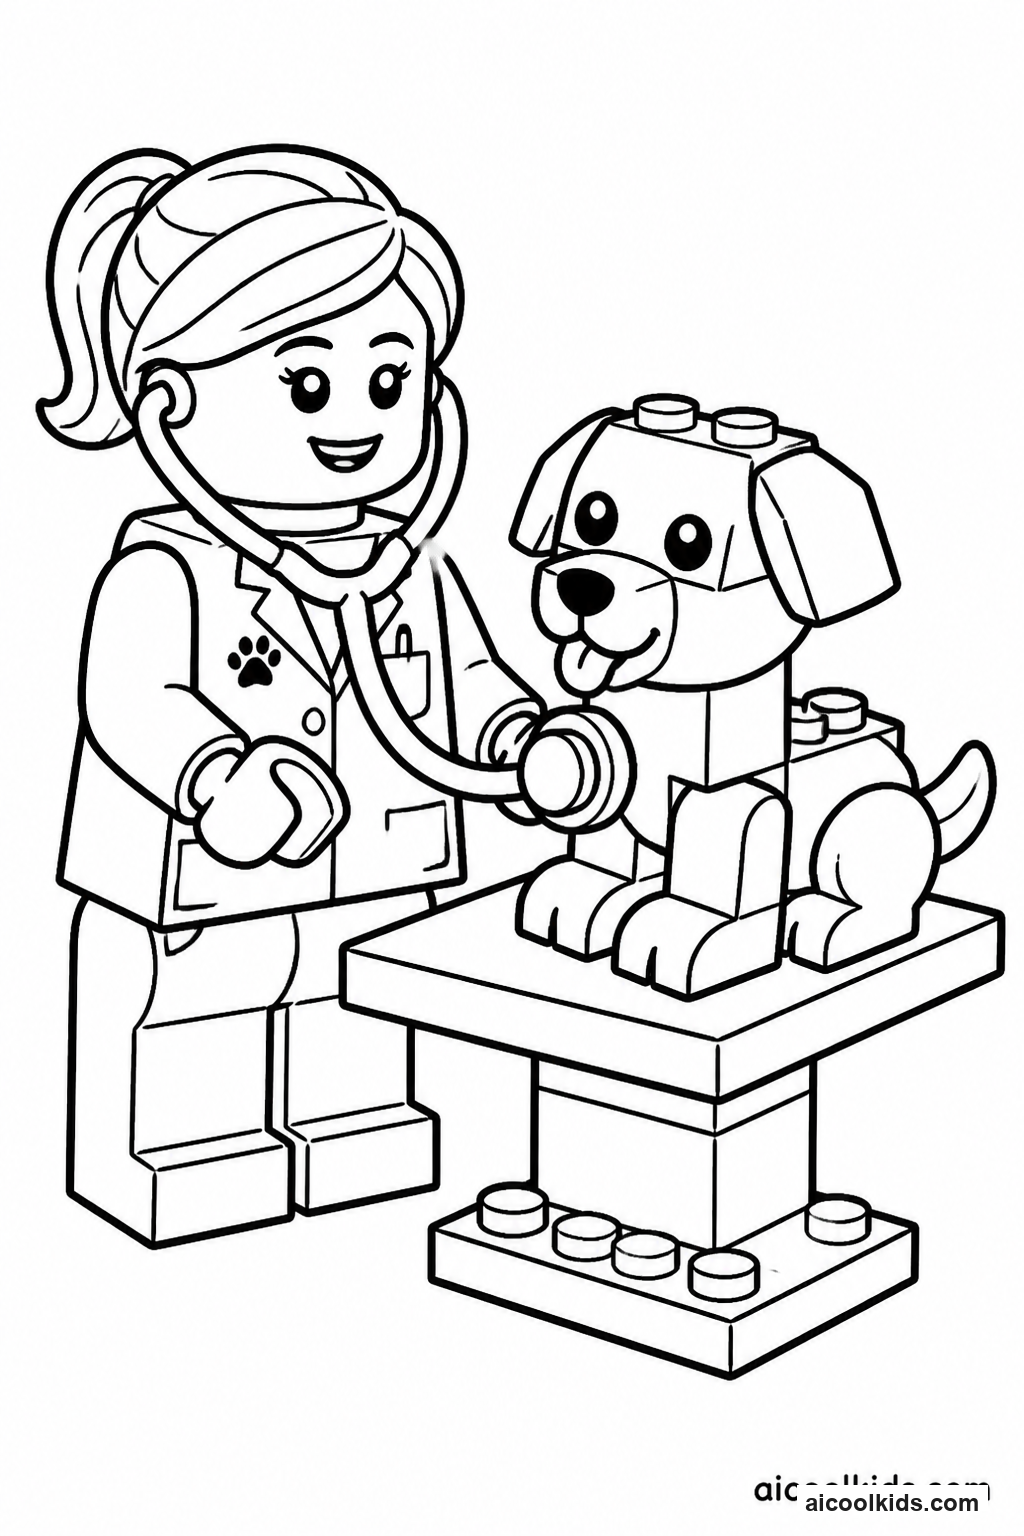
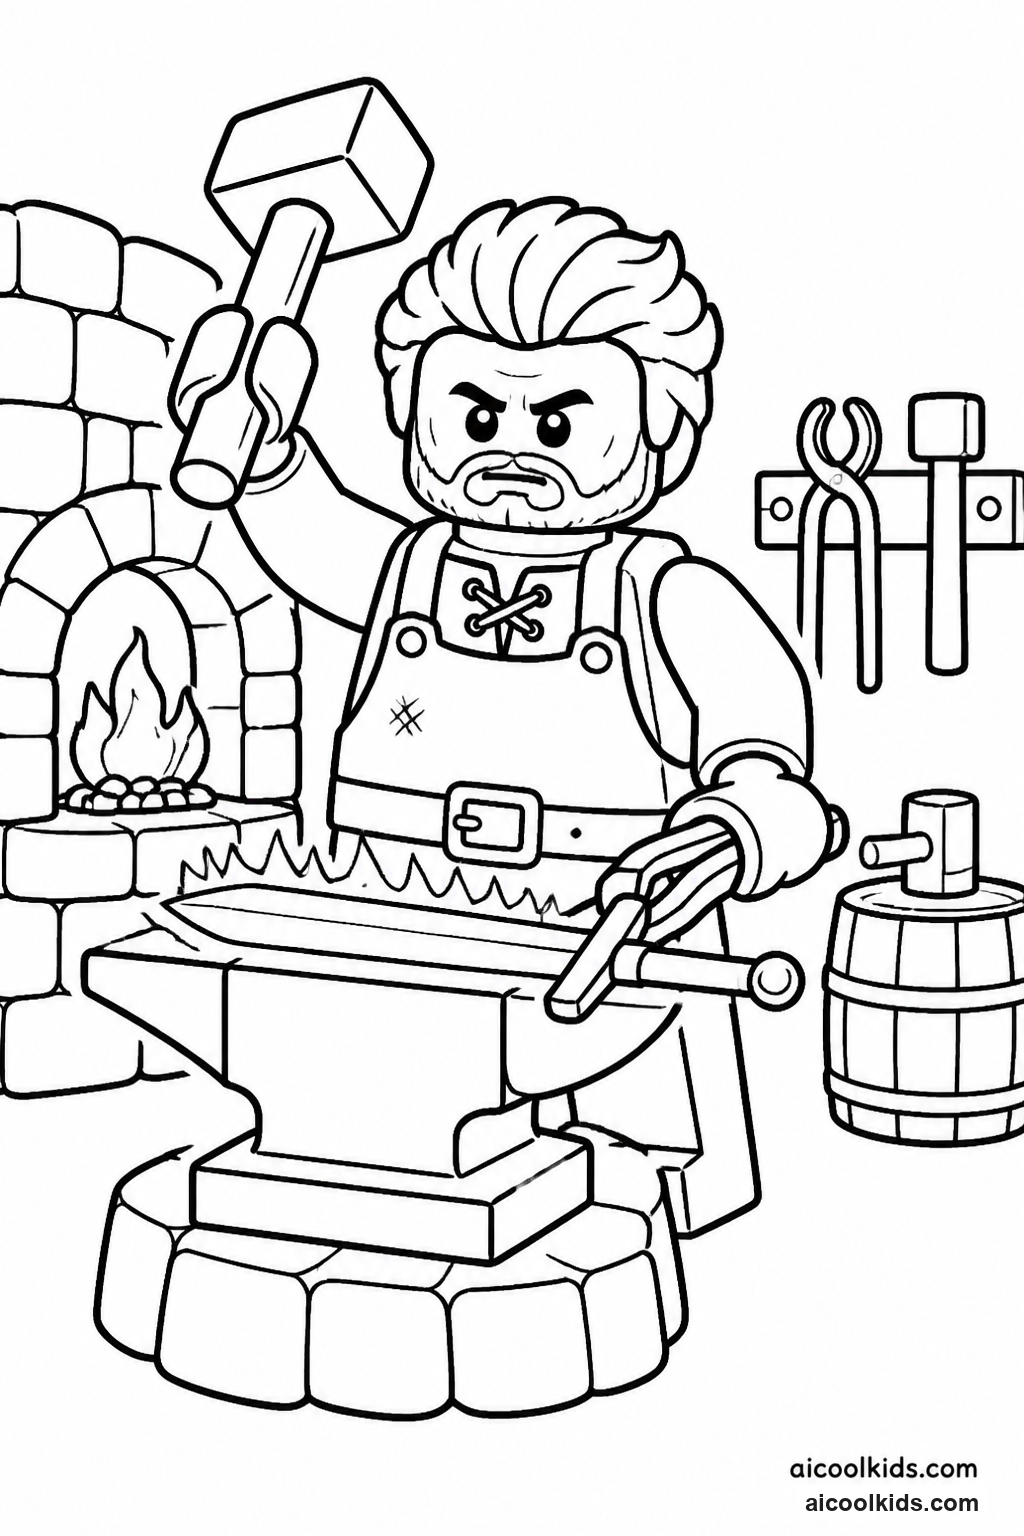
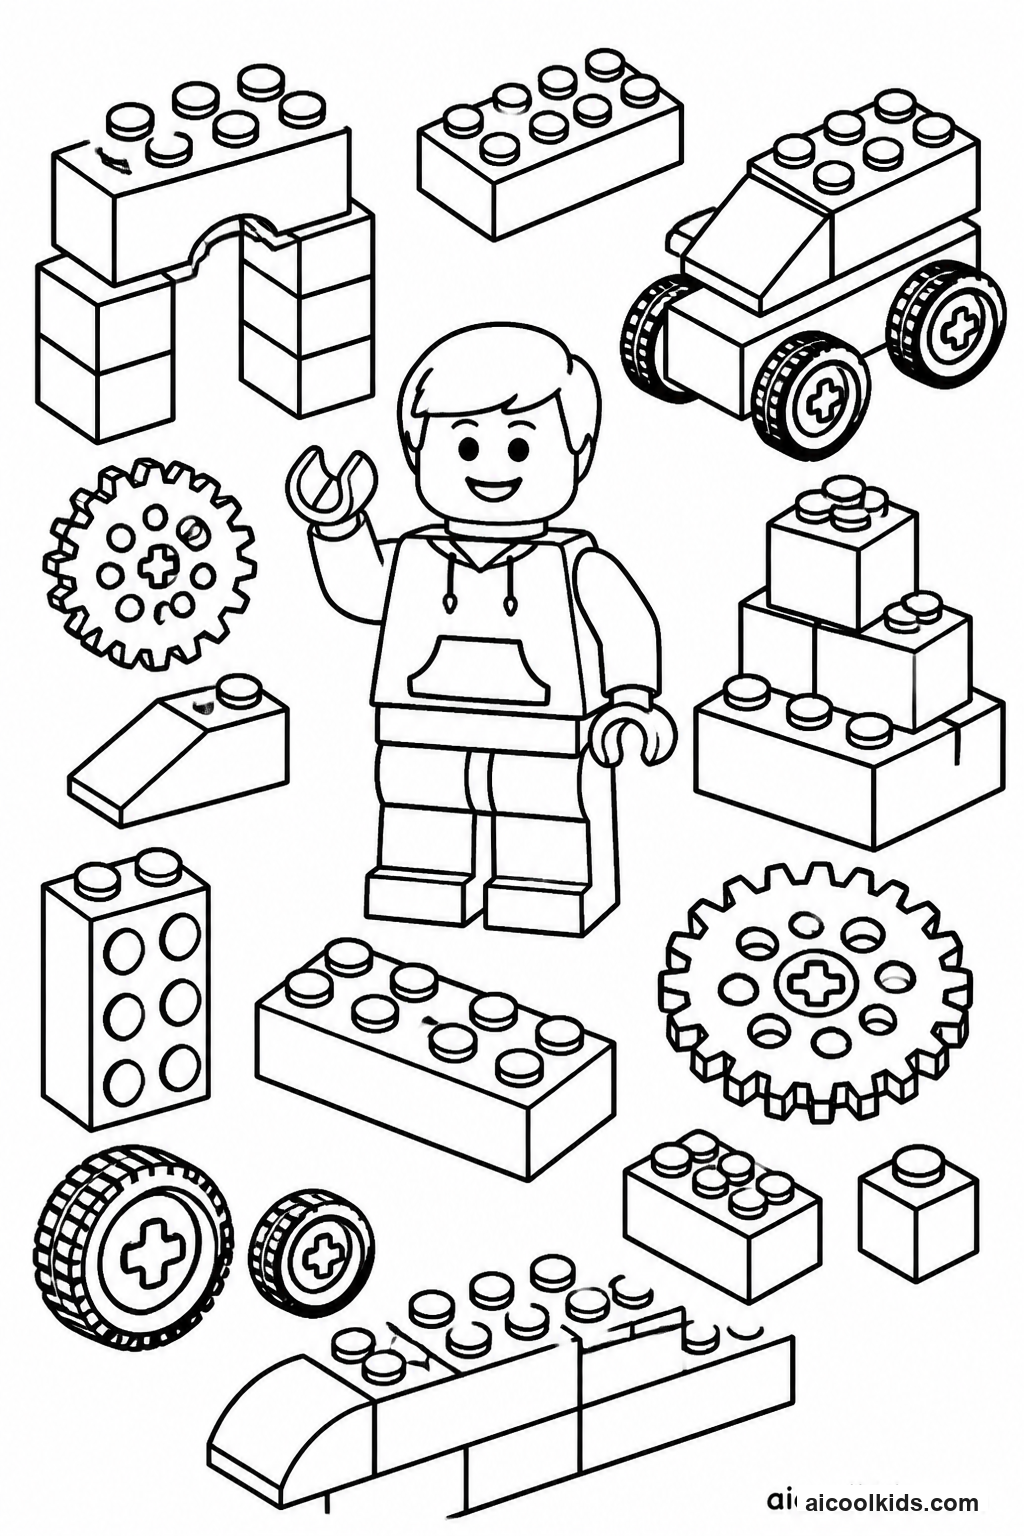
- Color one minifigure and decide who the character is, where the character is going, and what unexpected problem might happen. Add small details such as a badge, backpack, or tool so the character is easy to recognize in each story scene.
- Cut a cardstock circle about the width of a dinner plate, then divide it into three equal sections with pencil lines. In each section, draw a different setting or event, such as a busy city, a training yard, or a bridge that needs repair.
- Cut out the colored minifigure with a narrow white border. Glue it near the center of a second cardstock circle, leaving enough room around the character for small background details and a clear view of the three story sections.
- Ask an adult to make a small hole through the center of both circles. Place the picture circle on top of the scene circle and attach them with a paper fastener, tightening it enough to hold while still allowing the top circle to turn.
- Rotate the wheel to choose a setting and event, then tell or write a short story with a beginning, middle, and ending. Invite a partner to turn the wheel for a new combination, and add speech bubbles or a title after the first telling.
2
Create a City Vehicle Rescue Map
Materials Needed:
Printed city vehicle coloring pageLarge sheet of paper or poster boardCrayons or colored pencilsMarkersRulerChild safe scissorsGlue stickSmall paper scraps
Step by Step Guide:
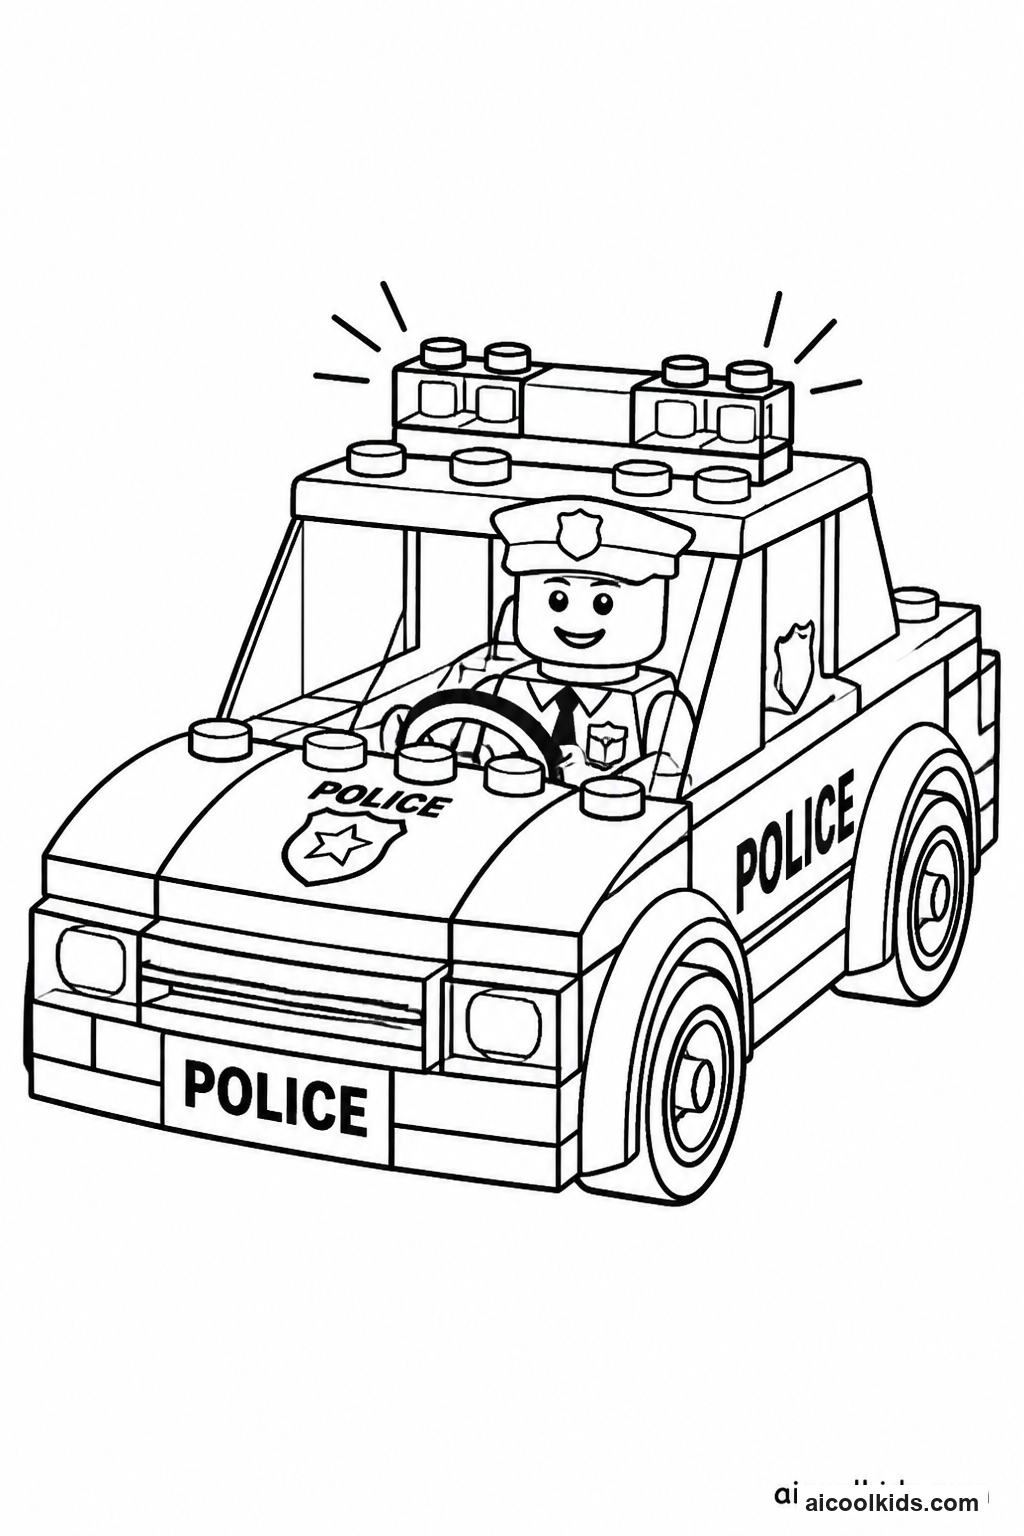
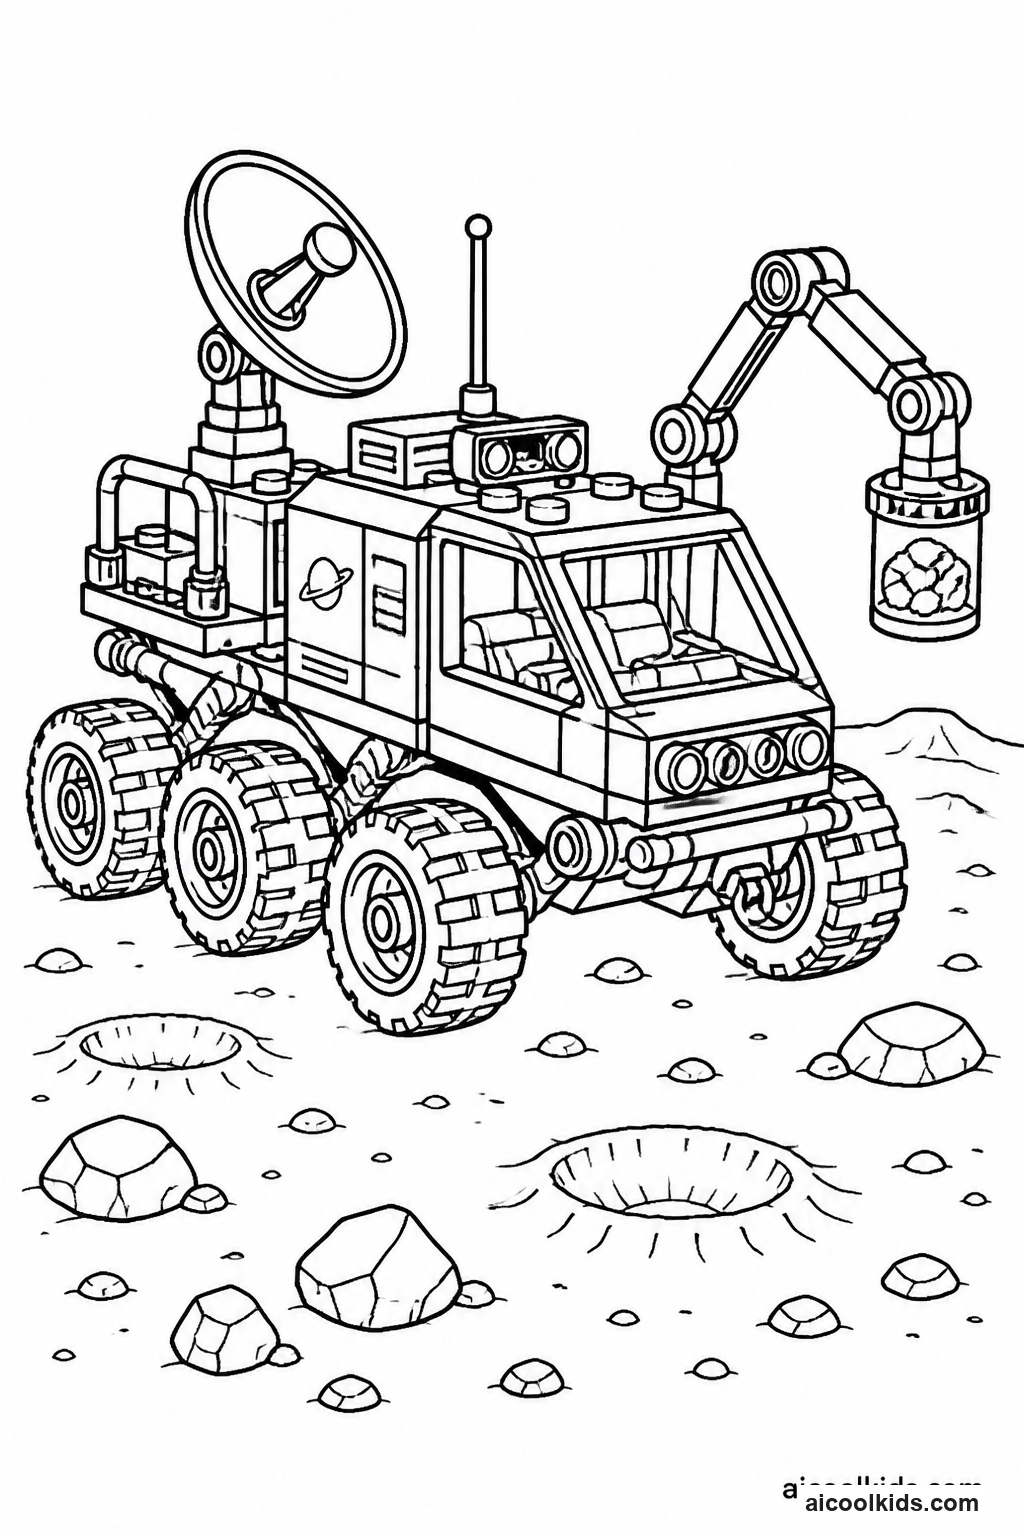
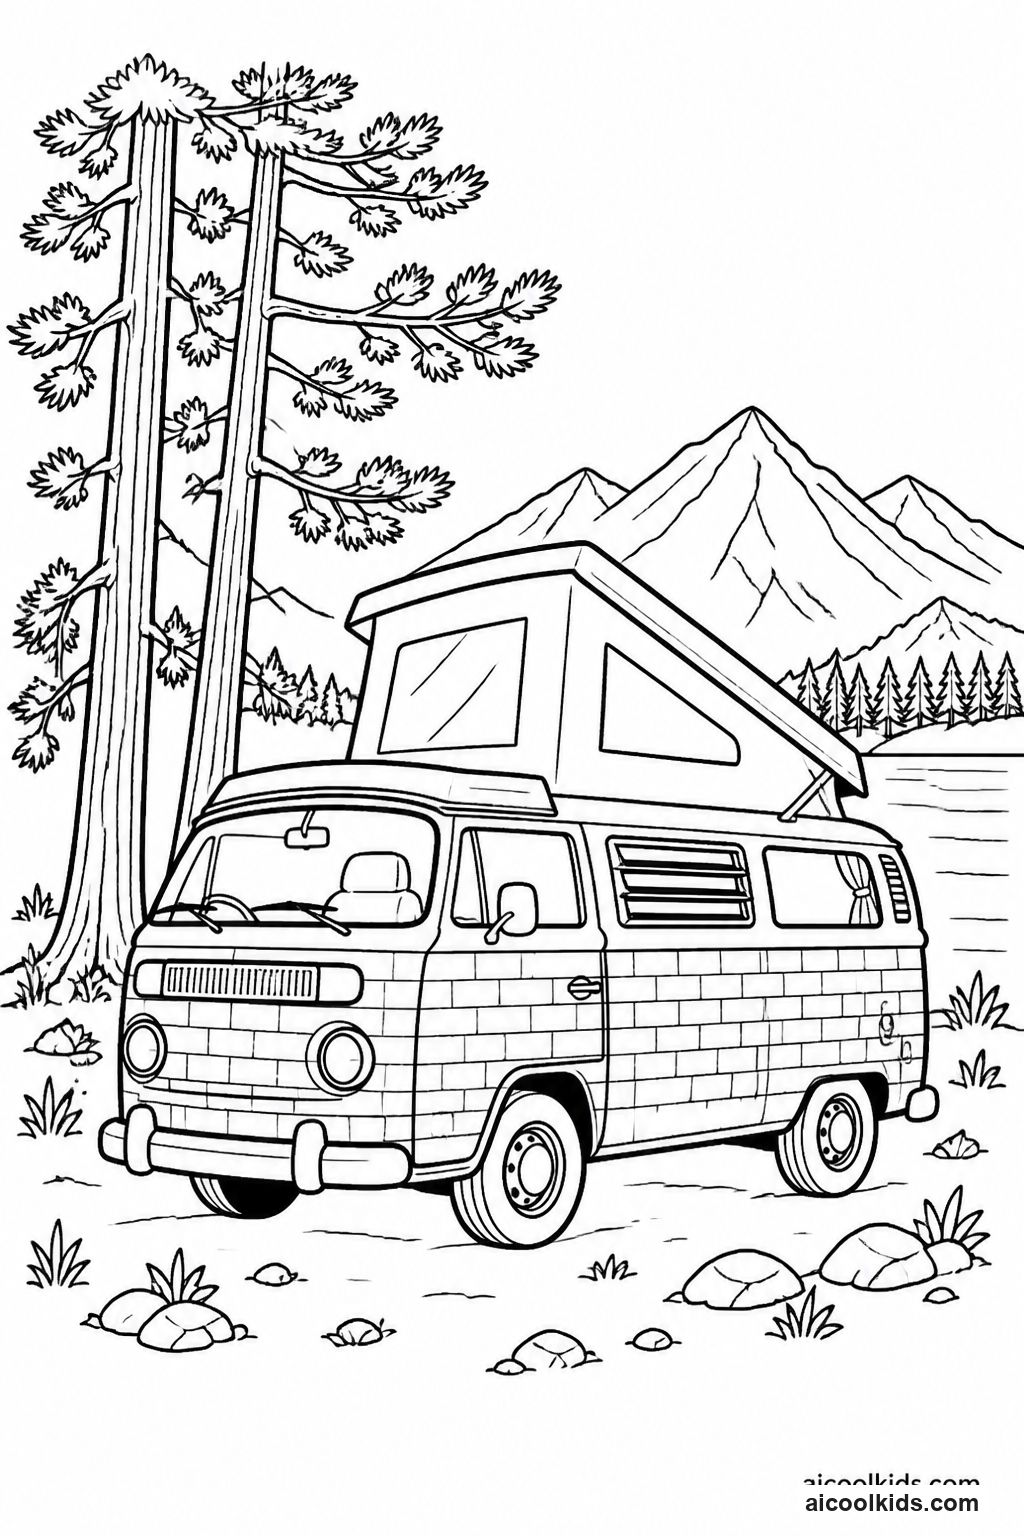
- Color the vehicle page and cut around the vehicle, leaving a slim paper border so small wheels, mirrors, or lights remain attached. If the page has a large background, color a few useful details before cutting out the main vehicle.
- On poster board, draw a neighborhood from a bird's eye view. Add at least four places such as a home, park, school, station, or repair shop, and connect them with streets that are wide enough for the paper vehicle to sit on.
- Use a ruler to draw crosswalks and intersections, then add simple map symbols for trees, traffic lights, water, or road work. Make a small key in one corner so another person can understand what each symbol means.
- Glue the vehicle near its starting point, or leave it loose so it can move along the route during play. Add paper signs, a bridge, or a temporary roadblock, making sure the route includes one choice that requires a decision.
- Tell a rescue or delivery story using the map. Explain the destination, choose a safe route, and describe how the vehicle handles the roadblock. Revise the map if the vehicle cannot reach its destination, and label the streets when finished.
3
Design a Ninjago Inspired Spinner Challenge
Materials Needed:
Printed Ninjago inspired coloring pageCardstockColored pencils or crayonsChild safe scissorsGlue stickPaper fastenerPencilMarkers
Step by Step Guide:
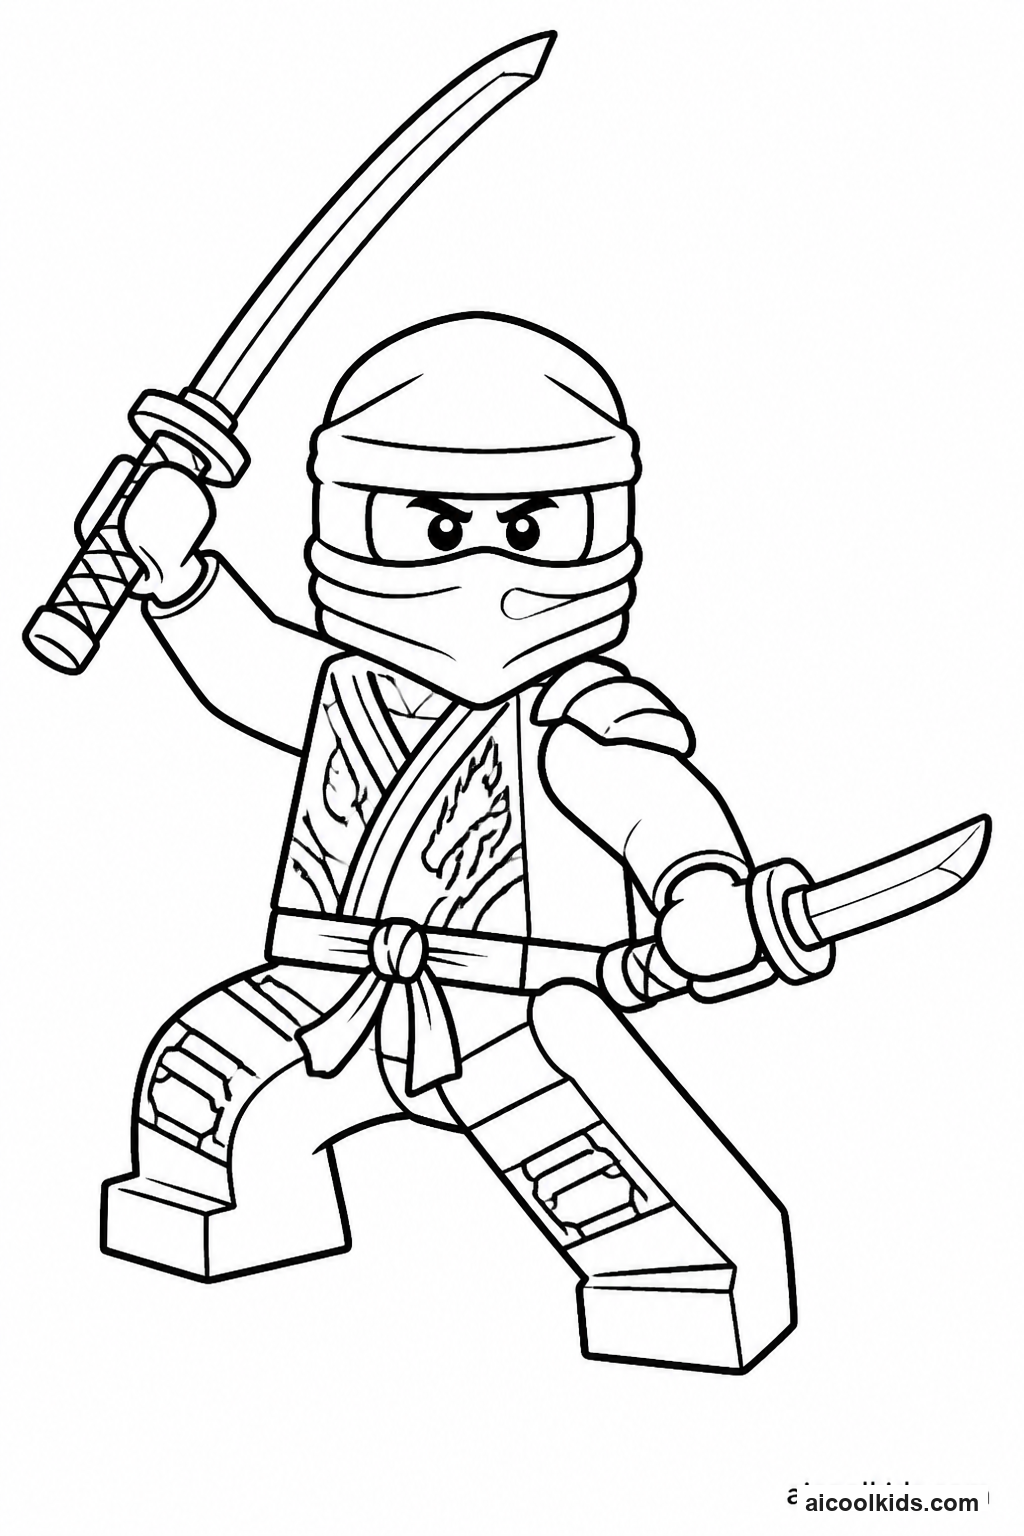
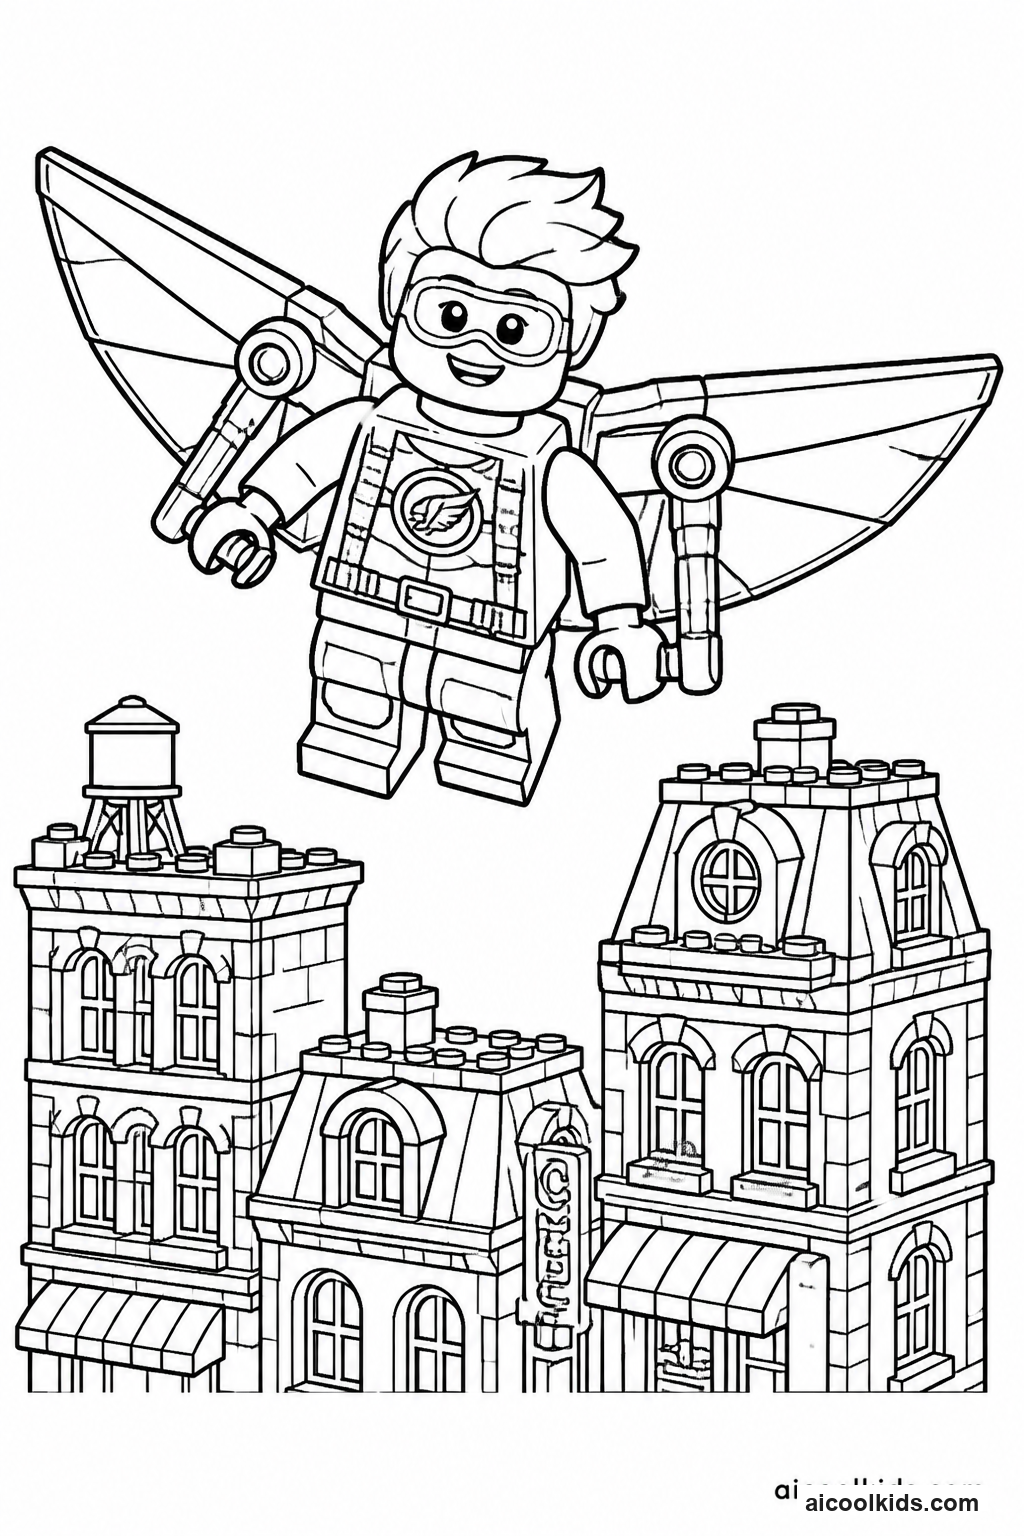
- Color the character and choose three training actions that can be acted out safely in place, such as balance like a statue, take three quiet steps, or name a kind team strategy. Write each action on a separate paper scrap.
- Draw a circle on cardstock and divide it into three or four sections. Add a different color and one action prompt to each section, keeping the words short enough to read at a glance.
- Cut out the circle and decorate its edge with repeating lines, dots, or brick inspired patterns. Glue the colored character near the spinner, leaving open space around the circle so it remains easy to turn.
- Make a small hole in the center of the spinner and attach it to the cardstock base with a paper fastener. Test the movement with one gentle flick, then adjust the fastener if the circle is too tight to rotate.
- Take turns spinning and completing the selected safe prompt. Players may choose to pass on a movement prompt and instead describe how their character would use patience, teamwork, or careful observation during the mission.
4
Make a Reusable Brick Pattern Book
Materials Needed:
Two or more printed coloring pagesColored pencils or crayonsBlank paperCardstock for coversChild safe scissorsHole punchYarn or paper fastenerPencilMarkers
Step by Step Guide:
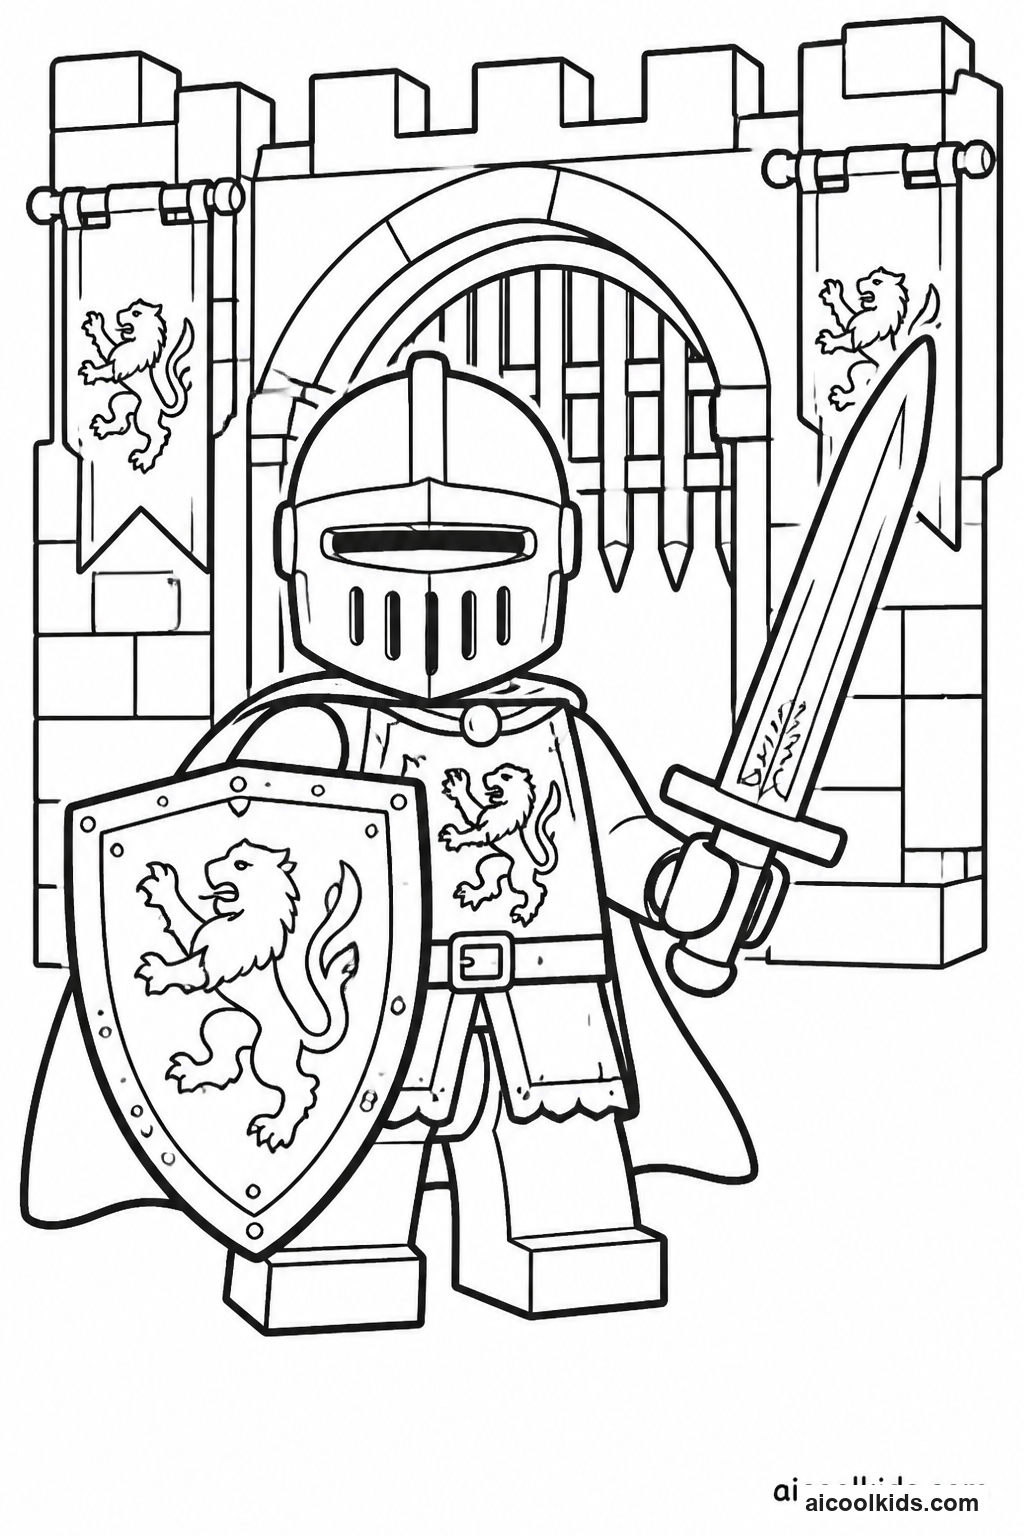
- Choose two or three printable pages and color them with a planned palette. For example, use three colors that repeat across the pages, or make one page bright and another page mostly cool colors to compare their effects.
- On blank paper, draw a repeating brick pattern using at least two colors and a clear sequence, such as red, blue, red, blue. Make a second pattern that changes one feature, such as alternating color and size.
- Create a building plan page by drawing a base, a doorway, windows, and a roof or tower. Add labels for the colors or shapes used, and include one note about how a minifigure or vehicle could interact with the design.
- Trim the pages to a matching size and place them between two cardstock covers. Arrange the pages in an order that makes sense, such as color studies first, patterns second, and the building plan last.
- Punch two holes along one edge and thread yarn through them, or ask an adult to attach the pages with a paper fastener. Add a title and the child's name to the cover, then use the book as a model for a new design.
5
Build a Stand Up City Diorama
Materials Needed:
Printed minifigure or city vehicle coloring pageCardstockBlank paperColored pencils or crayonsMarkersChild safe scissorsGlue stickRuler
Step by Step Guide:
- Color the selected figure or vehicle and cut it out with a narrow border. Keep the base edge as straight as possible, since the figure will need a flat place to stand or lean against its support.
- Fold a strip of cardstock into a small triangle shaped support. Glue one side to the back of the cutout and allow it to dry briefly, checking that the figure can stand without tipping.
- Draw a city backdrop on a separate sheet of cardstock. Include a ground line, two or three buildings, and one recognizable location such as a station, garden, shop, or training space.
- Make simple foreground pieces from folded paper, such as a sign, tree, bench, or road barrier. Add color and labels, then glue the backdrop upright to a folded cardstock base so it can stand on a table.
- Place the figure and paper details in the scene before gluing anything else. Move pieces until the setting is clear, then attach them and tell a short story about what the character is doing in that place.
6
Create a Coloring Page Puzzle and Clue Trail
Materials Needed:
Printed Lego themed coloring pageCardstockColored pencils, crayons, or markersChild safe scissorsGlue stickPencilSmall envelopes or paper scraps
Step by Step Guide:
- Color the page with enough contrast that important parts remain easy to identify. Add a simple background detail, such as a road, doorway, or stack of bricks, so the finished picture has more than one feature to notice.
- Glue the page onto cardstock and let it dry. On the back, draw a puzzle grid with six to twelve pieces for younger children, or a more complex grid for older children. Keep pieces broad enough to cut safely.
- Cut carefully along the drawn lines and place the pieces in an envelope. For a reusable version, leave the puzzle uncut and draw the grid on a clear plastic sleeve instead, then arrange loose paper scraps as substitute pieces.
- Write three clues on separate scraps, moving from broad to specific. For example, describe the setting first, then a visible color, then one small detail. Keep the answer hidden so the solver has a chance to inspect the pieces.
- Give the envelope and clues to a partner. Let the partner assemble the image and explain which clue helped most. If a piece is confusing, revise the cut line or make the clue more precise before another round.