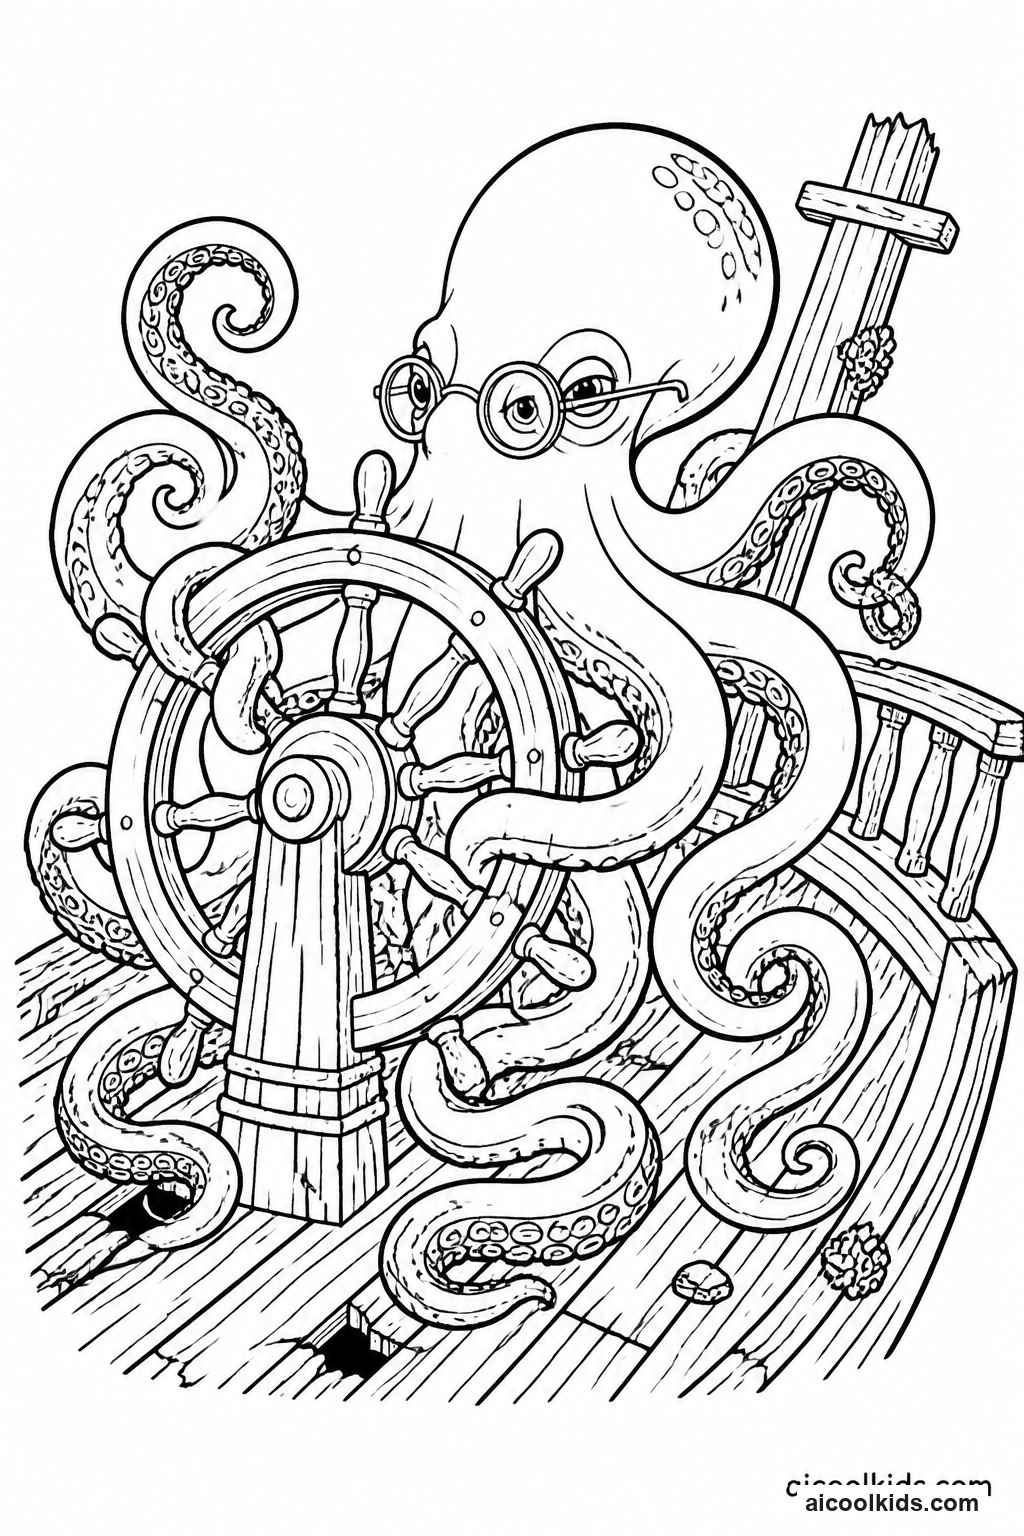
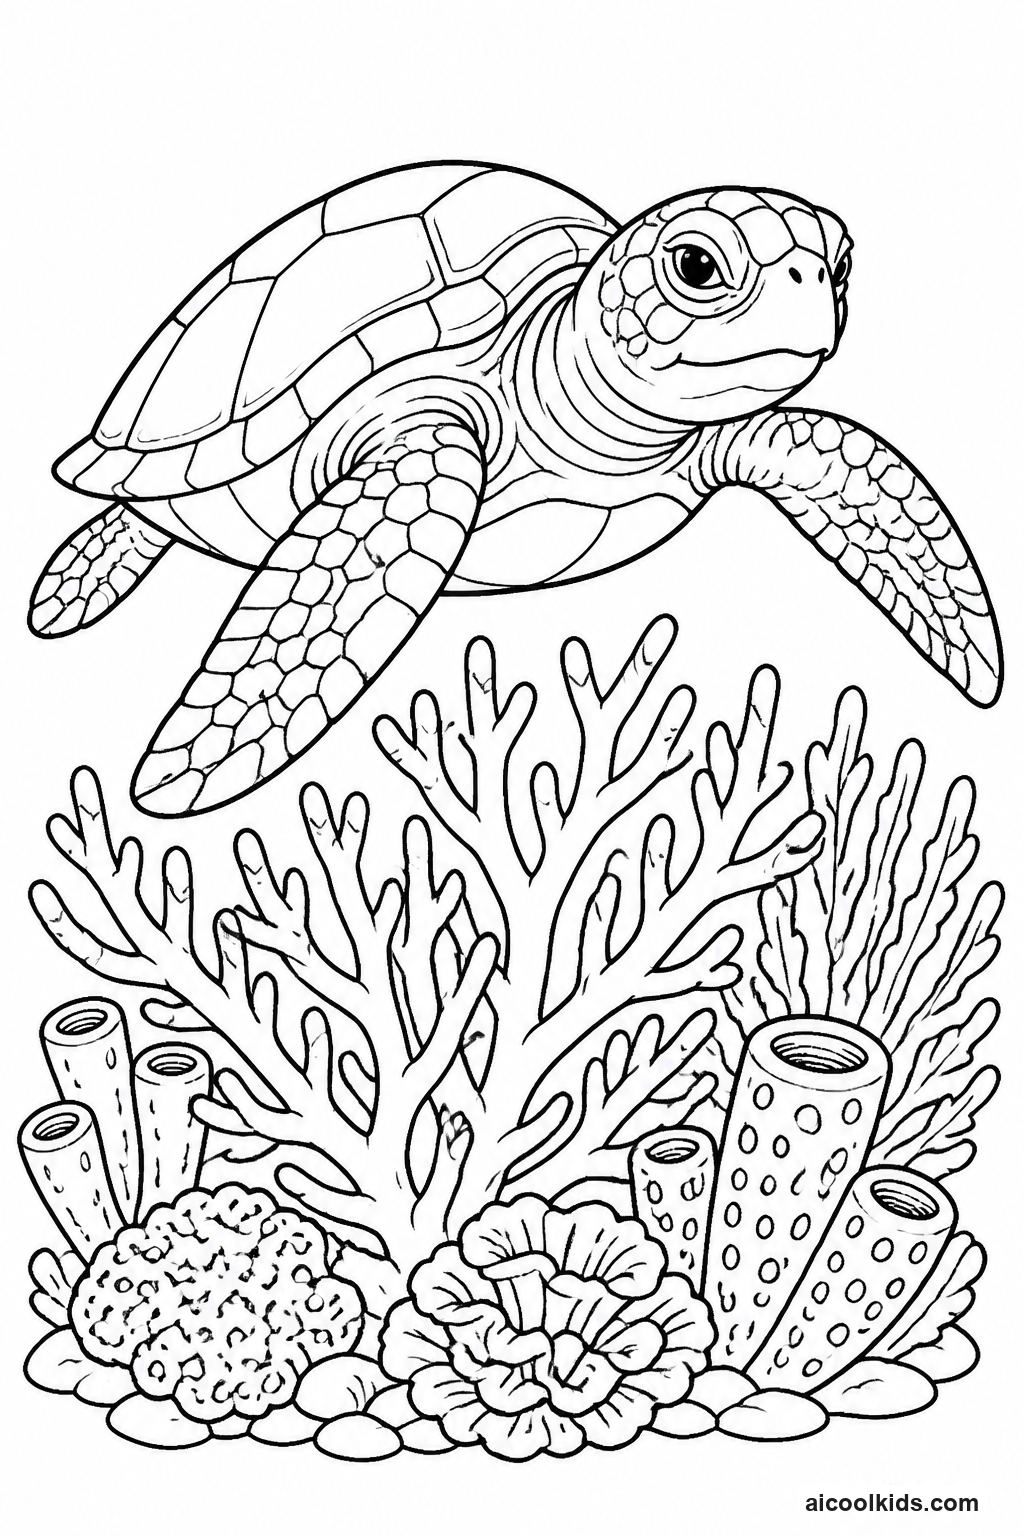
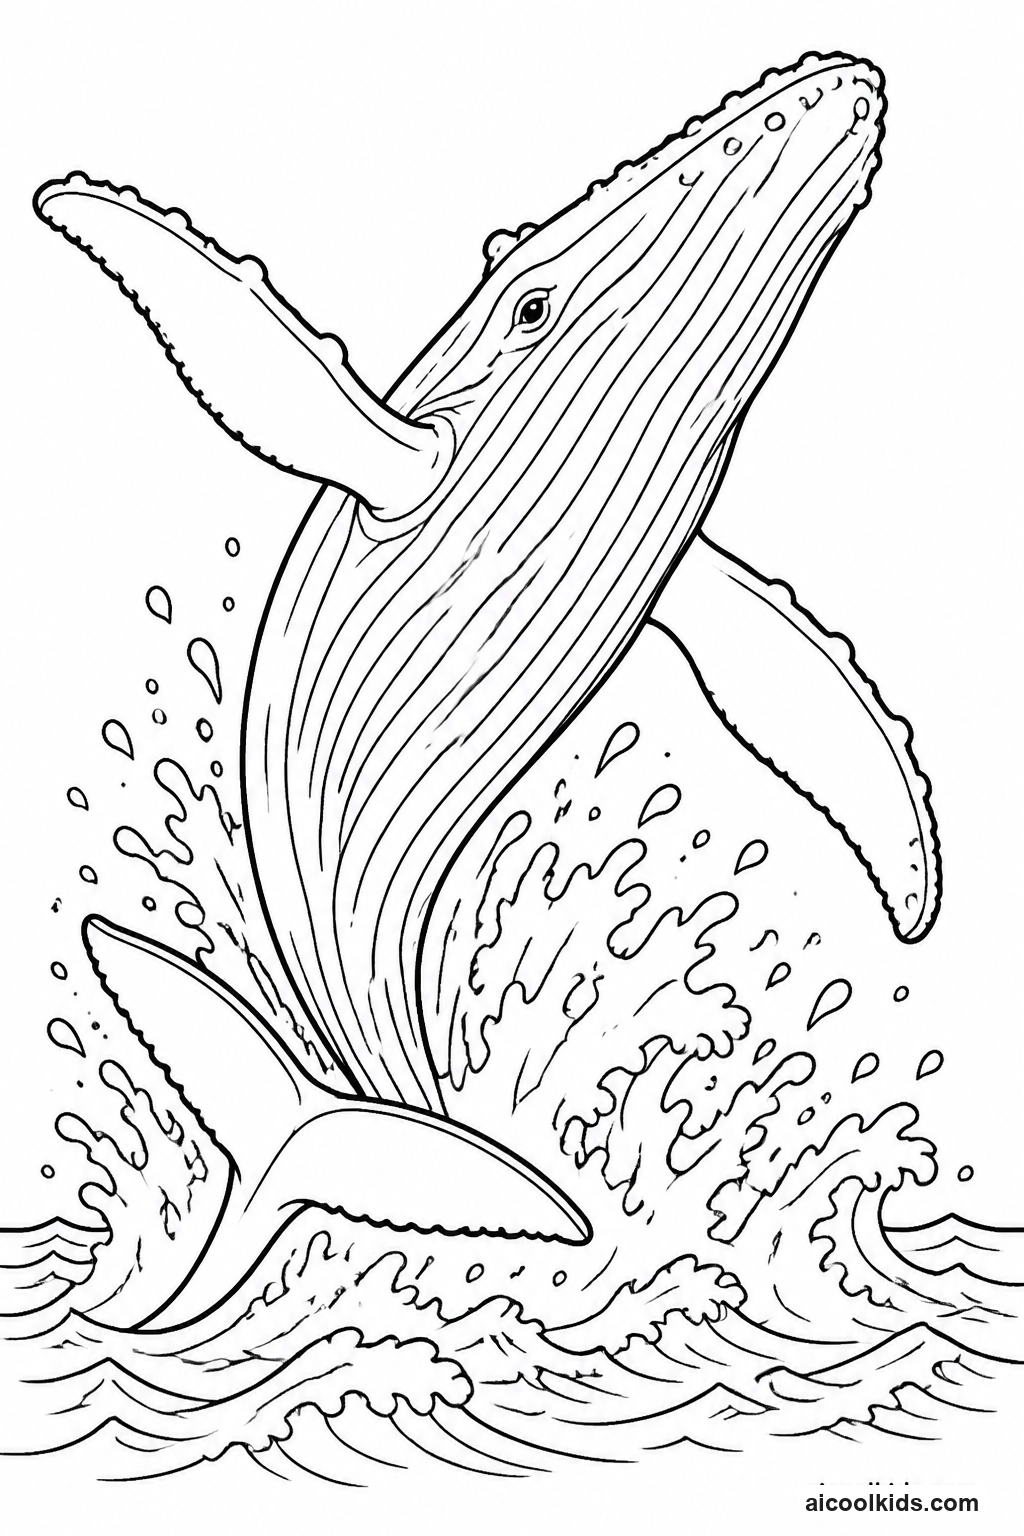
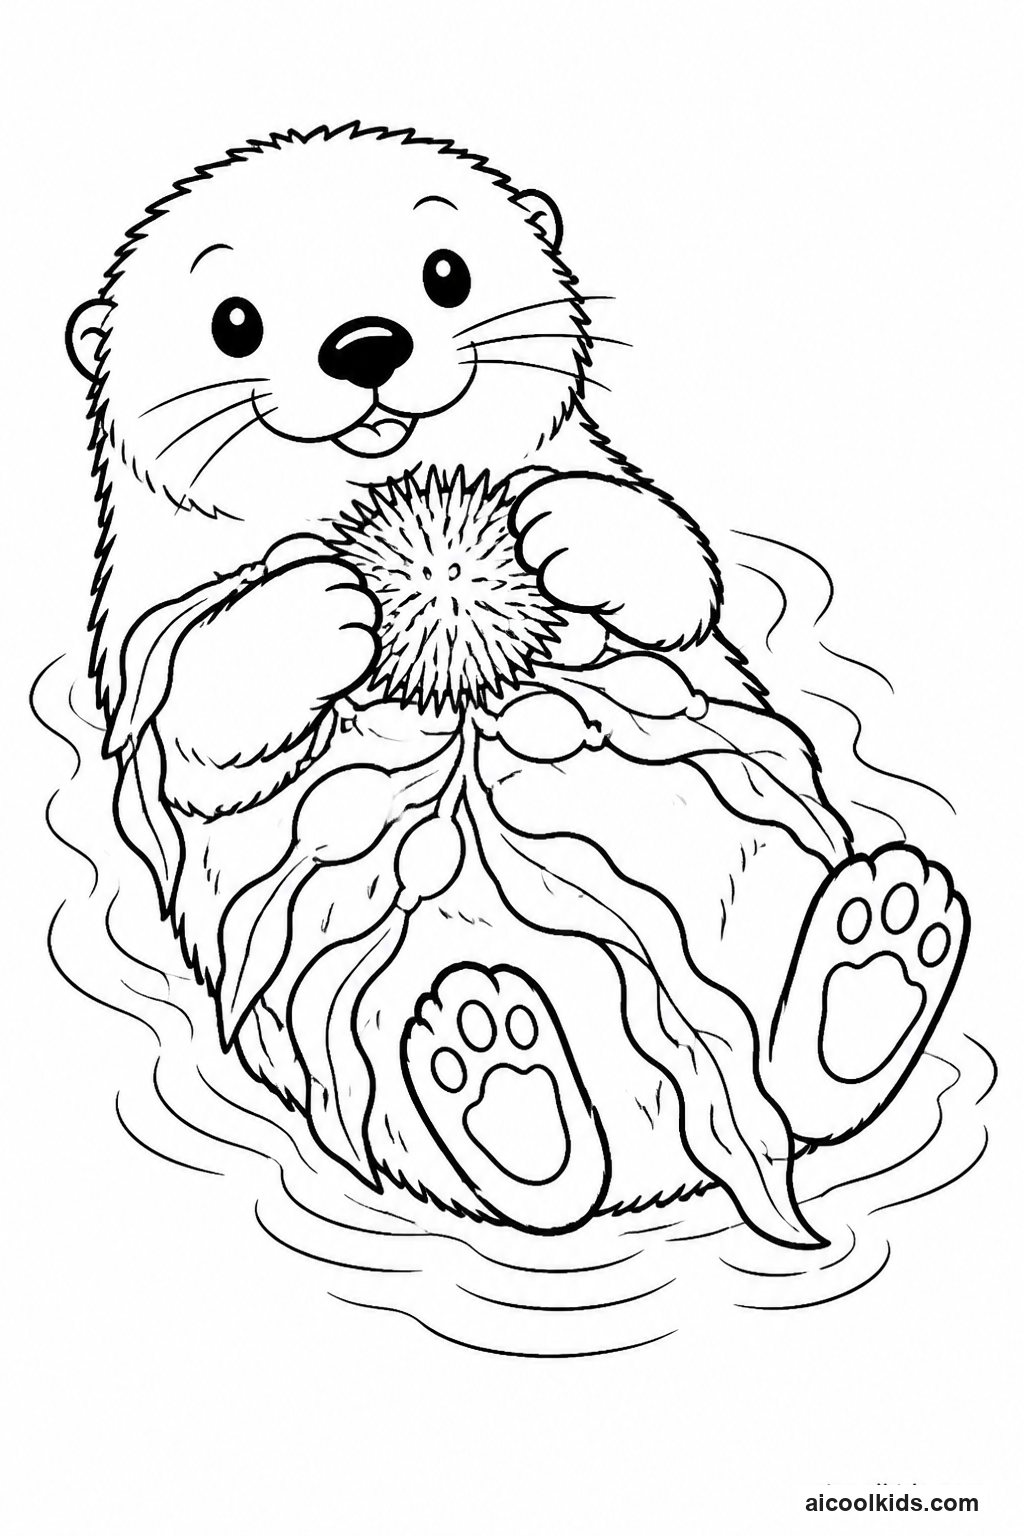
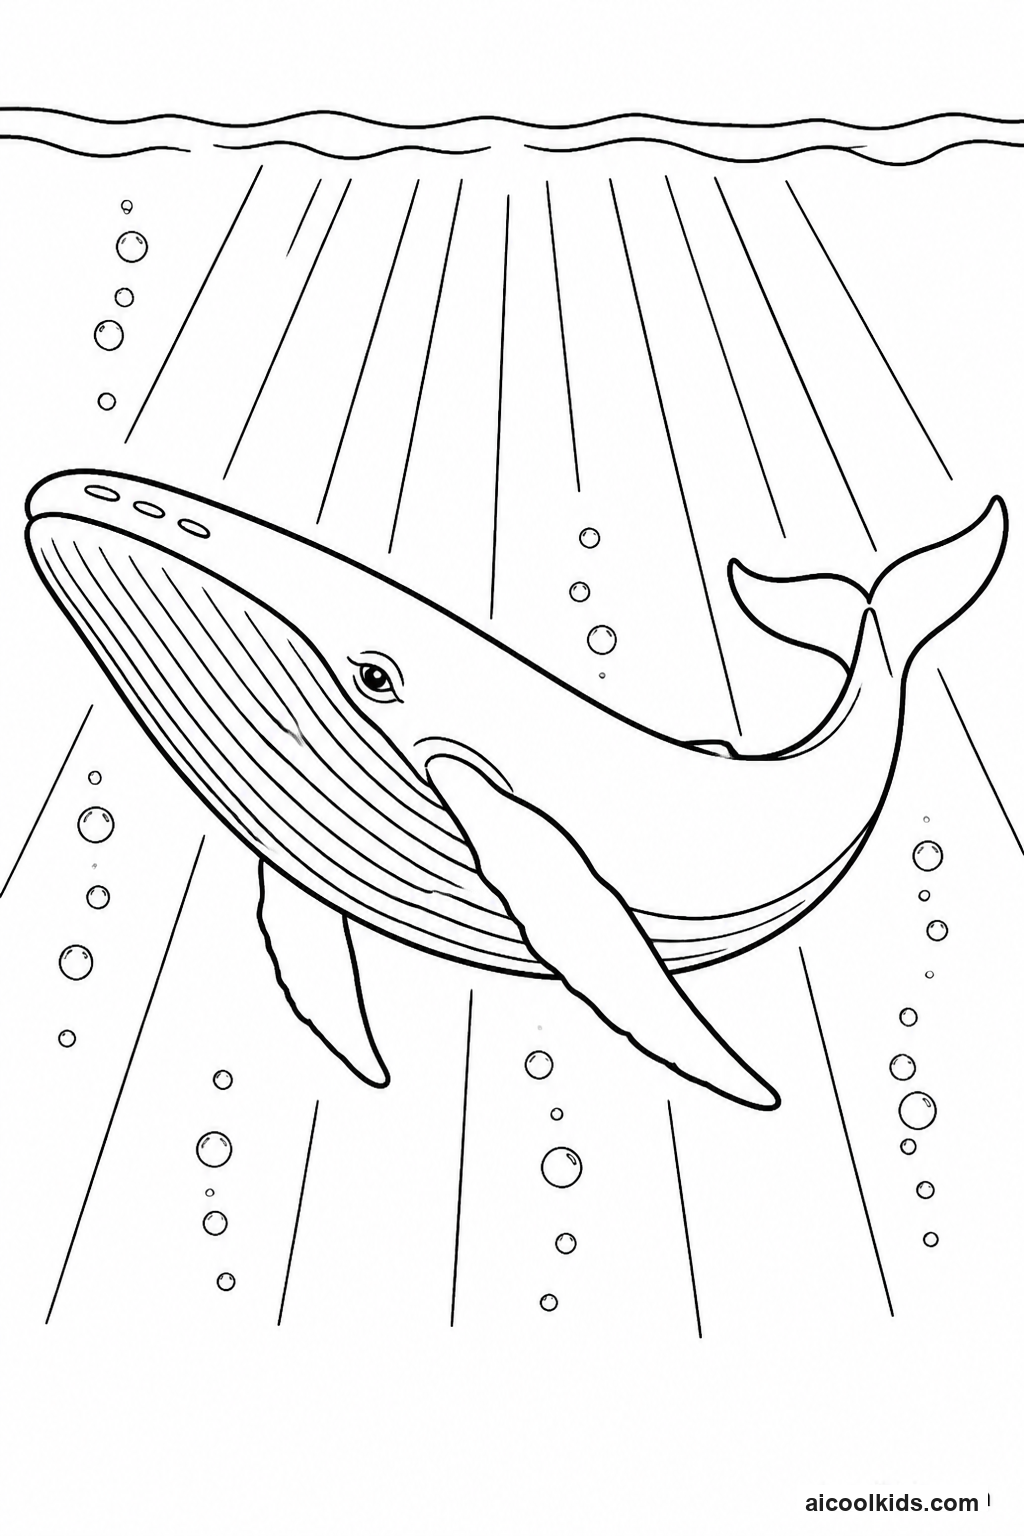
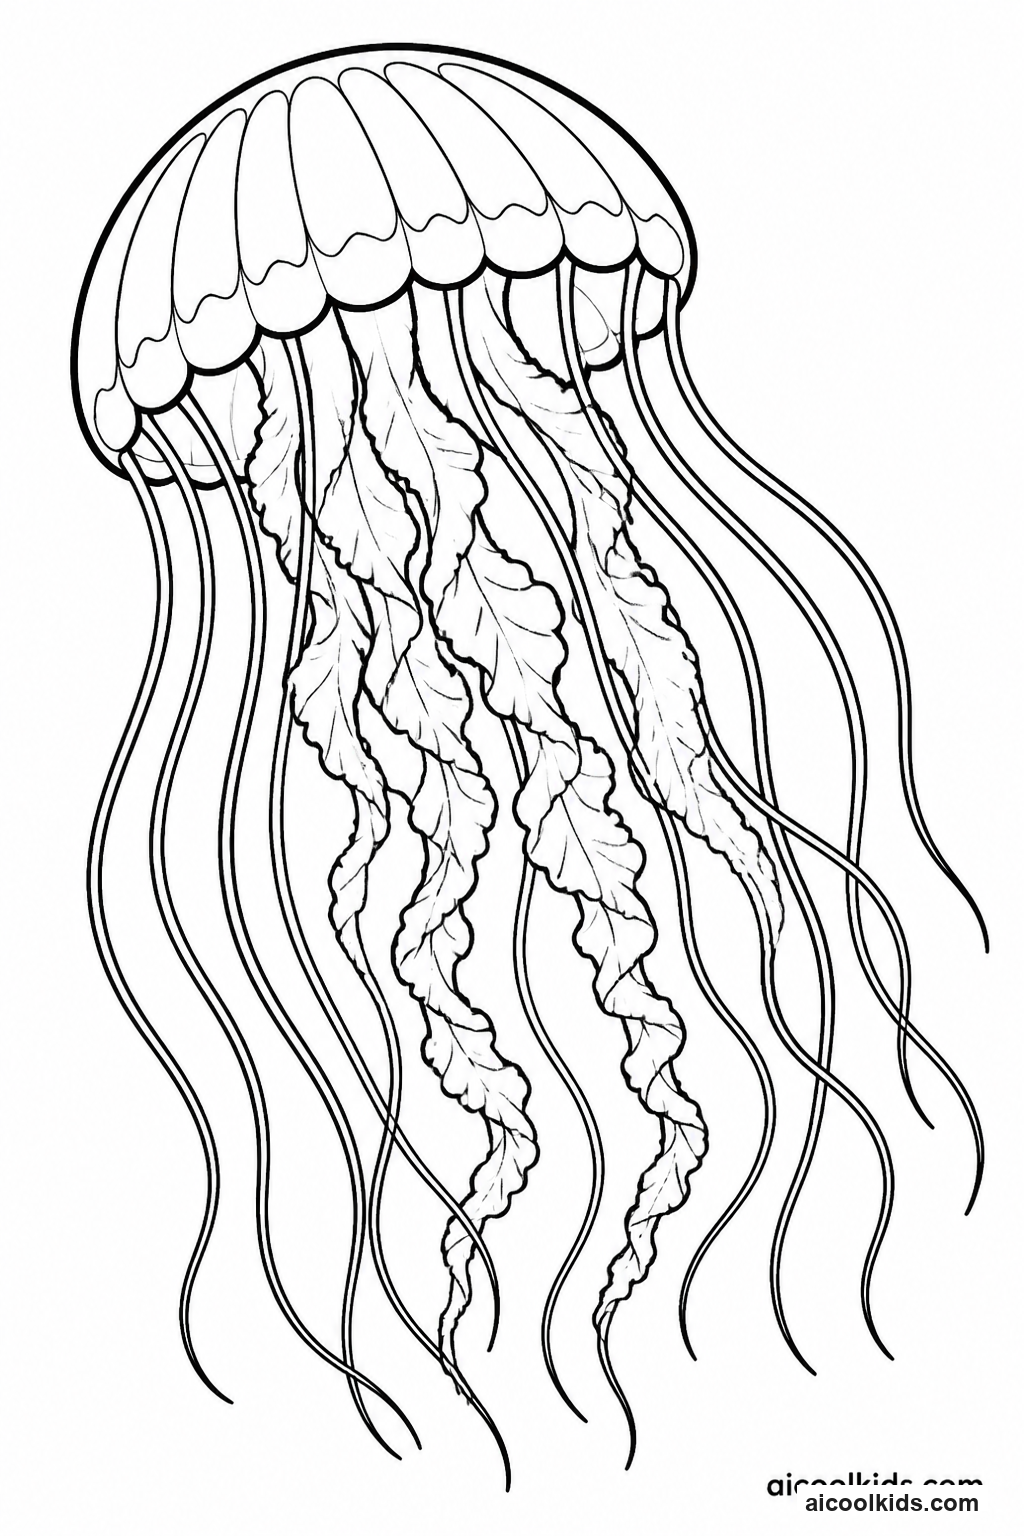
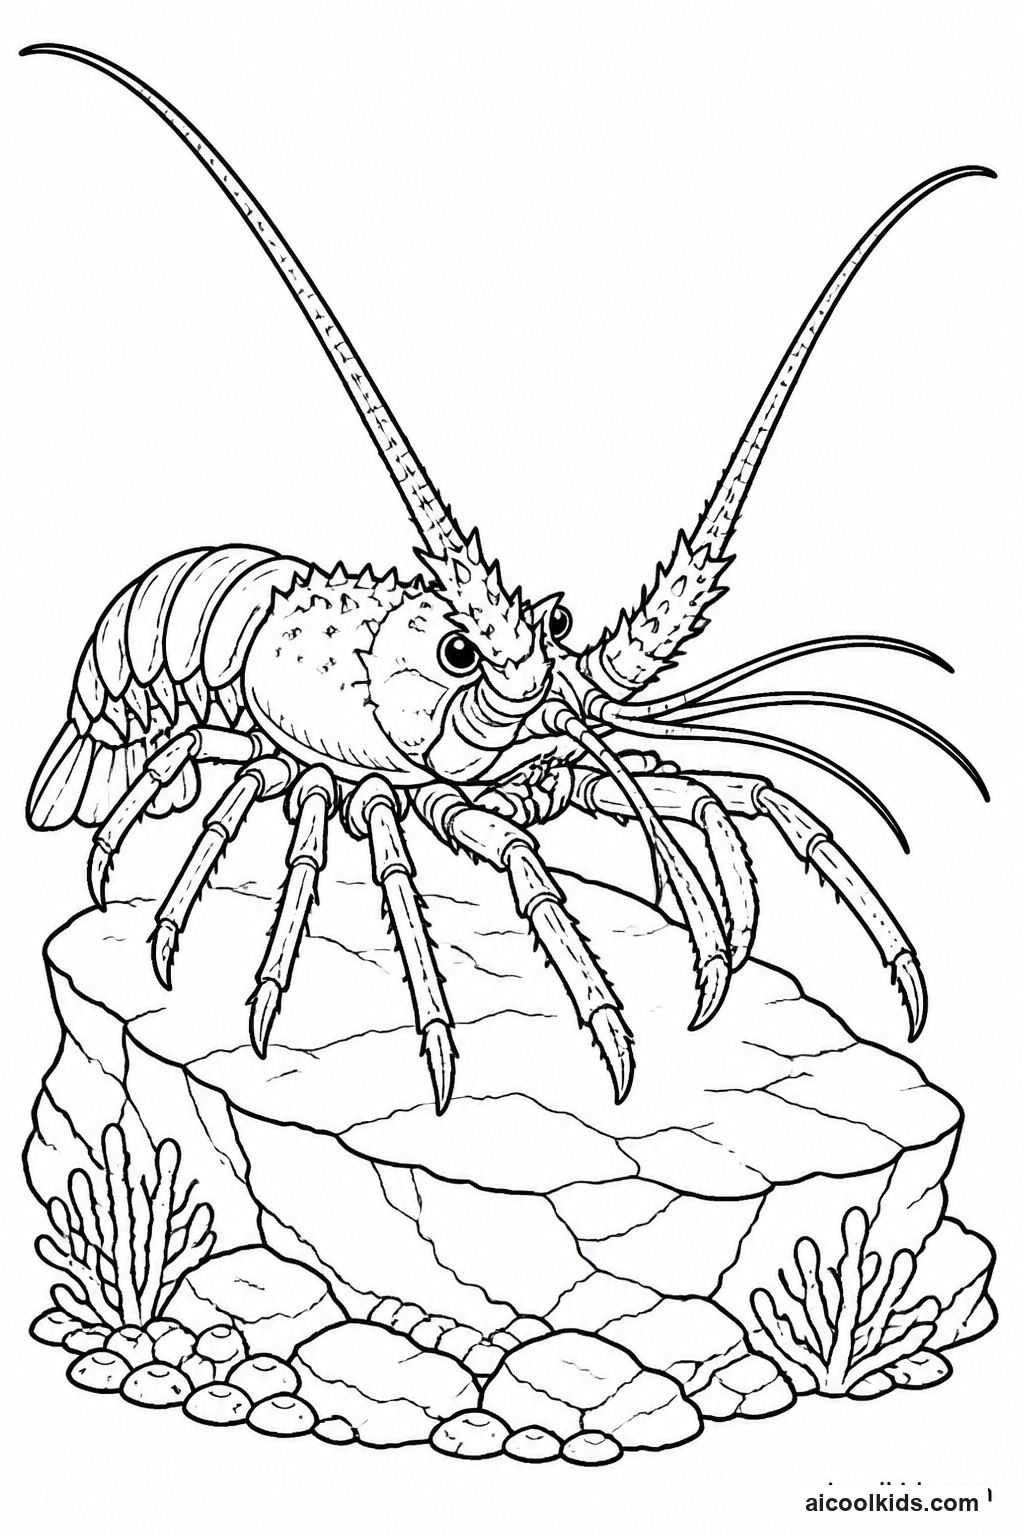
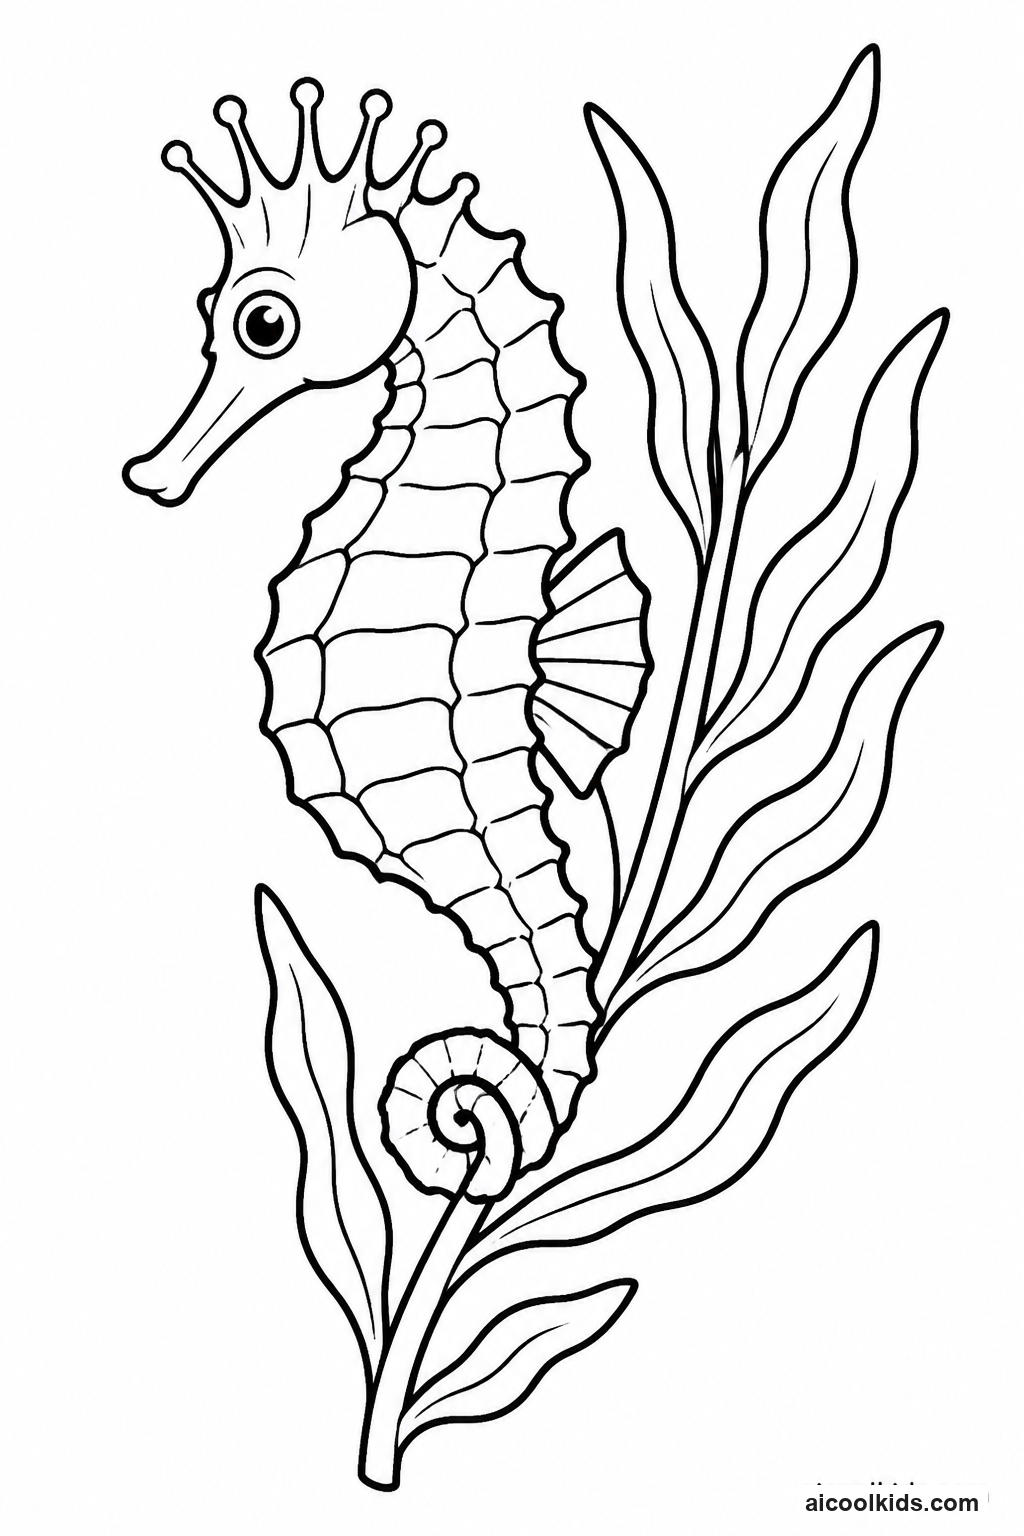
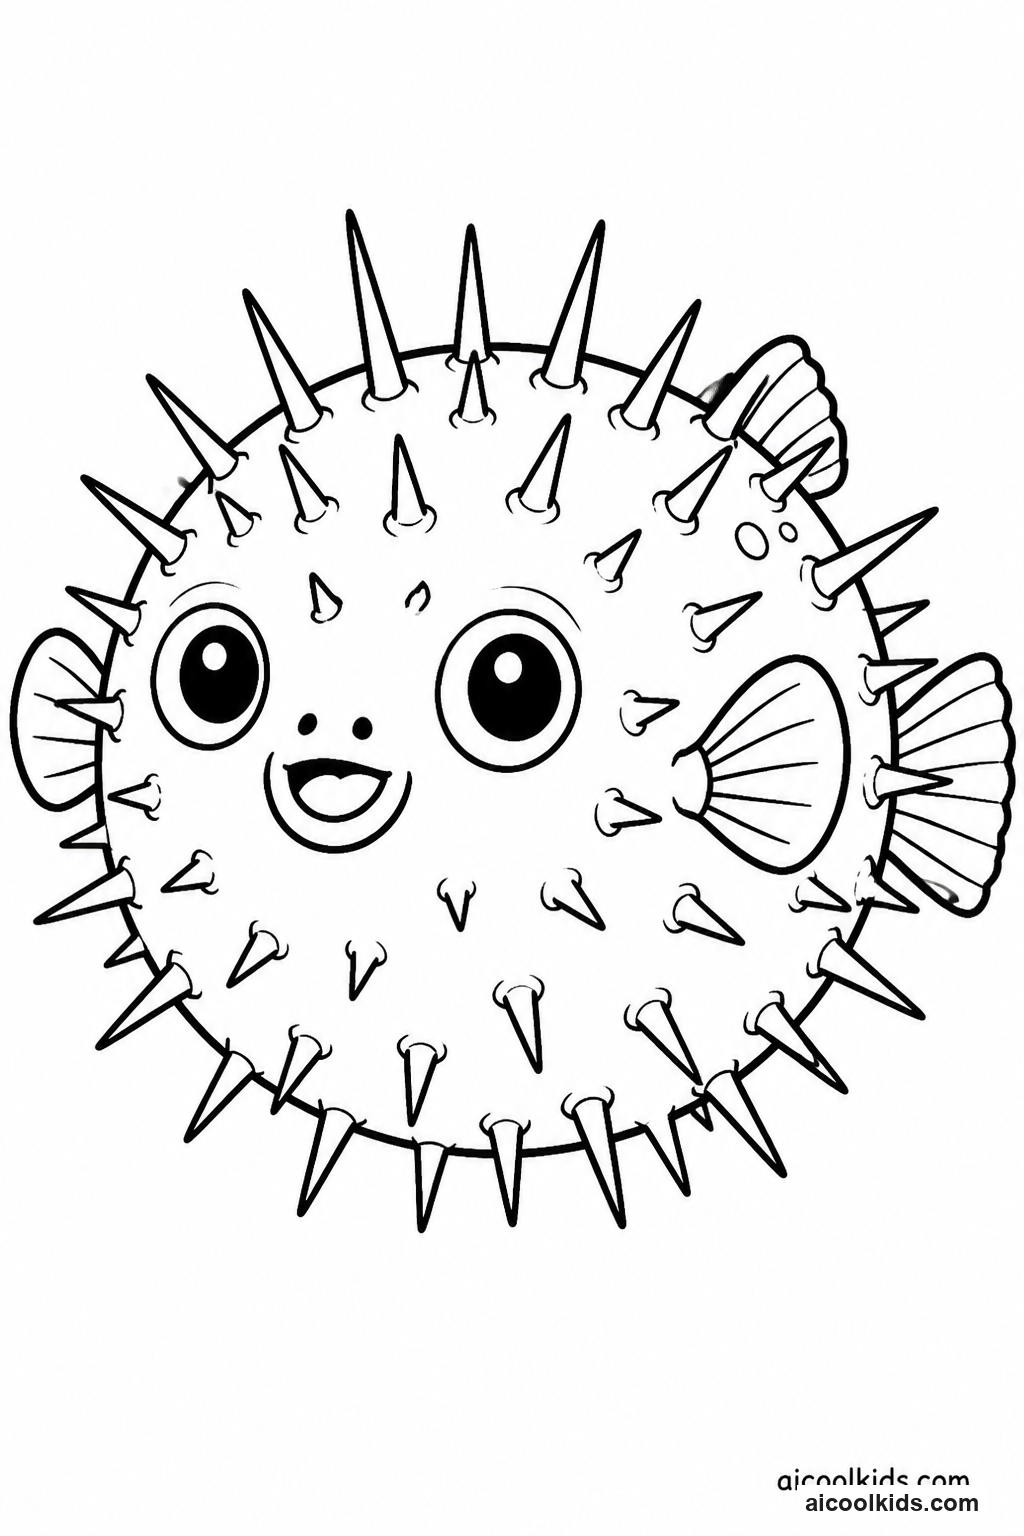
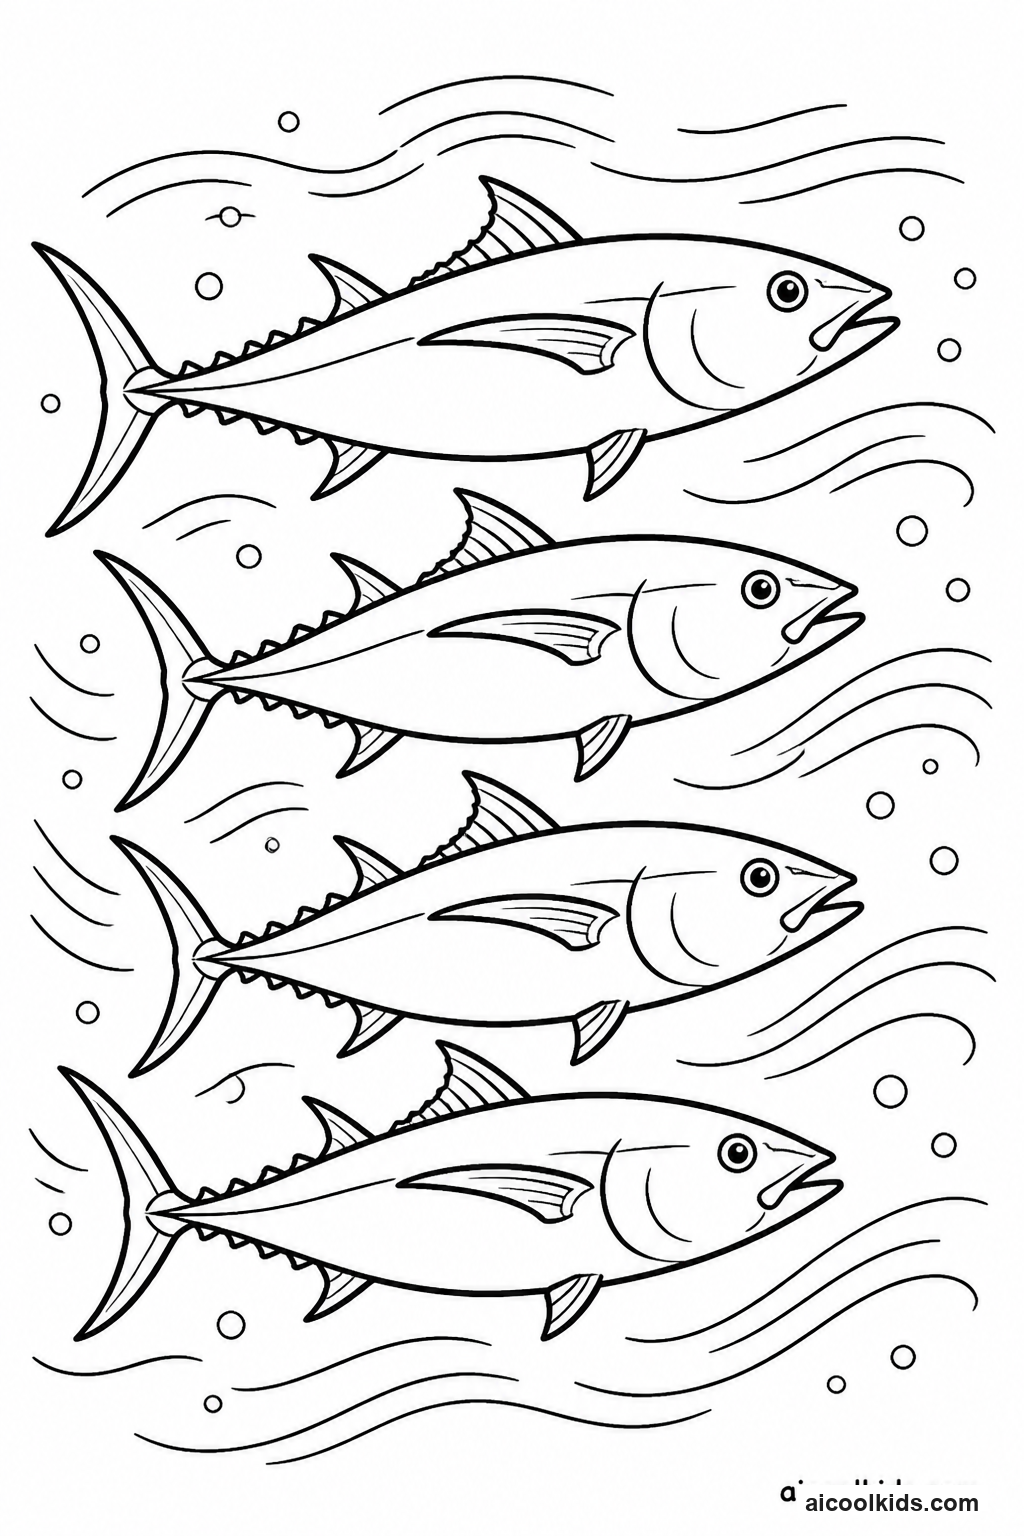
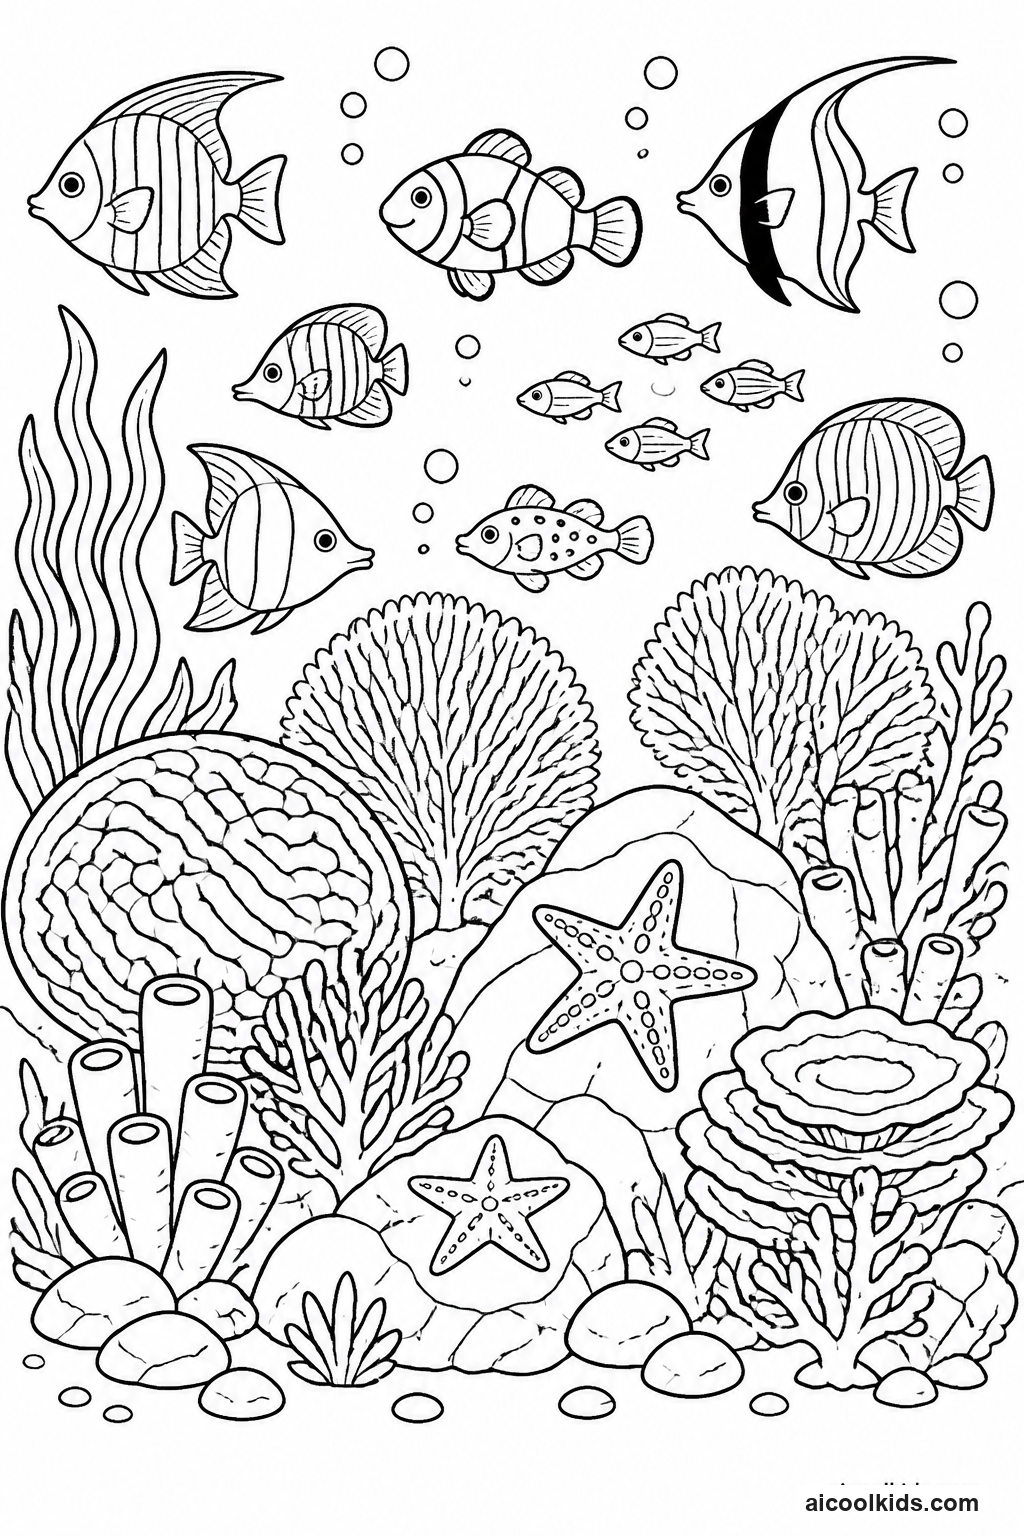
Parent & Teacher Craft Guide
6 Creative Learning & Craft Ideas for Ocean Animals Coloring Pages
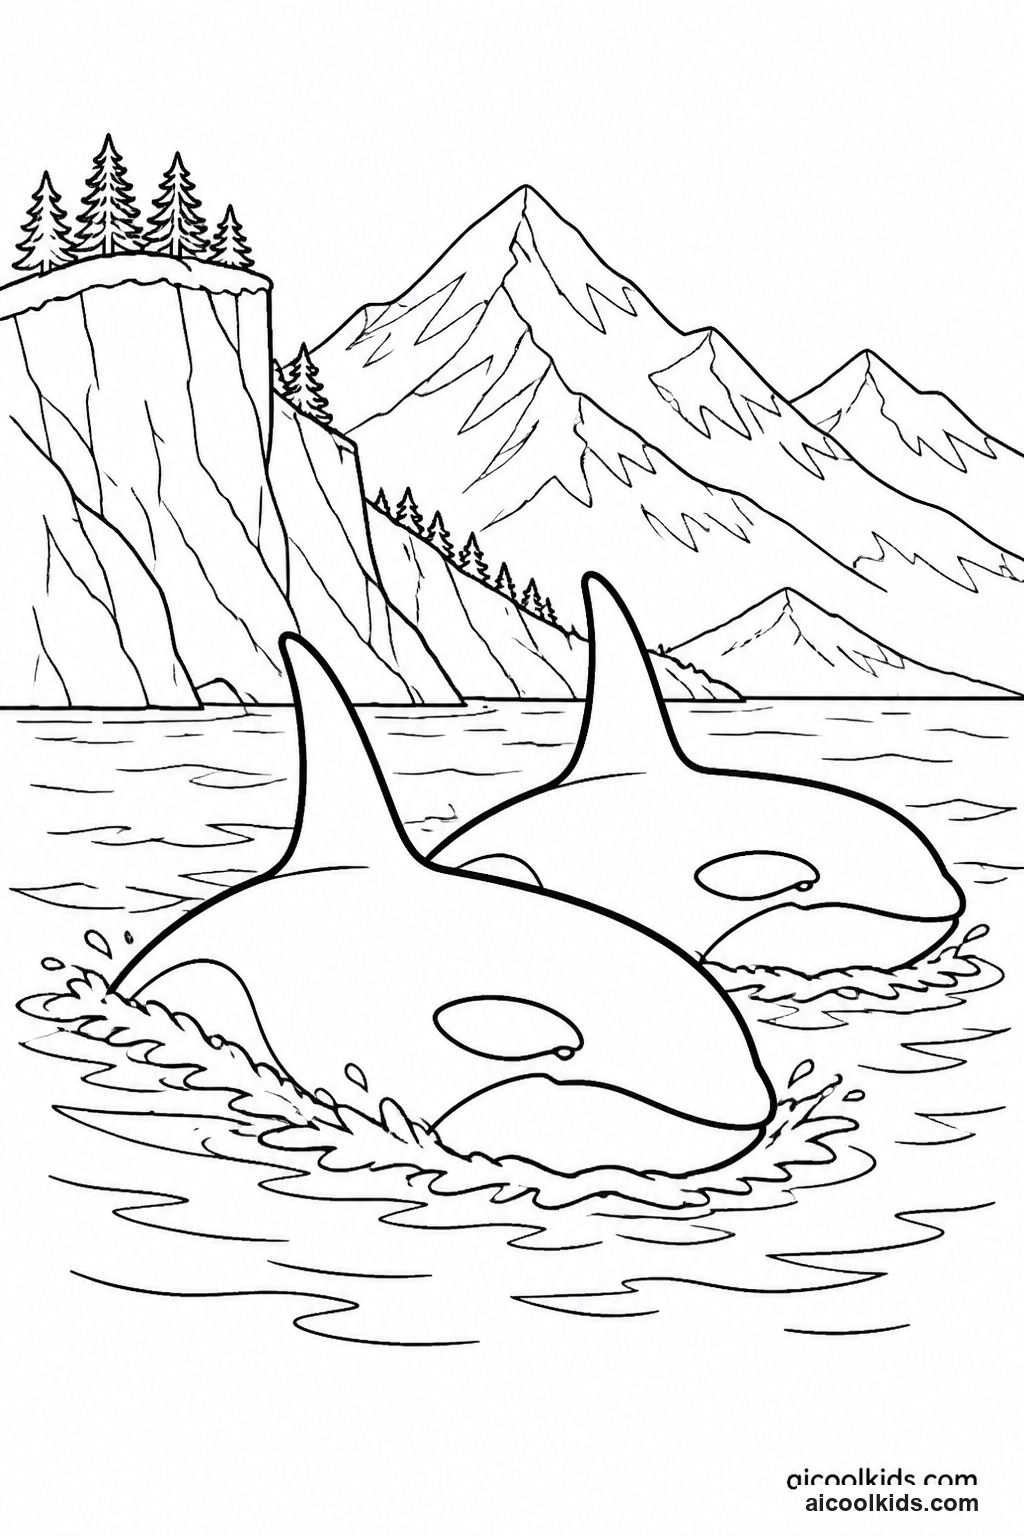
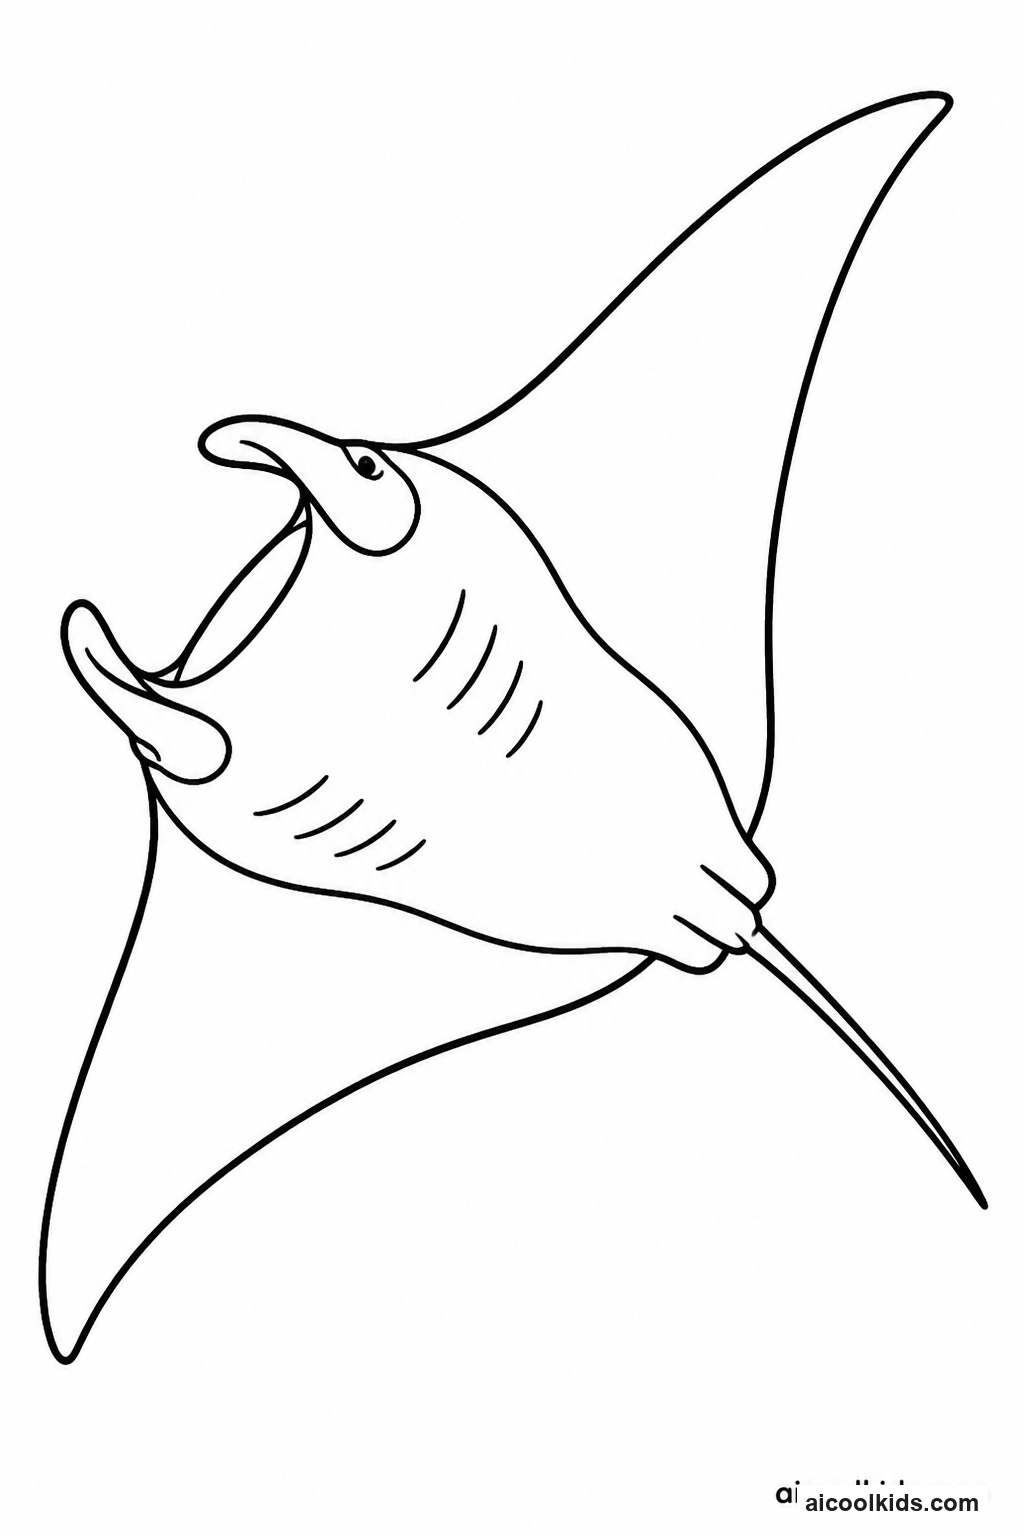
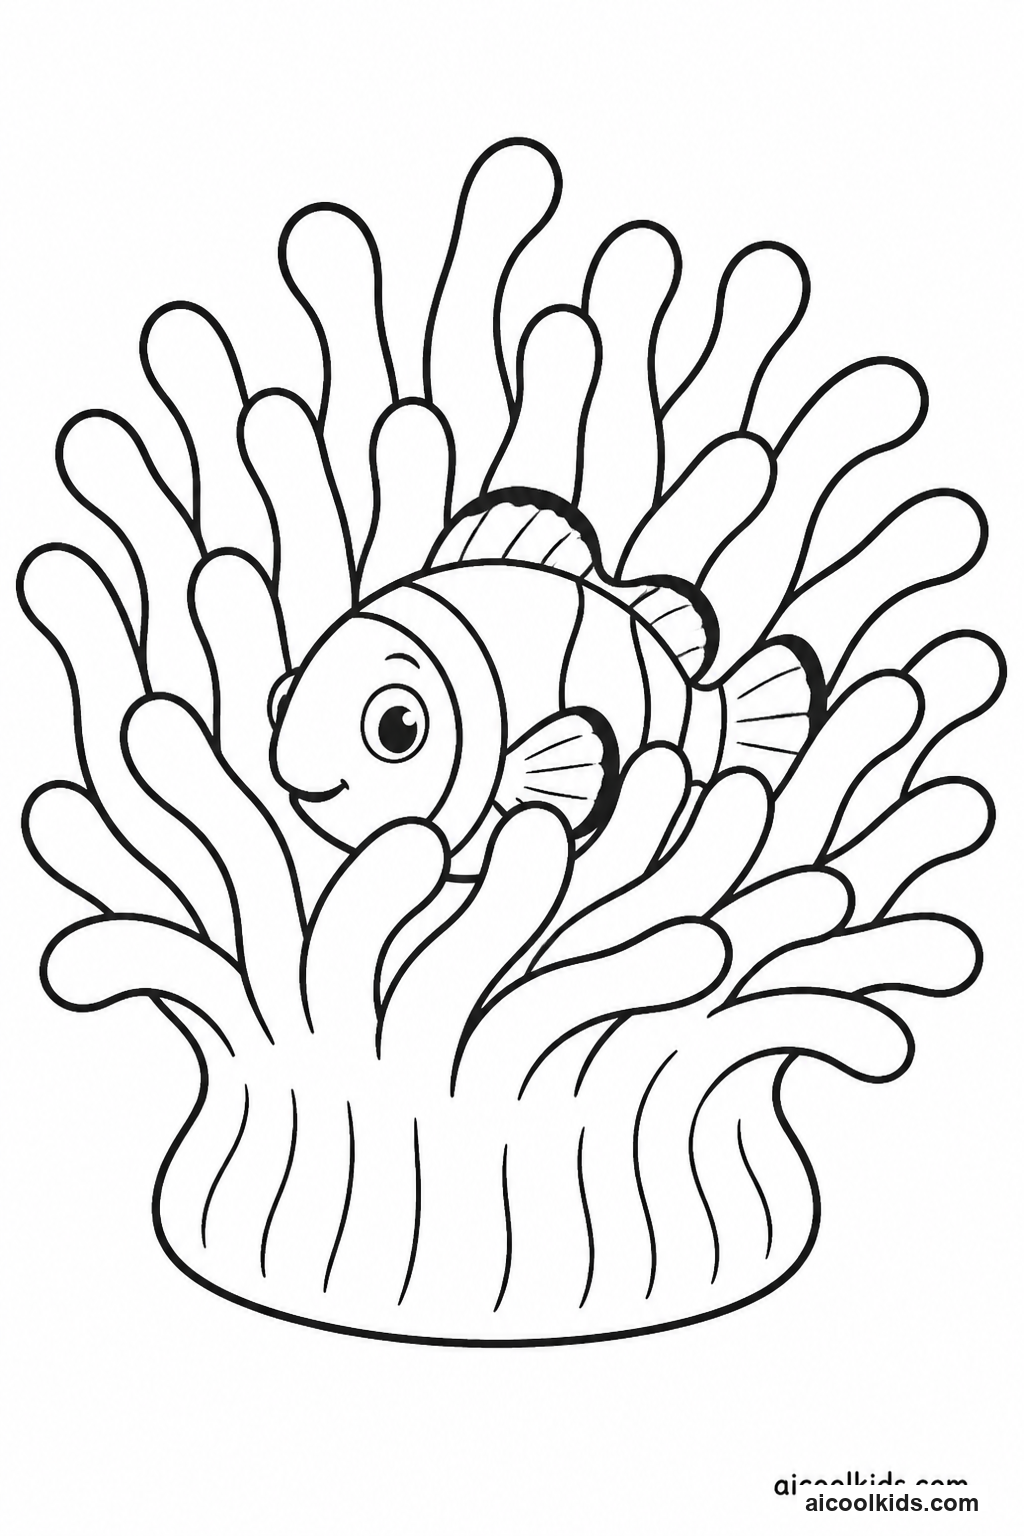
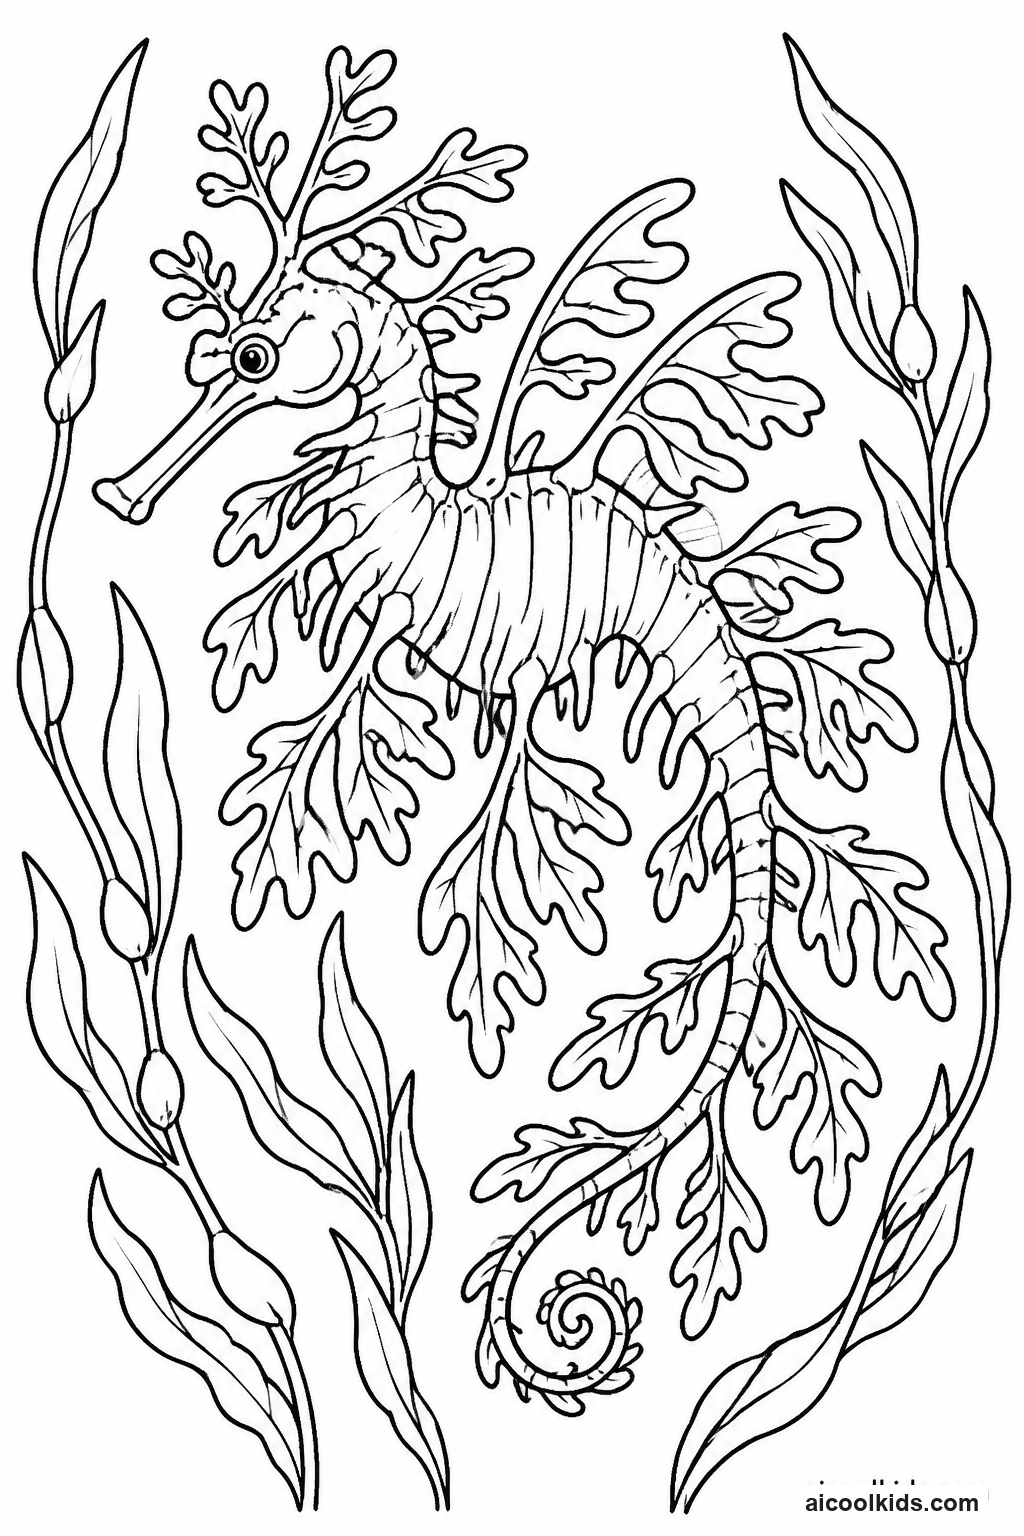
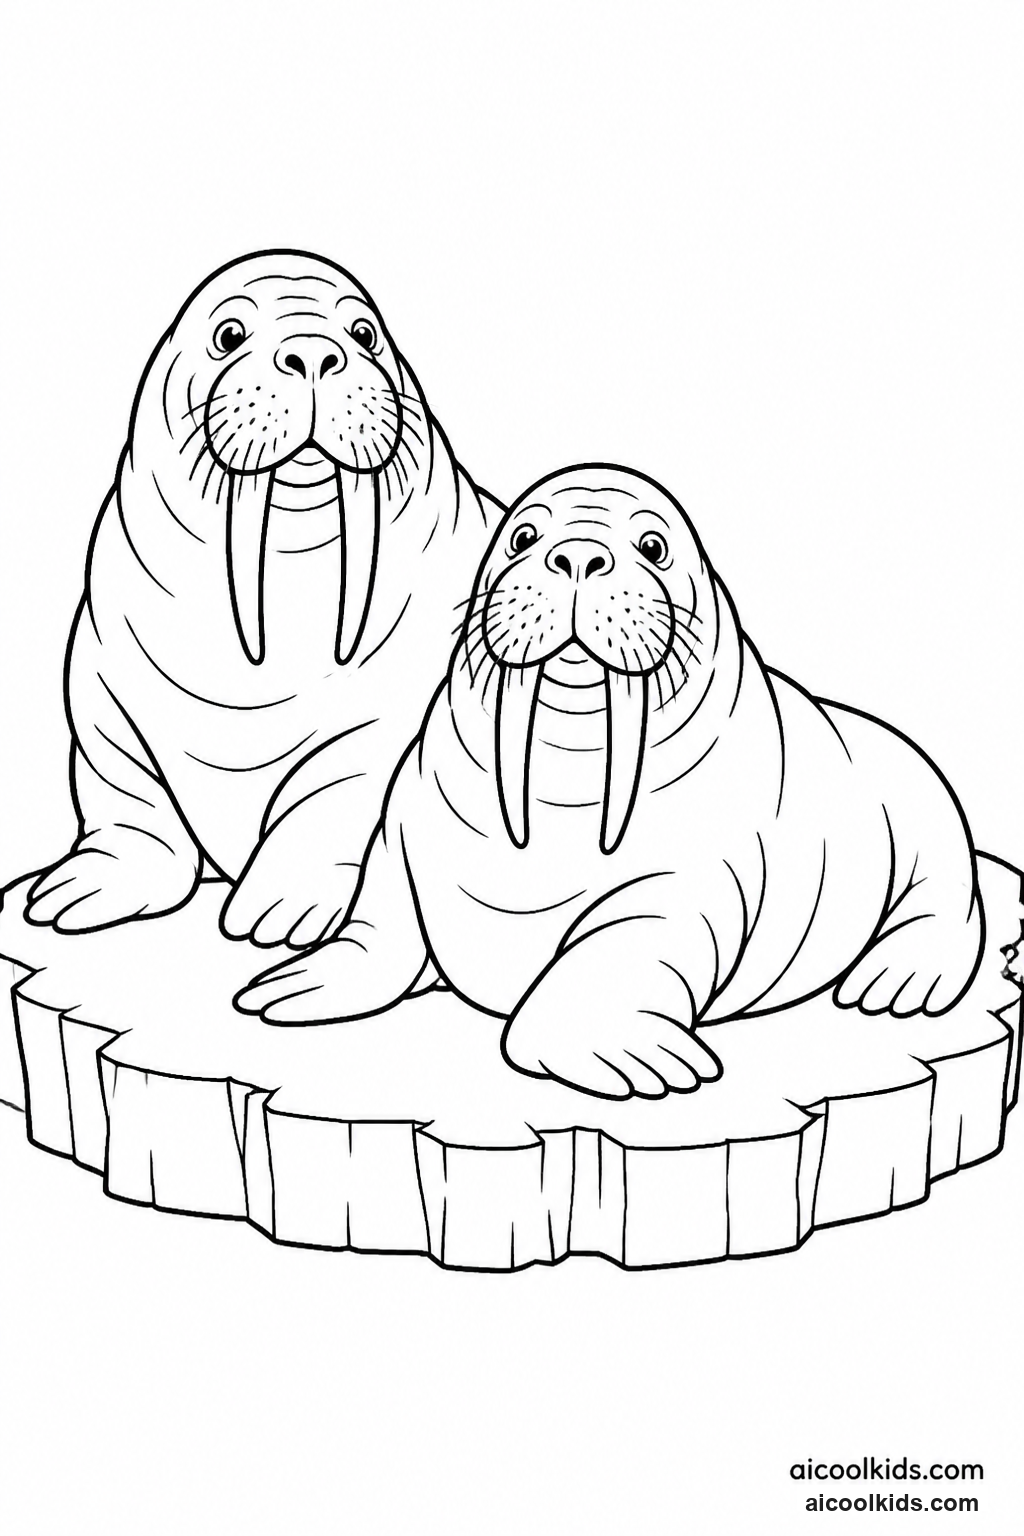
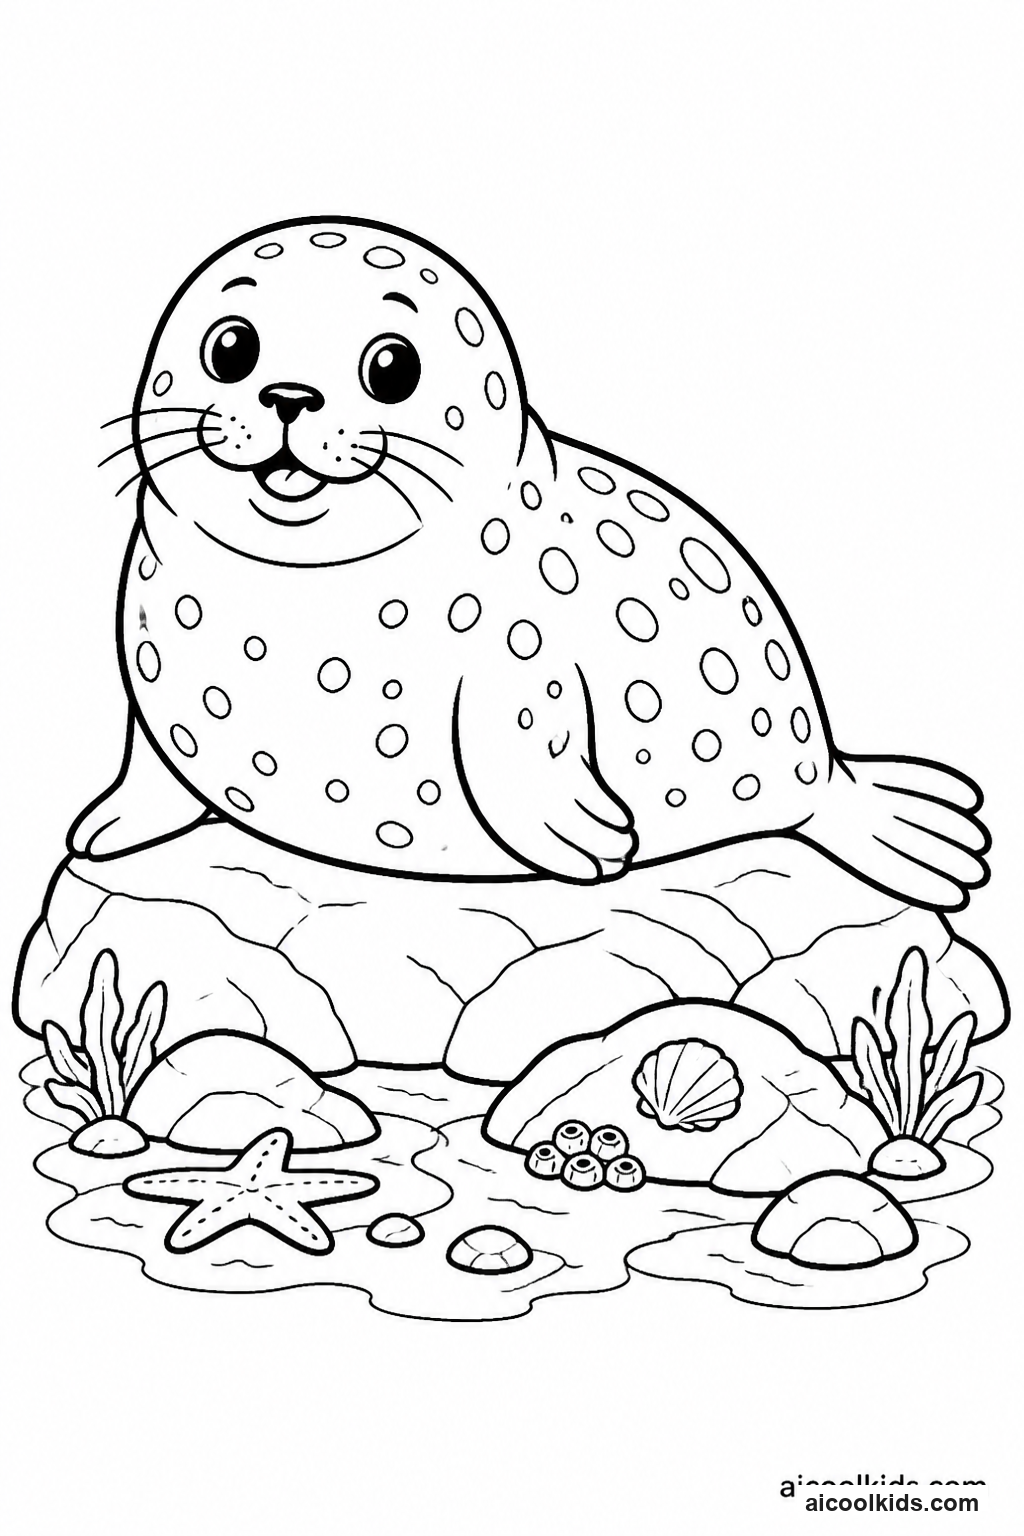
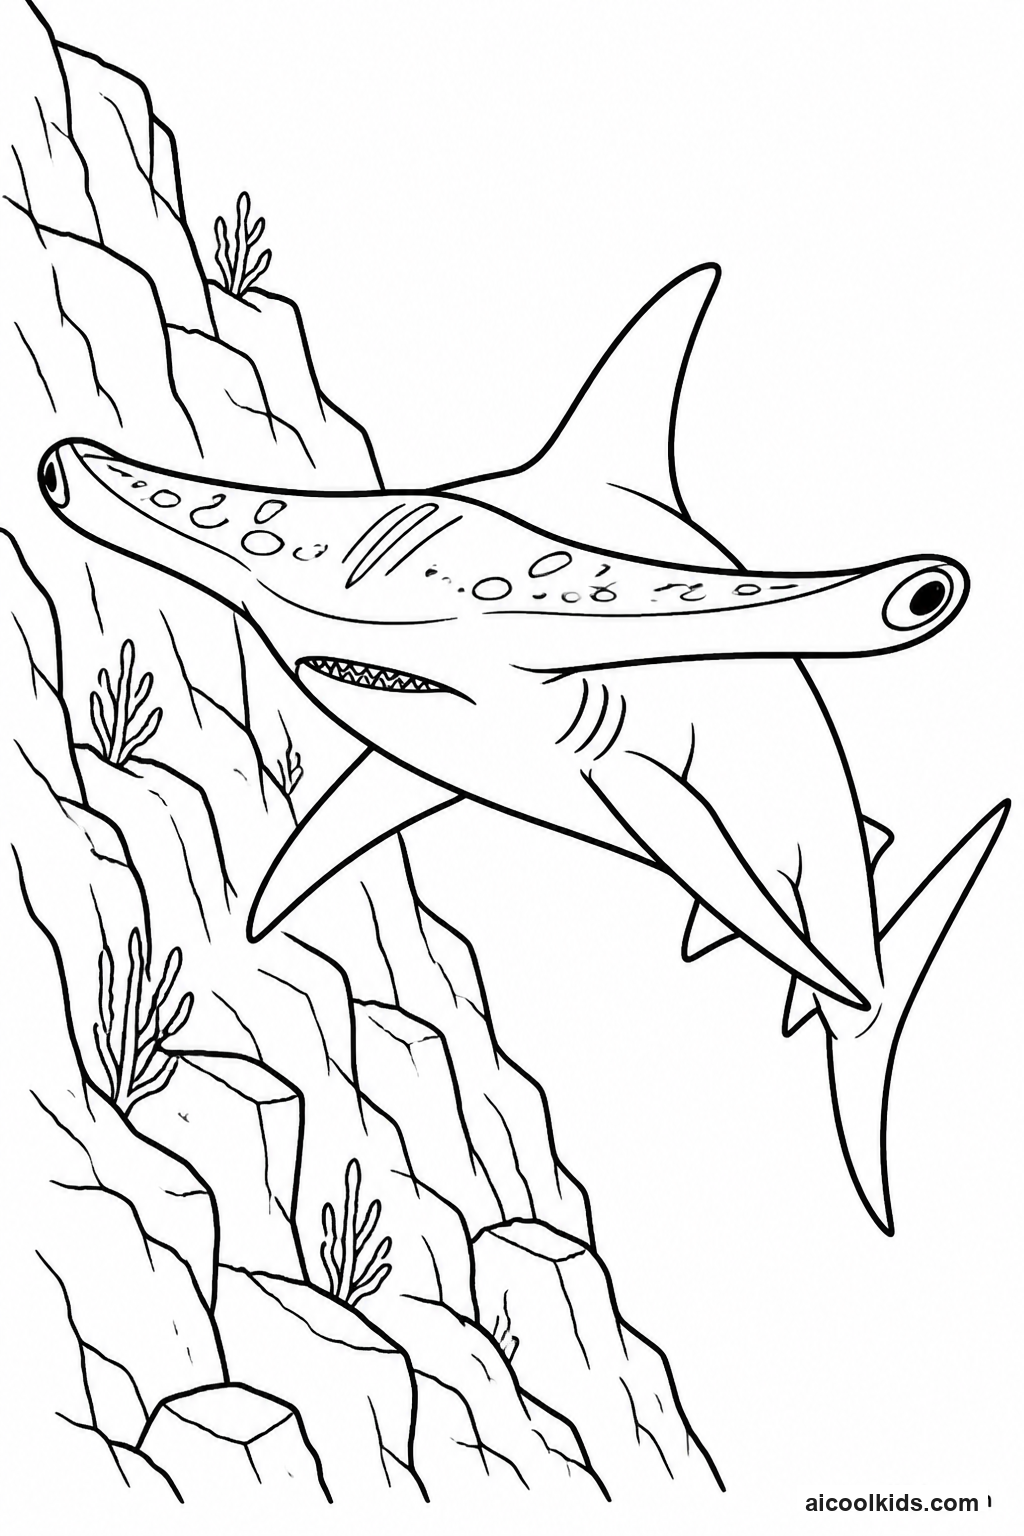
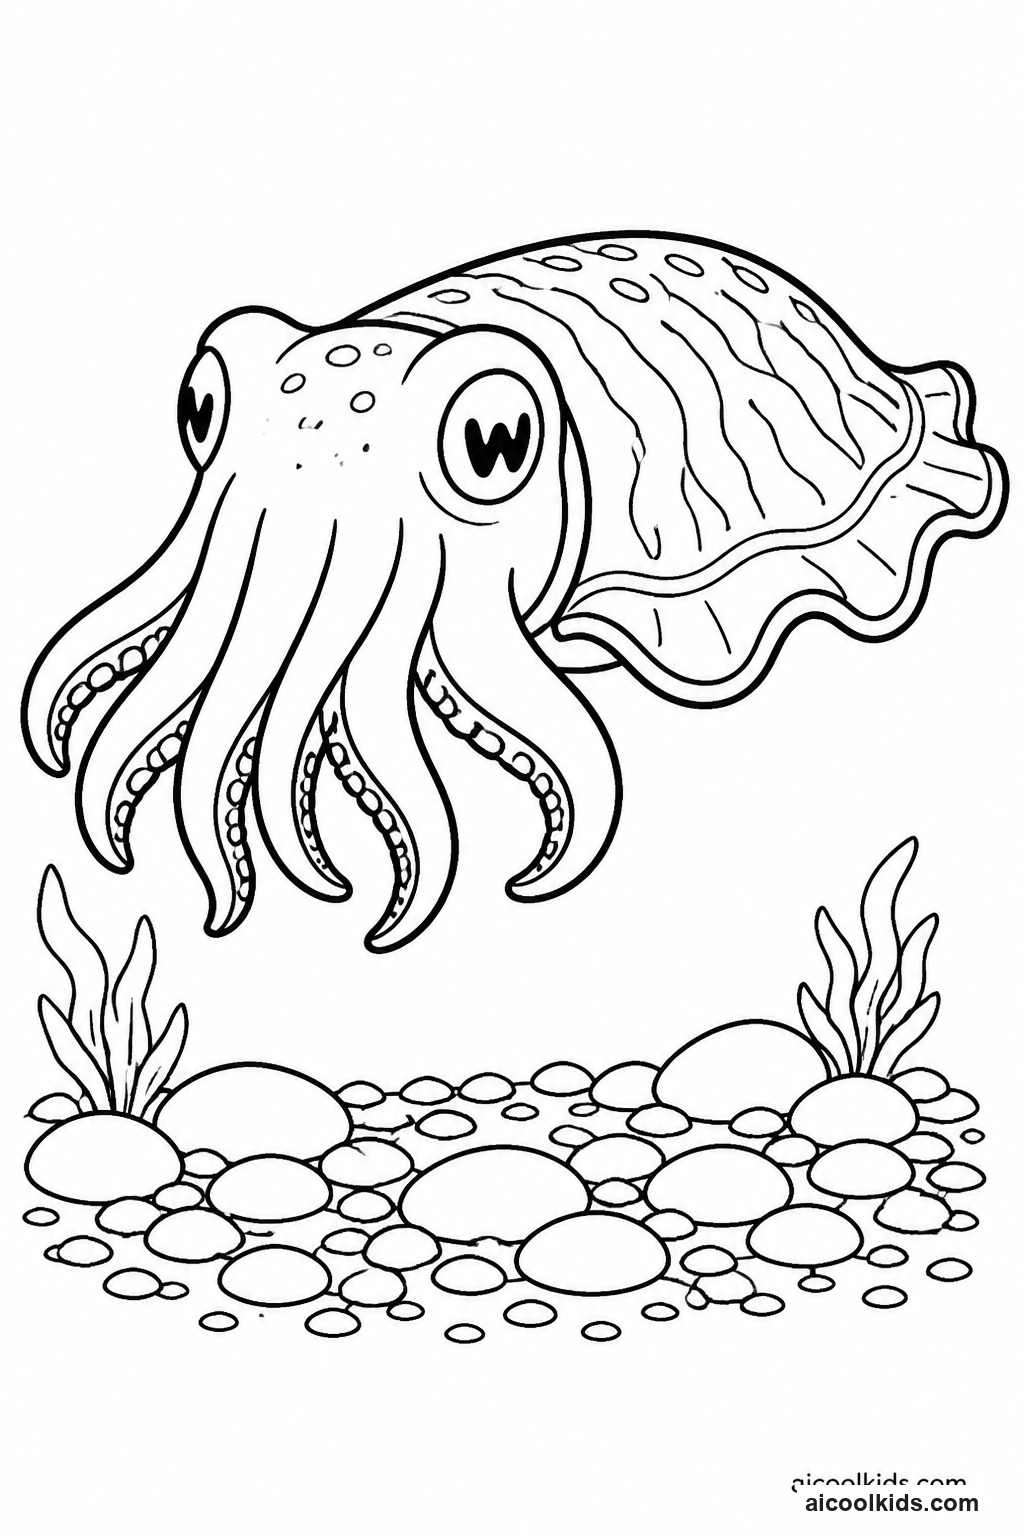
Once the pages are colored, you can turn them into simple projects for home or the classroom. Here are 6 easy craft ideas using supplies you probably already have, like scissors, glue sticks, and construction paper.
1
Materials Needed:
Ocean animal coloring pageCardstock or a shallow cereal boxColored pencils or crayonsBlue and green construction paperChild-safe scissorsGlue stickCotton swabsMarkers
Step by Step Guide:
- Color one ocean animal page, using a darker palette for a deep sea creature or bright contrasting colors for a reef fish. Add small details such as spots, stripes, or a pale highlight along the animal's body.
- Ask an adult to help cut the front panel from a shallow cereal box if needed. Cover the inside back with blue paper, then add a strip of darker paper along the bottom to suggest the deep ocean floor.
- Cut out the colored animal carefully, leaving a narrow white border if its fins or tail are delicate. Fold a small paper tab behind the cutout and glue the tab to the box floor or back wall so the animal sits slightly forward.
- Cut paper sea plants, bubbles, or coral shapes and glue some to the back wall and others to the floor. Use cotton swabs to add small bubble dots, then place the diorama where the animal and its habitat can be seen.
2
Materials Needed:
Ocean animal coloring pagesIndex cards or lightweight cardstockColored pencils or markersScissorsGlue stickPencilOcean animal reference book or approved websiteHole punch and yarn
Step by Step Guide:
- Choose four to six different animals from the coloring pages. Color each animal, then cut it out with enough white space around the outline to make the picture easy to glue down.
- On the front of an index card, glue one animal near the top. Write its name in clear, large letters and add one small habitat clue, such as a reef shape, a deep water zone, or an open ocean wave.
- On the back, write one accurate fact in the child's own words. Check the fact in a trusted book or adult-approved website, and keep it short enough to read aloud in one breath.
- Decorate the card border with a matching color pattern, then make a neat stack. For a reusable ring set, punch one corner of each card and thread yarn through the holes, leaving enough room for the cards to turn.
3
Materials Needed:
Ocean animal coloring pageCardstockColored pencils or crayonsScissorsGlue stickClear adhesive paper or laminating pouchRibbon or yarnHole punch
Step by Step Guide:
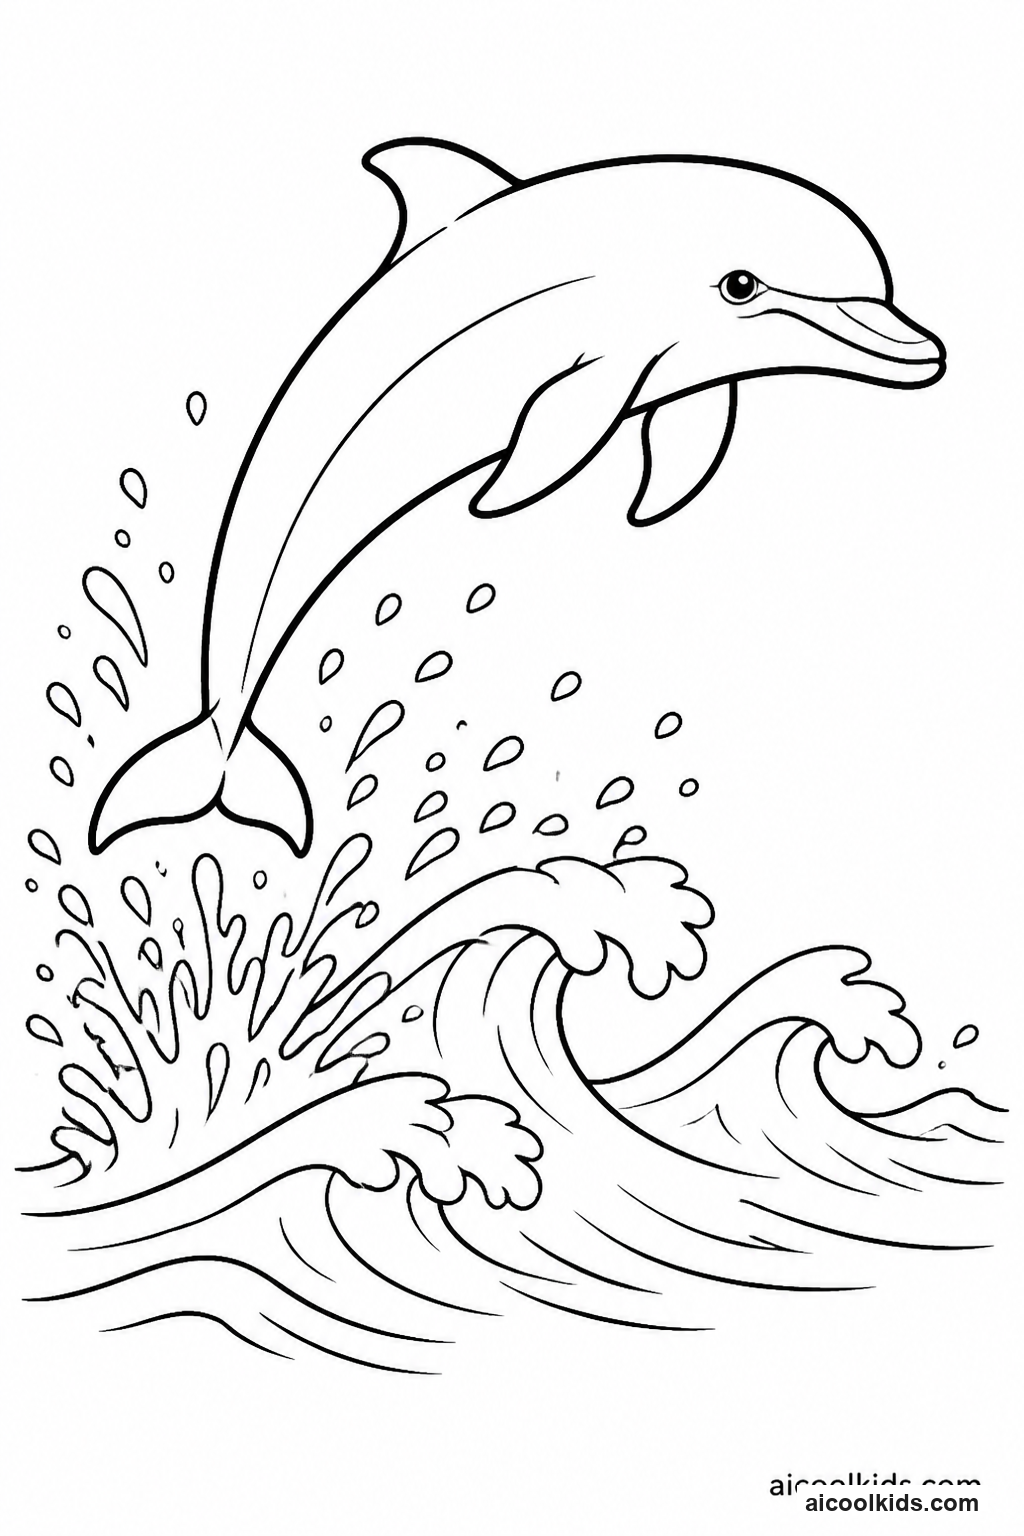
- Color a whale or dolphin image and choose a section that will fit on a bookmark. Plan the cut so the animal remains recognizable and no narrow fin or tail detail is likely to tear.
- Cut a cardstock strip about two inches wide and six inches long. Trim the colored animal into a compact shape, then glue it near the top of the strip, leaving a clear area below for a name or ocean pattern.
- Add a simple border, wave lines, or a short animal fact in pencil before tracing it neatly. Keep the bookmark's edges flat and avoid placing thick decorations where pages will press against it.
- Ask an adult to cover both sides with clear adhesive paper or use a laminating pouch according to its directions. Trim the edges with a small border, punch a hole near the top, and tie on a short piece of ribbon or yarn.
4
Materials Needed:
Coral reef fish coloring pageConstruction paper in several colorsLarge sheet of cardstockColored pencils or crayonsScissorsGlue stickTissue paperMarkers
Step by Step Guide:
- Color one or two reef animals with clear patterns, such as stripes, spots, or a contrasting tail. Cut around each animal and set the pieces aside while keeping any small scraps that could become extra fish or bubbles.
- Choose a background sheet of cardstock and draw a horizontal waterline lightly in pencil. Cut coral, sea grass, rocks, and sea fans from construction paper, making some tall shapes and some low shapes for variety.
- Glue the largest coral and plant shapes near the bottom and sides of the background. Layer smaller shapes in front of them, leaving open water in the center so the animals remain easy to see.
- Glue the colored fish into the open spaces, then add tissue paper patches or marker lines for water movement. Review the scene from a few steps away and add only the final details needed to balance the empty spaces.
5
Materials Needed:
Ocean animal coloring pageTwo paper plates or two cardstock circlesColored pencils or markersChild-safe scissorsPaper fastenerPencilGlue stickScrap paper
Step by Step Guide:
- Color and cut out one ocean animal from the printable page. Glue it to the center of one paper plate or cardstock circle, leaving room around the edge for a simple ocean background.
- Divide the second plate or circle into six sections. In each section, draw or write a story choice, such as a reef, a dark cave, a lost shell, a helpful friend, a stormy current, or a hidden food source.
- Ask an adult to make a small hole through the center of both circles. Place the story choice wheel on top of the animal scene and attach the centers with a paper fastener so the top circle can turn freely.
- Spin the wheel three times and use the selected choices to tell or write a short story. Include the animal's name, one habitat detail, and a clear ending; then draw one extra scene on scrap paper if the story needs a new character.
6
Materials Needed:
Ocean animal coloring pagePoster paper or cardstockColored pencils, crayons, or markersScissorsGlue stickPencilScrap paperRuler
Step by Step Guide:
- Select an animal and color its body with careful attention to its shape and markings. Add a simple habitat detail behind it, such as waves, open water, reef shapes, or a dark ocean zone.
- Cut out the animal or keep it on the original page, depending on the poster size. Place it on poster paper and lightly mark where a large title and one short care message will fit without covering the picture.
- Write a specific, age-appropriate pledge, such as carrying a reusable drink bottle or picking up litter with an adult's help. Add one sentence explaining how the action reduces waste or keeps a habitat cleaner.
- Glue down the animal and title, then add a neat border and one or two supporting drawings. Read the poster aloud, check that the message is easy to understand, and display it where family members or classmates can see it.