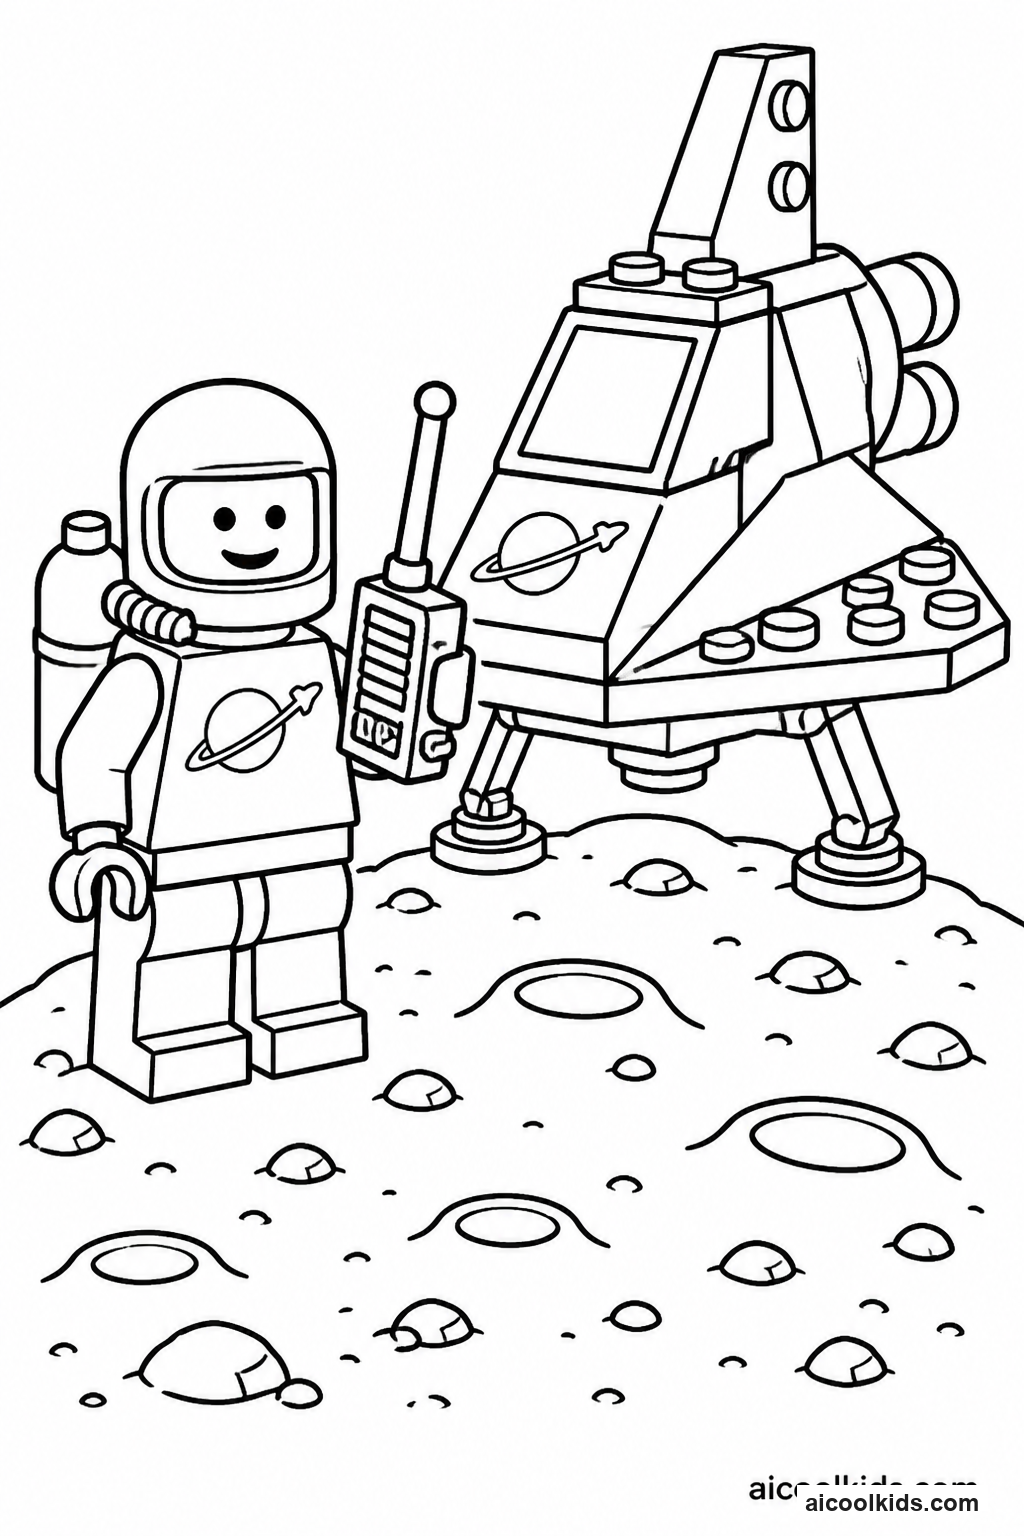

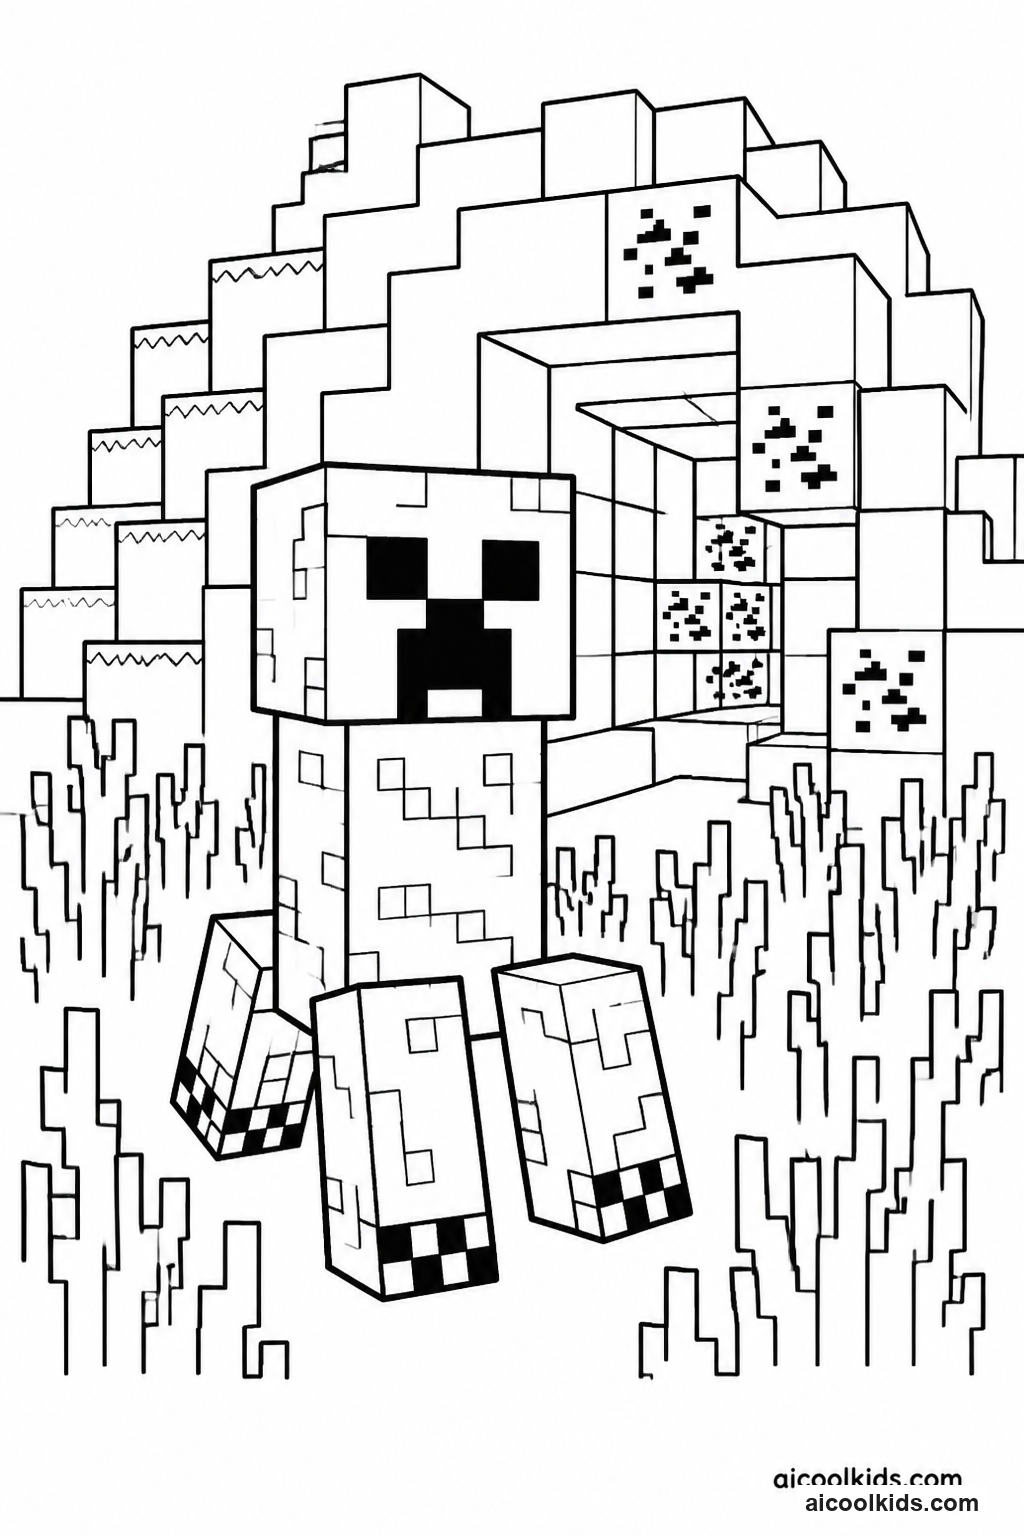
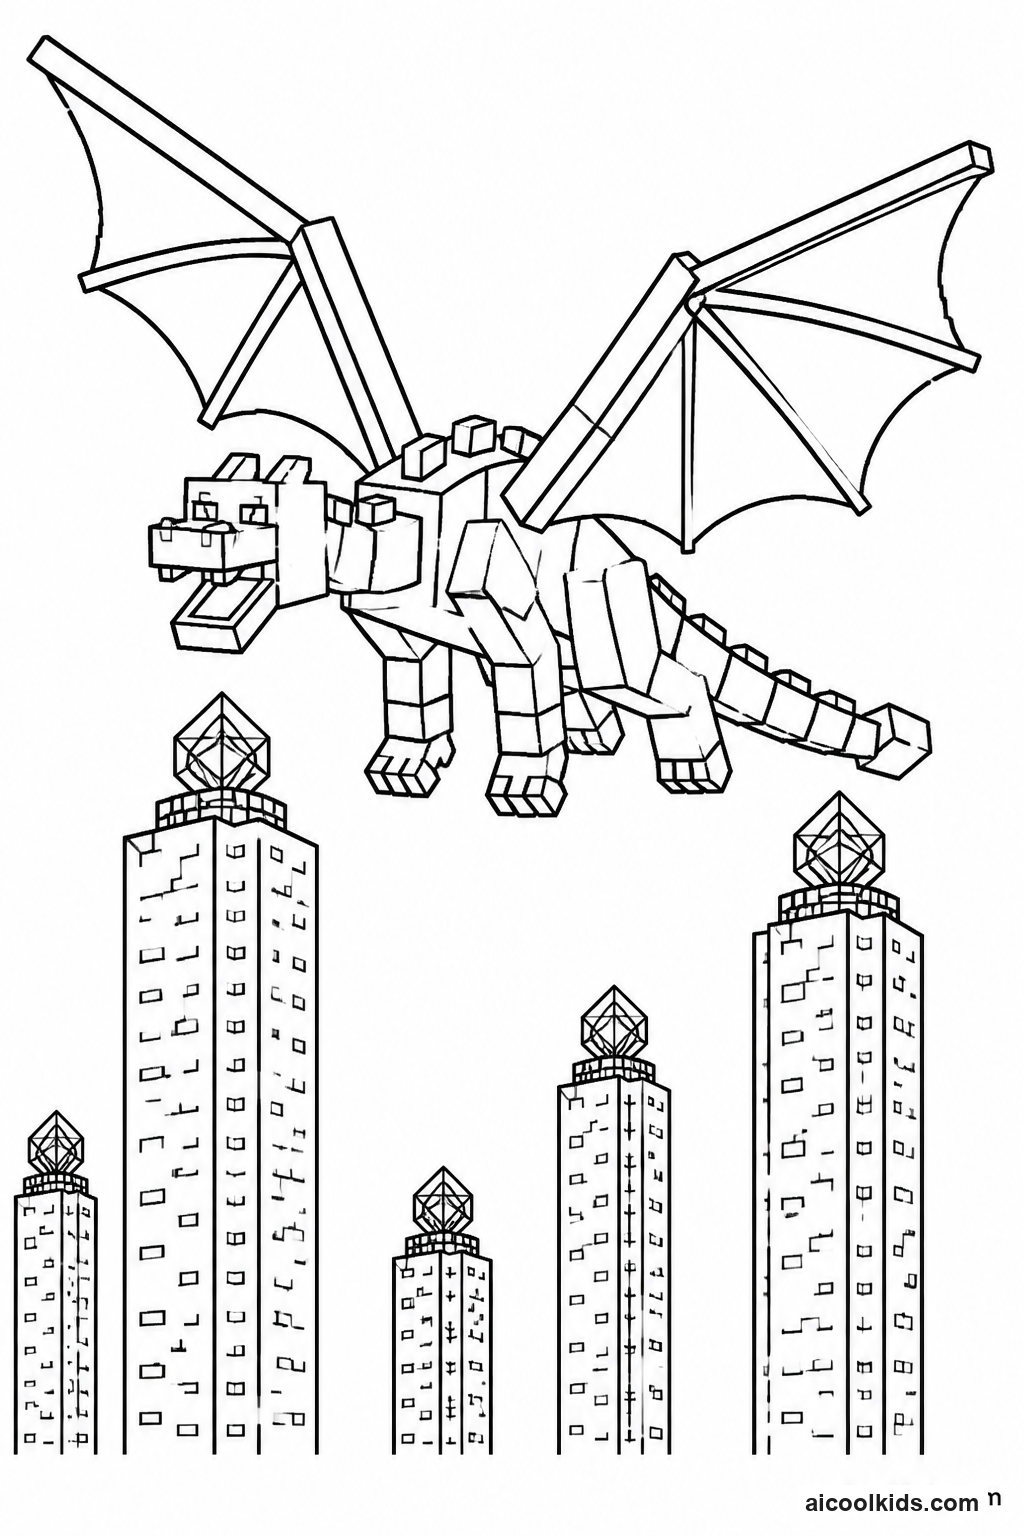
Parent & Teacher Craft Guide
6 Creative Learning & Craft Ideas for Free Gaming Pages (Ages 6-12) Coloring Pages
Once the pages are colored, you can turn them into simple projects for home or the classroom. Here are 6 easy craft ideas using supplies you probably already have, like scissors, glue sticks, and construction paper.
1
Build a Colorful Block-World Landscape
Materials Needed:
Printable block-world coloring pageWhite cardstock or drawing paperColored pencils or washable markersCrayonsScissorsGlue stickScrap paper
Step by Step Guide:
- Choose a page with a landscape, buildings, trees, or terrain. Before coloring, point out at least three kinds of shapes, such as square windows, rectangular paths, and stacked blocks. Lightly mark a horizon line on scrap paper to plan which parts of the scene will appear closest and farthest away.
- Select three or four main colors for the environment and one accent color for important details. Color large areas first with crayons or colored pencils, using steady strokes that follow the edges. Leave small spaces between some shapes if you want the printed outlines to remain crisp and easy to see.
- Create extra terrain on scrap paper by drawing simple squares and rectangles, then color and cut them out with adult supervision. Make a small group of grass blocks, stones, clouds, or flowers. Keep each piece large enough to hold comfortably and avoid tiny pieces that are difficult to glue neatly.
- Glue selected paper shapes over the matching parts of the colored page to add texture and layers. Place distant pieces near the horizon and foreground pieces along the bottom edge. Press each shape flat with a clean scrap of paper so glue does not smear across the colored artwork.
- Add a title and a short location note on the back, such as a name for the valley or a description of its safest path. Invite the artist to explain which colors identify different areas. Display the landscape on a wall or fold a paper stand for a tabletop exhibit.
2
Design a Brick-Built Invention Sheet
Materials Needed:
Printable brick-creation coloring pageCardstockColored pencilsWashable markersRulerScrap paperGlue stickChild-safe scissors
Step by Step Guide:
- Look over the printable and identify the largest structure, its base, and any pieces that seem to connect or support one another. Ask the child to imagine what the creation is meant to do, such as carry a tiny explorer or protect a garden. Write that purpose on scrap paper before coloring.
- Color the printed design by grouping neighboring pieces into color families. Use one color for the base, another for moving or useful parts, and a bright accent for a feature that should catch the viewer's eye. Colored pencils work well for small details, while crayons cover larger sections quickly.
- On a blank area or separate sheet, draw an original invention using simple connected shapes. Add a stable base, at least two different kinds of parts, and one feature that serves a purpose. A ruler can help make straight edges, but freehand shapes are welcome when the design calls for a playful look.
- Label three parts with short notes explaining what each part does. For example, a wide base might keep a tower steady, while a hinged section could open a pretend storage compartment. Help younger children dictate their explanations if writing several labels feels tiring.
- Mount the invention drawing beside the colored printable with a glue stick, leaving room for a title. Ask the designer to point out one change they would make if they built a real version from safe, available construction pieces. Keep all small building materials away from children who still mouth objects.
3
Create a Custom Adventure Avatar and Outfit
Materials Needed:
Printable avatar coloring pageWhite paperColored pencilsCrayonsWashable markersYarn or paper stripsGlue stickChild-safe scissors
Step by Step Guide:
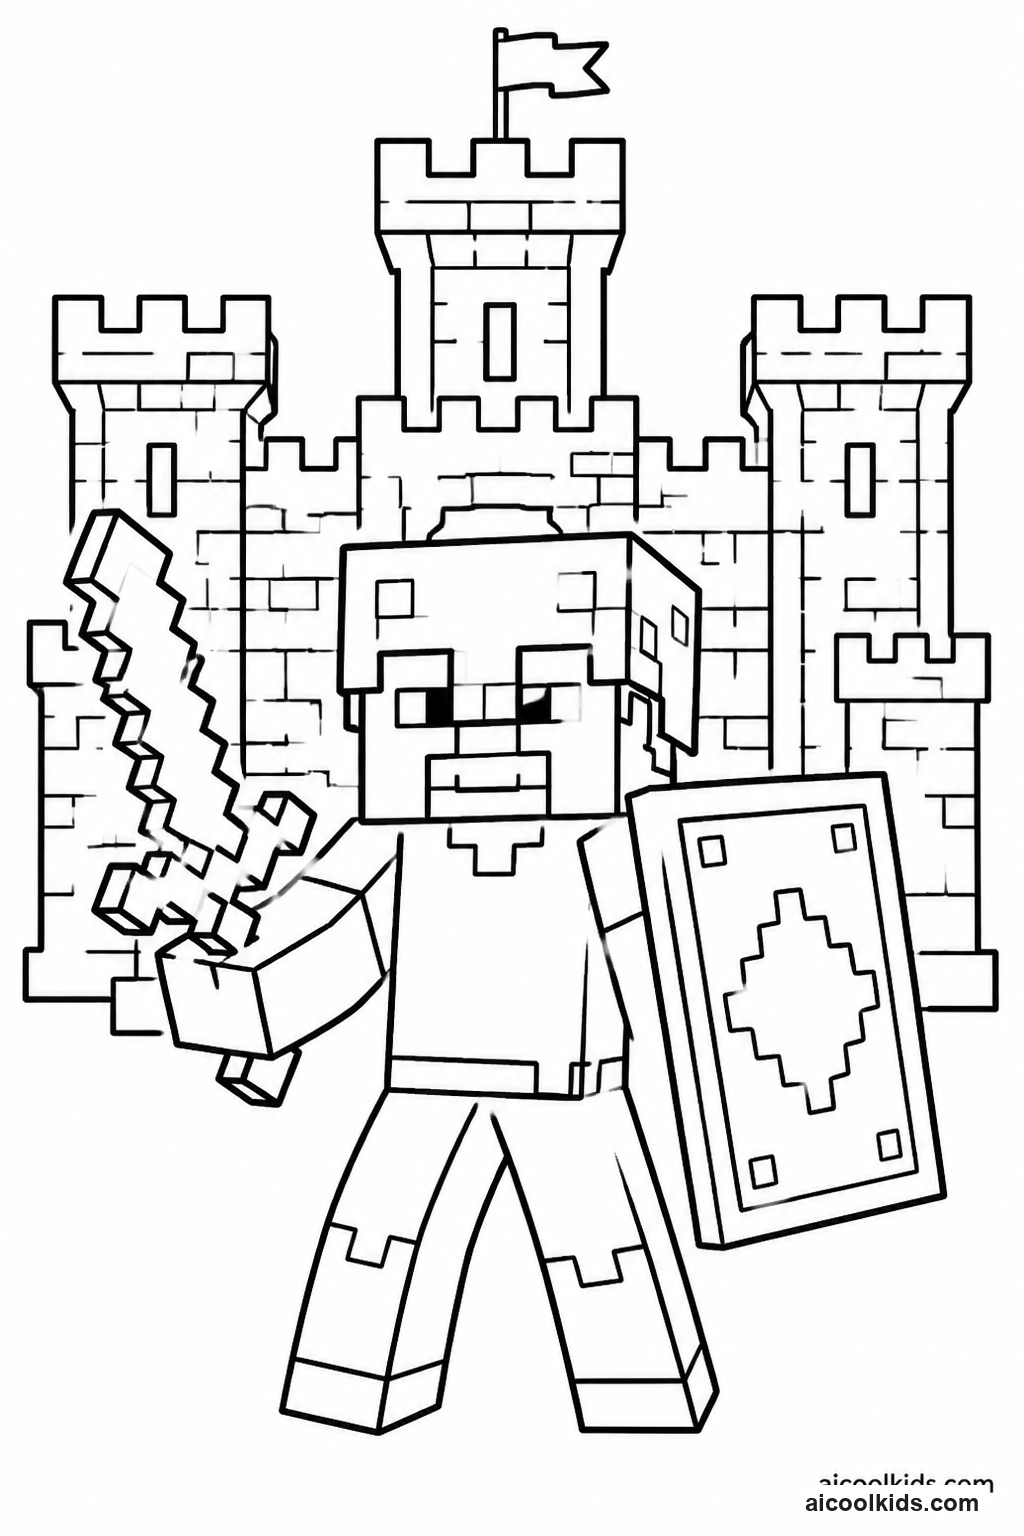
- Choose an avatar outline and decide what the character enjoys doing in the pretend world. Pick a role such as mapmaker, garden helper, treasure finder, or space traveler. Ask the child to name one skill and one friendly quality before selecting colors, so outfit choices have a clear idea behind them.
- Color the largest clothing areas first, keeping skin, hair, clothing, and accessories visually distinct. Colored pencils allow children to add small patterns and careful shading. Use markers only on paper that can handle them, and place a spare sheet underneath to protect the table from ink transfer.
- Design one optional accessory on scrap paper, such as a backpack, badge, tool, hat, or cape. Cut around the shape with child-safe scissors, leaving a small paper tab if the piece will overlap the avatar. An adult can cut difficult curves for younger children who are still developing scissor control.
- Attach the accessory with a small amount of glue, then add a background that gives the avatar somewhere to go. Draw a doorway, garden, bridge, or simple path. If adding yarn or paper strips for hair or clothing trim, use short pieces and press them down gently rather than covering the face.
- Give the character a name and write one sentence about a helpful action they might take during an adventure. Keep the story focused on choices, teamwork, or curiosity. Invite the child to present the page, or place it in a folder so the character can return in a later drawing.
4
Color a Controller Pattern and Make a Desk Sign
Materials Needed:
Printable controller coloring pageCardstockCrayons or colored pencilsWashable markersRulerChild-safe scissorsGlue stickScrap cardboard
Step by Step Guide:
- Choose a controller page and look for shapes that repeat, including buttons, directional marks, or curves. Color the main image with two or three related colors, then choose one contrasting color for a small focal detail. Keep a blank border around the printable if the finished sign will need a trim area.
- On a separate strip of paper, make a pattern using three simple marks, such as a circle, square, and star. Repeat them in the same order across the strip. Older children can change the pattern after each set of three, while younger children can copy a short example drawn by an adult.
- Write a short, positive sign message above or below the design. Examples include Take turns, Create and share, or Welcome to the game corner. For a homeschool or classroom setting, let the group choose wording that suits its own routines rather than imposing a rule that is not used there.
- Cut out the colored controller and the patterned strip, leaving a smooth margin around each shape. Glue them onto cardstock, then attach the cardstock to a piece of scrap cardboard for extra firmness. An adult should help with any difficult cutting, especially near narrow outlines or small printed details.
- Check that the sign lies flat and that every glued edge is pressed down. Add a folded paper stand to the back or place the sign on a shelf where it will not block a walkway. Ask the child to explain how the repeated pattern frames the main picture.
5
Map a Cooperative Game-World Adventure
Materials Needed:
Printable gaming adventure or map pageBlank paperColored pencilsMarkersCrayonsRulerSticky notesPencil and eraser
Step by Step Guide:
- Study the printable and select one feature to use as the map's starting point. Color that landmark clearly, then identify two or three other locations to add on blank paper, such as a bridge, garden, workshop, or resting place. Keep the locations friendly and suitable for the intended age group.
- Draw a simple route connecting the landmarks. Use a pencil first so the path can be adjusted, then trace it with a colored pencil or marker. Add arrows or numbered stops so another person can follow the route without guessing where it begins or ends.
- Create a small map key that explains at least three symbols. For example, a star might show a meeting place, a blue line might show water, and a square might mark a building. Use clear shapes and labels rather than relying only on color, so the map remains understandable to different viewers.
- Add one cooperative task to the journey, such as finding a safe place to rest or collecting supplies to repair a path. Write the task on a sticky note and place it beside the map. If working with a partner, ask each child to suggest one fair way the traveler can solve the challenge.
- Invite someone else to trace the route and explain the map key. Listen for confusing spots and add a label or arrow where needed. Finish by naming the world and writing a short caption about what makes it welcoming, interesting, or easy to explore with a friend.
6
Host a Mini Gaming Art Gallery
Materials Needed:
Two or more printable gaming coloring pagesCardstock or drawing paperCrayons, colored pencils, or washable markersScrap paperChild-safe scissorsGlue stick or removable tapeSticky notesPencils
Step by Step Guide:
- Offer several printable choices, including a landscape, avatar, controller, or building scene. Let each artist select one page and one coloring tool. Invite children to plan a simple color idea before beginning, such as warm colors for a cozy setting or alternating colors for a repeating pattern.
- Color the main shapes with steady, controlled strokes and add at least one original detail. The detail could be a sign, a new background object, a patterned border, or a small character. Remind artists to keep important printed outlines visible so viewers can recognize the page's main shapes.
- Cut a frame from scrap paper or draw a border directly around the artwork. Write an artist label on a small card with the page title and one sentence about a design choice. Children who are not ready to write the sentence independently can dictate it to an adult or partner.
- Arrange the finished pieces at a child's eye level on a clear wall, board, or table. Use removable tape if the surface allows it. Leave enough space between pictures so that each one can be viewed easily, and keep the display away from doors, heaters, or busy walking routes.
- Invite gallery visitors to leave one kind, specific observation on a sticky note, such as I noticed your careful pattern or The bright path stands out. Read notes together and let each artist choose whether to share a favorite part. Take down the display when it is no longer needed and store pages in a folder.