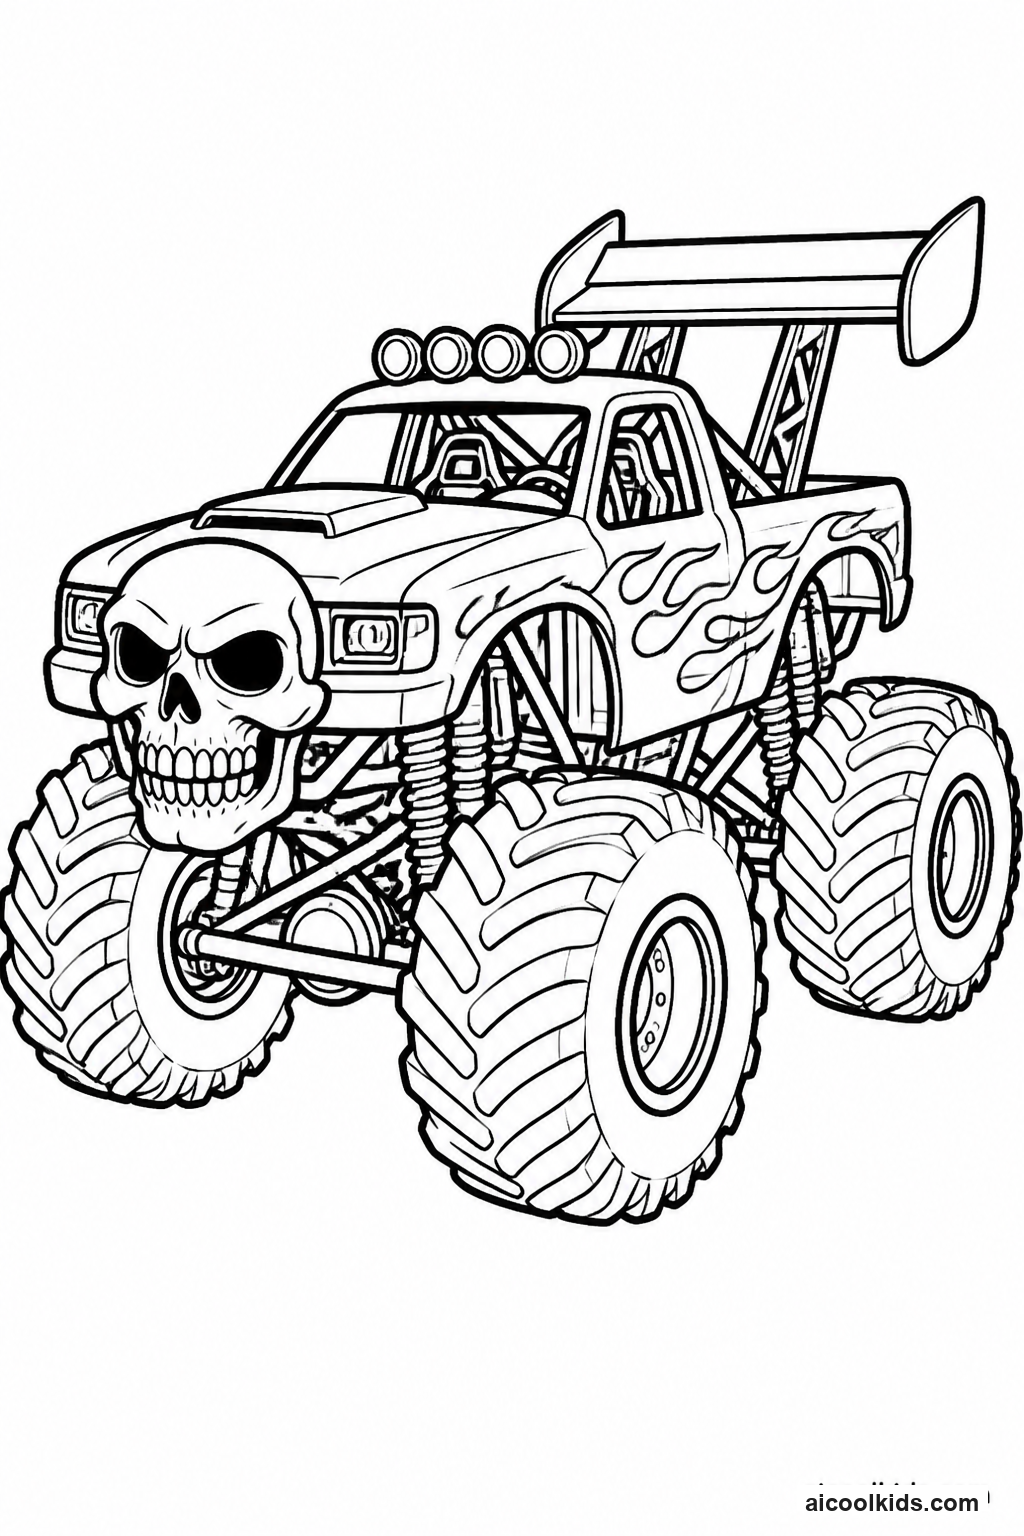
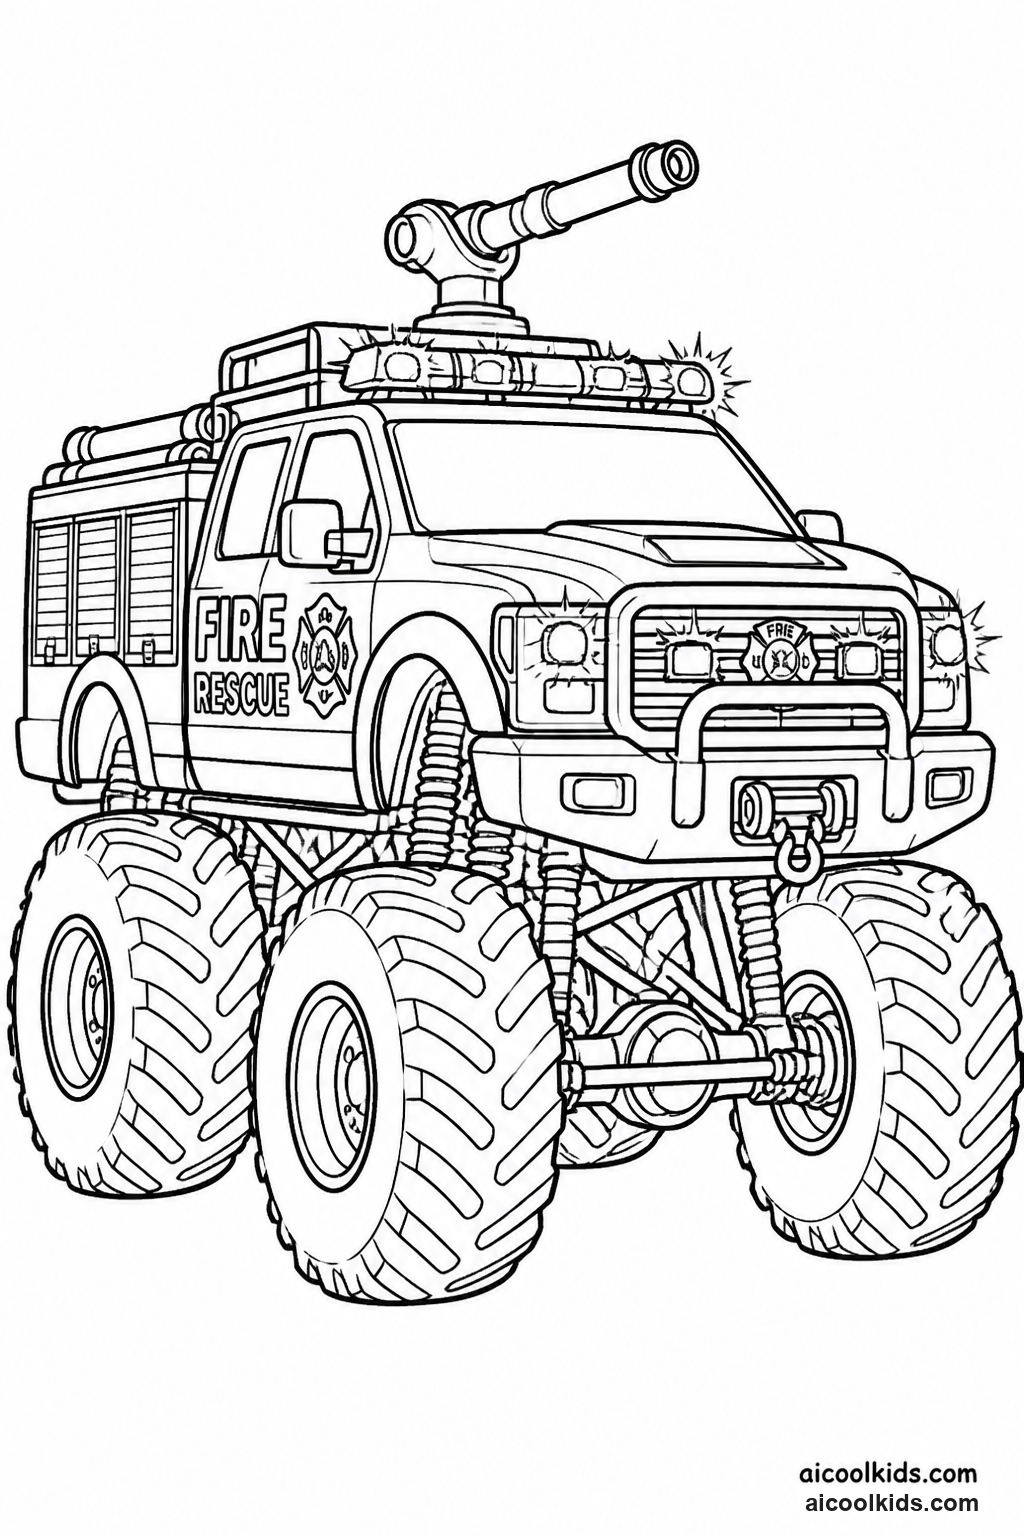
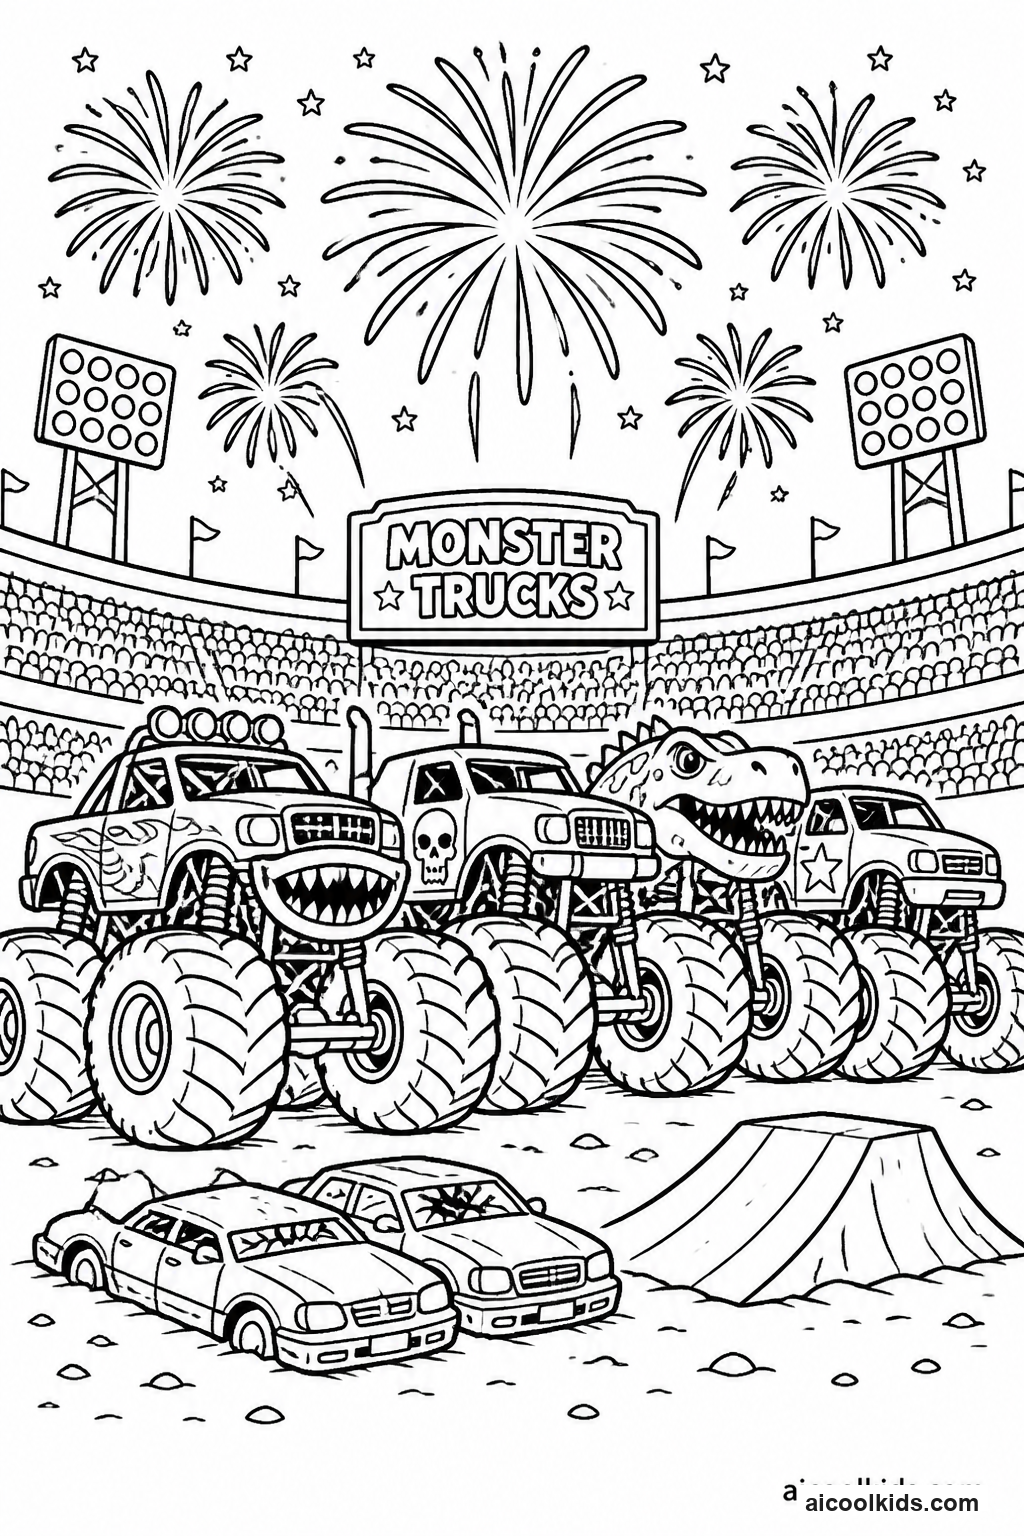
Parent & Teacher Craft Guide
6 Creative Learning & Craft Ideas for Monster Truck Coloring Pages
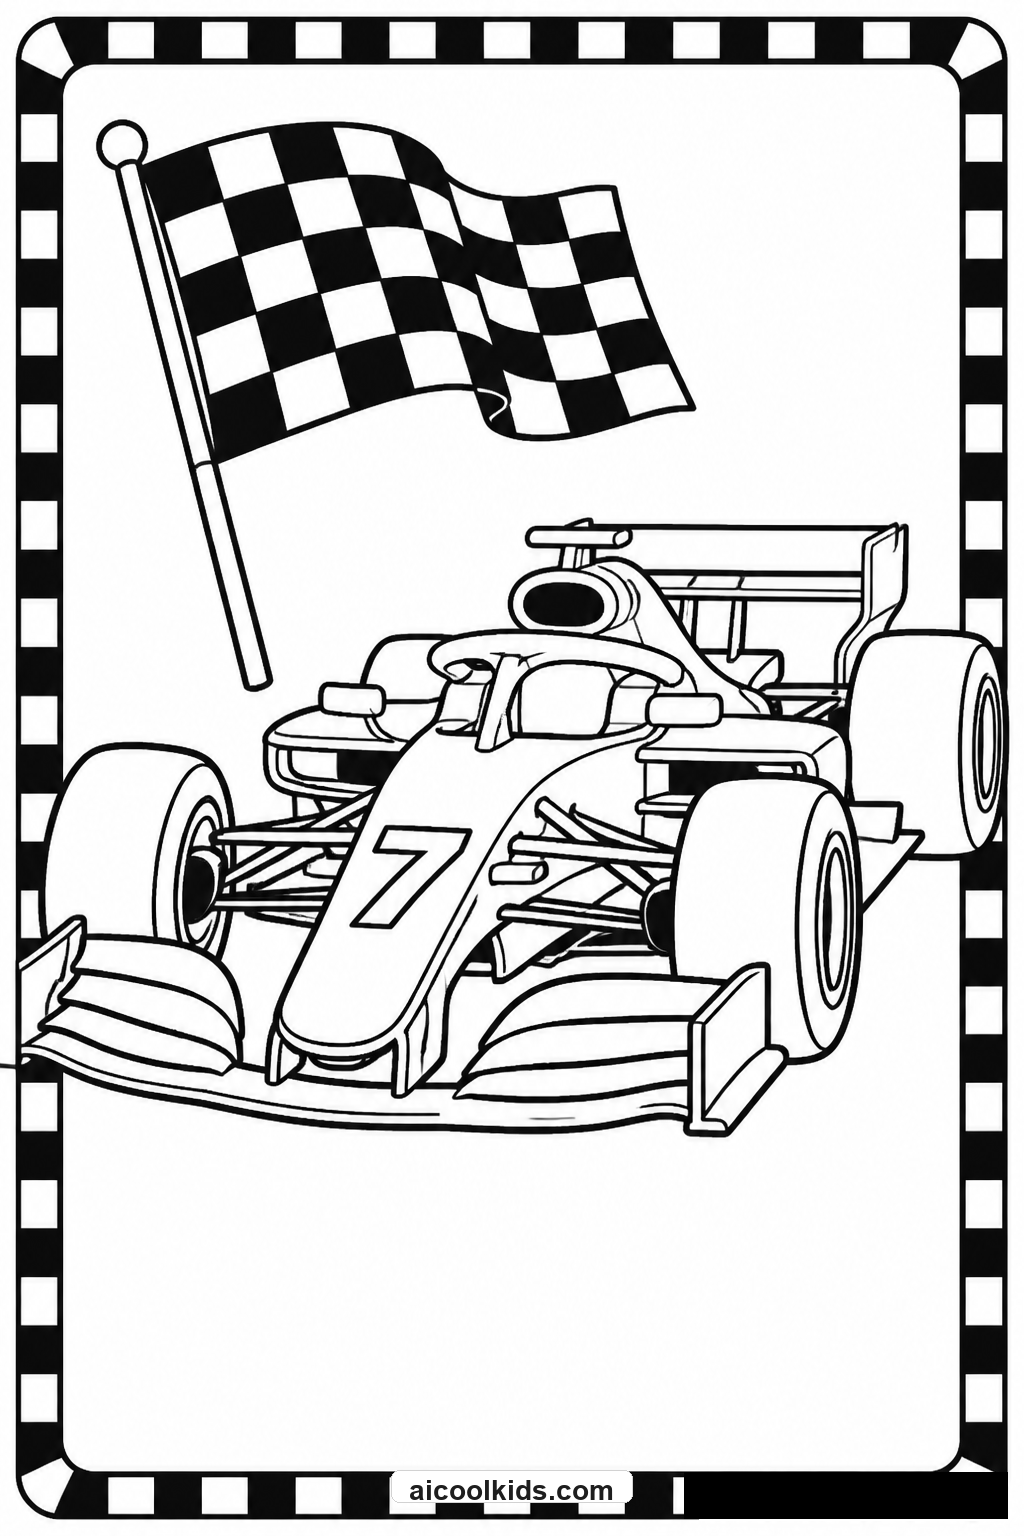
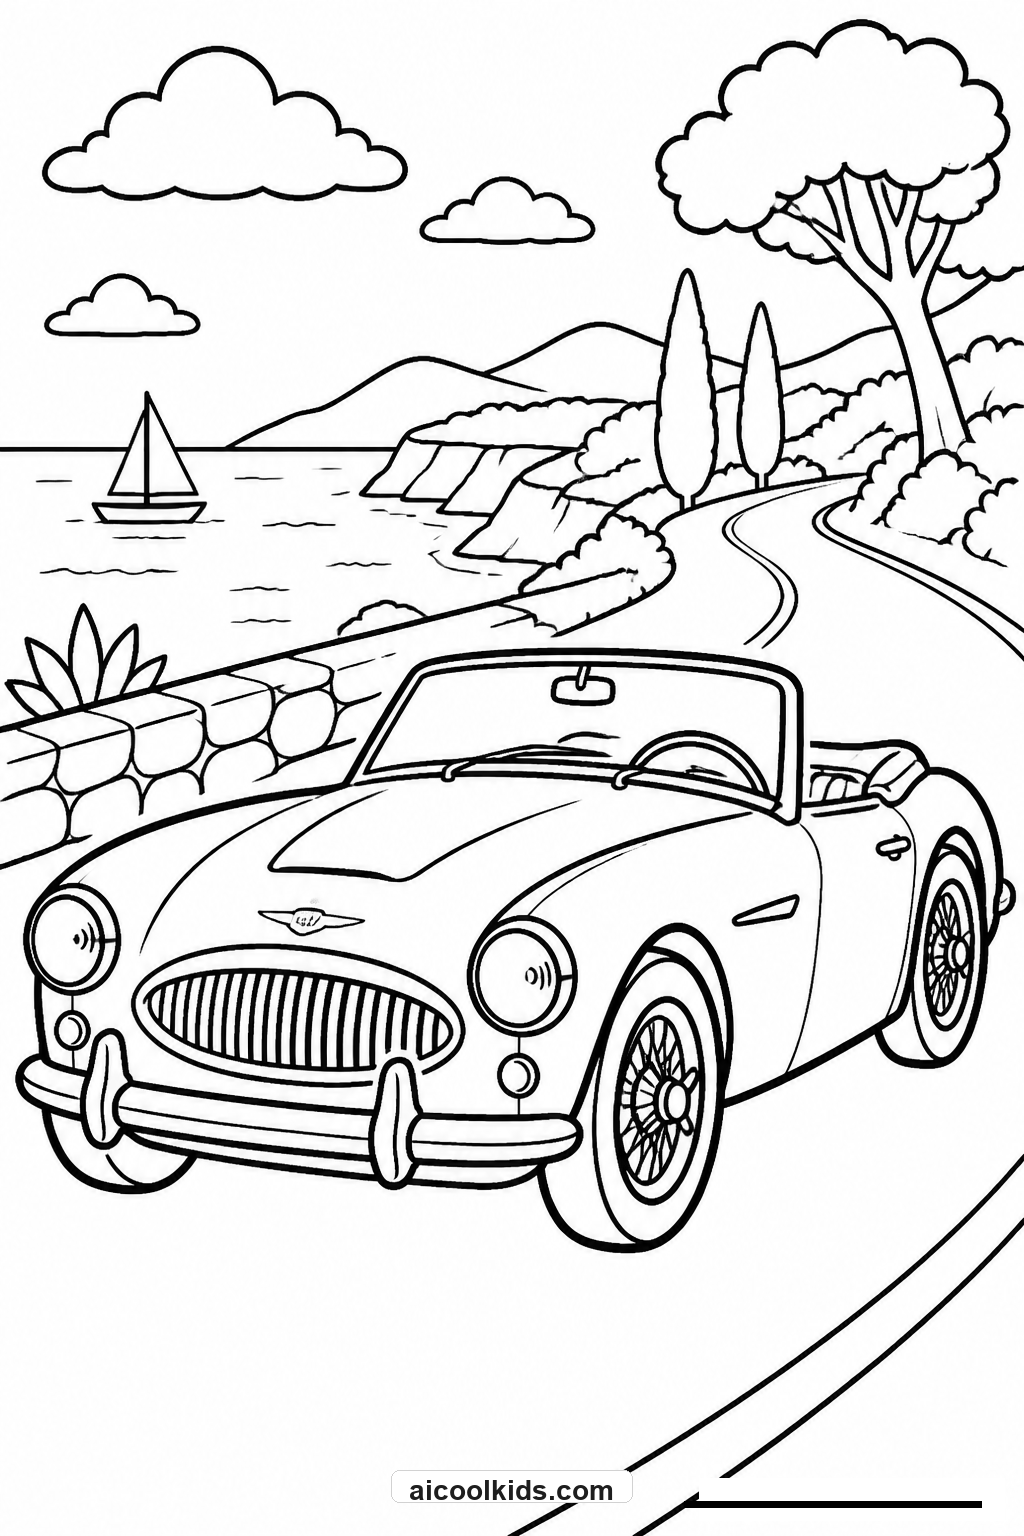
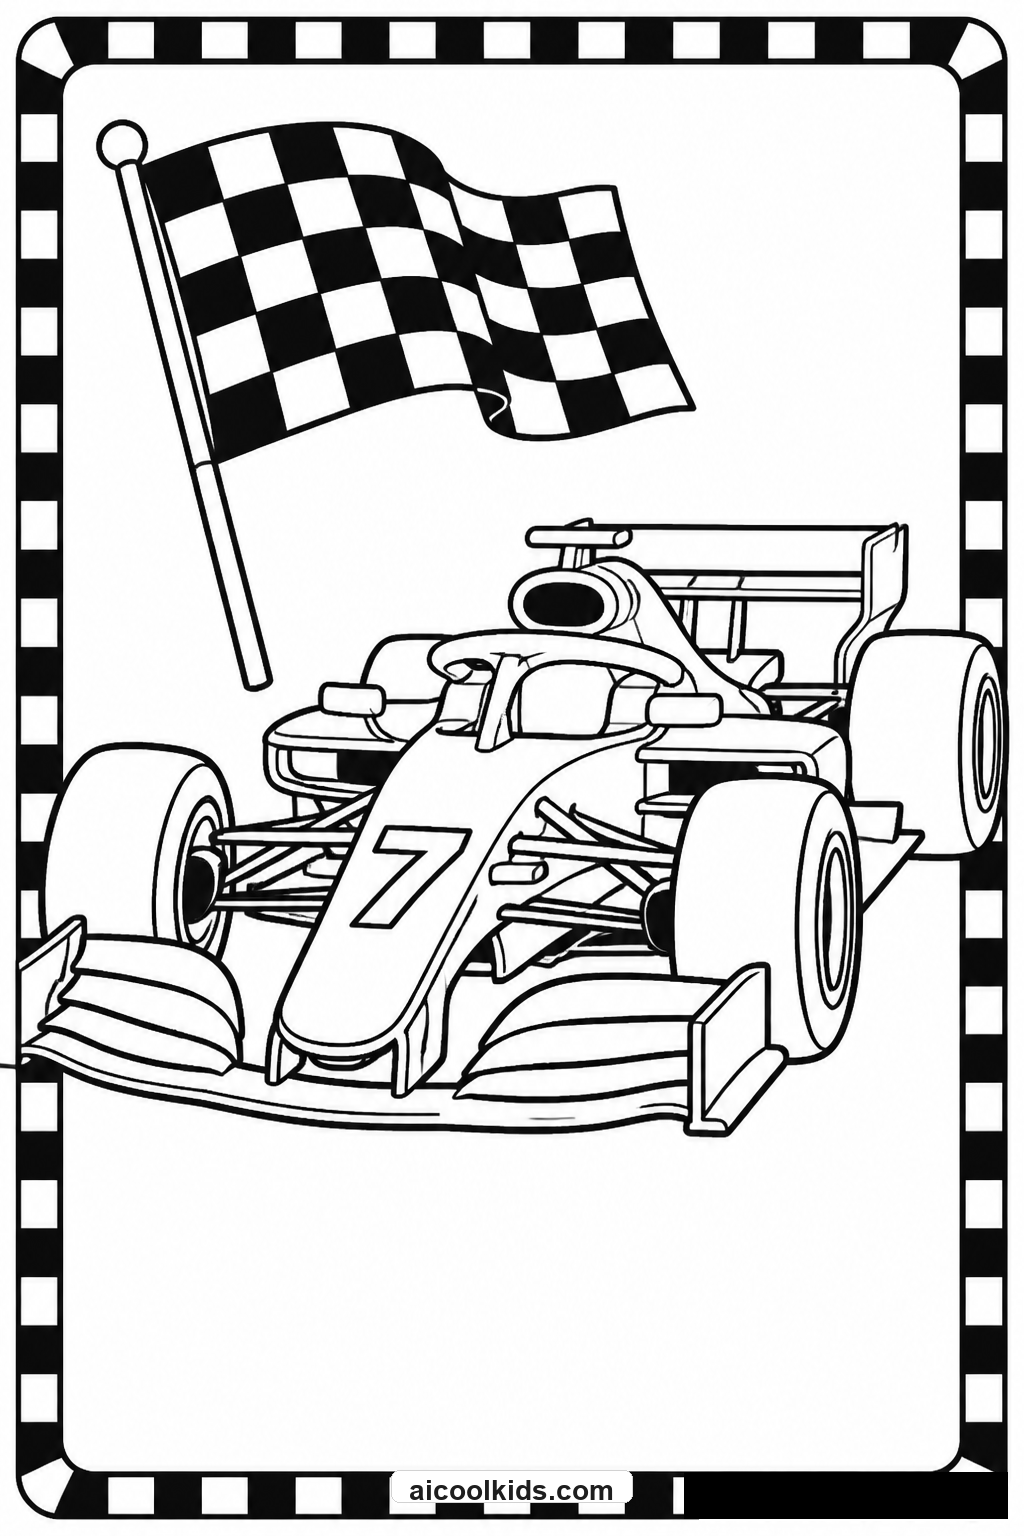
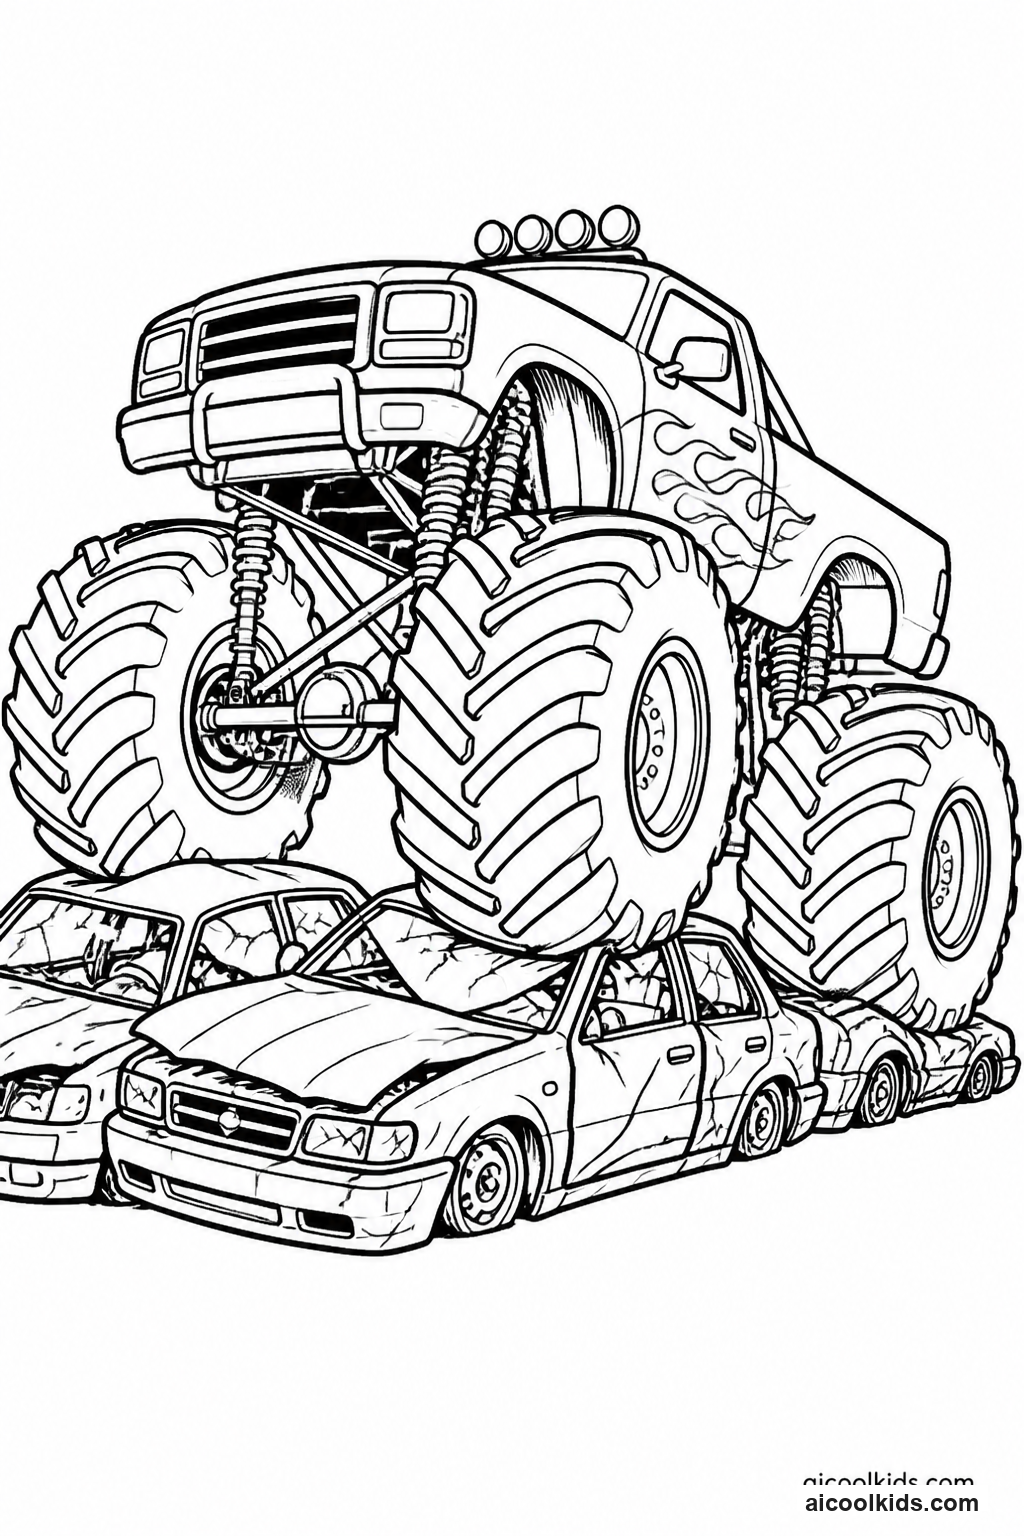
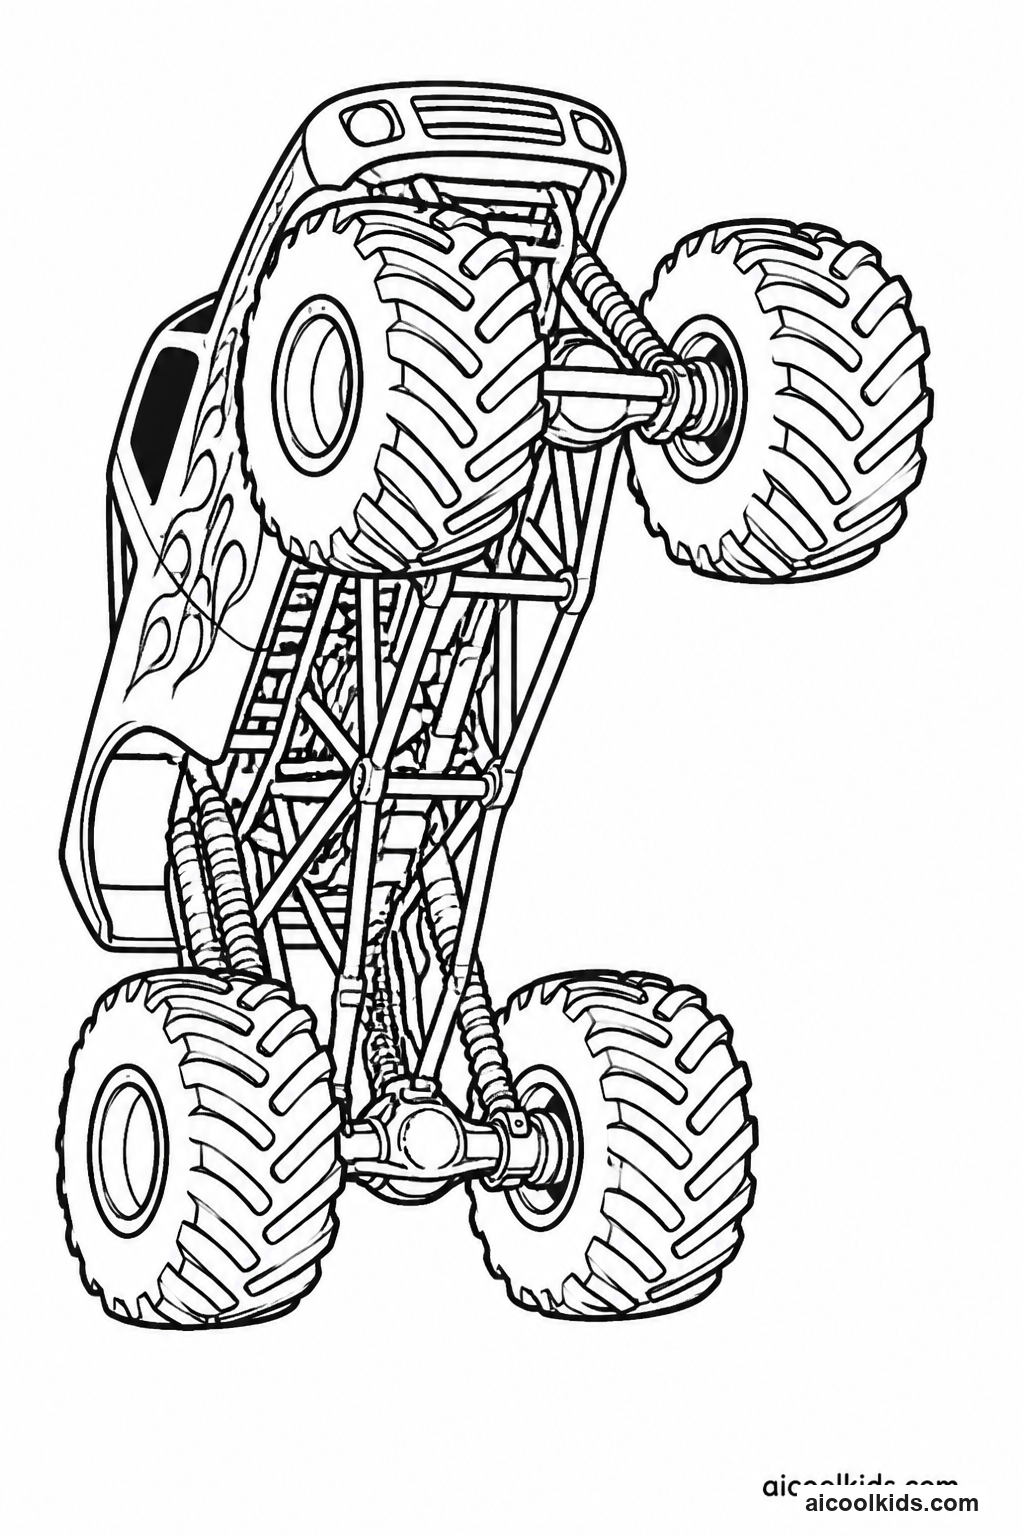
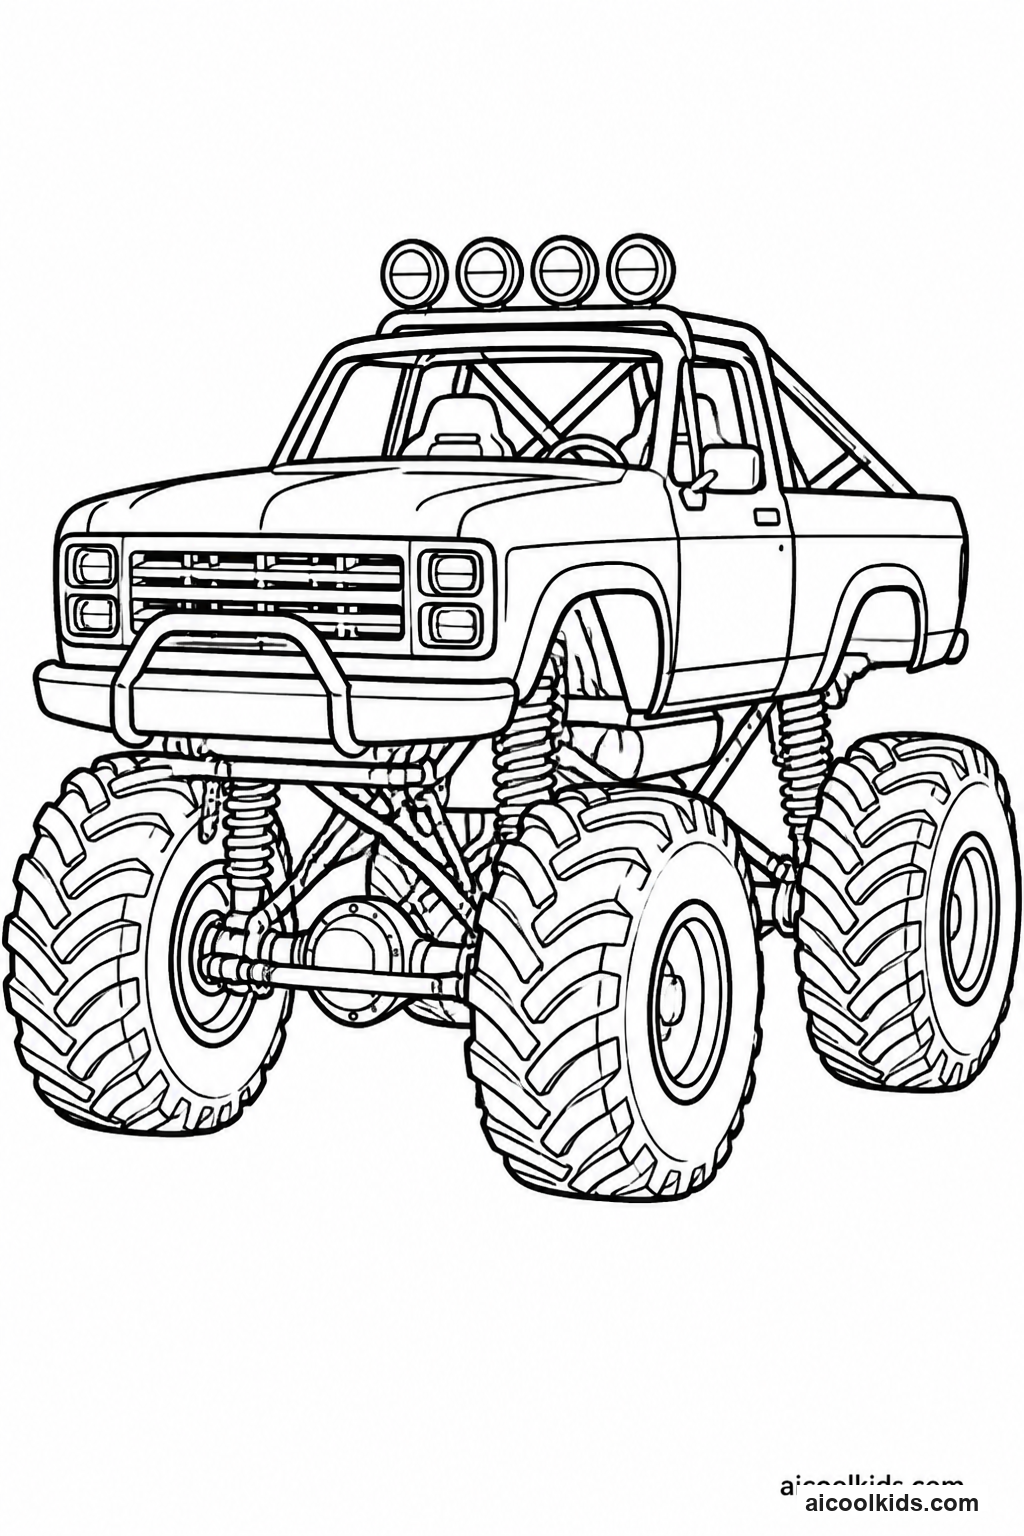
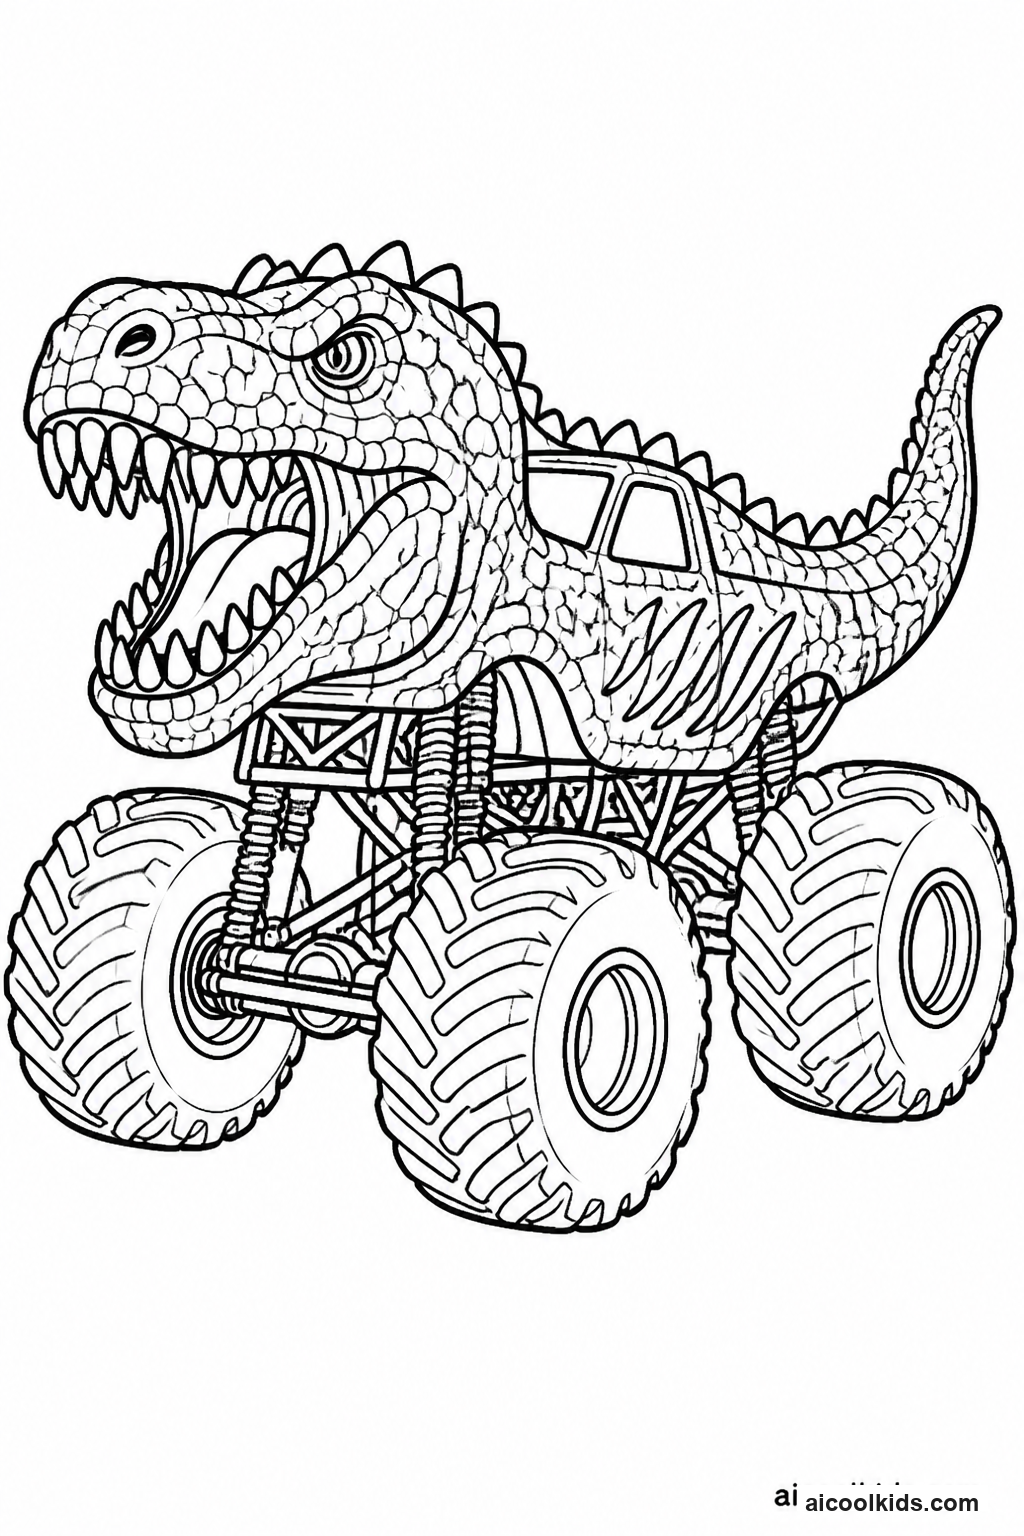
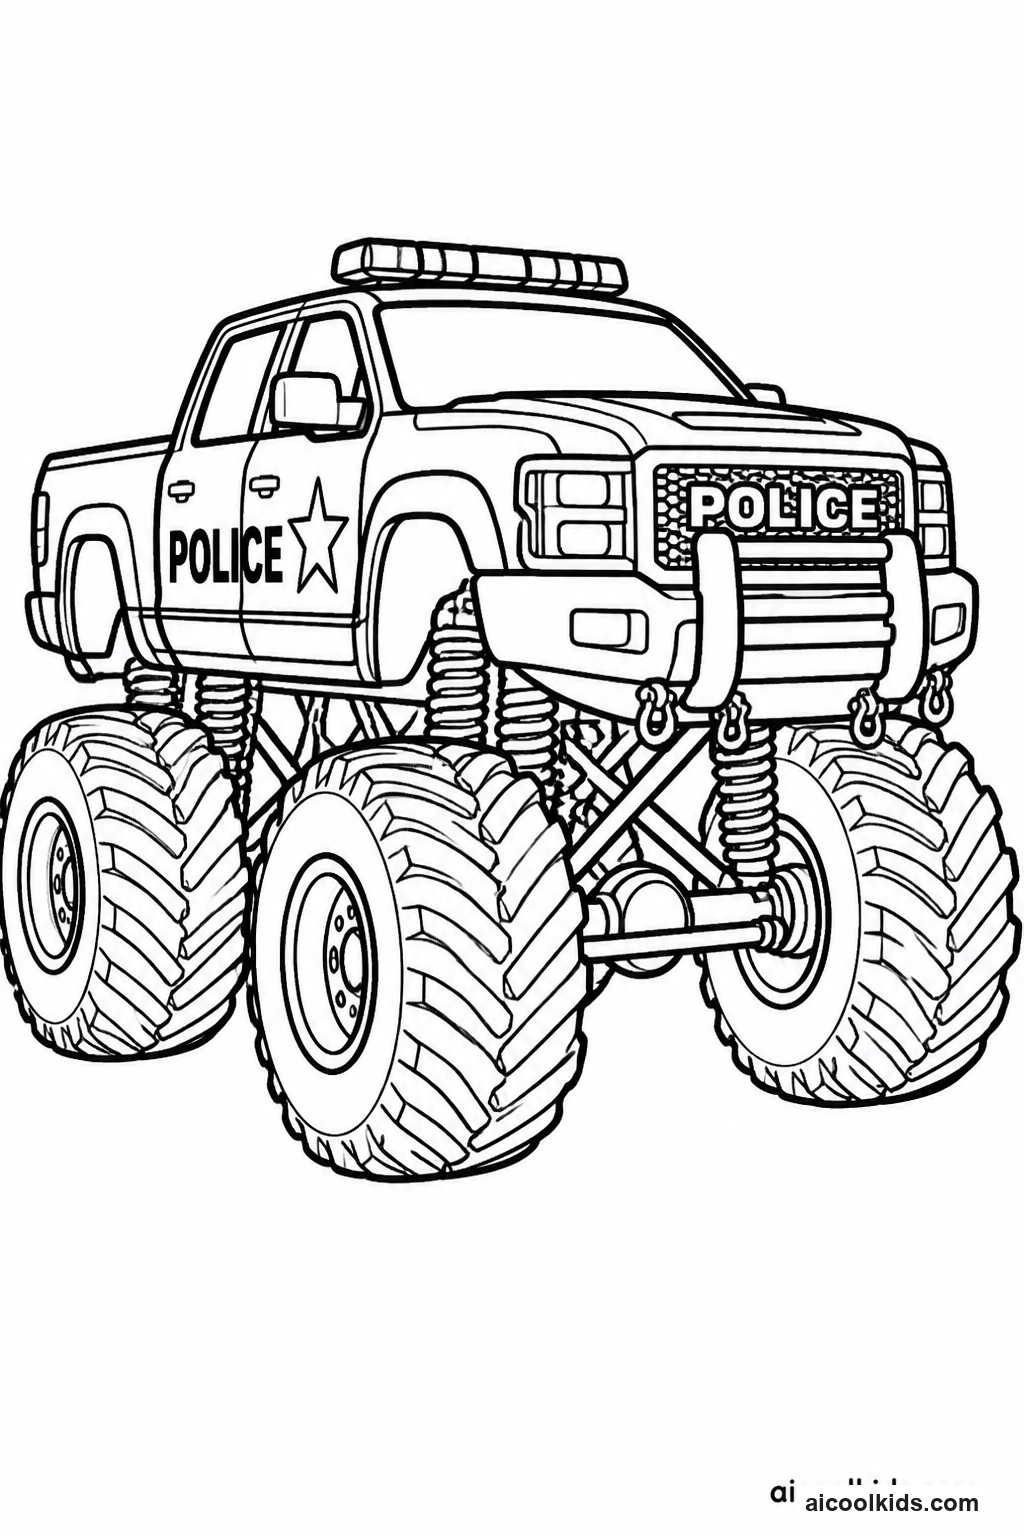
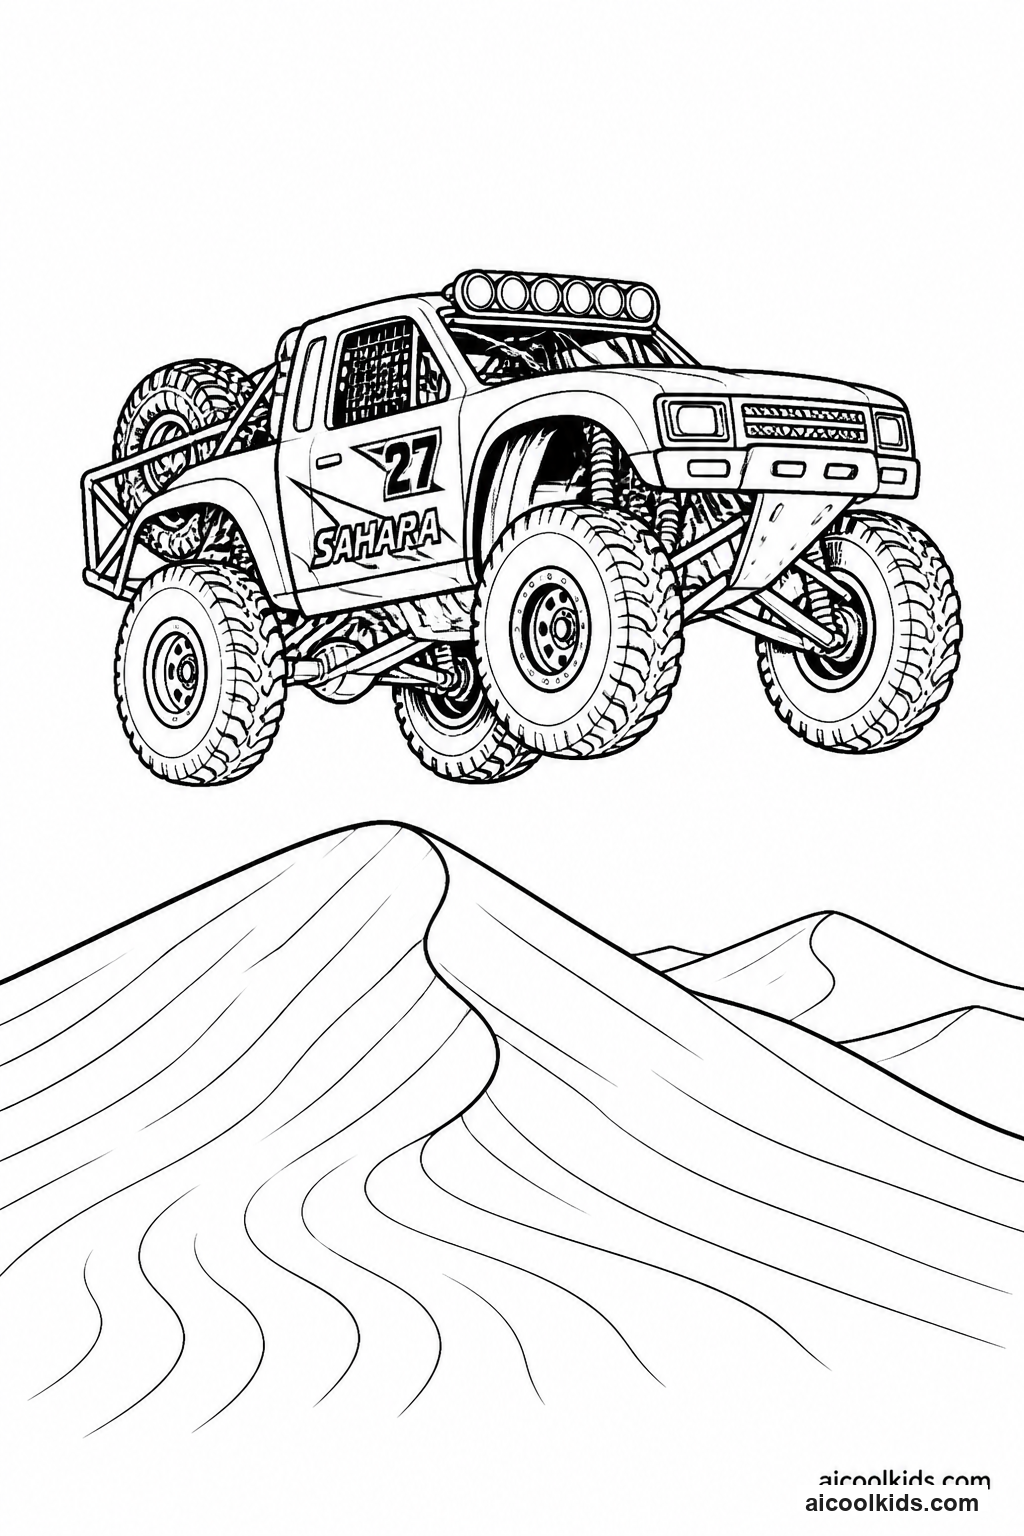
Once the pages are colored, you can turn them into simple projects for home or the classroom. Here are 6 easy craft ideas using supplies you probably already have, like scissors, glue sticks, and construction paper.
1
Build a Pop-Up Stadium Jump
Materials Needed:
Printed monster truck jump coloring pageCardstock for the backingConstruction paperCrayons or colored pencilsChild-safe scissorsGlue stickRulerMarkers
Step by Step Guide:
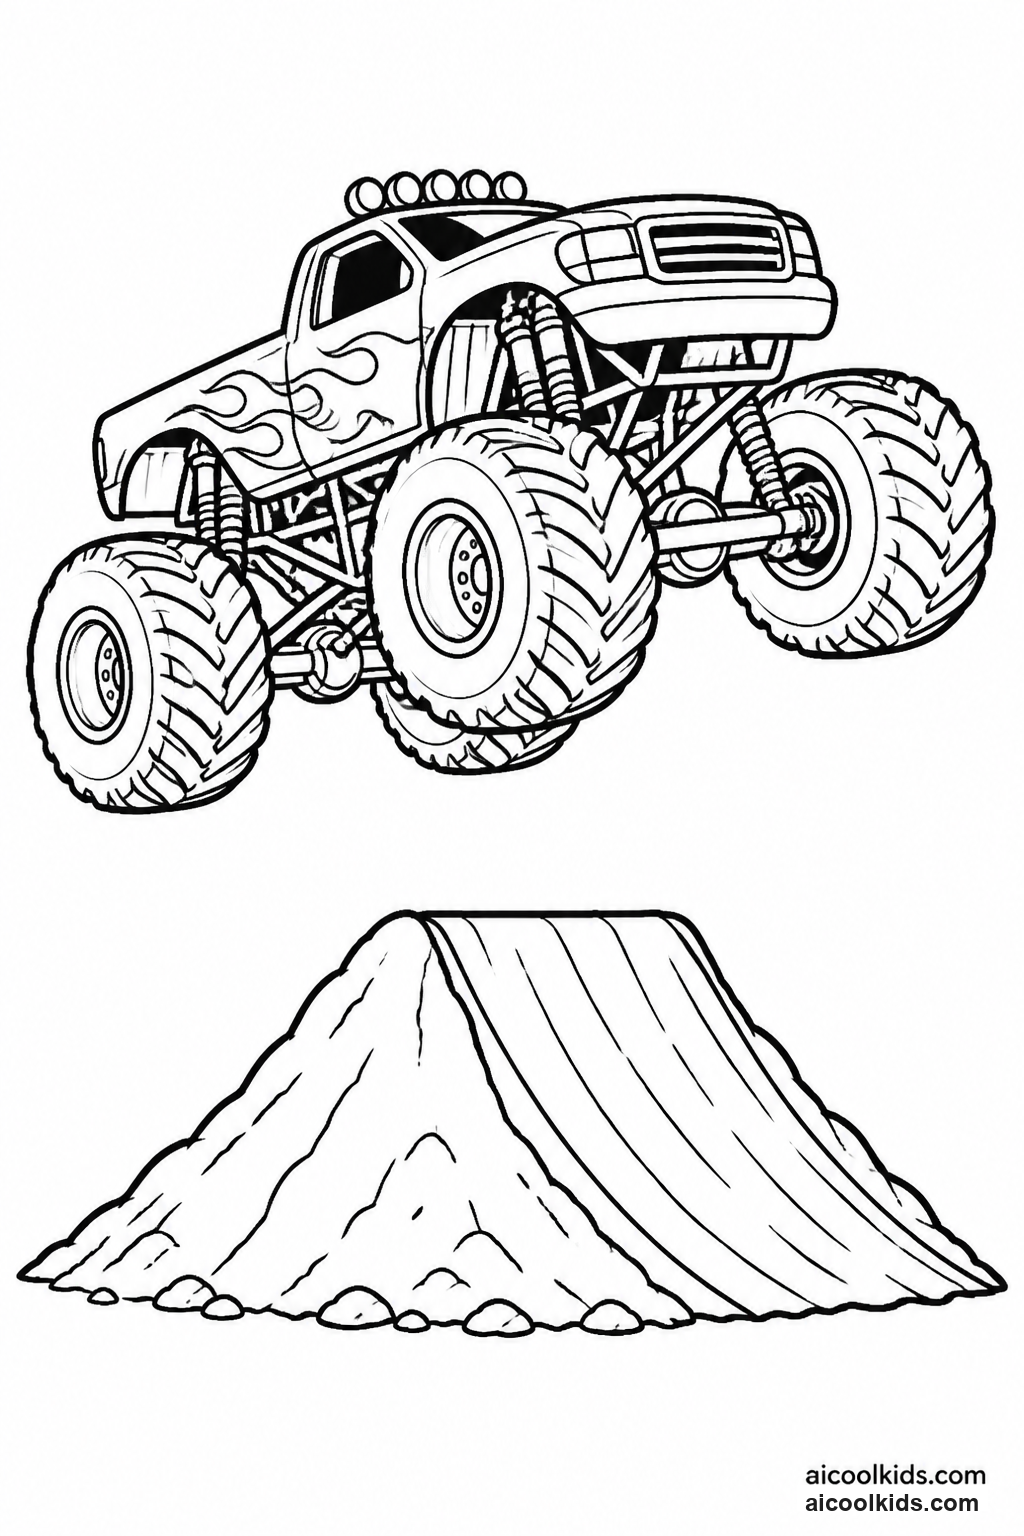
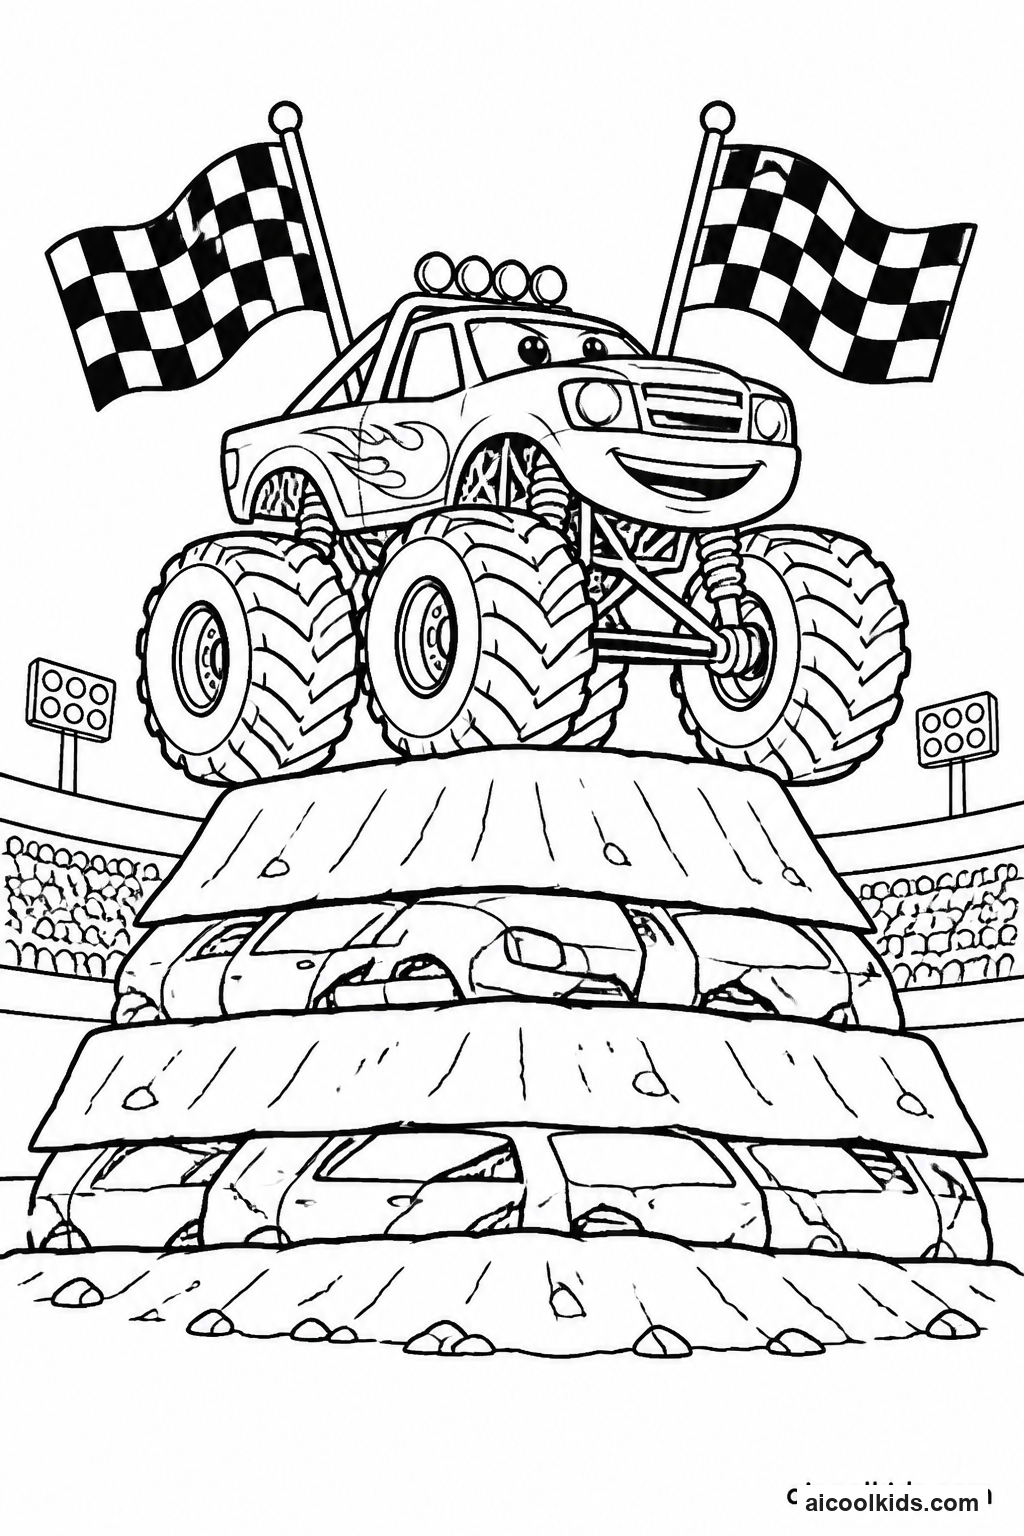
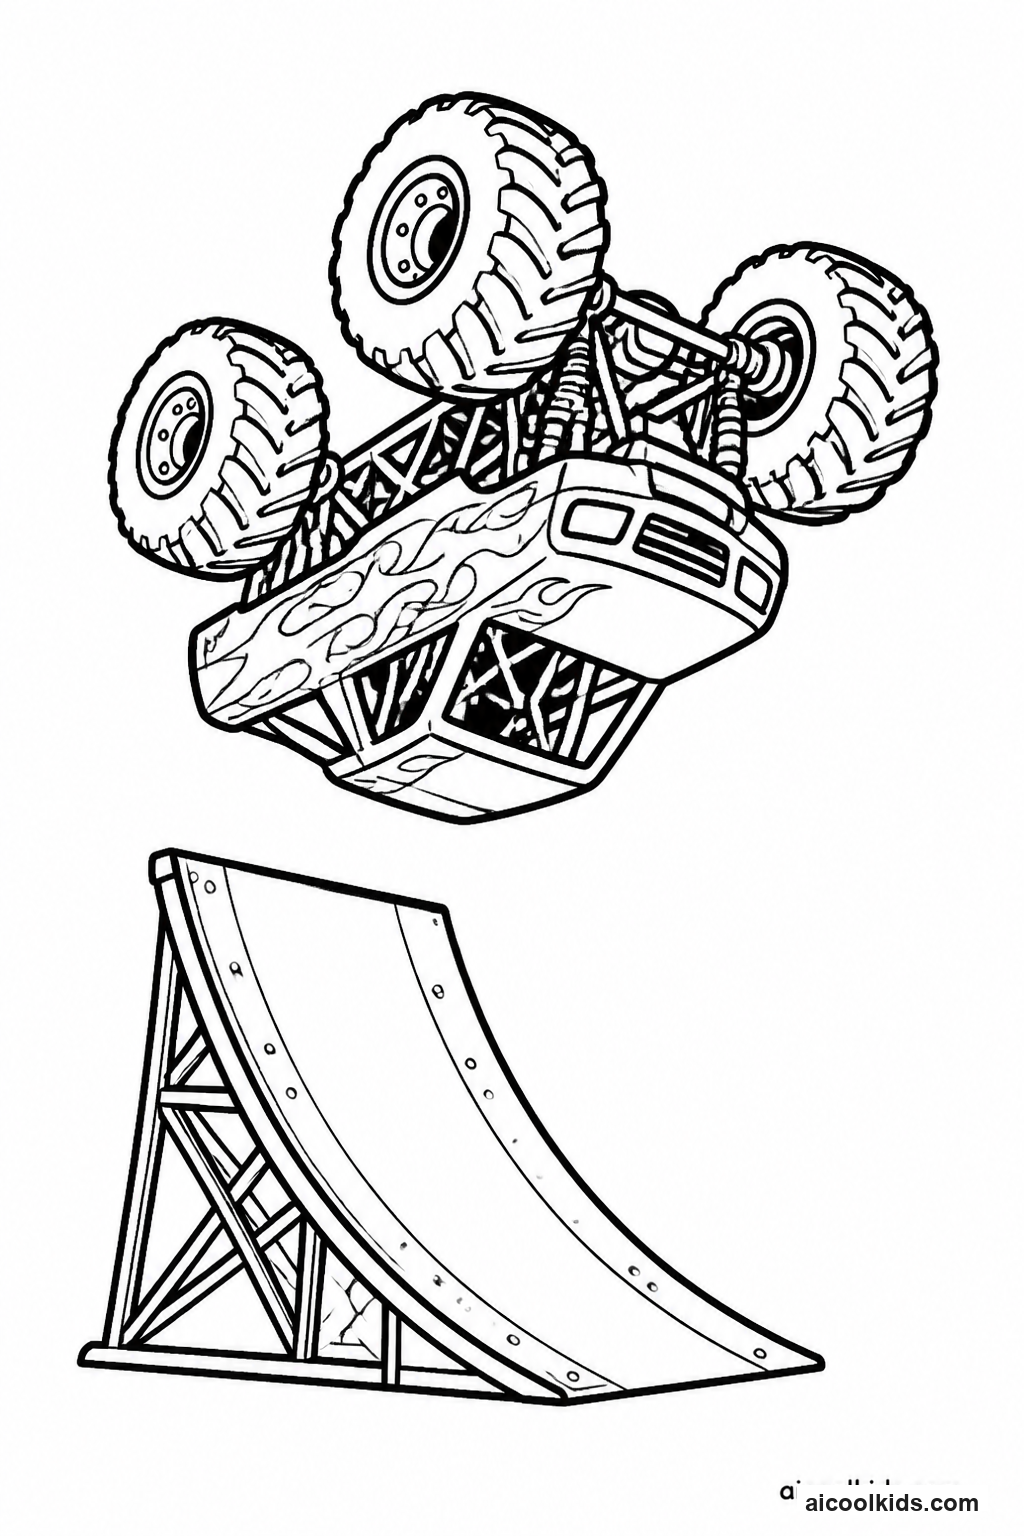
- Color the truck, ramp, and background on the printable page. Choose one main truck color and repeat it on a small detail, such as the hubcaps or roof number, so the design looks coordinated. Leave a narrow white border around the page if you want to mount it on cardstock.
- Cut a rectangle of construction paper for the ramp. Fold a one-inch tab along one short edge, then bend the remaining paper into a gentle slope. Place the ramp over the printed ramp area and check that it points toward the truck's path before gluing the tab down.
- Cut out the truck only if its outline is simple and the child can manage the scissors safely. Glue the truck onto a second piece of cardstock, leaving a small support tab beneath the wheels. Fold the tab backward and attach it to the page so the truck sits slightly forward from the background.
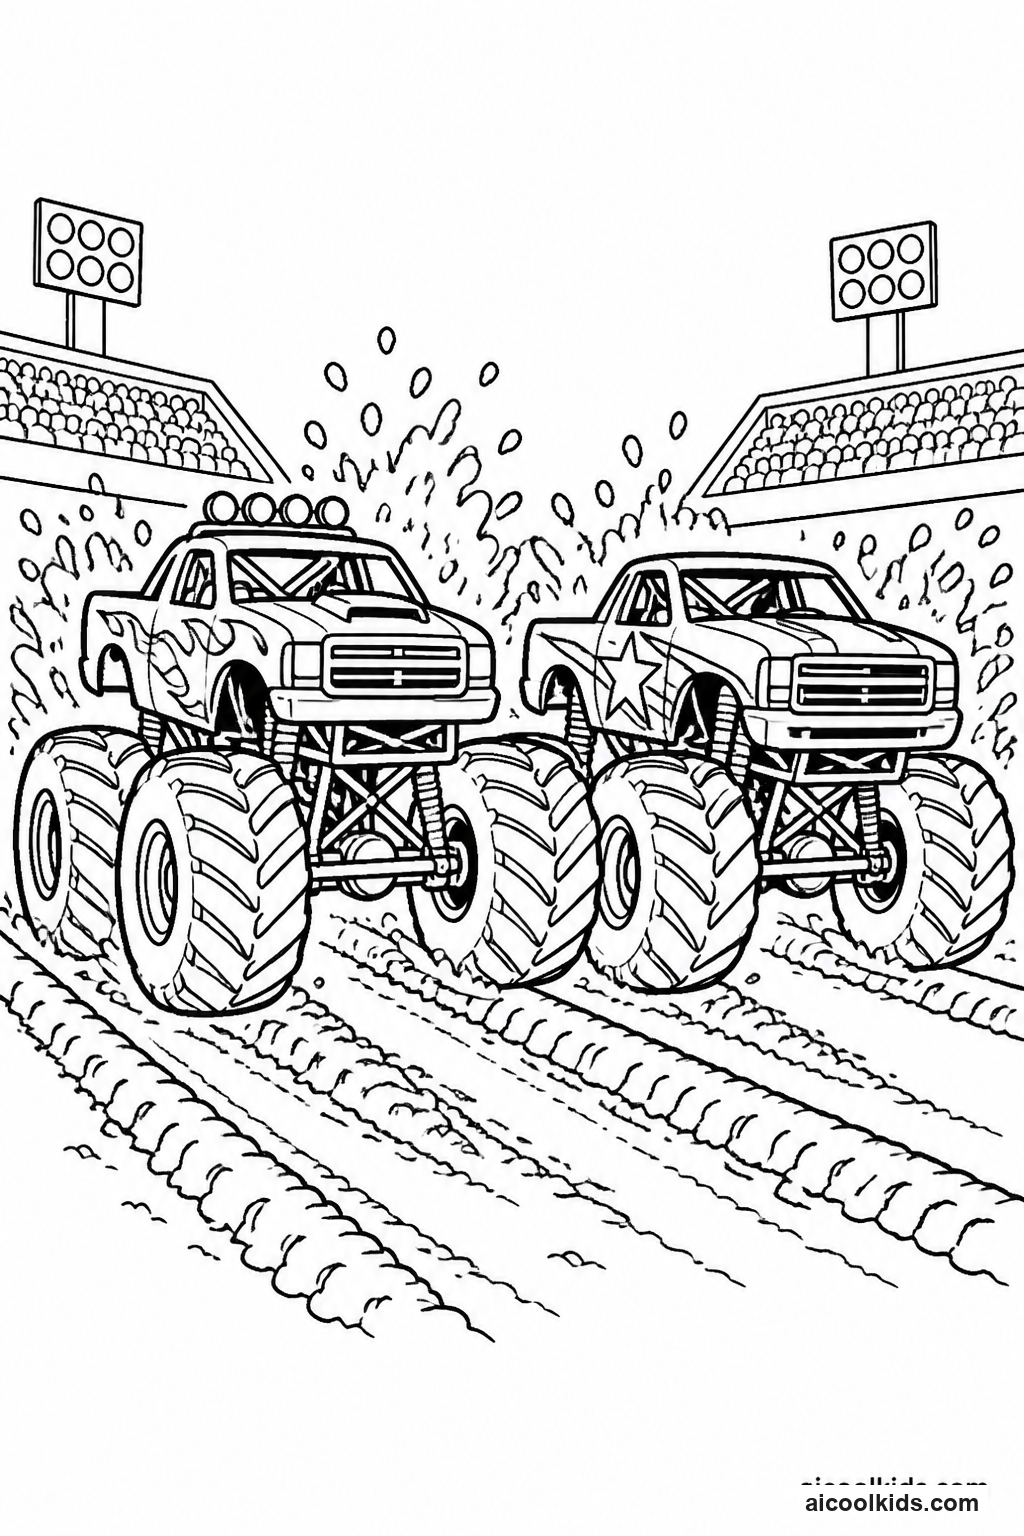
- Add paper crowd shapes, stadium lights, or a finish banner behind the ramp. Keep these additions low and flat so they do not cover the main truck. Use markers for small windows and signs, and draw a few curved motion lines to show the direction of the jump.
- Mount the finished scene on cardstock and let the glue dry flat. Invite the child to give the stadium a name and describe where the truck will land. For a classroom display, place scenes at eye level and ask each learner to point out one paper-engineering choice.
2
Design a Mud Rally Tire-Track Poster
Materials Needed:
Printed mud rally coloring pageWashable brown and black tempera paintSmall sponge piecesCorrugated cardboard stripsPaper plateScrap paperCrayons or colored pencilsNewspaper or a washable table coveringWater cup and paper towels
Step by Step Guide:
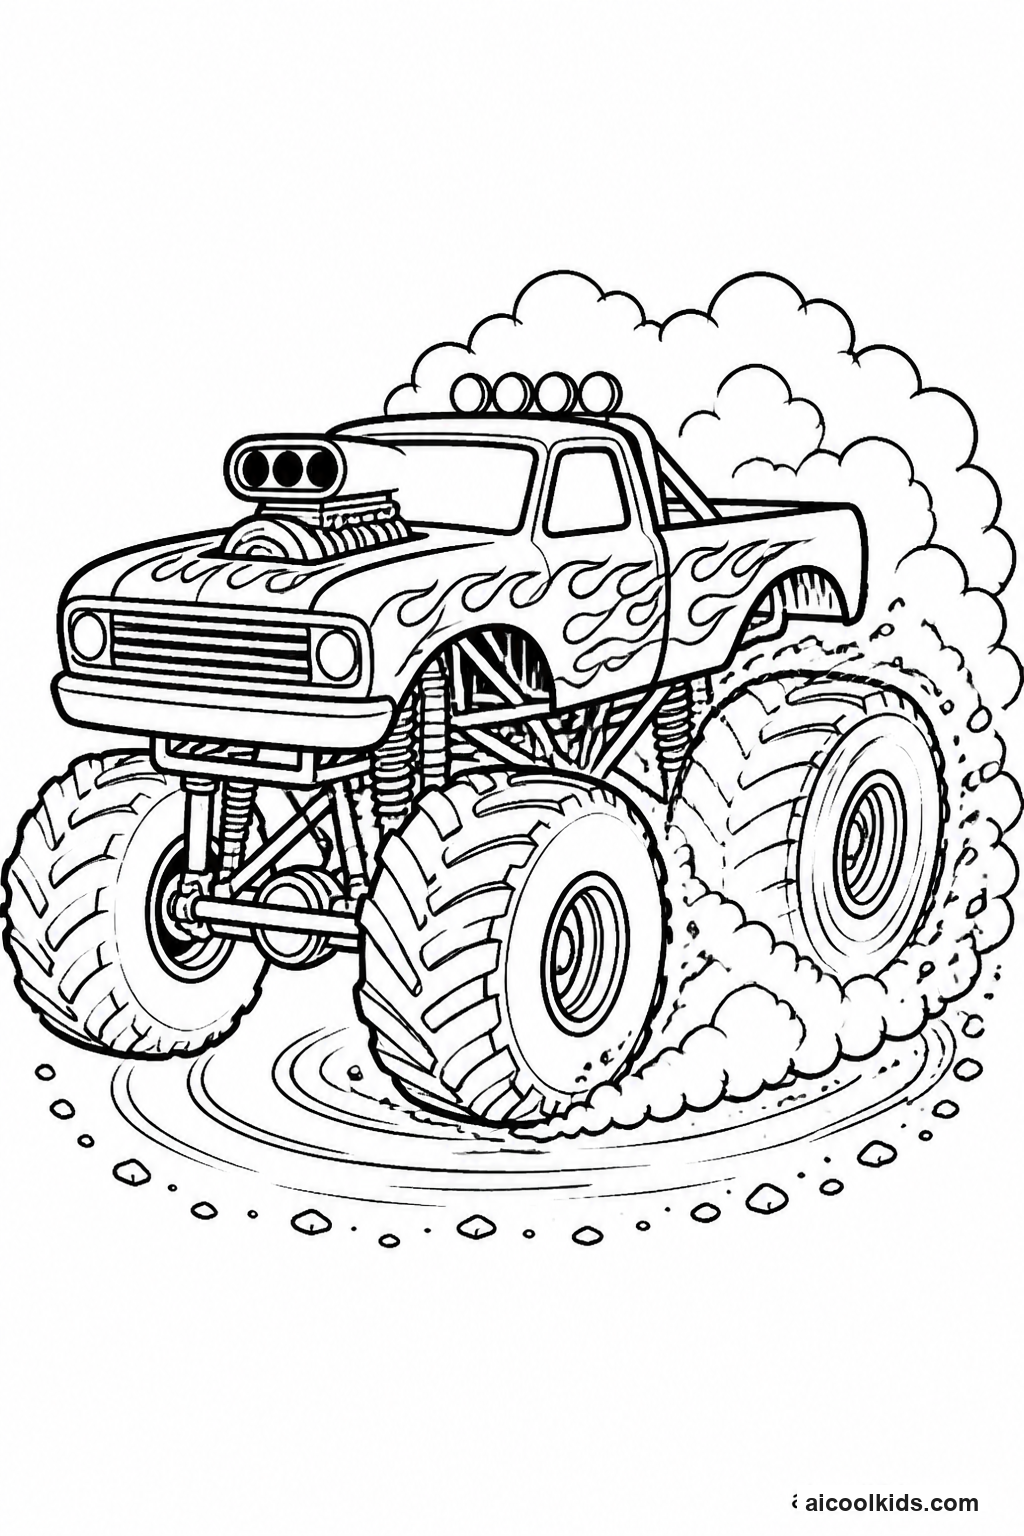
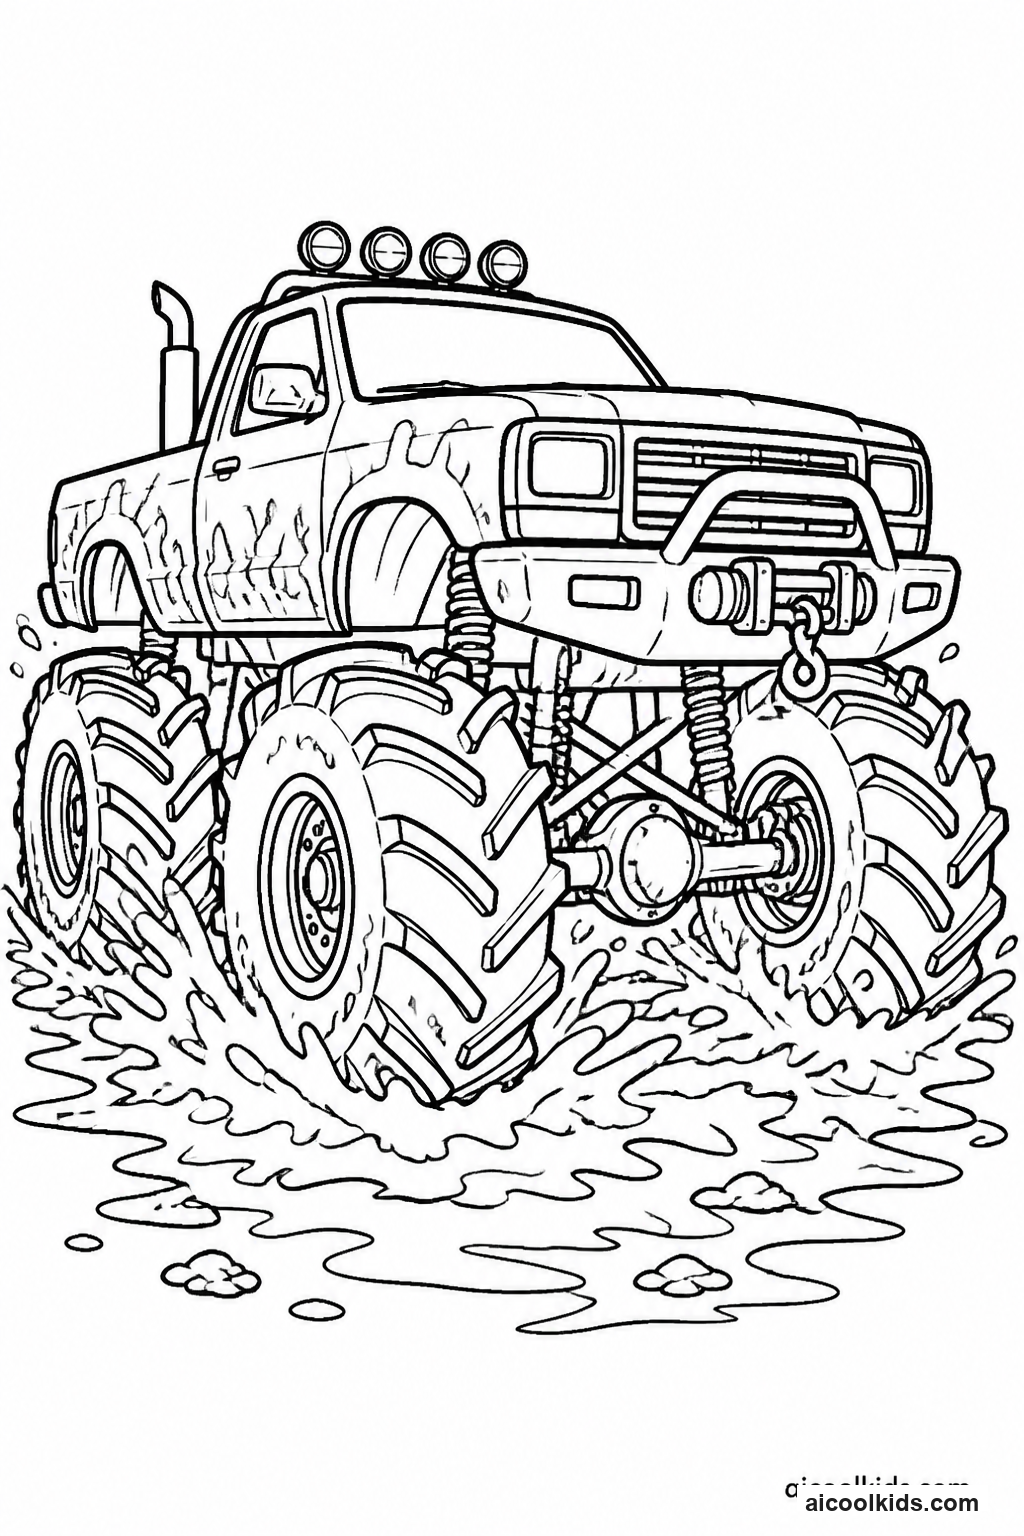
- Color the truck and any printed rally details with crayons or colored pencils. Decide which areas should stay clean for the track marks, then place the page on a protected work surface. Put a sheet of scrap paper beside it for testing the stamp before it touches the picture.
- Make a simple tread stamp by wrapping a short corrugated cardboard strip around a small sponge, with the ridged edge facing outward. Secure it with a small piece of tape if needed. Press the stamp gently onto scrap paper to see how much paint it carries and whether the tread pattern is visible.
- Pour a small amount of washable paint onto a paper plate. Dip only the tread edge into the paint, then press it lightly onto the page to create a short trail behind or beside the truck. Lift straight up rather than sliding the stamp, which keeps the pattern crisp.
- Use a clean sponge corner to add separate puddles or muddy splashes. Make some marks darker and some lighter by removing extra paint on scrap paper first. Leave open areas around the truck so the central image remains easy to see.
- Allow the paint to dry completely before adding pencil or crayon details. Draw a rally route with a dashed line, add grass along the course, and give the event a name. Ask the child to compare the bold and faint tracks and explain how pressure changed the result.
3
Create a Monster Truck Trading Card
Materials Needed:
Printed monster truck coloring pageCardstockRulerPencilsColored pencils or markersChild-safe scissorsGlue stickBlank index cardOptional clear adhesive sleeves
Step by Step Guide:
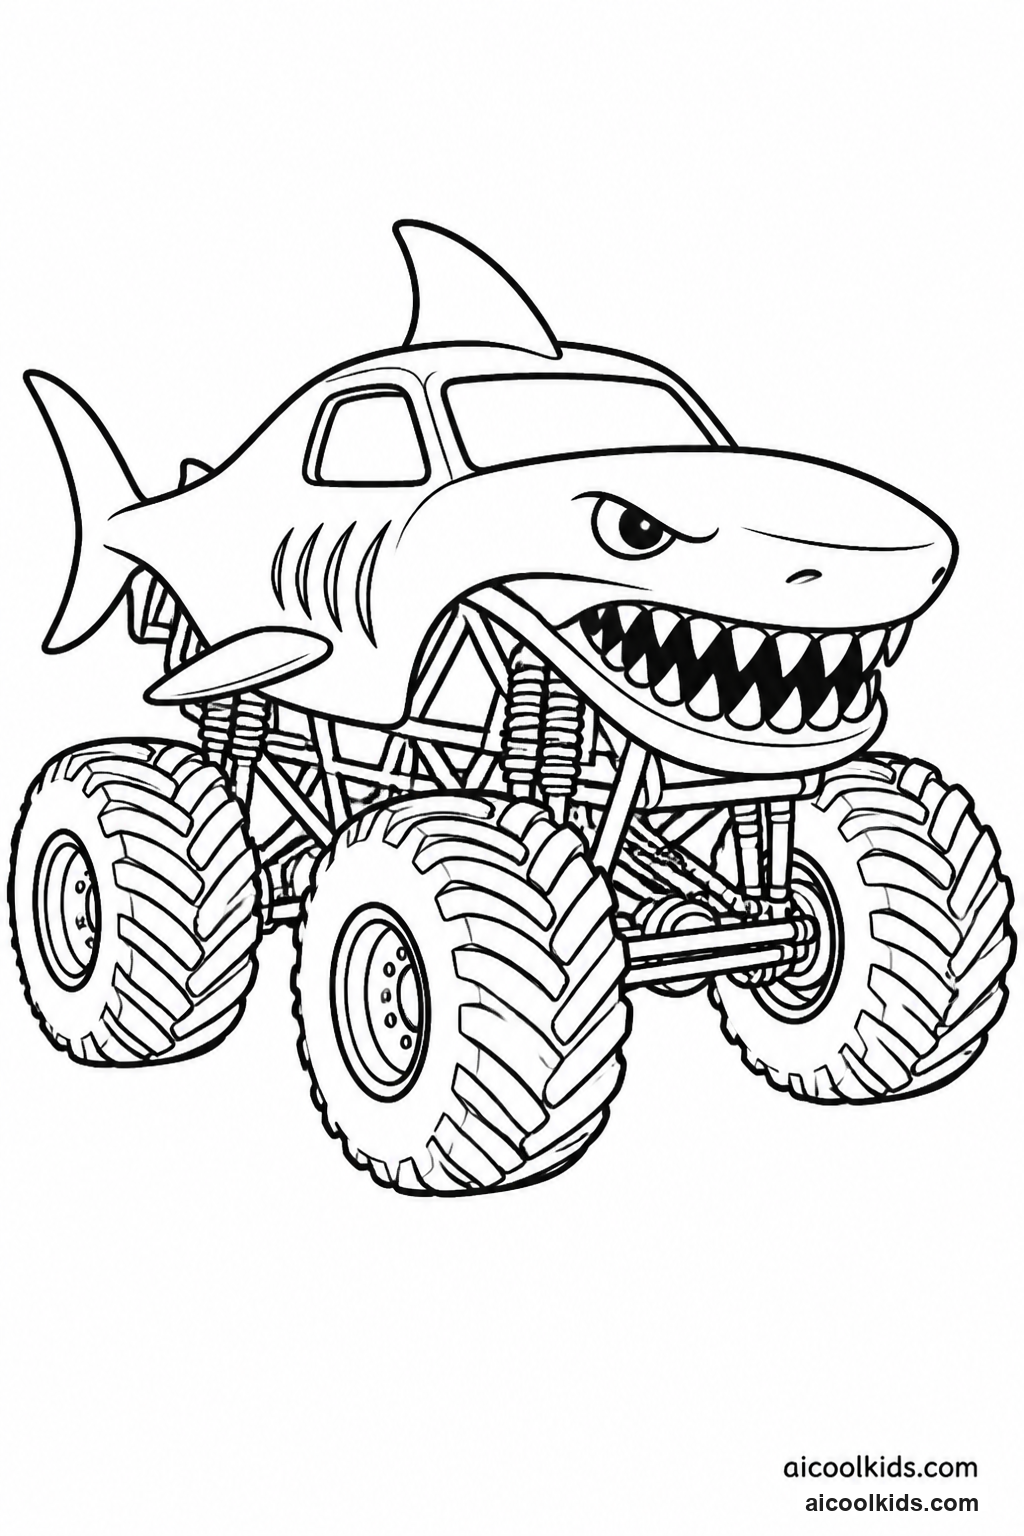
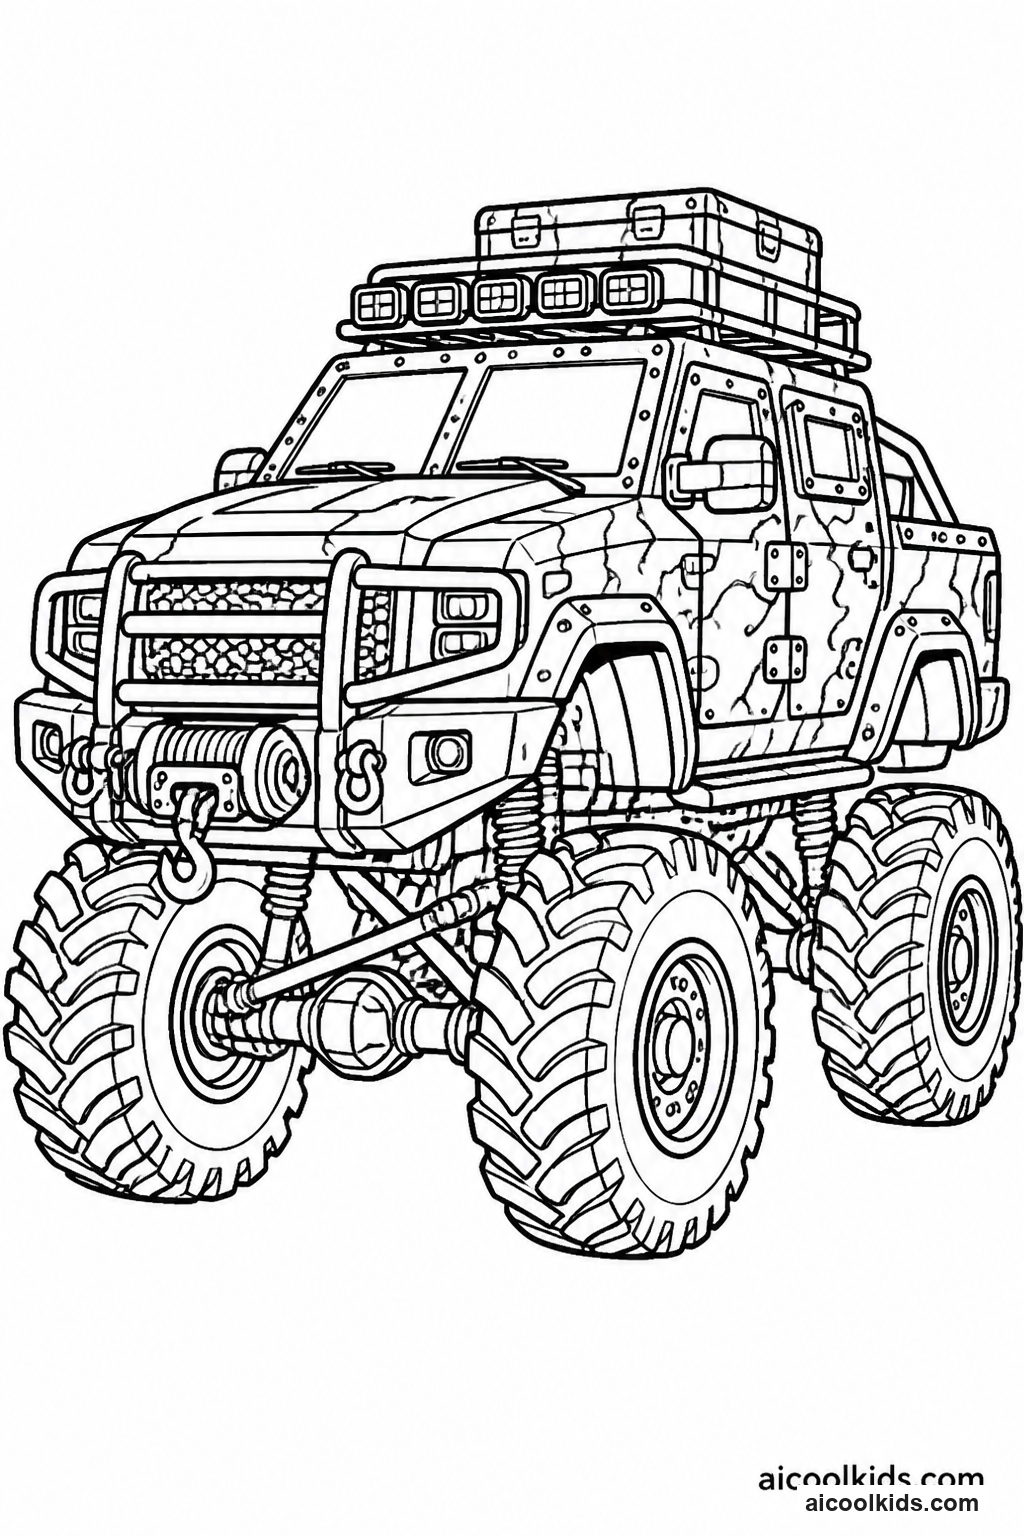
- Choose a truck from the printable and color it with a limited palette of three or four main colors. Add a team symbol, number, or small pattern to the truck body. If the page has a background, color only the truck and a small area around it so the illustration will fit on the card.
- Measure a rectangle about four by six inches on cardstock, then cut it out with child-safe scissors. Trim the colored truck image to fit with a narrow border, keeping the wheels and any important jump or mud details visible. Younger children can use a pre-cut card prepared by an adult.
- Glue the illustration onto the front of the cardstock. Press from the center outward to reduce wrinkles, then leave the card under a clean book for a few minutes. Add a bold title at the top, such as a truck name or team name, and write the child's name as designer.
- On the back, write a short profile with the truck's fictional name, favorite course, signature color, and a made-up show stunt. Add one real observation from the picture, such as the number of tires or the direction of the ramp. Keep the writing large enough to read easily.
- Decorate the card border with small stars, checkers, or tire marks. Share the card with a partner and ask each other one question about the design. Store cards in a small envelope or an adhesive sleeve, and remind children that the performance details are imaginative rather than vehicle instructions.
4
Make a Spinning Wheel Color Challenge
Materials Needed:
Printed monster truck coloring pageCardstock or a paper plateScrap paperColored pencils or crayonsMarkersChild-safe scissorsPaper fastenerPencilRuler
Step by Step Guide:
- Color the outline of the truck lightly or leave the page uncolored until the spinner is ready. On cardstock or a paper plate, draw a circle about six inches wide and divide it into six equal sections. An adult can make the first dividing lines for younger children.
- Write one color prompt or design prompt in each section. Options might include bright blue, sunset colors, two-color stripes, muddy brown, team colors, or choose your own. Add a small color sample to each space so the prompts are easy to understand at a glance.
- Cut a slim arrow from scrap paper and make a small hole at its wide end. Make a matching hole in the center of the wheel, then attach the arrow with a paper fastener. Check that the arrow turns freely without being loose enough to fall off.
- Spin the arrow and use the selected prompt on one part of the printable, such as the truck body, wheel hubs, or stadium signs. Children may spin again for another area or choose their own color when they want to. Encourage them to test a marker or pencil on scrap paper first.
- Continue until the main truck and one background detail are colored. Ask the child to identify which prompt was most surprising and which color choice they would repeat. Keep the wheel with the printable pack so it can be used for a new sheet or a small group challenge.
5
Build a Fold-Out Monster Truck Garage
Materials Needed:
Printed monster truck coloring pageCardstockConstruction paperCrayons or colored pencilsMarkersRulerChild-safe scissorsGlue stickOptional stickers
Step by Step Guide:
- Color the truck on the printable, including its tires and windows. Cut around the truck if the outline is clear, or keep the whole colored page intact and use it as the garage backdrop. Ask the child to choose whether the garage represents a stadium service bay, a home display, or a fictional team space.
- Fold a sheet of cardstock in half to make a standing card. On the front, draw a wide garage doorway and cut along the top and sides, leaving the bottom edge attached as a flap. Fold that flap outward to create a small ramp leading into the garage.
- Glue the colored truck image inside the folded card, behind the doorway. Check that the truck can be seen when the card is open and that the front flap does not cover the wheels. If the image is cut out, attach it to a small folded support so it stands slightly forward from the back wall.
- Make a garage sign from construction paper and write a team name or number on it. Add simple paper shelves, a tool bench, or a checkered floor using flat shapes. Keep the details decorative and avoid adding tiny loose pieces if young children will handle the project.
- Open and close the garage gently to test the folds. Add a short story on the inside, such as where the truck is going next or what course it will visit. Display the garage upright, and let children explain how the ramp, doorway, and backdrop work together.
6
Create a High-Jump Flipbook
Materials Needed:
Printed monster truck coloring pageSmall stack of index cards or cut paperPencilColored pencilsMarkersBinder clipRulerChild-safe scissors
Step by Step Guide:
- Look closely at the printed truck and identify its main shapes, including the body, wheels, and windows. Use the page as a reference rather than trying to copy every detail. Prepare six to eight equal-sized cards and tap them into a neat stack so their edges line up.
- Draw a simple ramp and ground line near the bottom of the first card. Sketch the truck approaching the ramp, then repeat the background position on every card. Keep the truck large enough to see, but leave space for it to move upward across the sequence.
- On each card, draw the truck slightly farther along its path. Show it rising over several cards, reaching its highest point in the middle, then moving down toward a landing area. Make small, gradual changes rather than shifting the truck dramatically from one card to the next.
- Add color to the truck after the sequence is drawn. Repeat the same main colors on every card so the vehicle looks consistent. Add a few changing motion lines or dust marks, while keeping the ramp and background in the same place to make the movement easier to follow.
- Clip the cards together along one short edge. Hold the stack firmly and flip the pages with a thumb to watch the sequence. If the motion looks uneven, adjust one drawing or add a card between two larger changes. Invite the child to narrate the fictional jump and describe how the truck moves through the frames.