Maze Activities Guide
6 Creative Learning & Craft Ideas for Space Mazes
Here are 6 fun games and challenges you can try with these finished mazes, from timed races to binder games.
1
1. Reusable At Home Mission Control Binder
Materials Needed:
Printed space maze activity sheetsThree ring binderClear sheet protectorsDry-erase markersIndex cardsCrayola washable markers
Step by Step Guide:
- Ask the child to choose a mission page, such as a rocket route or a Mars rover path. Before putting it away, write or draw a simple picture label on an index card, such as a rocket, Moon, or rover. The child can copy your picture or add their own marks. This gives the binder an easy visual index that kindergarten age children can use without relying on long written instructions.
- Slide each maze into a sheet protector and place the pages in the binder. Leave one or two blank protectors at the back for later drawings. If the printed paper is thin, keep it inside the protector rather than laminating it. This makes the pages easy to replace and avoids a special machine or extra setup. Put a small piece of Scotch tape on the edge of a loose page if it shifts while the child is tracing.
- Show how to use a dry-erase marker by starting at the picture and moving one section at a time toward the goal. Encourage the child to pause at intersections and point to the next open route before drawing. If the line reaches a dead end, use a tissue or soft cloth to wipe only that attempt. The child can then start again without needing a new printable activity sheet.
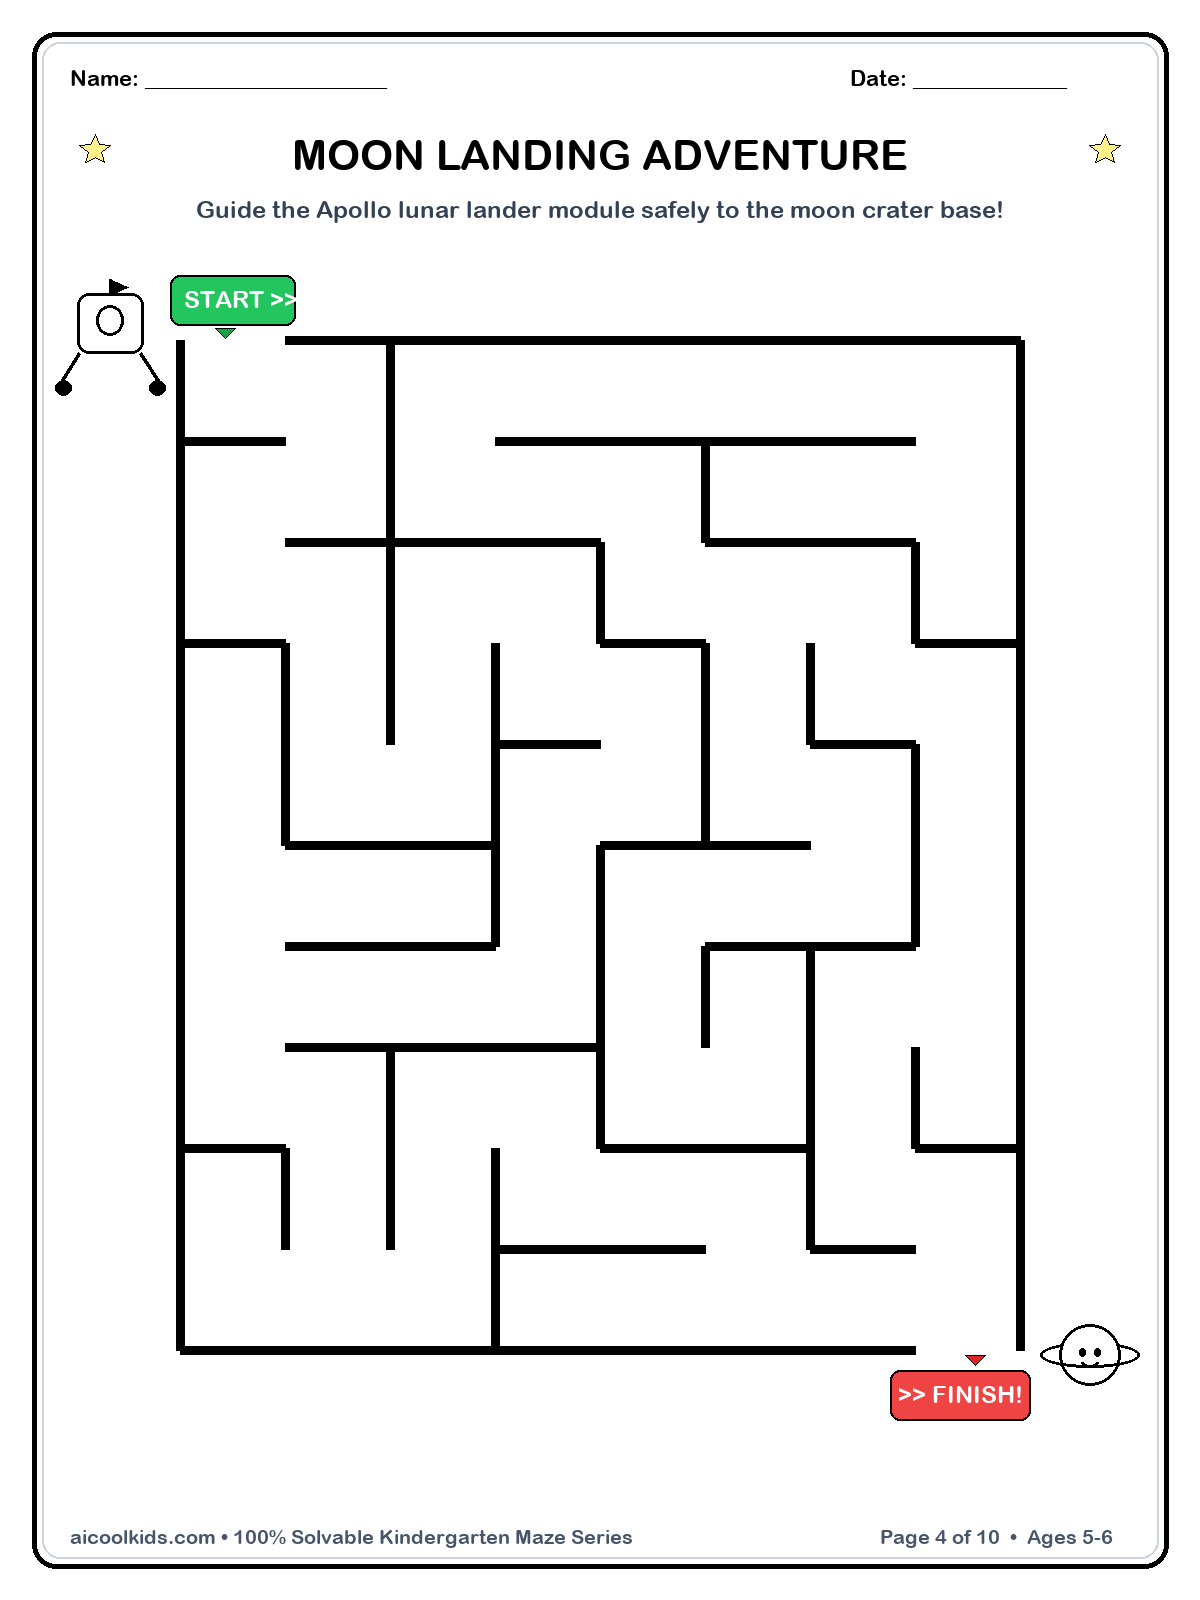
- Make a mission card for each completed page. An adult can write a short prompt such as I found the Moon base, while the child draws the destination or adds a sticker. Place the card behind the matching maze in the binder. Keep the language relaxed and specific, so the child notices effort, careful turns, or trying another way rather than feeling judged on speed.
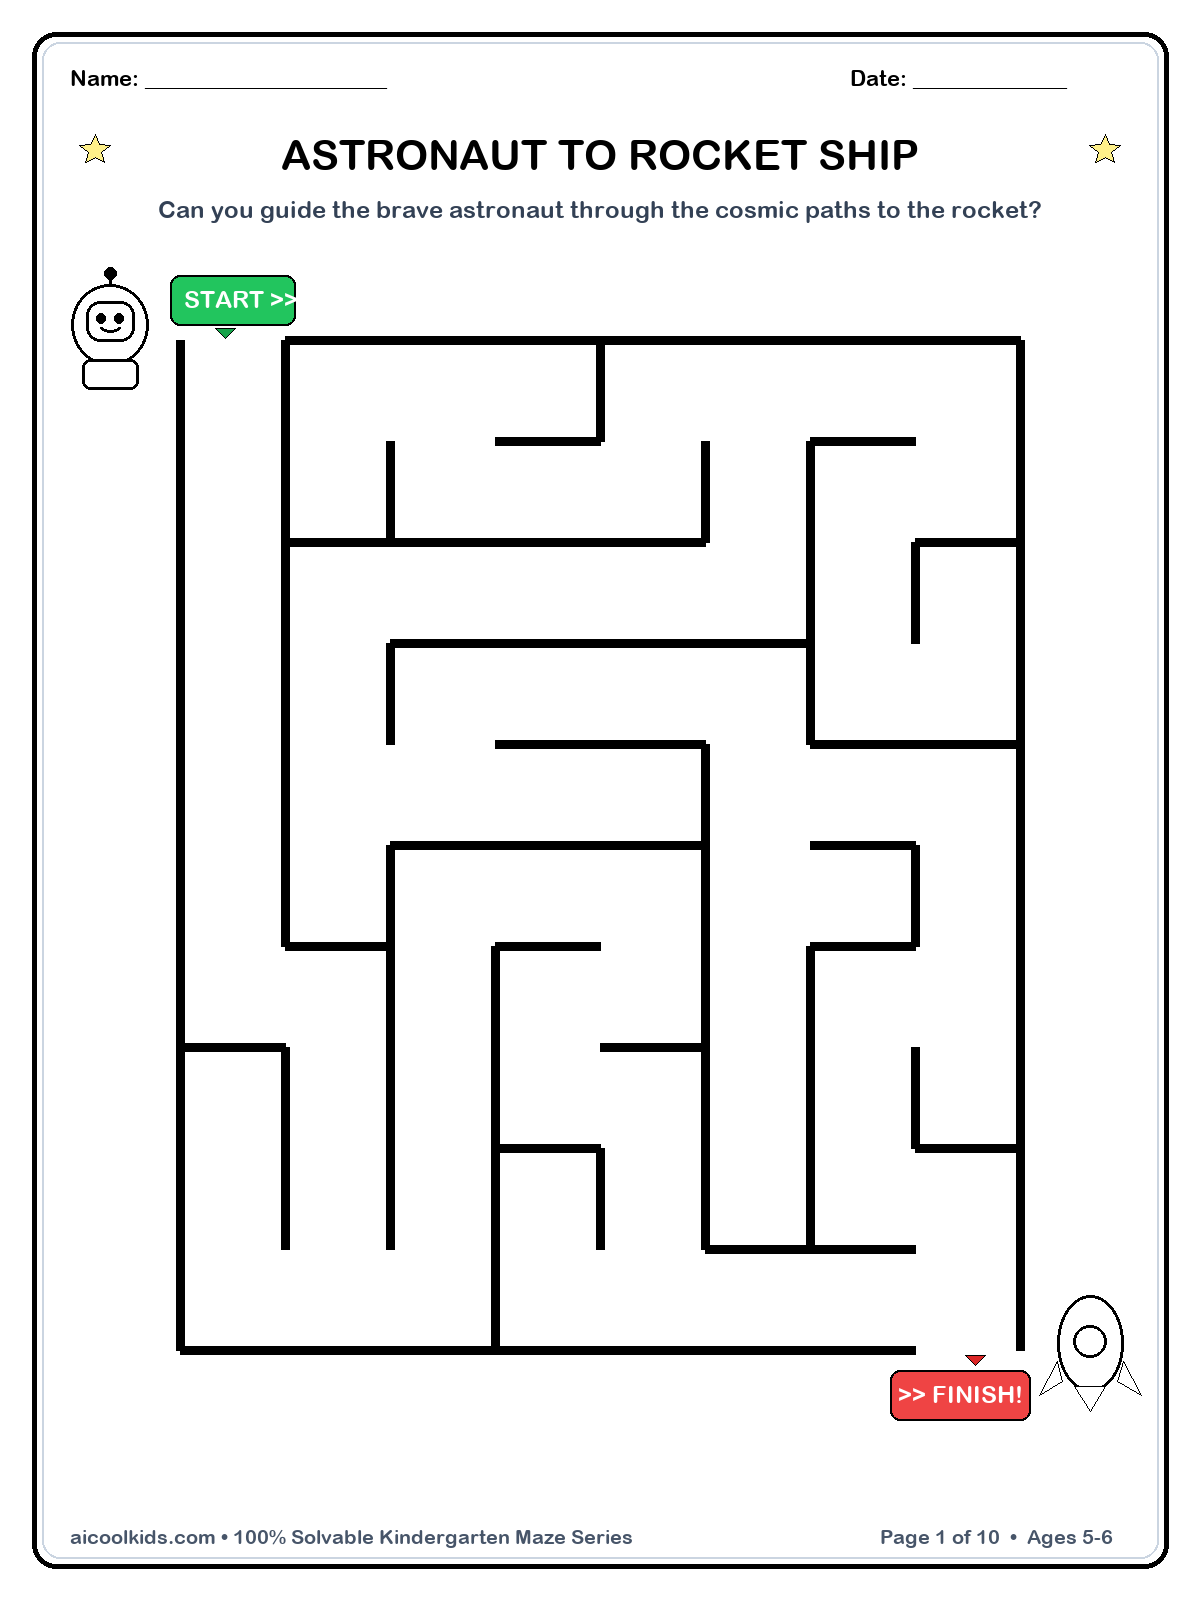
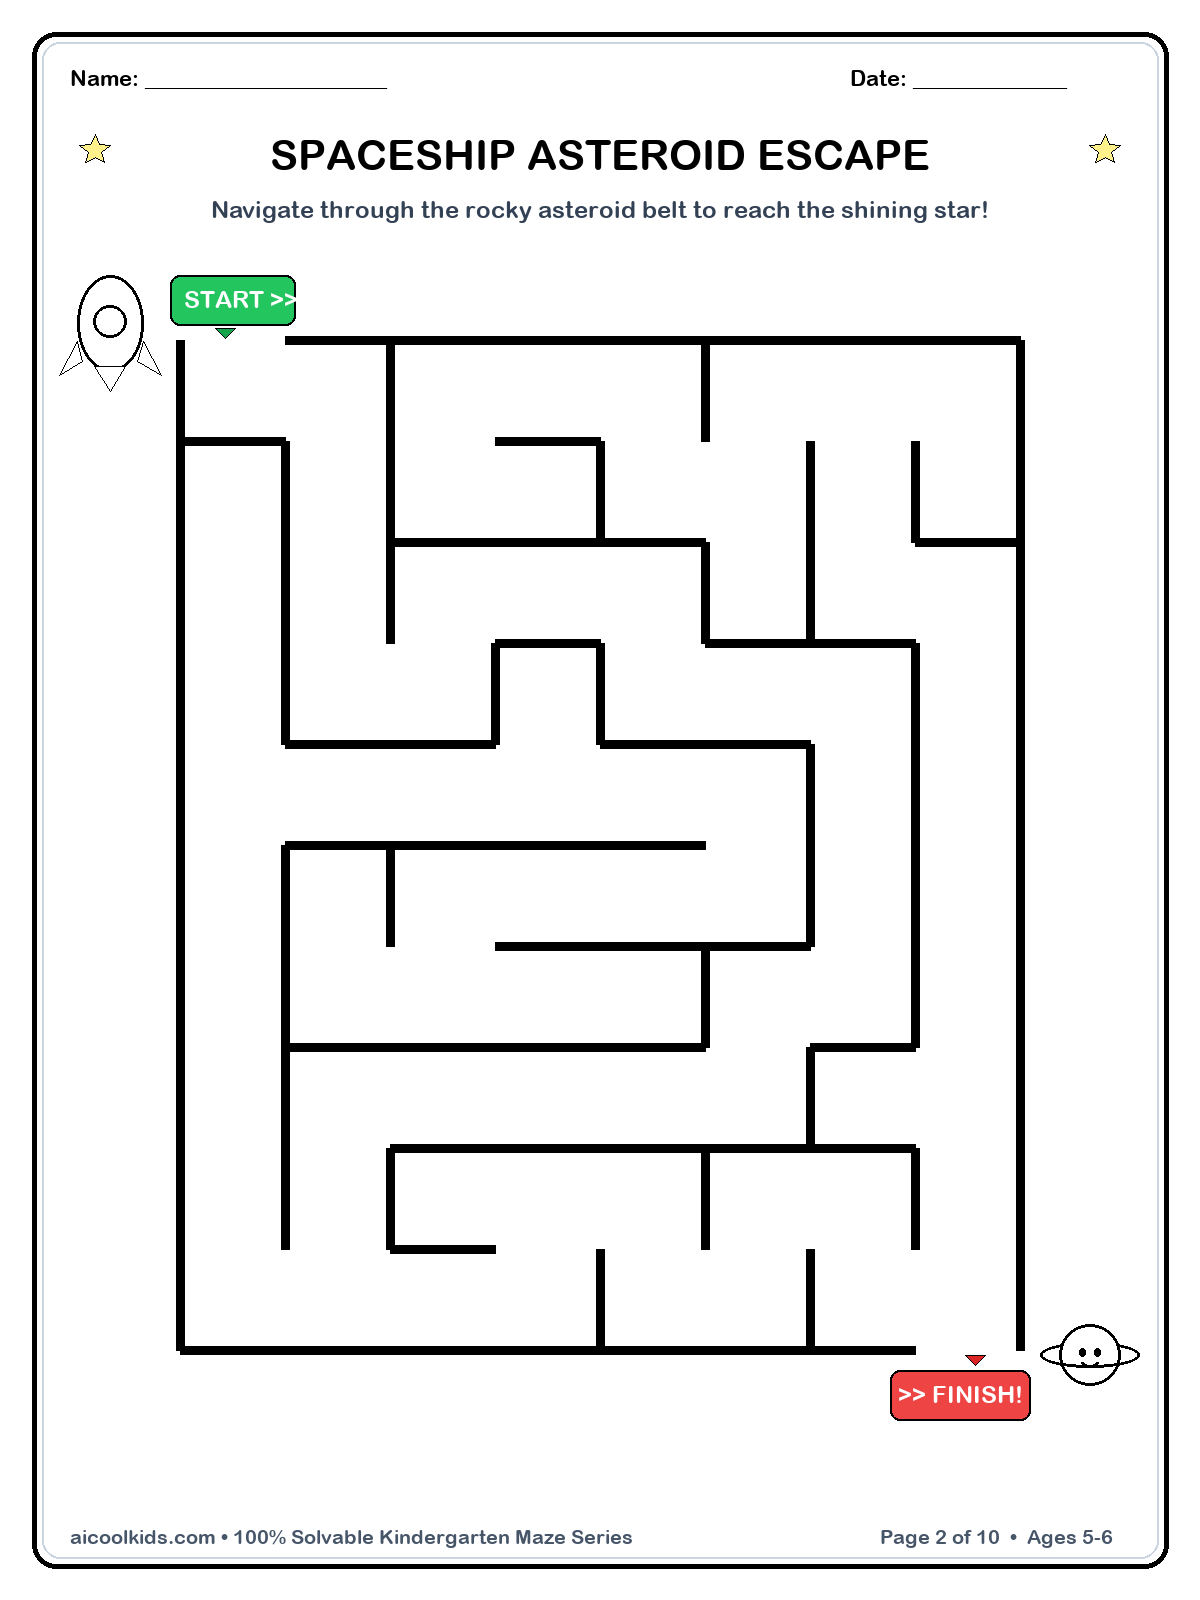
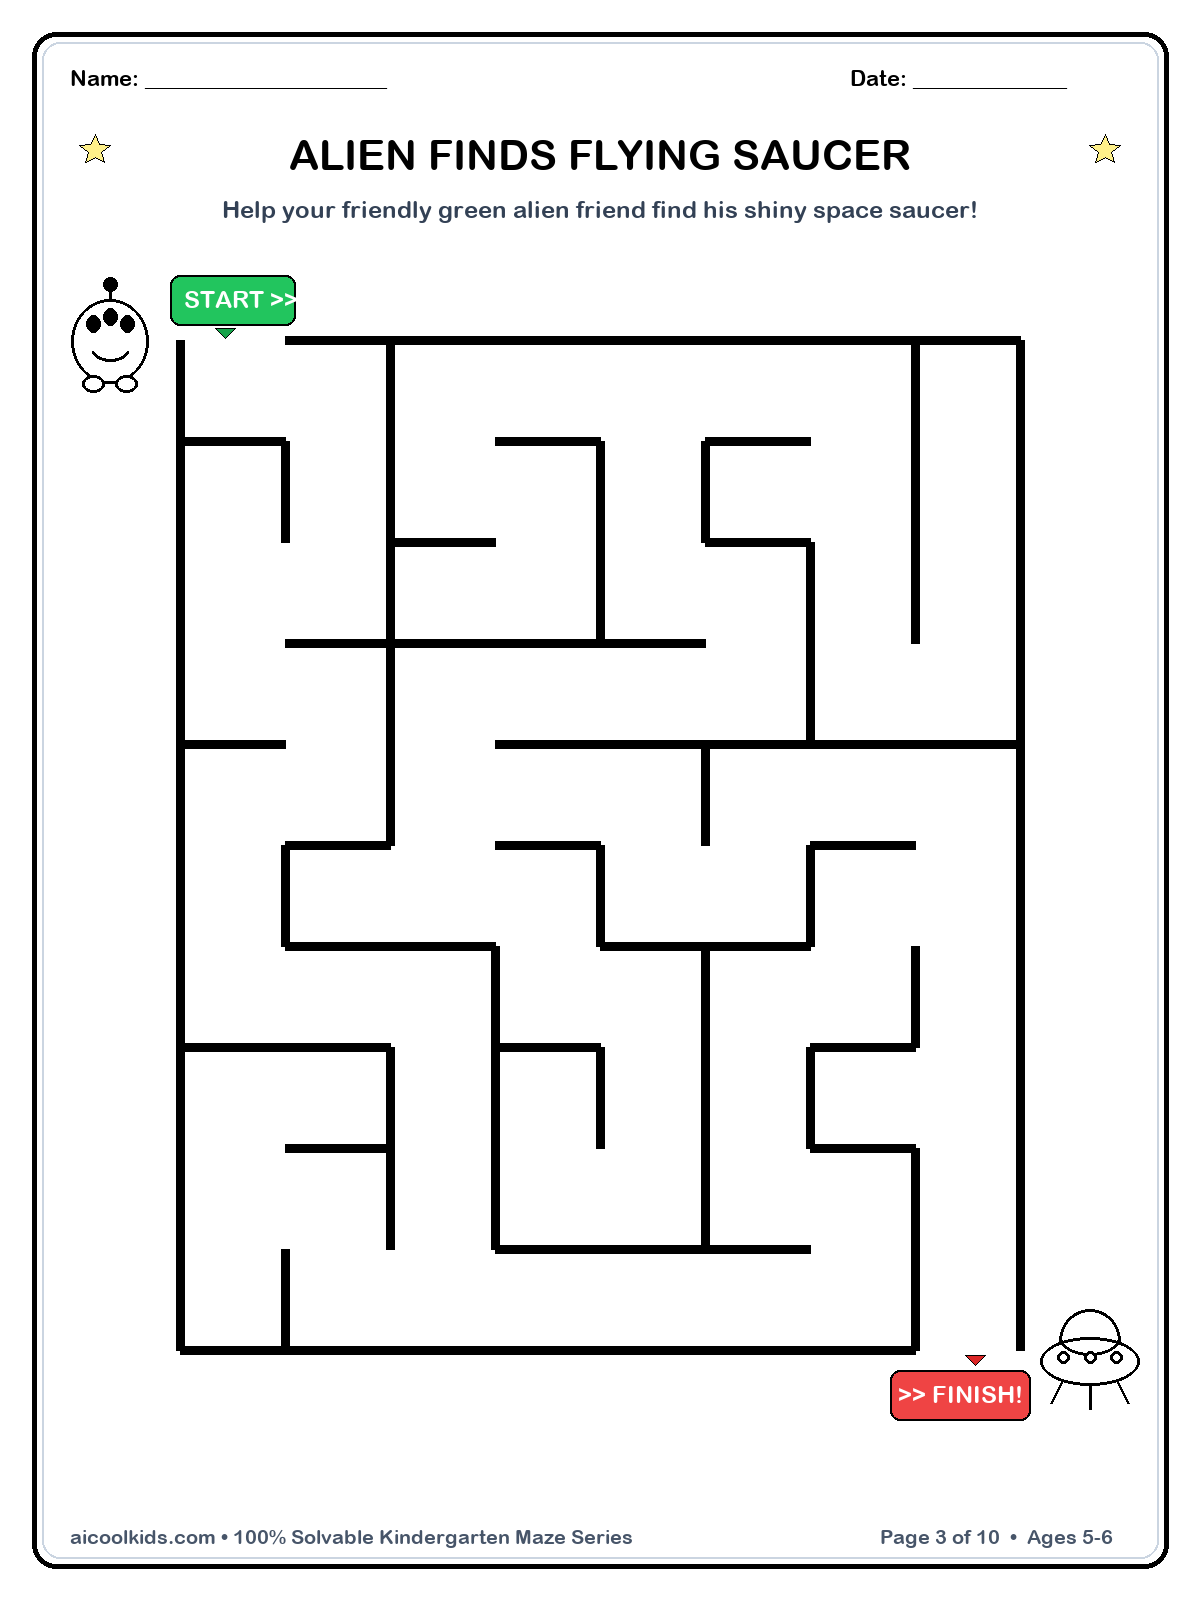
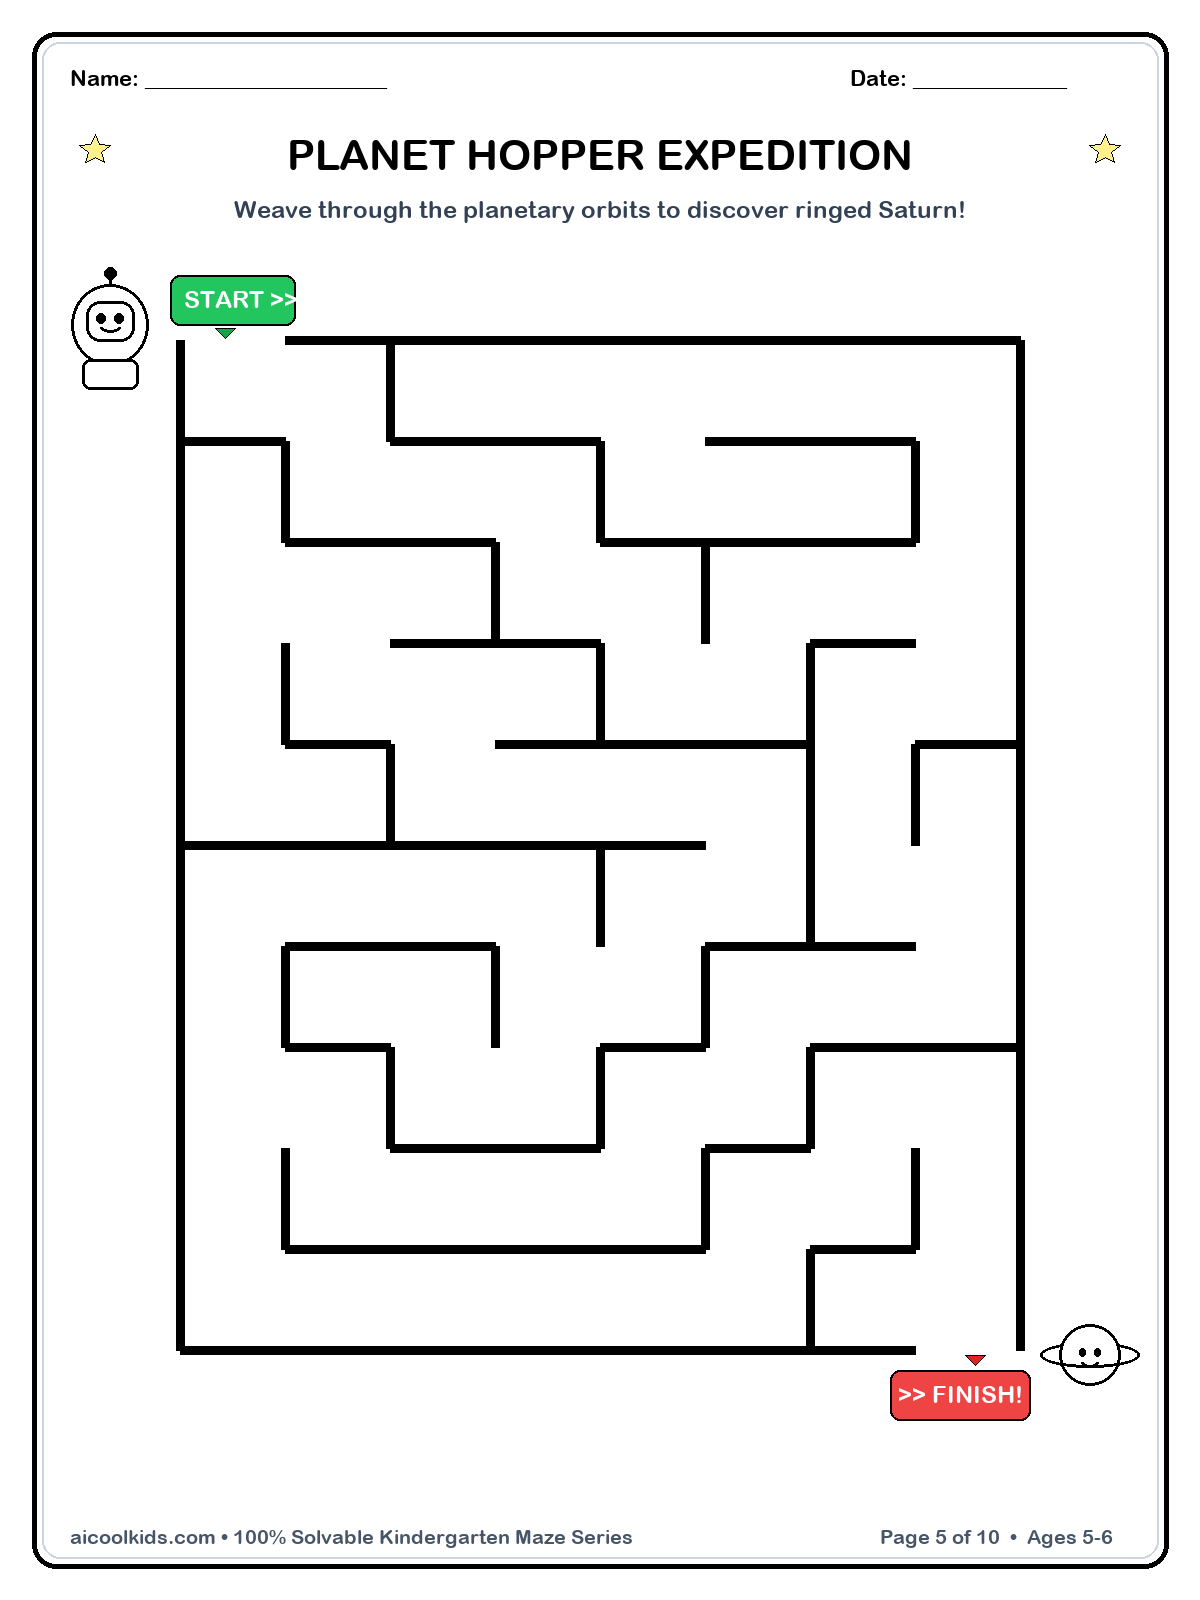
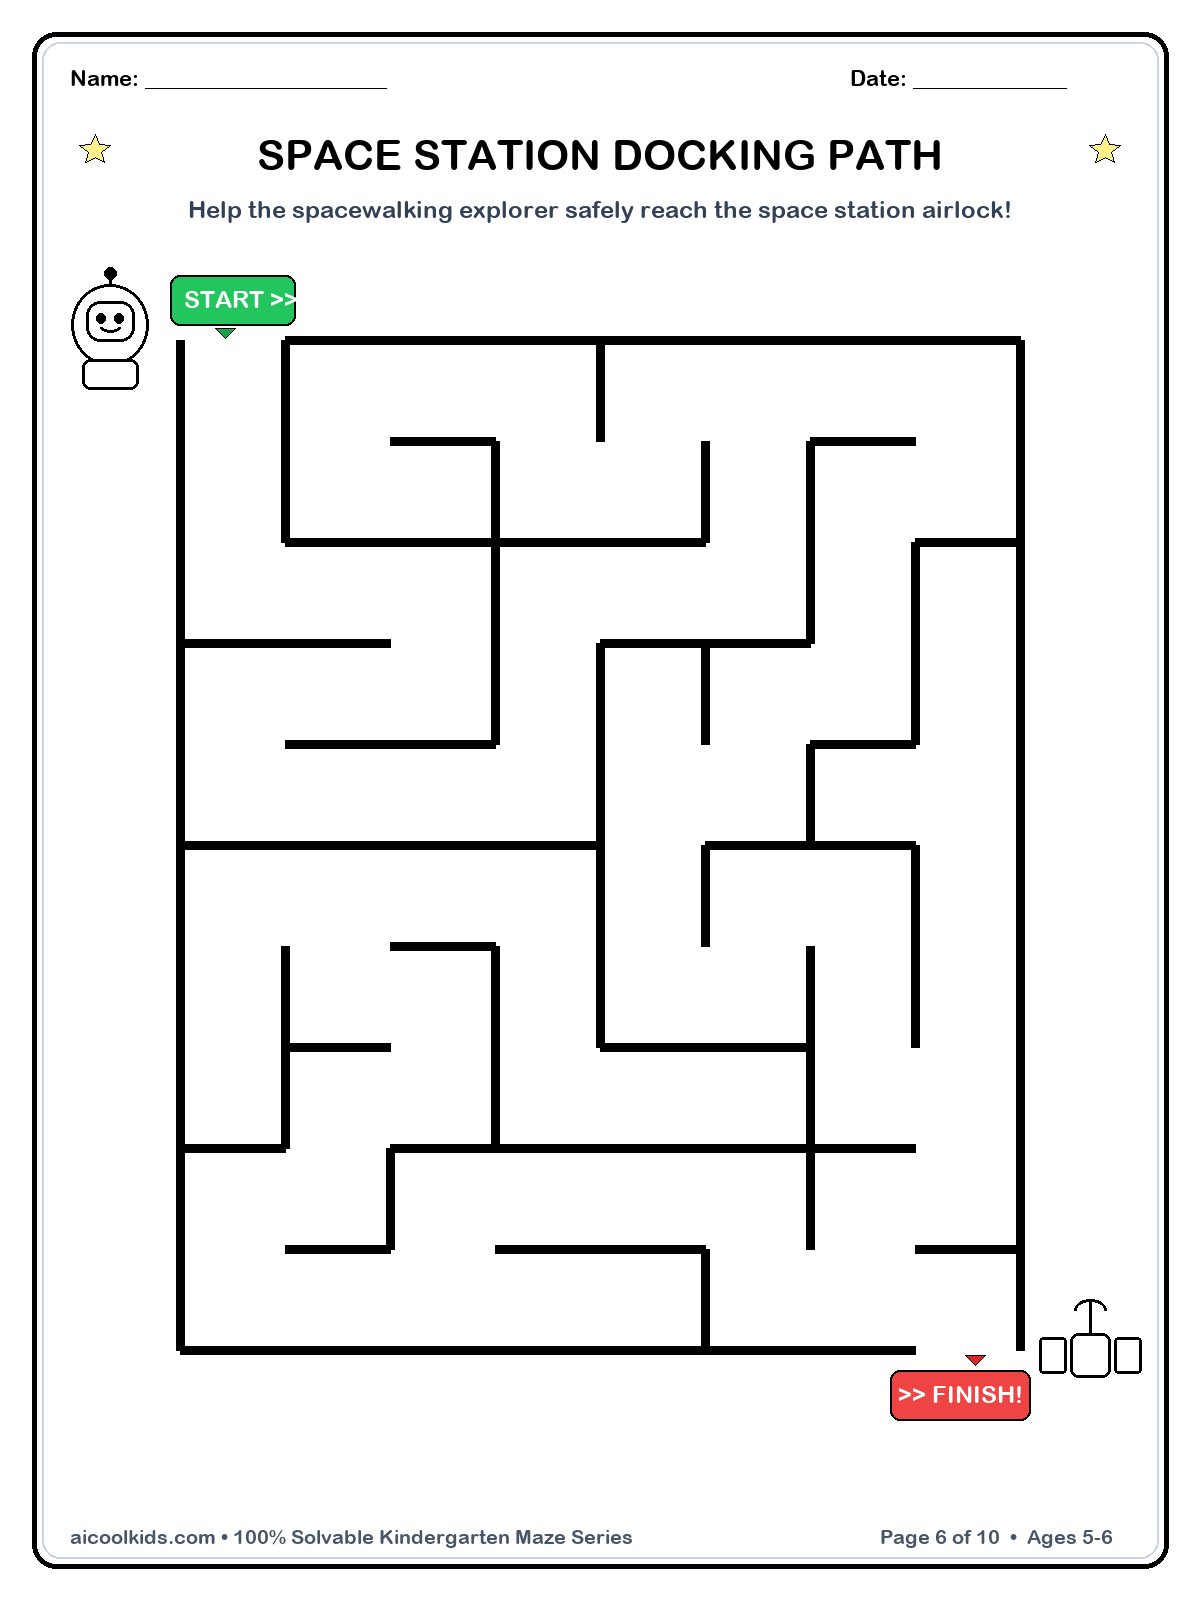
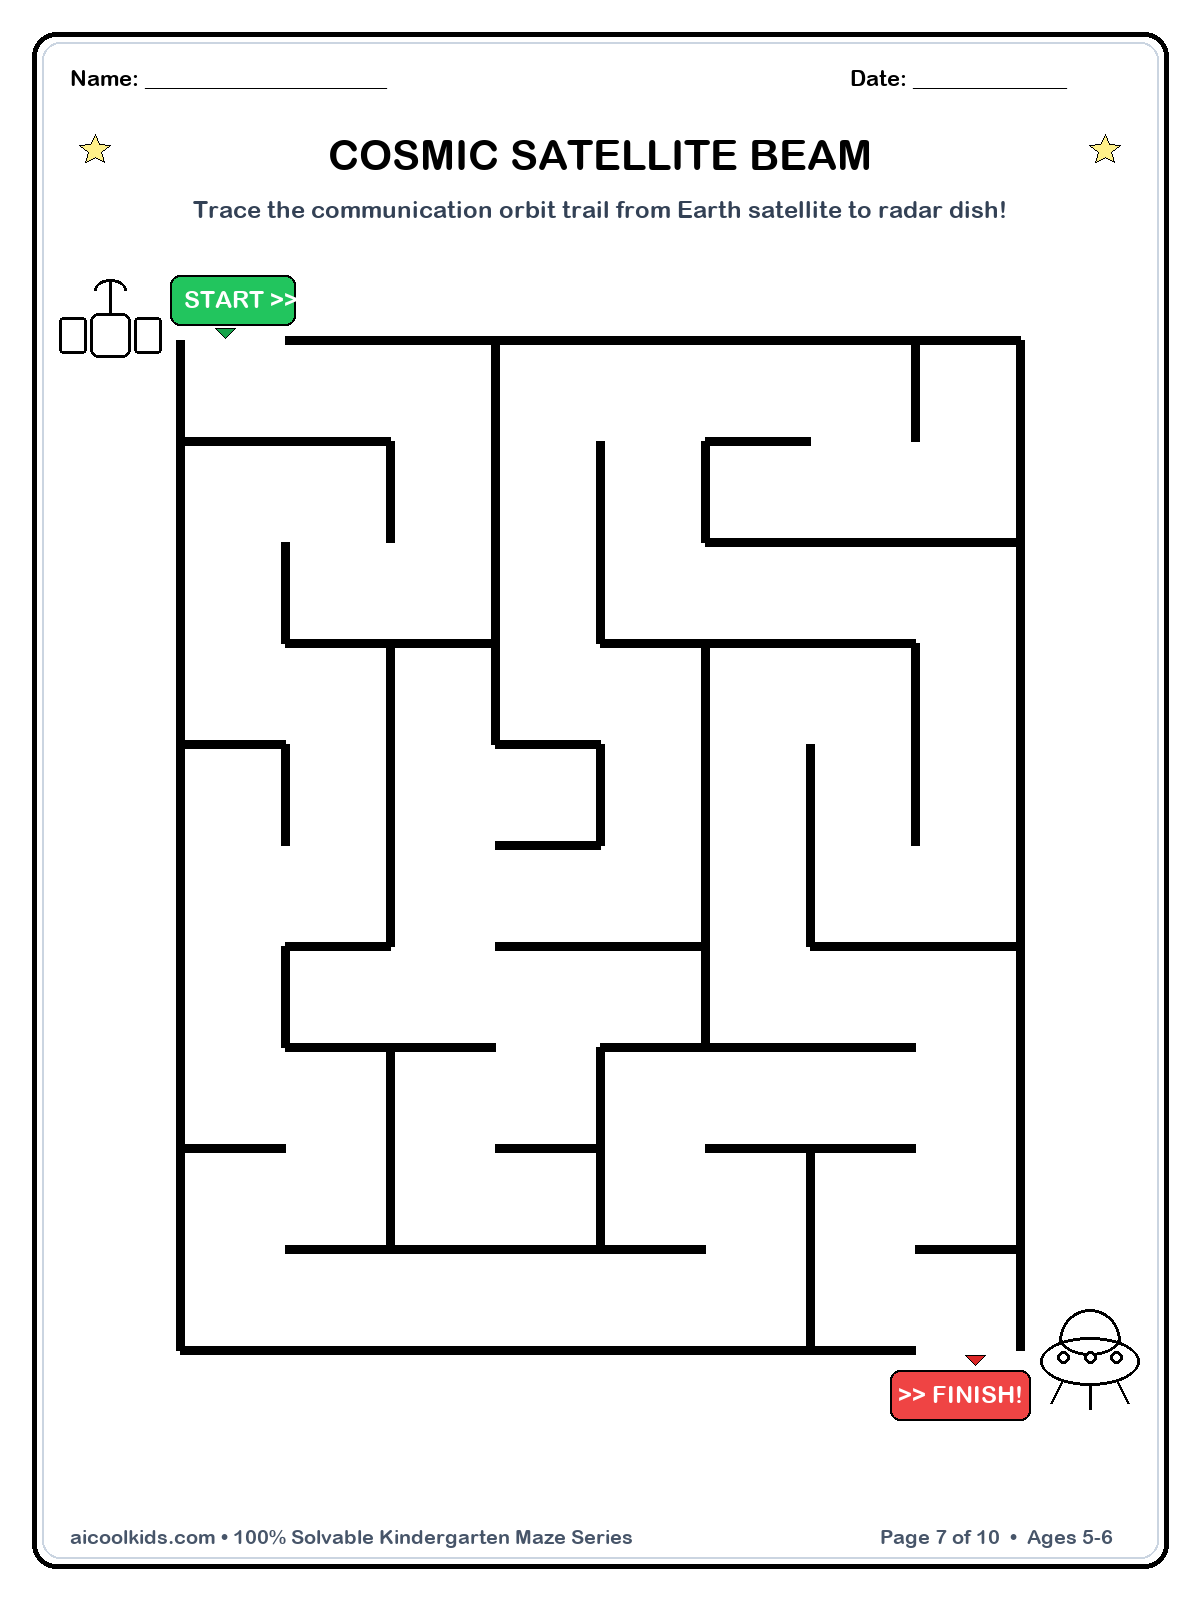
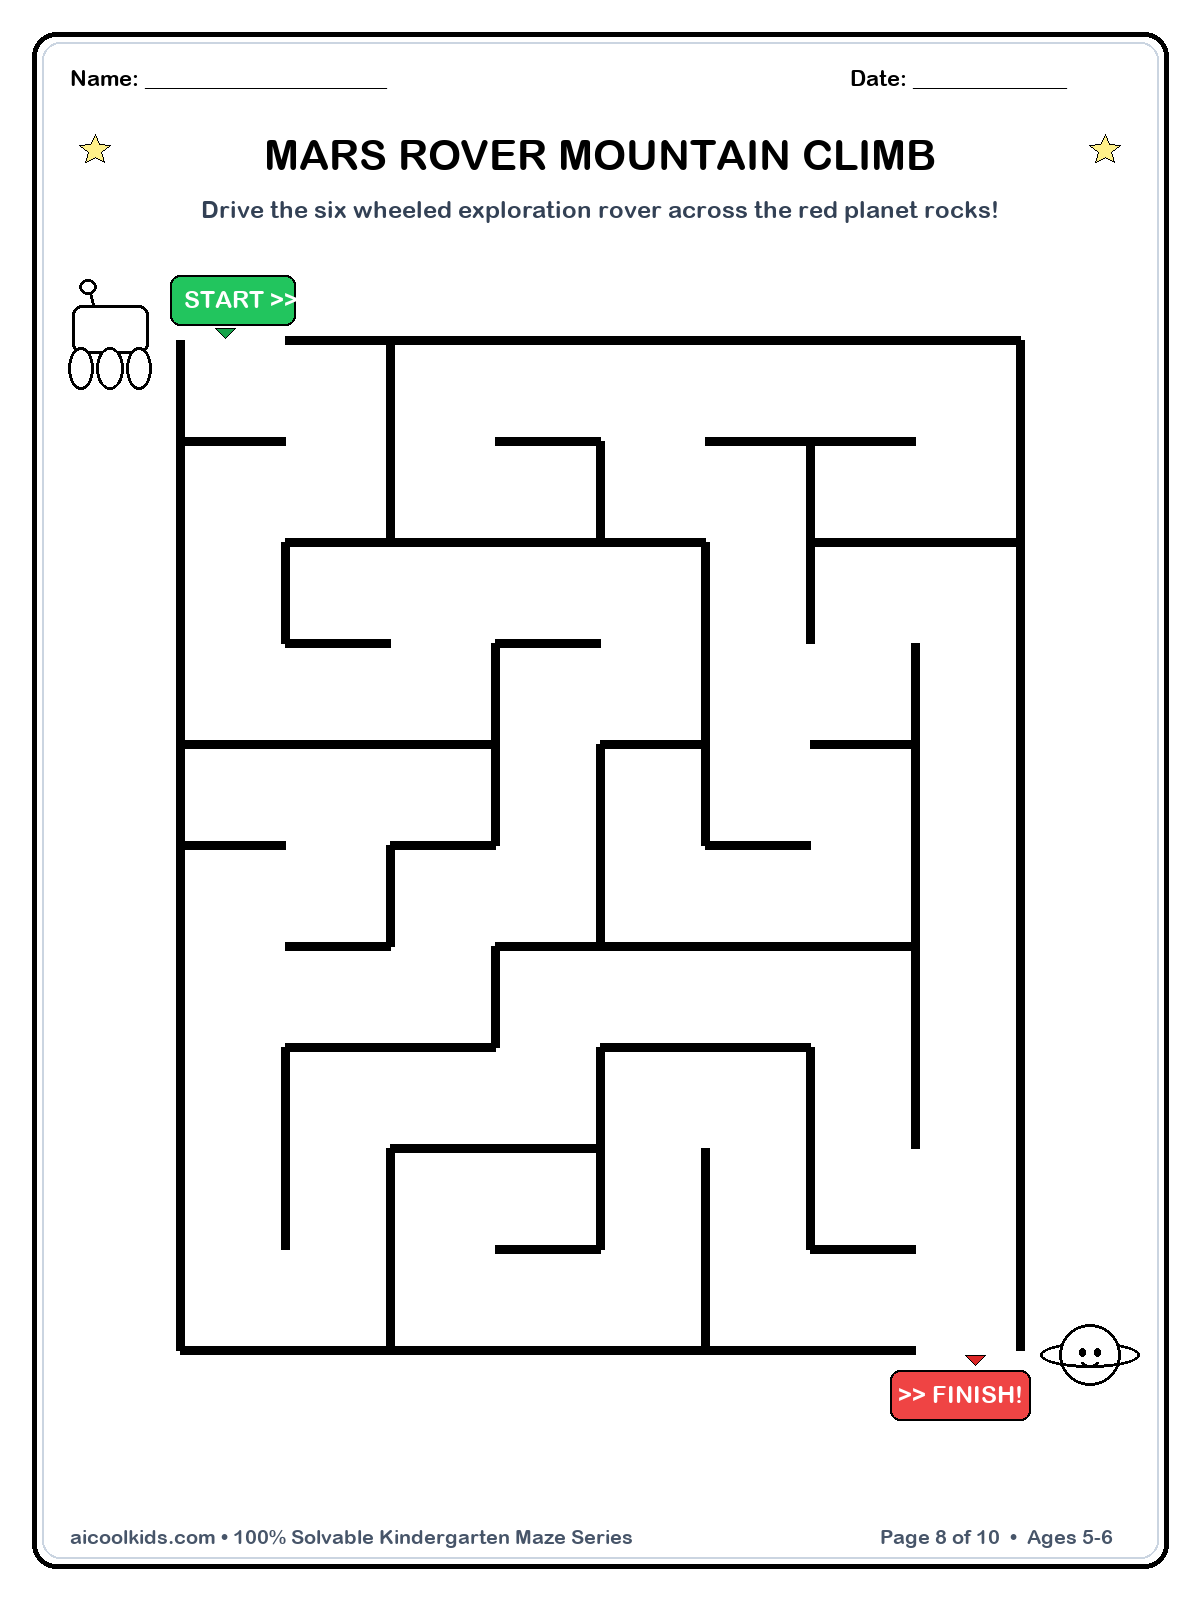
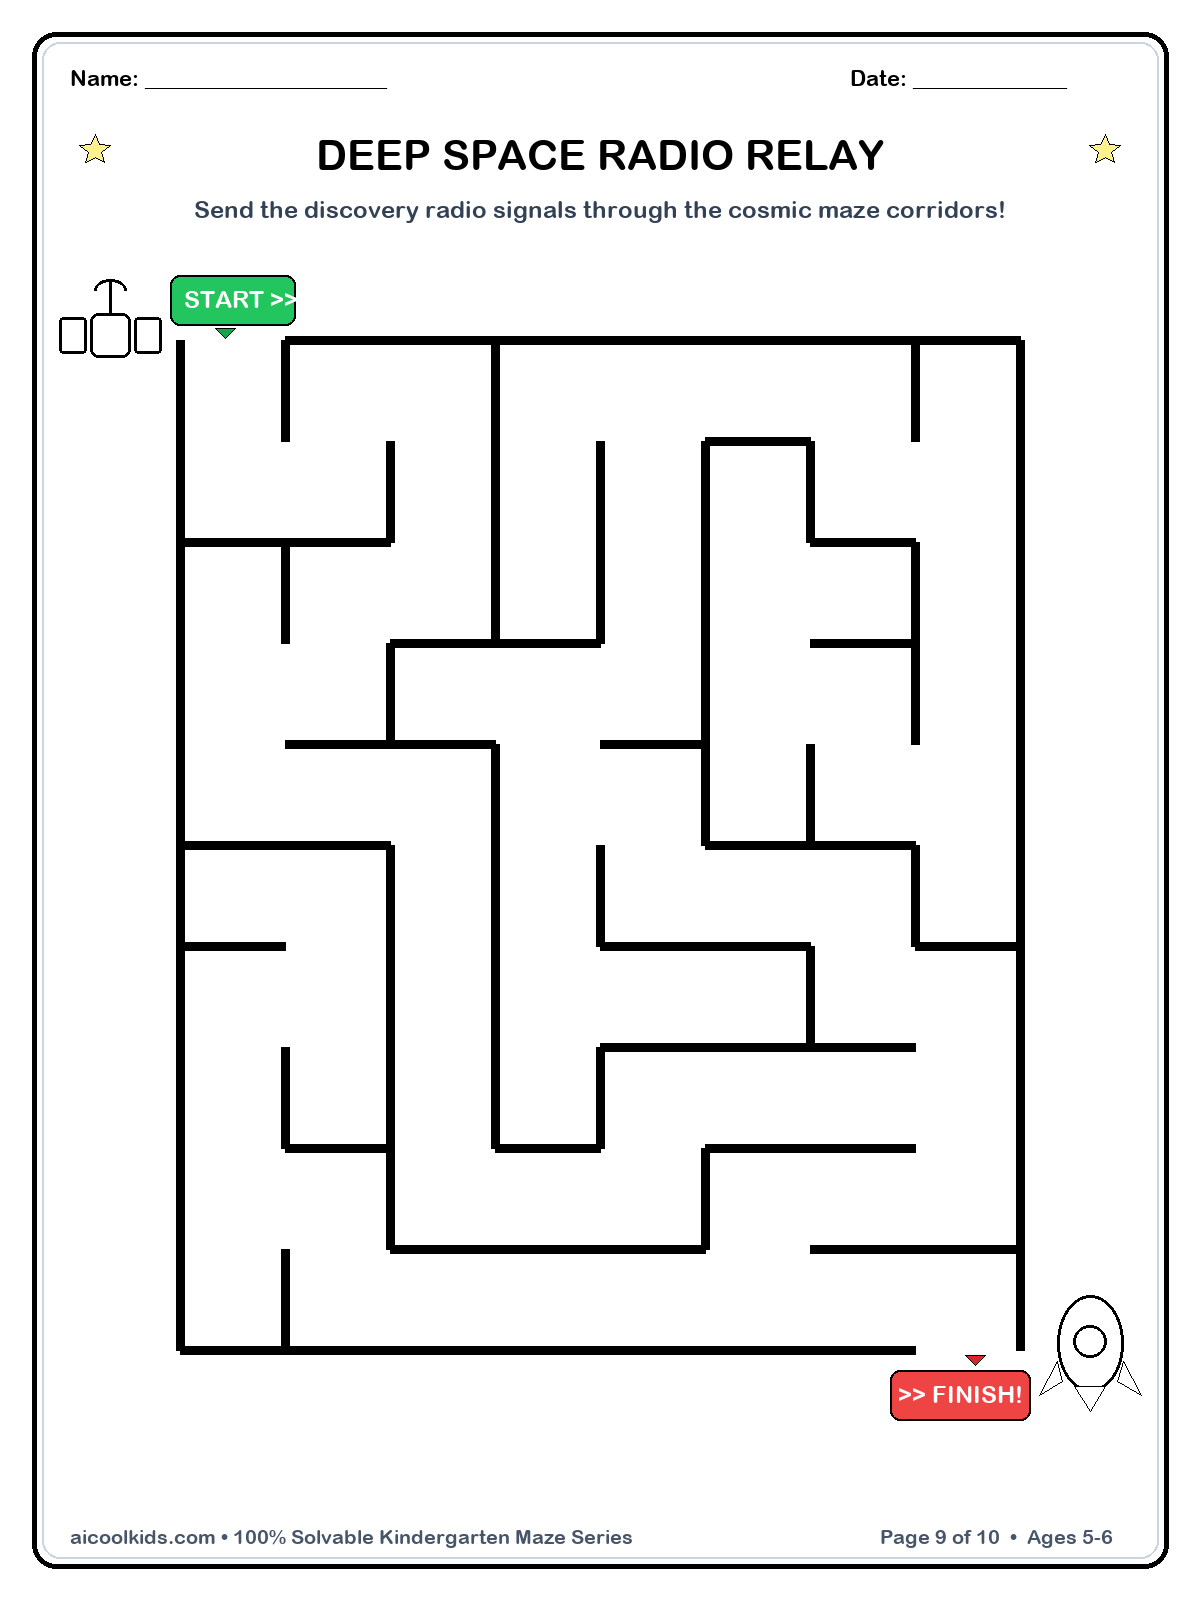
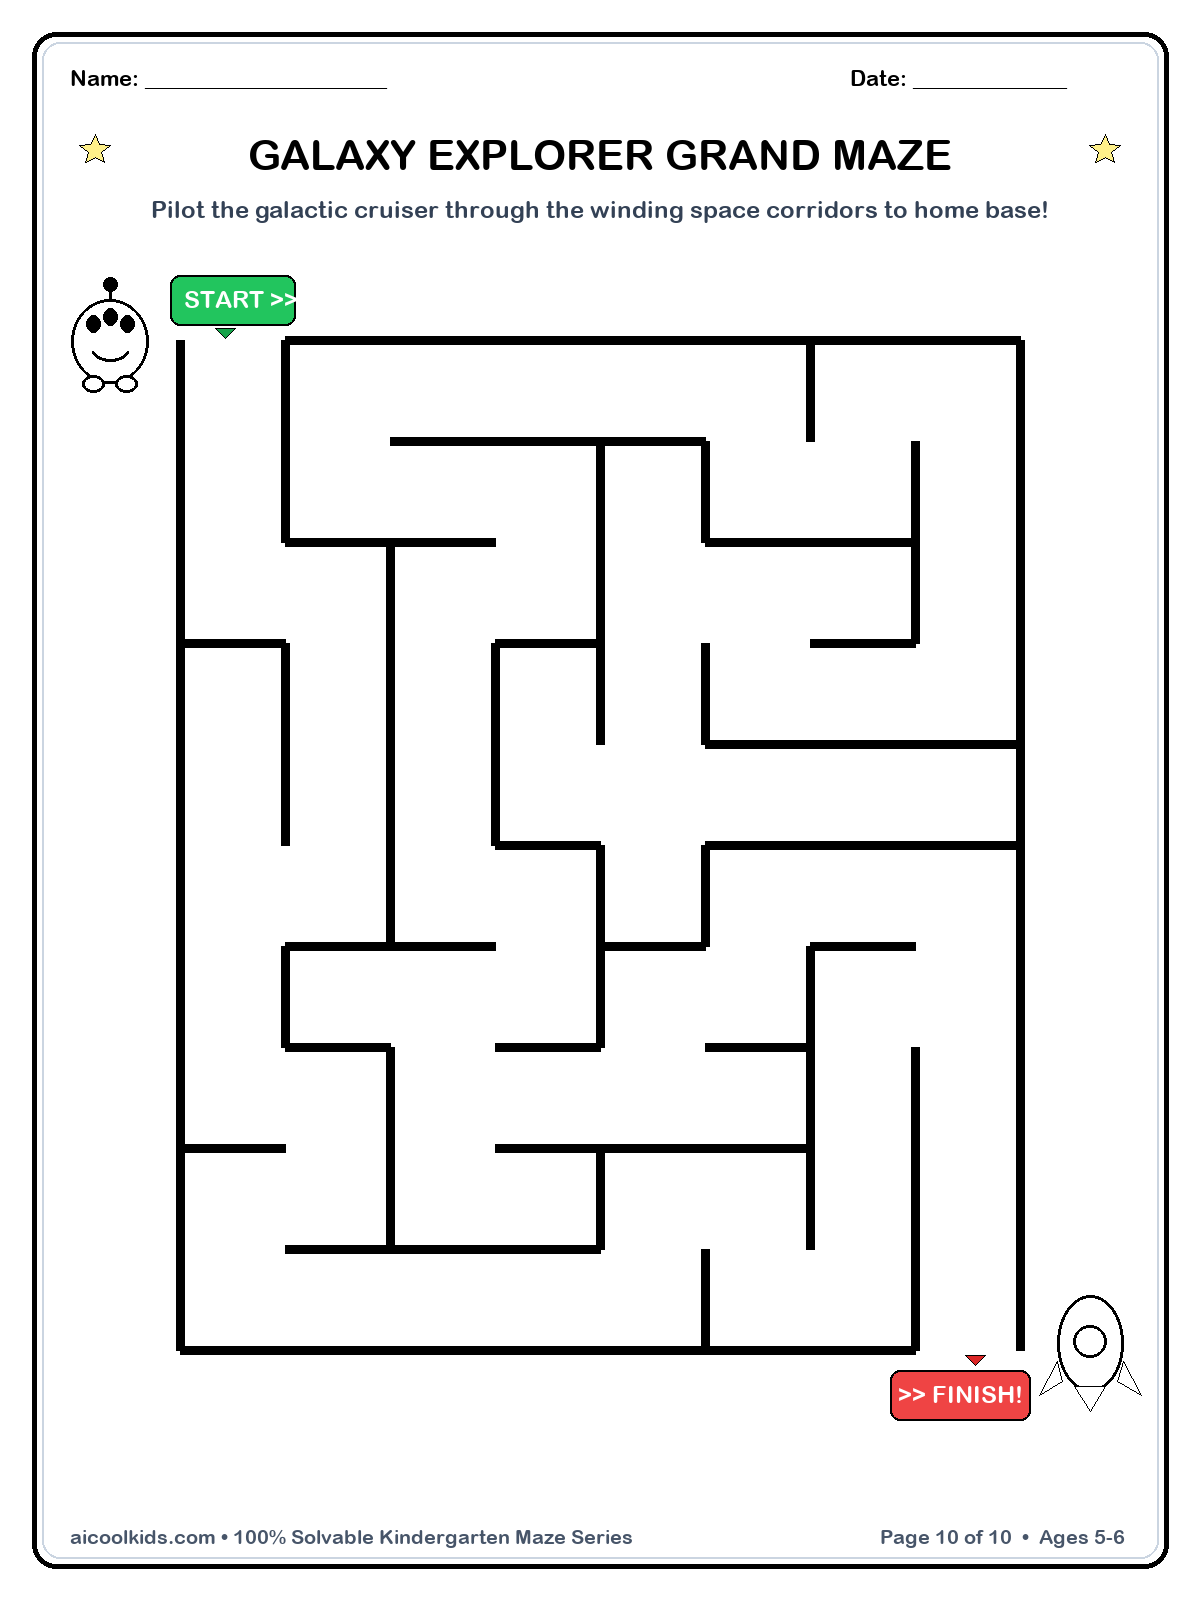
- Store the binder, markers, and a soft cloth together in a basket near a quiet table. For kindergarten classroom learning centers, prepare several binders and set out one page at a time to limit clutter. Invite the child to choose a maze during at home learning or morning tubs, then wipe the sleeve clean before the next turn. The same binder can hold all 10 mazes, including rockets, astronaut moon walks, asteroid navigation, alien homecomings, Mars rovers, and orbiting satellites.
2
2. Cookie Sheet Space Route Board
Materials Needed:
Clean cookie baking sheetPrinted maze sheetSmall magnetic counters or large craft magnetsPencilColored pencilsMasking tape
Step by Step Guide:
- Choose a maze with a clear start and destination. Tape the paper to the cookie sheet at the corners so it stays flat, checking that no tape covers the path. Set the sheet on a low table or the floor. Use a large magnetic counter as a pretend rocket, and keep any small pieces away from children who still put objects in their mouths.
- Ask the child to place the rocket at the starting picture. Before sliding it, invite them to look at the first few turns and point to an open passage. Use plain direction words such as up, down, left, and right. The child can move the counter one section at a time, stopping whenever a wall or dead end appears. This gives the child a chance to revise a plan without rubbing out a pencil line.
- If the counter reaches a dead end, guide it back to the last intersection and ask the child to look for another opening. Keep the tone light and let the child decide which turn to test. For an easier version, cover some of the maze with a blank sheet so only a short section is visible. For a greater challenge, ask the child to name a route before moving the counter.
- After the child reaches the destination, move the paper to a kitchen table and trace the successful route with a pencil or colored pencil. Encourage a steady line rather than speed. The child can add a small planet, star, or landing pad beside the finish. If using a dry-erase pocket sleeve instead of paper, the route can be wiped away and tried again.
- Use the cookie sheet as a portable space station for learning centers or a homeschool space unit. Wipe the metal surface after use and return the magnets to a closed container. Keep the maze pages in a folder so they do not crease. This setup can also support a rainy day at home activity when children want to handle objects and talk through a problem instead of sitting for a long worksheet session.
3
3. Astronaut Moon Walk Finger Trail
Materials Needed:
Printed astronaut maze65 lb cardstockSmall cotton ballGlue stickPencil or crayonClear table space
Step by Step Guide:
- Print the astronaut maze on standard paper for a quick version or on 65 lb cardstock if you want a sturdier base. Place it on a clear table and point out the astronaut, the Moon base, and the maze walls. Explain that the child will first use a finger to plan a pretend moon walk. Avoid presenting the task as a race, since the goal is careful attention to the path.
- Have the child place one fingertip at the starting point and slowly follow a possible passage. Encourage the child to lift their finger at a wall rather than push through it. At each crossing, pause and scan the open directions together. If the child is unsure, invite them to return to the last turn and test a different route. This gives a young learner a low-pressure chance to notice and adjust.
- When the child reaches the Moon base, give them a cotton ball to use as a pretend astronaut helmet or Moon rock. Let the child move it beside the route rather than over narrow maze lines, where it might hide the path. Ask the child to describe one thing the astronaut might see on the Moon, such as footprints, a crater, or the base. Keep the conversation short and imaginative.
- Have the child trace the route with a pencil or crayon after the finger walk. Start with a light line so the child can change direction if needed. For more practice, ask the child to trace the same path with a different finger, then compare which movement felt easier. Children may also color the astronaut after finishing, using crayons or colored pencils that fit their hand comfortably.
- For a classroom center, place the cardstock maze on a tray with a small basket for the cotton ball and drawing tools. At home, store the pieces in an envelope attached to the maze folder. Use the activity as a quiet time at home option or as one stop in a homeschool space unit. Skip loose cotton balls for children who mouth small materials, and supervise any child who needs help handling the pieces safely.
4
4. Asteroid Navigation Path Builder
Materials Needed:
Printed asteroid mazeBlank paperCrayola washable markersRound paper scrapsGlue stickChild-safe scissors
Step by Step Guide:
- Place a blank sheet beside the printed asteroid maze and invite the child to draw a starting rocket and a destination planet. Help the child make a wide path between them, leaving space for several round paper scraps to act as asteroids. If the child is not ready to use scissors, prepare the circles ahead of time. Keep the paper route open enough for a finger or pencil to travel through it.
- Ask the child to place three or four paper asteroids along the route, then decide where the rocket can pass safely. The child can move the circles until there is a clear path. Use questions that prompt observation, such as Which side has more room? or Can the rocket turn here? Avoid giving the answer immediately. The child should have time to test a few possible arrangements.
- Glue the asteroids in place once the child is satisfied with the route. Draw a thick, simple line around them to make a custom maze. For a younger or less experienced child, keep the path broad and include only two turns. A child who wants more challenge can add another asteroid or a second destination, but keep the route possible to complete without squeezing through tiny gaps.
- Try the custom maze with a fingertip first. If the route works, follow it with a marker or crayon. Then complete a printed asteroid navigation maze and compare the two. Ask the child which route had more turns and where they needed to slow down. This comparison supports planning language and helps children notice that there can be more than one way to approach a maze.
- Set the finished paper aside to dry before stacking it with other activity sheets. Write the child’s name and the date on the back, then put it in a homeschool space unit folder or classroom portfolio. For repeated play, slide the printed maze into a sheet protector and keep the custom paper design as a record. Use washable markers and protect the table with scrap paper if the child is working near the edge.
5
5. Mars Rover Wheel Track Mission
Materials Needed:
Printed Mars rover mazeSmall rectangle of cardstockTwo paper circlesCrayons or colored pencilsGlue stickPencil
Step by Step Guide:
- Cut a small rectangle from cardstock for the rover body and prepare two paper circles for its wheels. An adult can cut the shapes before the activity if a child needs support with scissors. Let the child draw a camera, antenna, or window on the rover. Keep the rover small enough to sit beside the maze without covering several paths at once.
- Glue the circles to the sides of the rectangle and wait briefly for the glue to hold. Point to the maze start and destination, then place the paper rover near the starting picture. Invite the child to use one finger to travel through the maze while the rover waits beside the route. At each turn, the child can say a direction word or point to the next opening.
- Move the rover beside the path as the child describes the route. The paper vehicle does not need to fit inside every maze lane. If the child prefers, use a pencil as the rover and slide its eraser along the open path. Pause at a dead end and encourage the child to backtrack to the last place where two choices were available.
- Once the route is clear, trace it with a pencil or colored pencil. Ask the child to keep the tip on the open path and slow down near corners. After reaching the destination, add a few pretend rover tracks beside the maze, not over the route. The child can draw short lines or dots to show where the rover explored, then color the Mars surface orange or red.
- Use the rover again with a different maze, such as a rocket or alien homecoming page, and ask how the mission might change. Store the paper rover in a small envelope with the worksheets. In a classroom, put the envelope, pencil, and maze in a learning center tray. At home, the activity can be a quiet table task followed by a short conversation about how real rovers are controlled from Earth.
6
6. Orbiting Satellite Path Spinner
Materials Needed:
Printed orbiting satellite mazePaper plate or large paper circleShort paper stripCrayola washable markersScotch tapePencil
Step by Step Guide:
- Draw a large Earth on a paper plate or paper circle and add a few simple land shapes with markers. Cut a short strip of paper for the satellite. An adult can cut the strip to a safe size in advance. Draw small panels on the satellite and fold a tiny tab at one end. Do not use a sharp pin or fastener for this activity, since children can move the paper strip by hand.
- Tape the folded tab loosely near the outer edge of the Earth drawing so the satellite can swing around the circle. Check that the tape holds but does not make the paper difficult to move. Let the child guide the satellite in a slow circle. Explain that this is a model, not an exact picture of a real orbit, and use the word orbit for the path an object follows around another object.
- Set the printed maze beside the paper Earth. Ask the child to point to the satellite start and its destination, then scan the route before tracing. The child can move a finger along the maze first, pausing where the route bends. If a path ends, invite the child to return to the last open turn and try another direction. Let the child make the decisions.
- Trace the successful route with a pencil, then color the satellite and any planets on the page. Compare the maze route with the round path made by swinging the paper satellite around Earth. Ask what is alike and what is different. Children may notice that the maze has corners while the model orbit is curved. These observations are enough for an early space conversation.
- Keep the paper model flat in a folder so the satellite strip does not bend. For a learning center, place the model on a tray with the orbiting satellite maze and a pencil. At home, bring it to the kitchen table for a short activity, then use the same page again in a sheet protector if you want repeated tracing. Supervise cutting and tape use, and replace the paper strip if it tears.